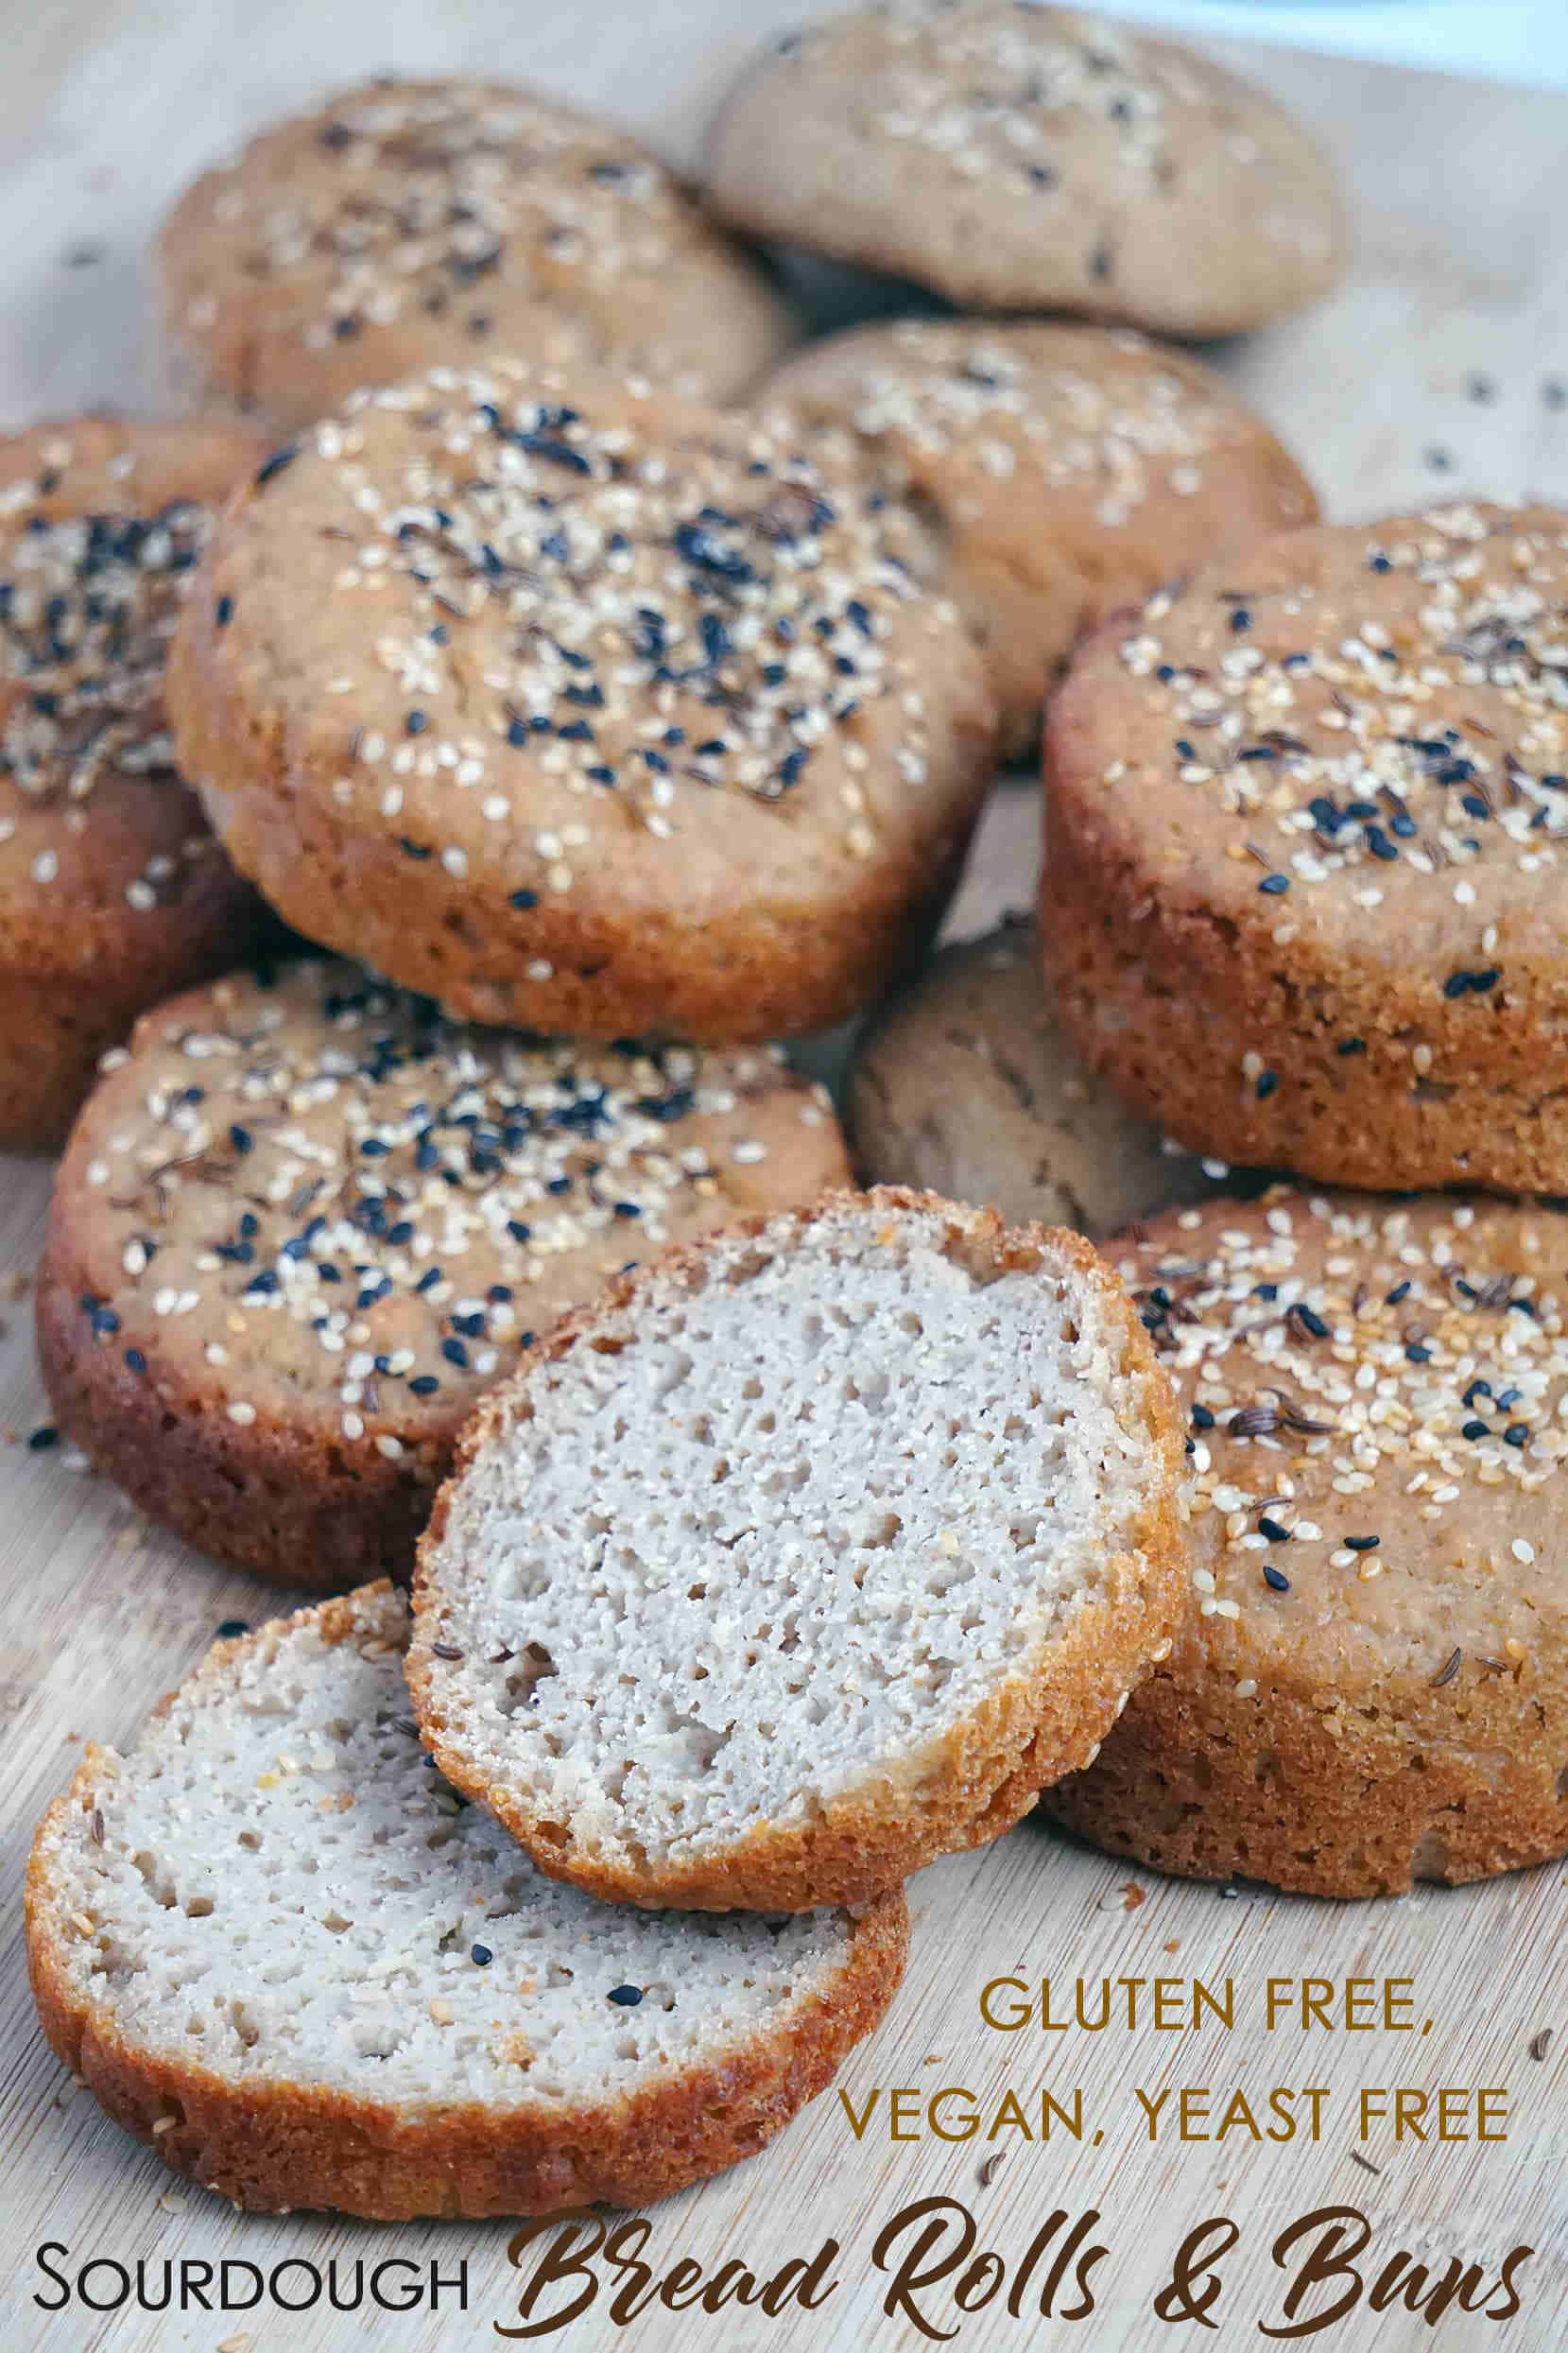
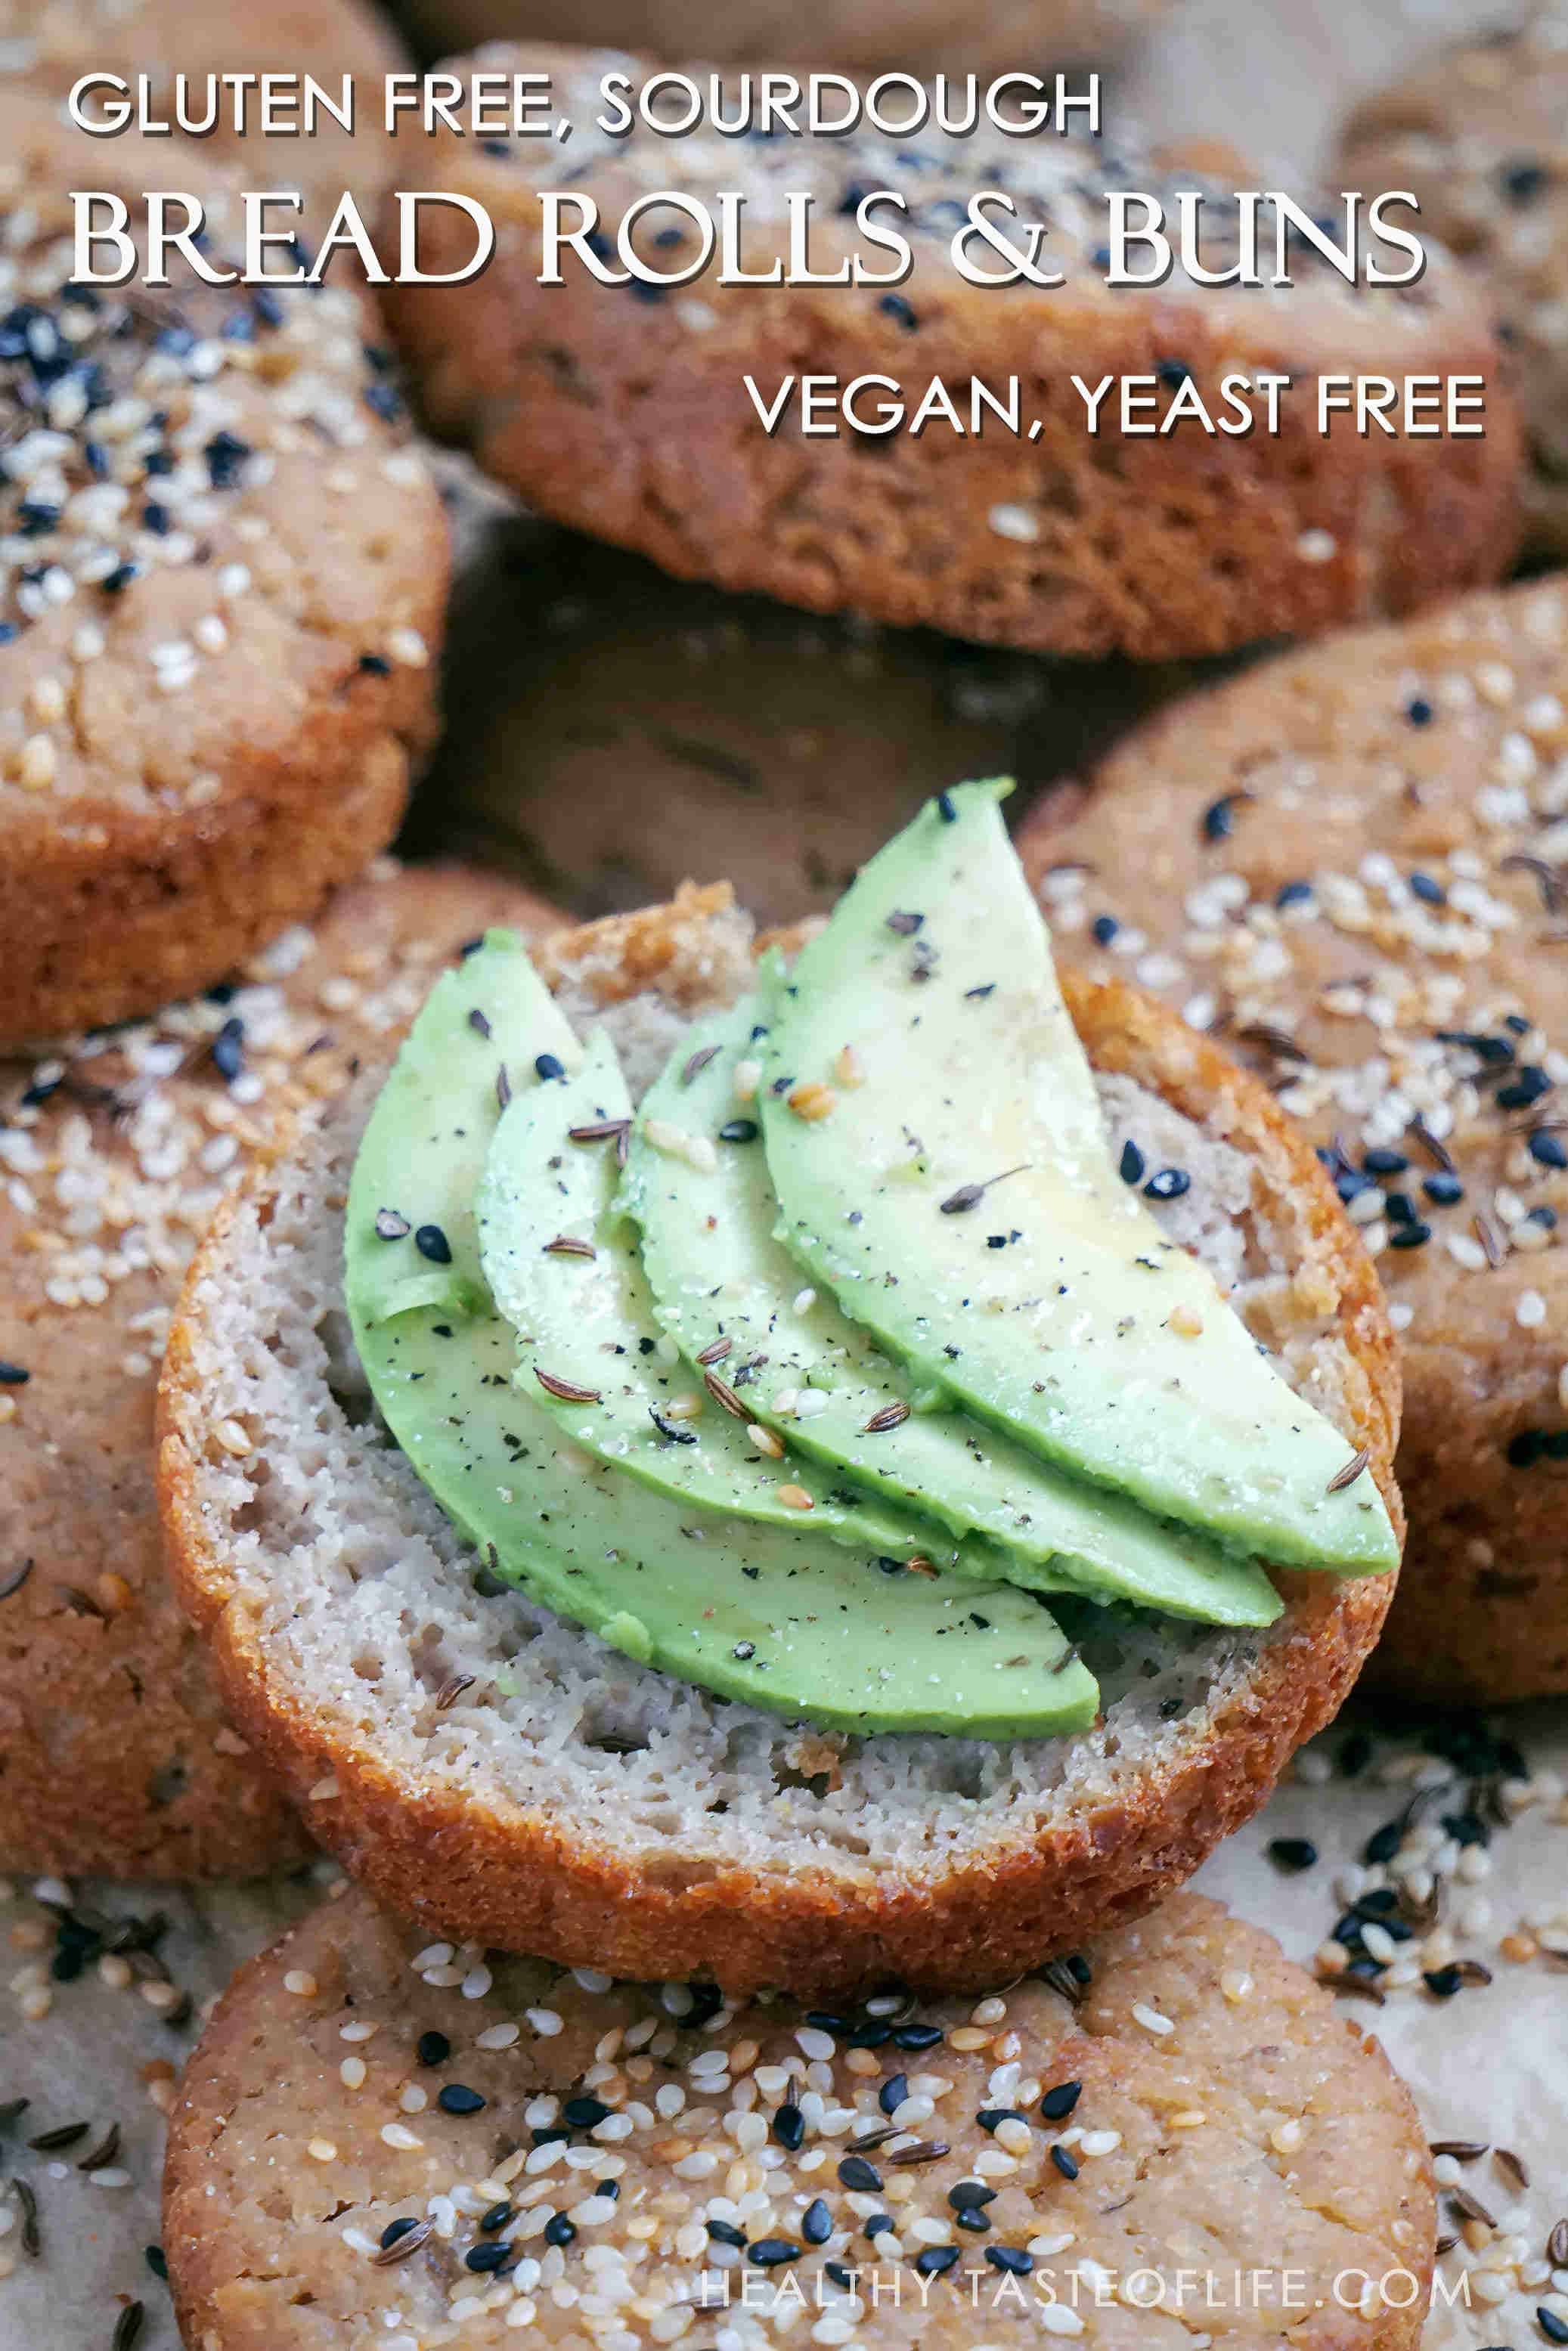
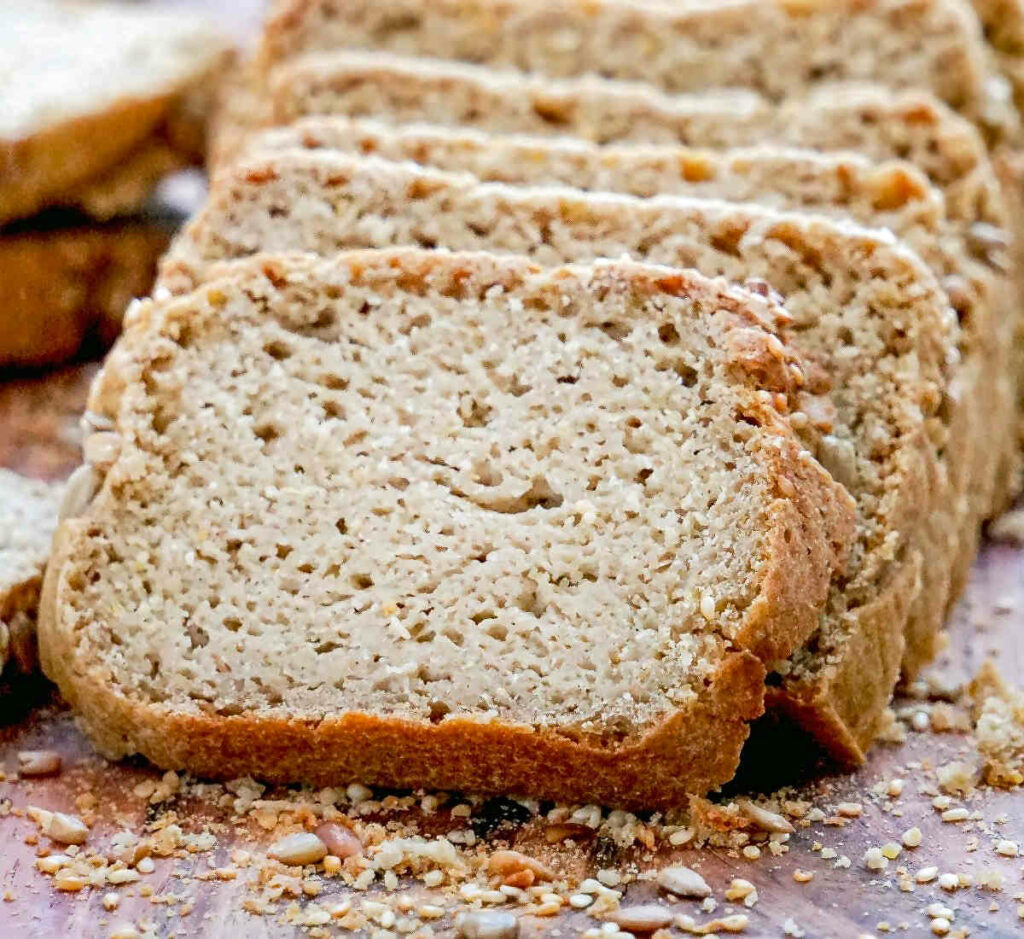
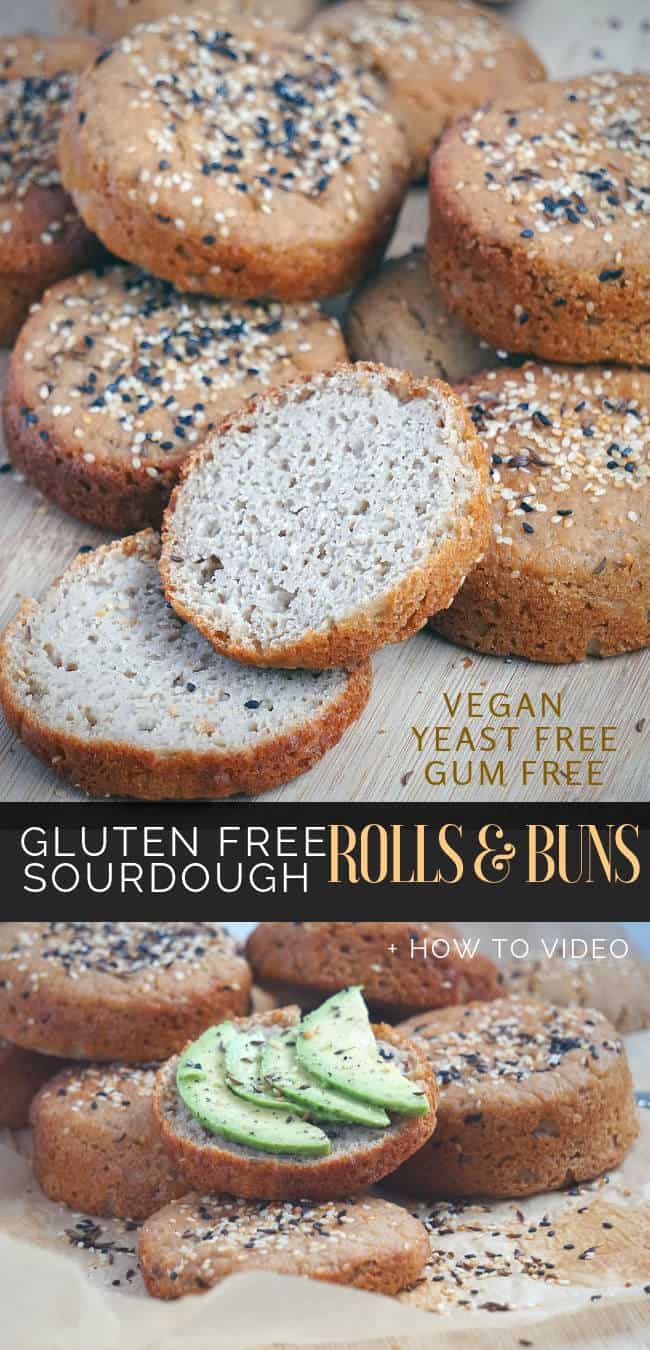
Gluten Free Sourdough Buns (No Egg, Vegan)
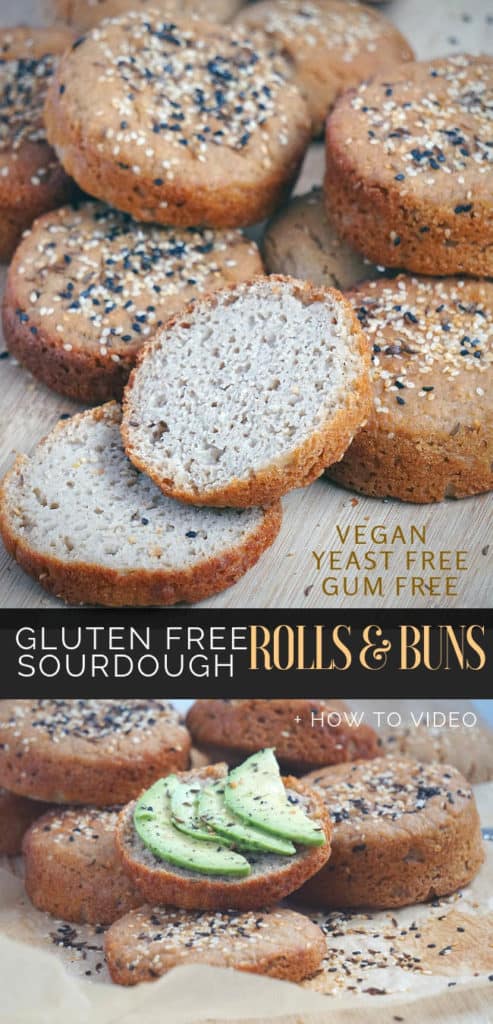
These gluten-free sourdough buns are vegan, egg-free, yeast-free (no commercial yeast), and xanthan-gum-free, but they still hold together and toast well. The dough is no-knead and versatile: you can bake them as hamburger buns, sandwich buns, sliders, or dinner rolls.
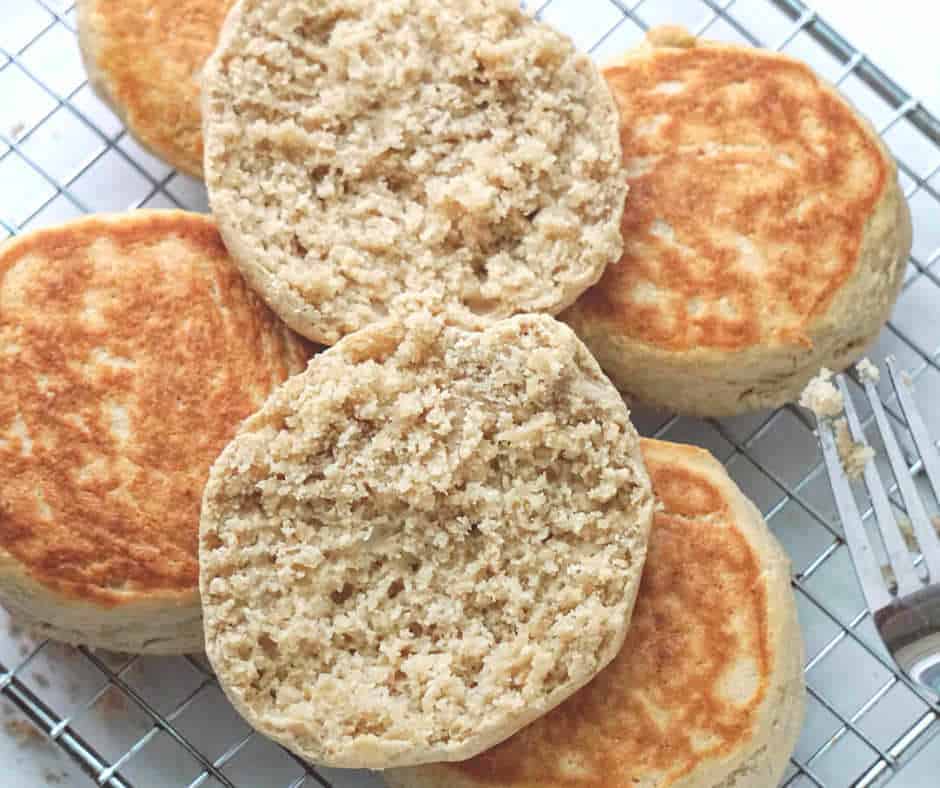
When I want something faster I make these gluten free sourdough English muffins, I’m using them just like buns and they require only 30 minutes to make from start to finish.
Quick Expectations
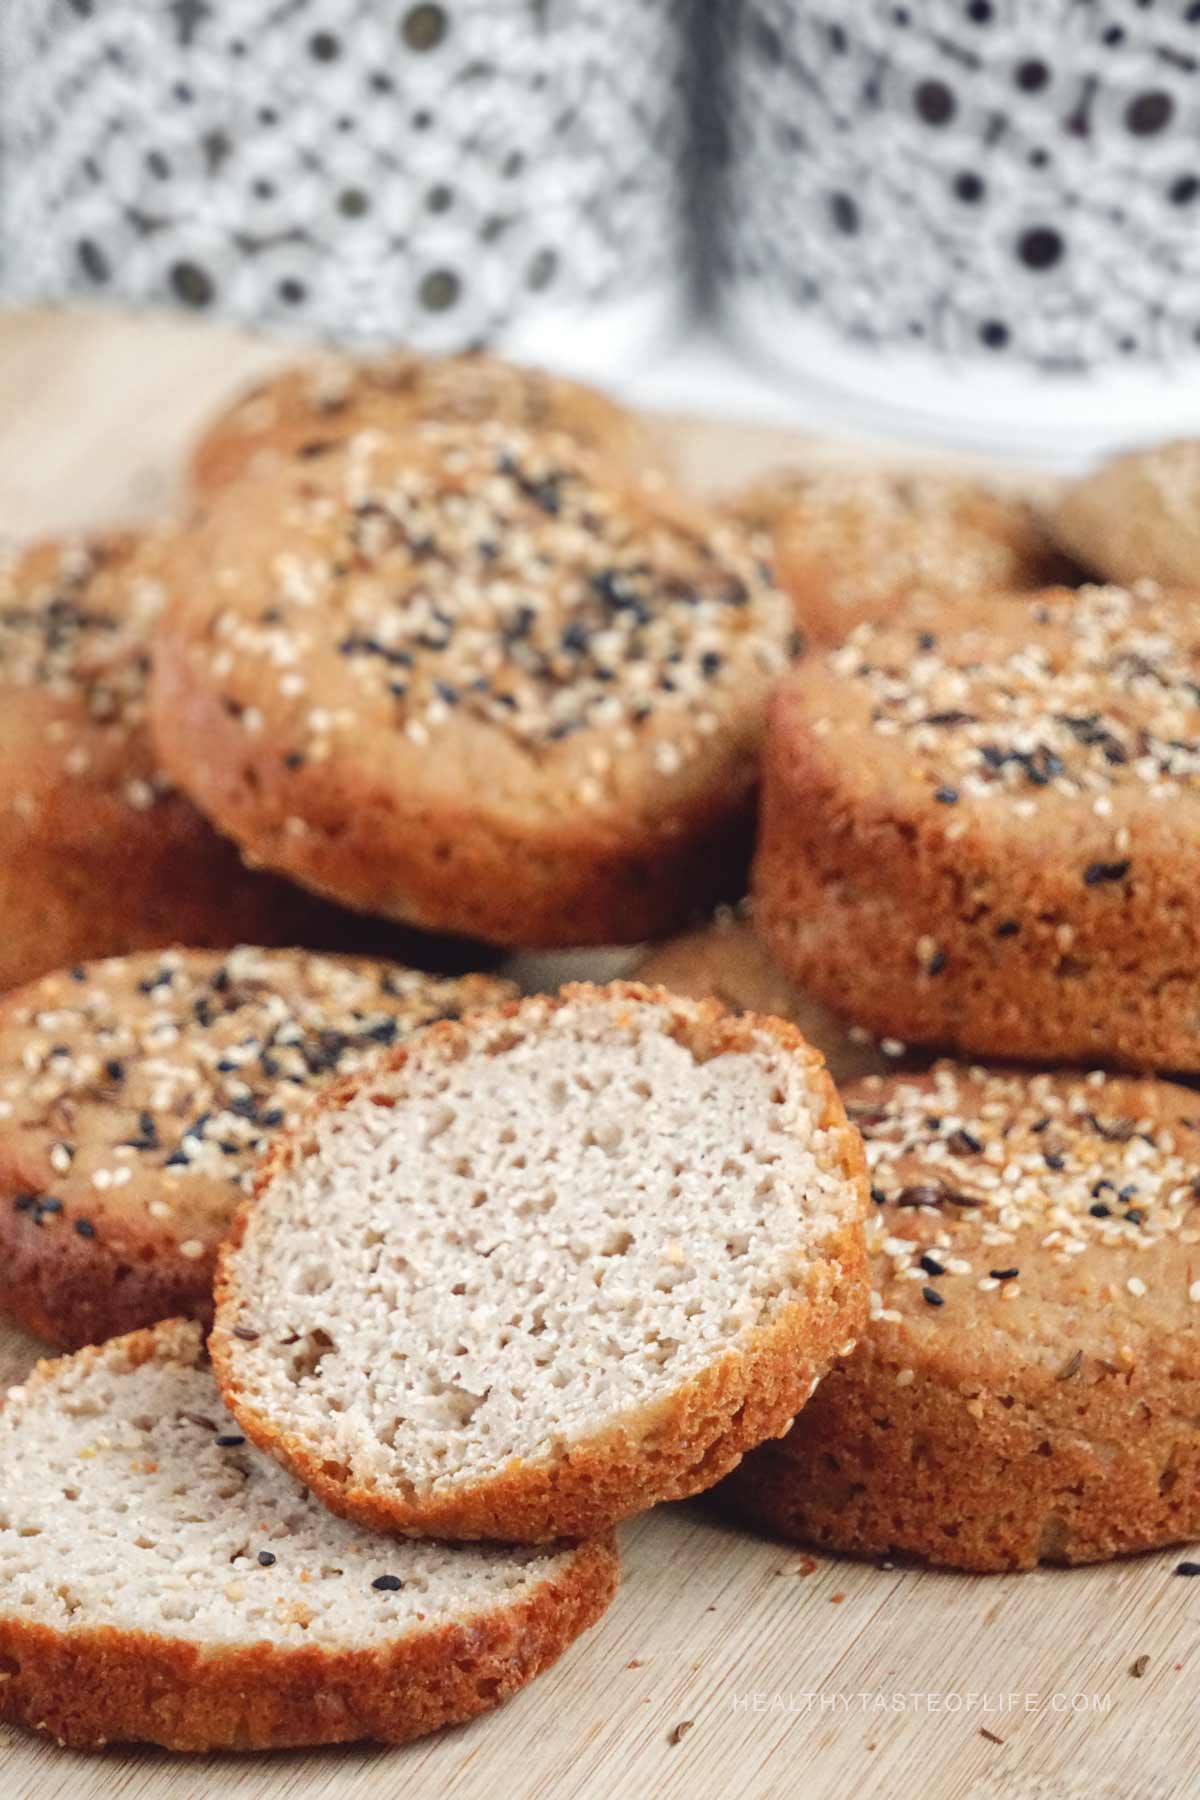
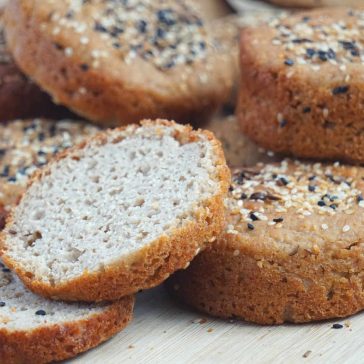
- Texture: crusty outside, soft inside (not fluffy like enriched brioche buns)
- Dough feel: sticky, stirrable, not pourable (like very thick batter)
- Best shape method: baking cups/ramekins/muffin pan give the best rise and shape
- Make ahead: ferment, bake, then freeze sliced for fast toasting
Why this recipe works
I love bread rolls, but most gluten-free buns in stores are either dry, full of starches, or don’t freeze well. I also personally don’t feel great with commercial yeast, so I built these around my gluten-free sourdough starter instead.
Other gluten free bun recipes, often rely on eggs, dairy, or commercial yeast for softness and lift. But I want a simpler and a more nutritious alternative so, here’s what’s doing the “structure job” in this recipe:
- Psyllium + water forms a gel that holds moisture and gives elasticity (instead of eggs/gums).
- Flax helps bind and keeps the crumb from crumbling.
- Flour mix (oat + buckwheat + cassava) give body, flavor, and structure (not a store blend).
- Steam in the oven helps the exterior bake up nicely without drying out.
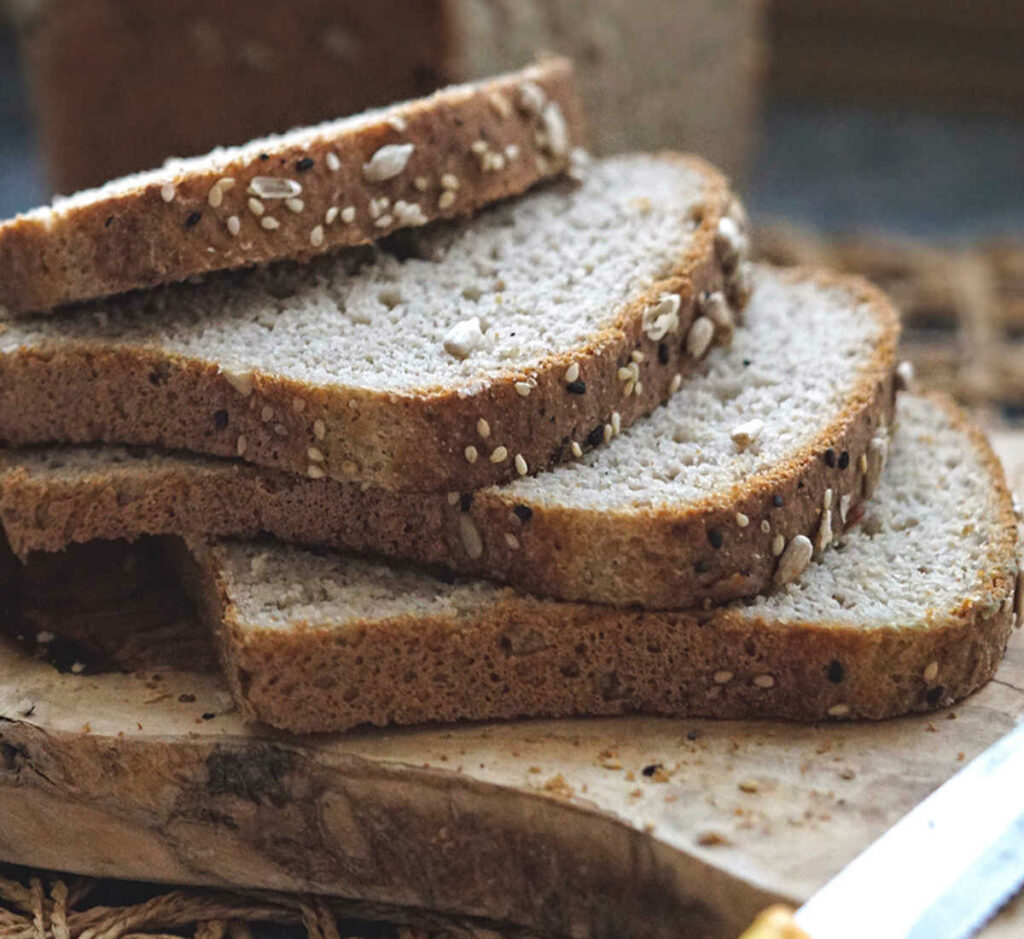
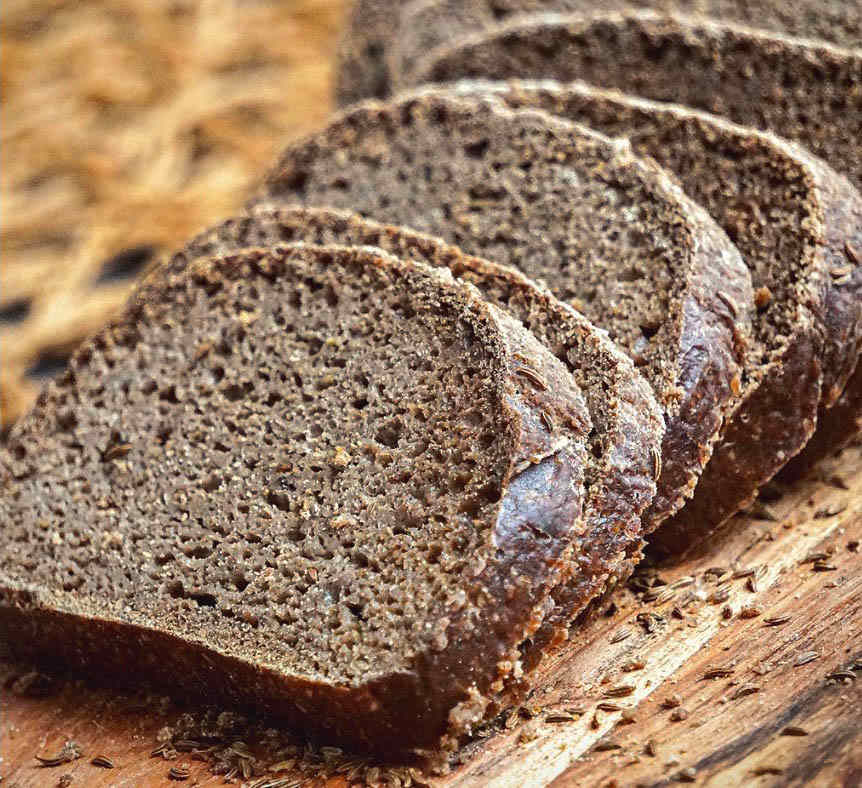
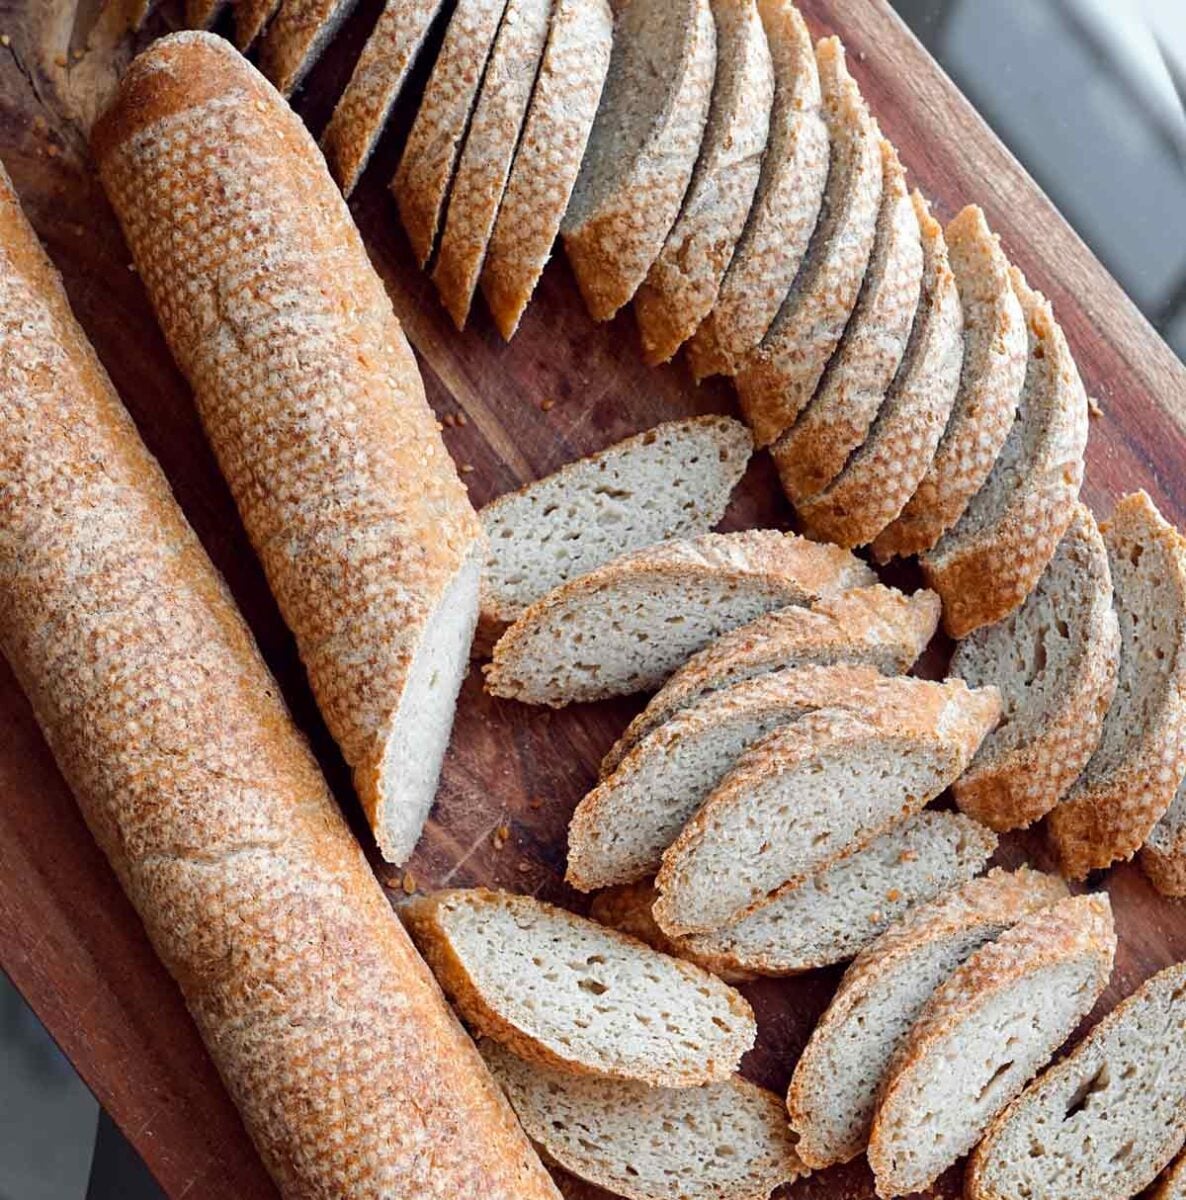
Try a GF sourdough loaf – if you want a sliceable bread version. And if you love crusty sourdough, you’ll also like my gluten-free sourdough baguette.
Ingredients (function and swaps)
- Activated GF starter: provides flavor and a lift base
- Oat flour: softens crumb and a slightly chewy texture, adds fiber, protein and prevents grittiness
- Buckwheat flour: provides structure and flavor
- Cassava flour: gives a mildly elastic nature plus chew and structure
- Psyllium husk and Flax (ground): main binder (don’t skip)
- Maple sugar (optional): helps flavor and browning
See all measurements in the recipe card:
Step-by-step: How To Make Gluten Free Sourdough Buns
1) Activate the starter (fast boost)
If your starter isn’t at peak strength, mix 1 cup with 1/2 cup brown rice flour and same amount of water and let it sit until bubbly (usually a couple of hours), the rest keep in the fridge for future bakes (don’t forget to feed it too, if it’s necessary).
If your starter is already active, mix it a bit to set the bubbles and just add 1.5 cup (maybe a little over that, depends how airy it is) to a large bowl and proceed to adding the rest of ingredients.
2) Make the psyllium gel
Whisk water + salt + psyllium, let it thicken, then add it to the starter.
3) Mix the dough thoroughly
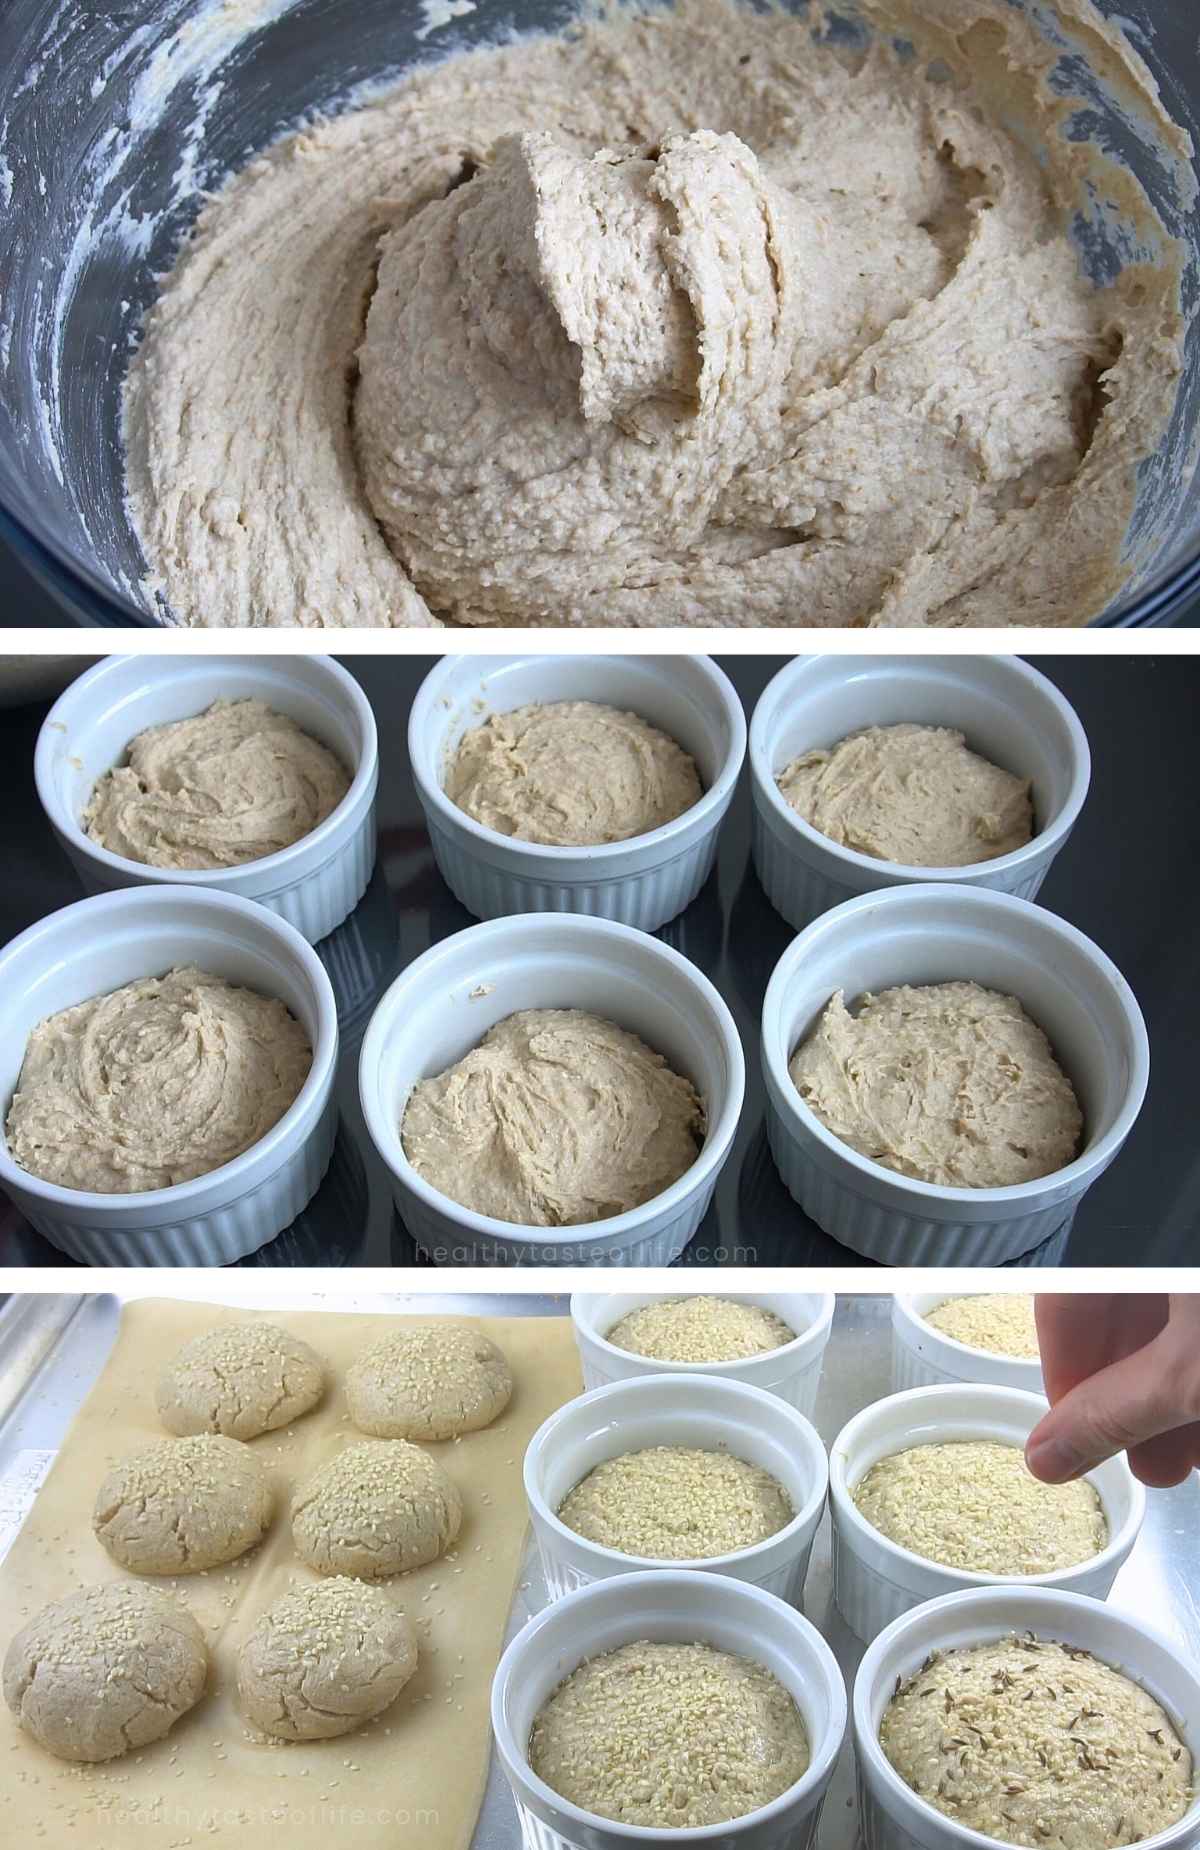
Add the remaining ingredients and mix until fully combined (you want a sticky, soft dough that still holds shape).
4) Shape: cups/ramekins vs hand-shaped
The hands-on work is minimal, no kneading required. You have two options, either pour the batter as it is in the cups or sprinkle a little flour on a surface and form small dinner rolls / buns by hand.
- Best rise: scoop into baking cups/ramekins/muffin pan
- Hand-shaped: works, but will be a bit denser and flatter
In the video you will see the difference in texture when I used “walls”. You can use as walls or mold the following options:
- Ceramic baking cups (but you need to cover the bottom with parchment paper to prevent sticking)
- Stainless steal hamburger bun rings (use them on a regular baking sheet covered with parchment paper)
- Ceramic non-stik muffin pan (you’ll get muffin shaped buns)
- Carbon Steel Hamburger Bun Pan (I think the most convenient and optimal option)
- (I don’t use silicone for health reasons)
5) Ferment (until almost double)
Cover and ferment at room temp until the buns look puffier and lighter (timing depends on your kitchen) aprox 4 hours. Then add seeds if desired.
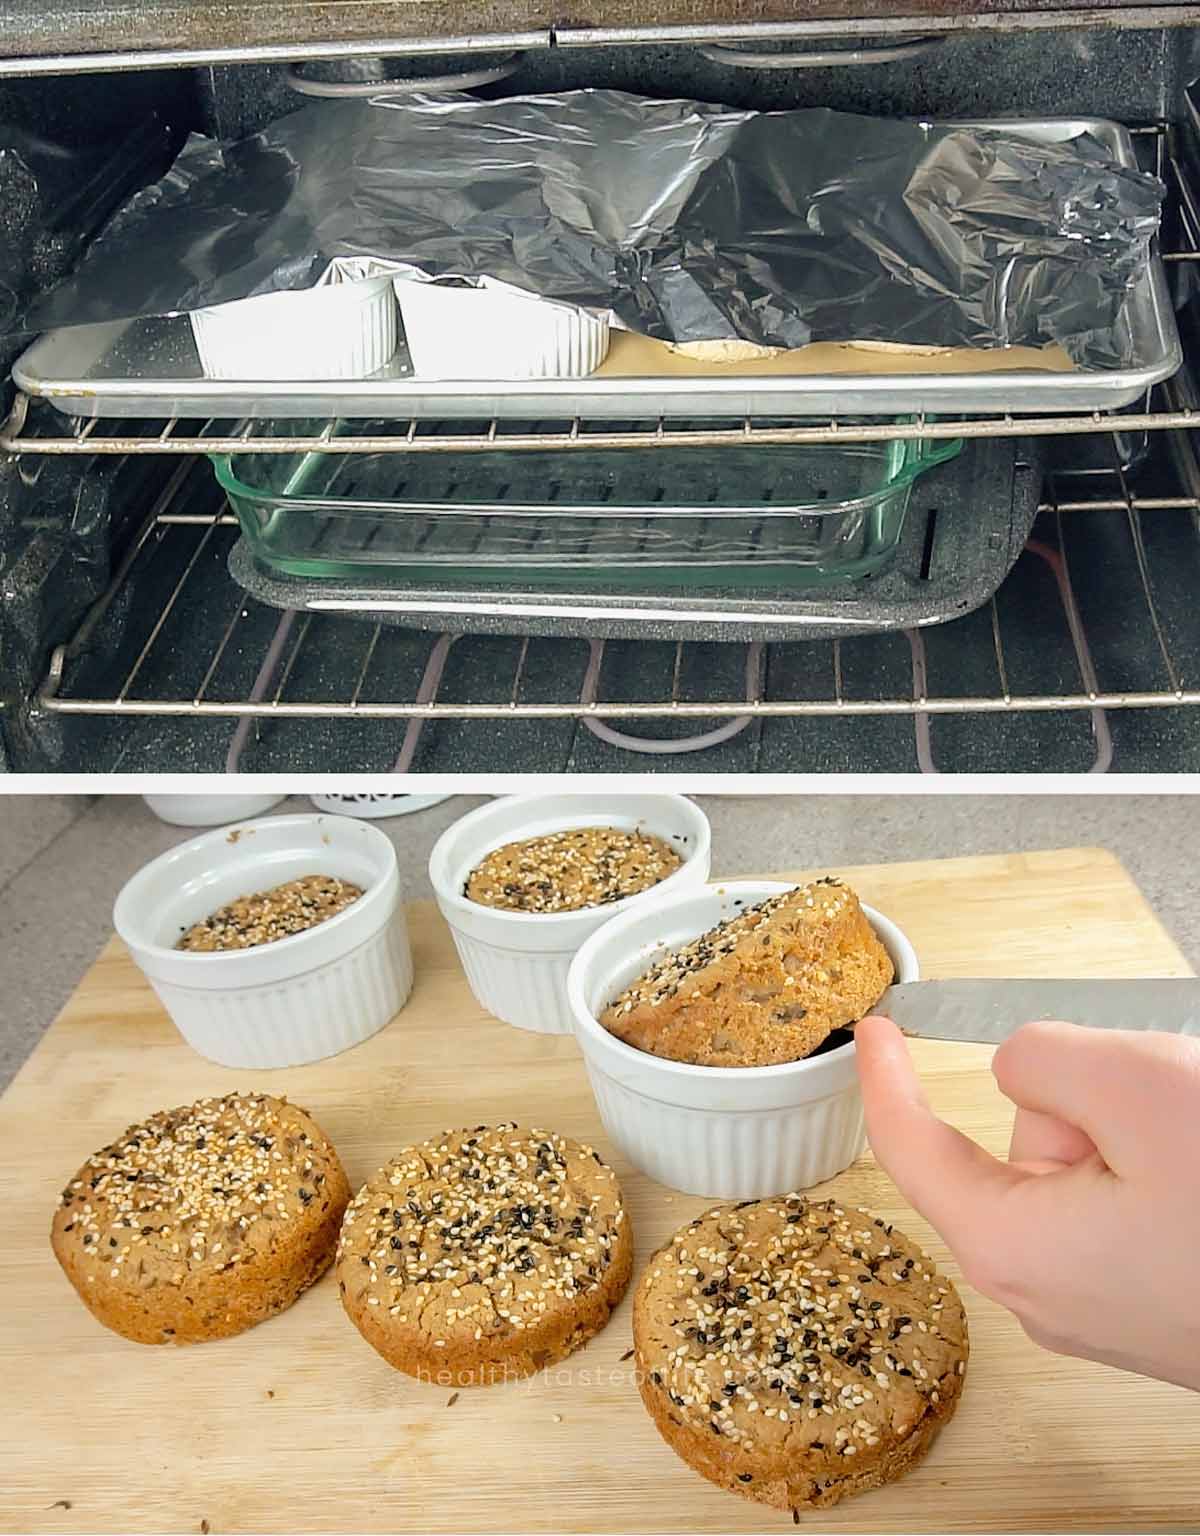
6) Bake with steam
Bake with a pan of water in the oven; cover with foil first, then uncover to brown.
Video Tutorial
Gluten-Free Sourdough Buns (Vegan, No Egg, No Yeast)
Storing
I simply slice them in half and place them in a zip lock bag and freeze for up to 3 months.
And how to thaw frozen hamburger buns? Whenever I need some, I pop them in the toaster at the highest setting and they are ready in minutes – warm buns just like the fresh ones.
Troubleshooting
- Dough too wet / won’t hold shape: Let it sit 5 minutes (psyllium absorbs), then reassess. If still wet, add a small amount of oat flour.
- Dough too thick / dry: You likely hit the “too little water” zone, add a splash of water and mix again.
- Buns didn’t rise much: Starter wasn’t active enough or the room was cool. Give it more time or proof in a warmer spot.
- Gummy inside: Too much water or underbaked. Excess water makes it gummy and affects shape.
- Too hard after baking: Under-proofed or too dry dough.
FAQs
Yes, but they’ll be denser and a bit flatter. Cups help the soft dough rise upward instead of outward.
No, this recipe uses sourdough starter only.
Yes. Maple sugar is optional; add herbs/garlic for savory rolls (keep mix-ins dry).
Foil helps prevent early over-browning while the inside sets; uncovering finishes the crust.
Yes, you can try this Gluten Free Pastry Flour Mix or this Gluten-Free All-Purpose Flour Blend instead (keep the flax seeds and psyllium proportions as is). Make sure to add the water slowly at the end so you get the right consistency and hydration. I did not try other conventional flour mixes.
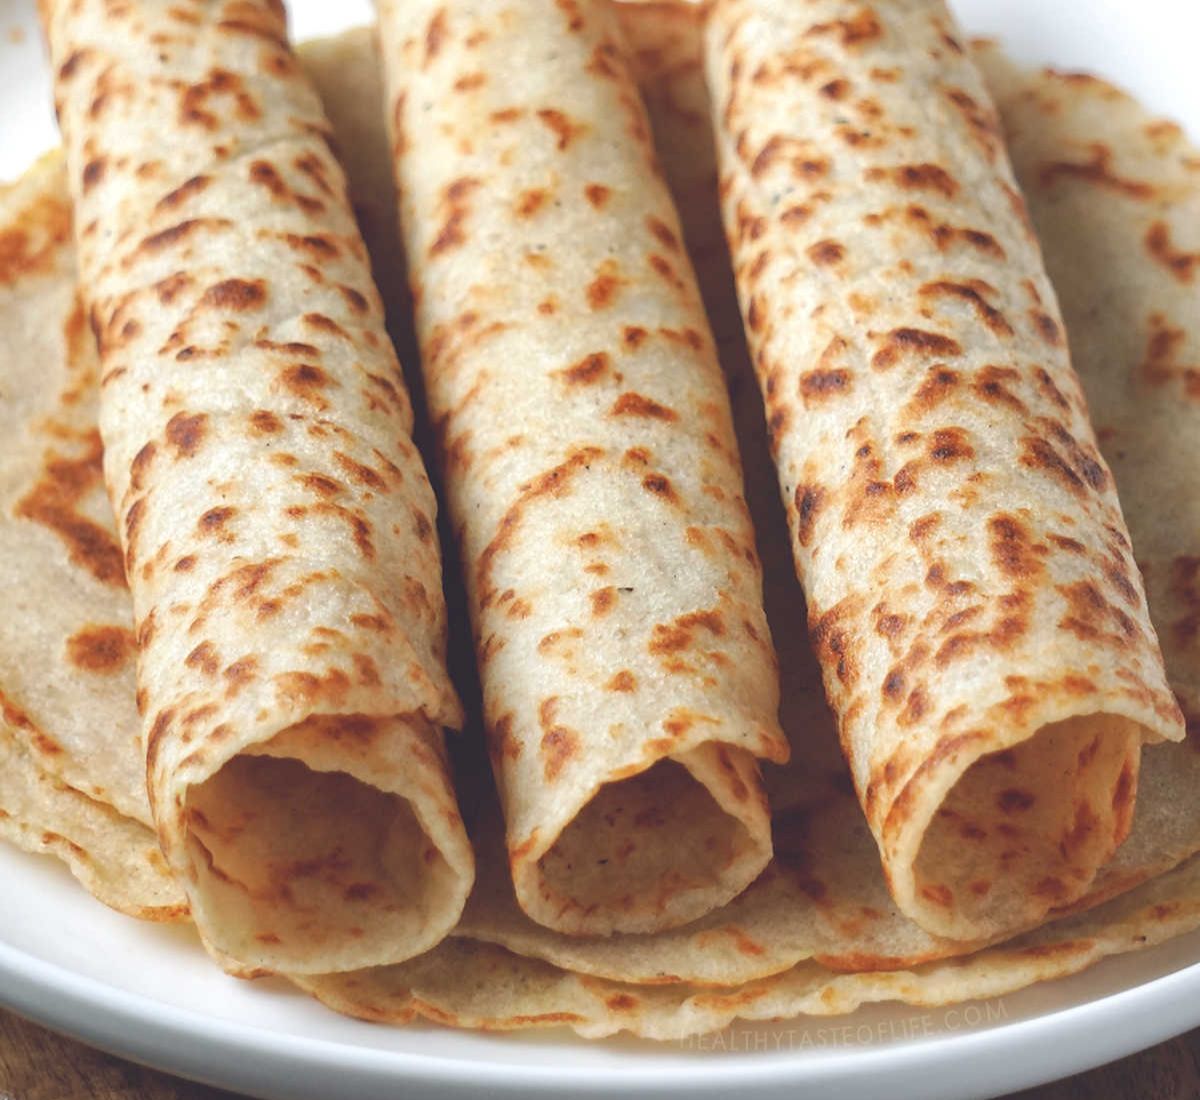
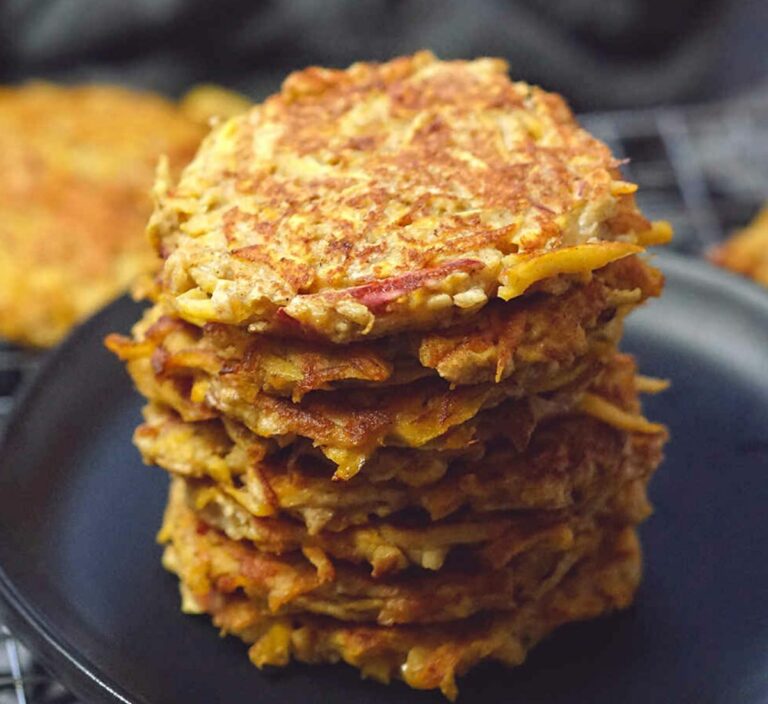
If you’re swimming in discard, gluten-free sourdough pancakes are great try! Another easy way to use discard is gluten-free sourdough crackers.
Tried This Recipe? I’d love to hear how it turned out! Tap ⭐⭐⭐⭐⭐ to rate it or leave a quick comment below! your feedback helps other readers (and keeps me creating new treats).
Gluten Free Hamburger Buns Recipe (Vegan, Sourdough, No Egg)
Ingredients
To Activate The Gluten Free Starter:
- 1 cup gluten-free sourdough starter - activated
- ½ cup brown rice flour - organic
- ½ cup filtered water - room temperature
Dough:
- 1 cup oat flour - gluten free certified
- 1 cup buckwheat flour
- ½ cup cassava flour
- ⅓ cup golden flax seeds - ground
- 1 tbsp psyllium husk - not powder
- 1½ cup filtered water
- ½ tsp sea salt
- ¼ cup maple sugar - optional, or other sweetener
Instructions
Activate the gluten free sourdough starter:
- Combine ½ cup brown rice flour and ½ cup of water with 1 cup of sourdough starter in a medium bowl. Let the starter activate for 2-3 hours, it needs to be bubbly before adding the rest.
Form the dough:
- In a separate bowl, whisk together the water, salt and psyllium husk. Let it sit for 2-3 minutes to absorb the water, then pour the content over the starter.
- Then add the rest of the ingredients and mix together until combined.
Form the buns:
- Scoop about 1/3 cup of the dough and place it into baking cups or shape into rounded rolls (see options for baking tools in the notes below – for best results).
Proof:
- Cover with plastic wrap and allow to ferment at room temperature for 4 to 6 hours depending how warm is your house. The buns should look like they almost doubled in size. See video.
- Preheat the oven to 380 degrees Fahrenheit with a baking pan with water at the bottom of the oven (to create steam).
Bake the buns:
- Bake in the middle of the oven with a tin foil on top for 20 minutes, then remove the foil and bake for another 20-25 minutes until browned. Use the broil function for the last 2 minutes of baking, if you want a more brown surface.
- Let cool on a wire rack for at least 10 minutes, then remove from baking tray and let them cool for at least 2 hours covered. You can slice in half and freeze them if you like.
Video
Notes
Tips
- I experimented with the amount of water, too much water made the dough too gummy in texture and it didn’t keep its shape. Too little resulted in a dry, hard texture and it didn’t rise too much. Once the dough is mixed, the water will be absorbed and the dough will get a sticky, soft texture, like you should be able to stir, but not wet enough to pour.
- You can use some oil too, the fat plays a big role – it’s a powerful tenderizer in baking (but its optional), and you may need to adjust the ratio of dry ingredients in this case.
- When it comes to shaping, you have two options: either pour the batter as it is in the cups or sprinkle a little flour on a surface and form small buns by hand (but they will turn out denser). You will get the best results when using a vessel with “walls” – see video.
Best to use: - Ceramic baking cups (but you need to cover the bottom with parchment paper to prevent sticking)
- Stainless steal hamburger bun rings (use them on a regular baking sheet covered with parchment paper)
- Ceramic non-stik muffin pan (you’ll get muffin shaped buns)
- Carbon Steel Hamburger Bun Pan (I think the most convenient and optimal option)
How To Store
I simply slice them in half and place them in a zip lock bag and freeze for up to 3 months.Nutrition
The information shown is an estimate provided by an online nutrition calculator.
More Gluten Free Sourdough Recipes

©HealthyTasteOfLife. Content and photographs are copyright protected and need prior permission to use. Copying and/or pasting full recipes to other websites and any social media is strictly prohibited. Sharing and using the link of this recipe or article is both encouraged and appreciated!


Could this be shaped into a baguette (or several smaller baguettes) as well?
If you have a baguette shaped pan and it’s not too large, I think it could work.
I’ve been on again off again with gf and am happy to find your recipes. Do you have an alternative for cassava flour as it doesn’t agree with me?
You can try tapioca or potato flour, green banana flour, they all have a starchy texture.
Do you follow a certain ratio to activate the starter? (starter:flour:water)
How do you arrive at the amounts you listed?
Look forward to trying this!
Yes, it’s usually 1:1:1 (starter:flour:water), the amount of water could be by 20% less if your starter is on the liquid side.
Thanks for your reply! I am a little confused though… the recipe calls for 215g starter, and 64g brown rice flour and 118ml water to activate it, But according to the ratio you gave (1:1:1), wouldn’t we need to add 215g flour and 215ml water? Yet you only use 64 g flour and 118ml water to activate it.
The volume is the same (1 cup), but the weight is different as different substances have different densities. Even 1 cup of brown rice will not measure the same in grams as 1 cup of wheat flour.
1 cup of water weighs 236 grams.
1 cup of flour weighs 125 grams.
To make it easier, I just use cup measurement instead of grams.
Got it, thank you!