Strawberry Bliss Balls (Nut Free, Paleo)
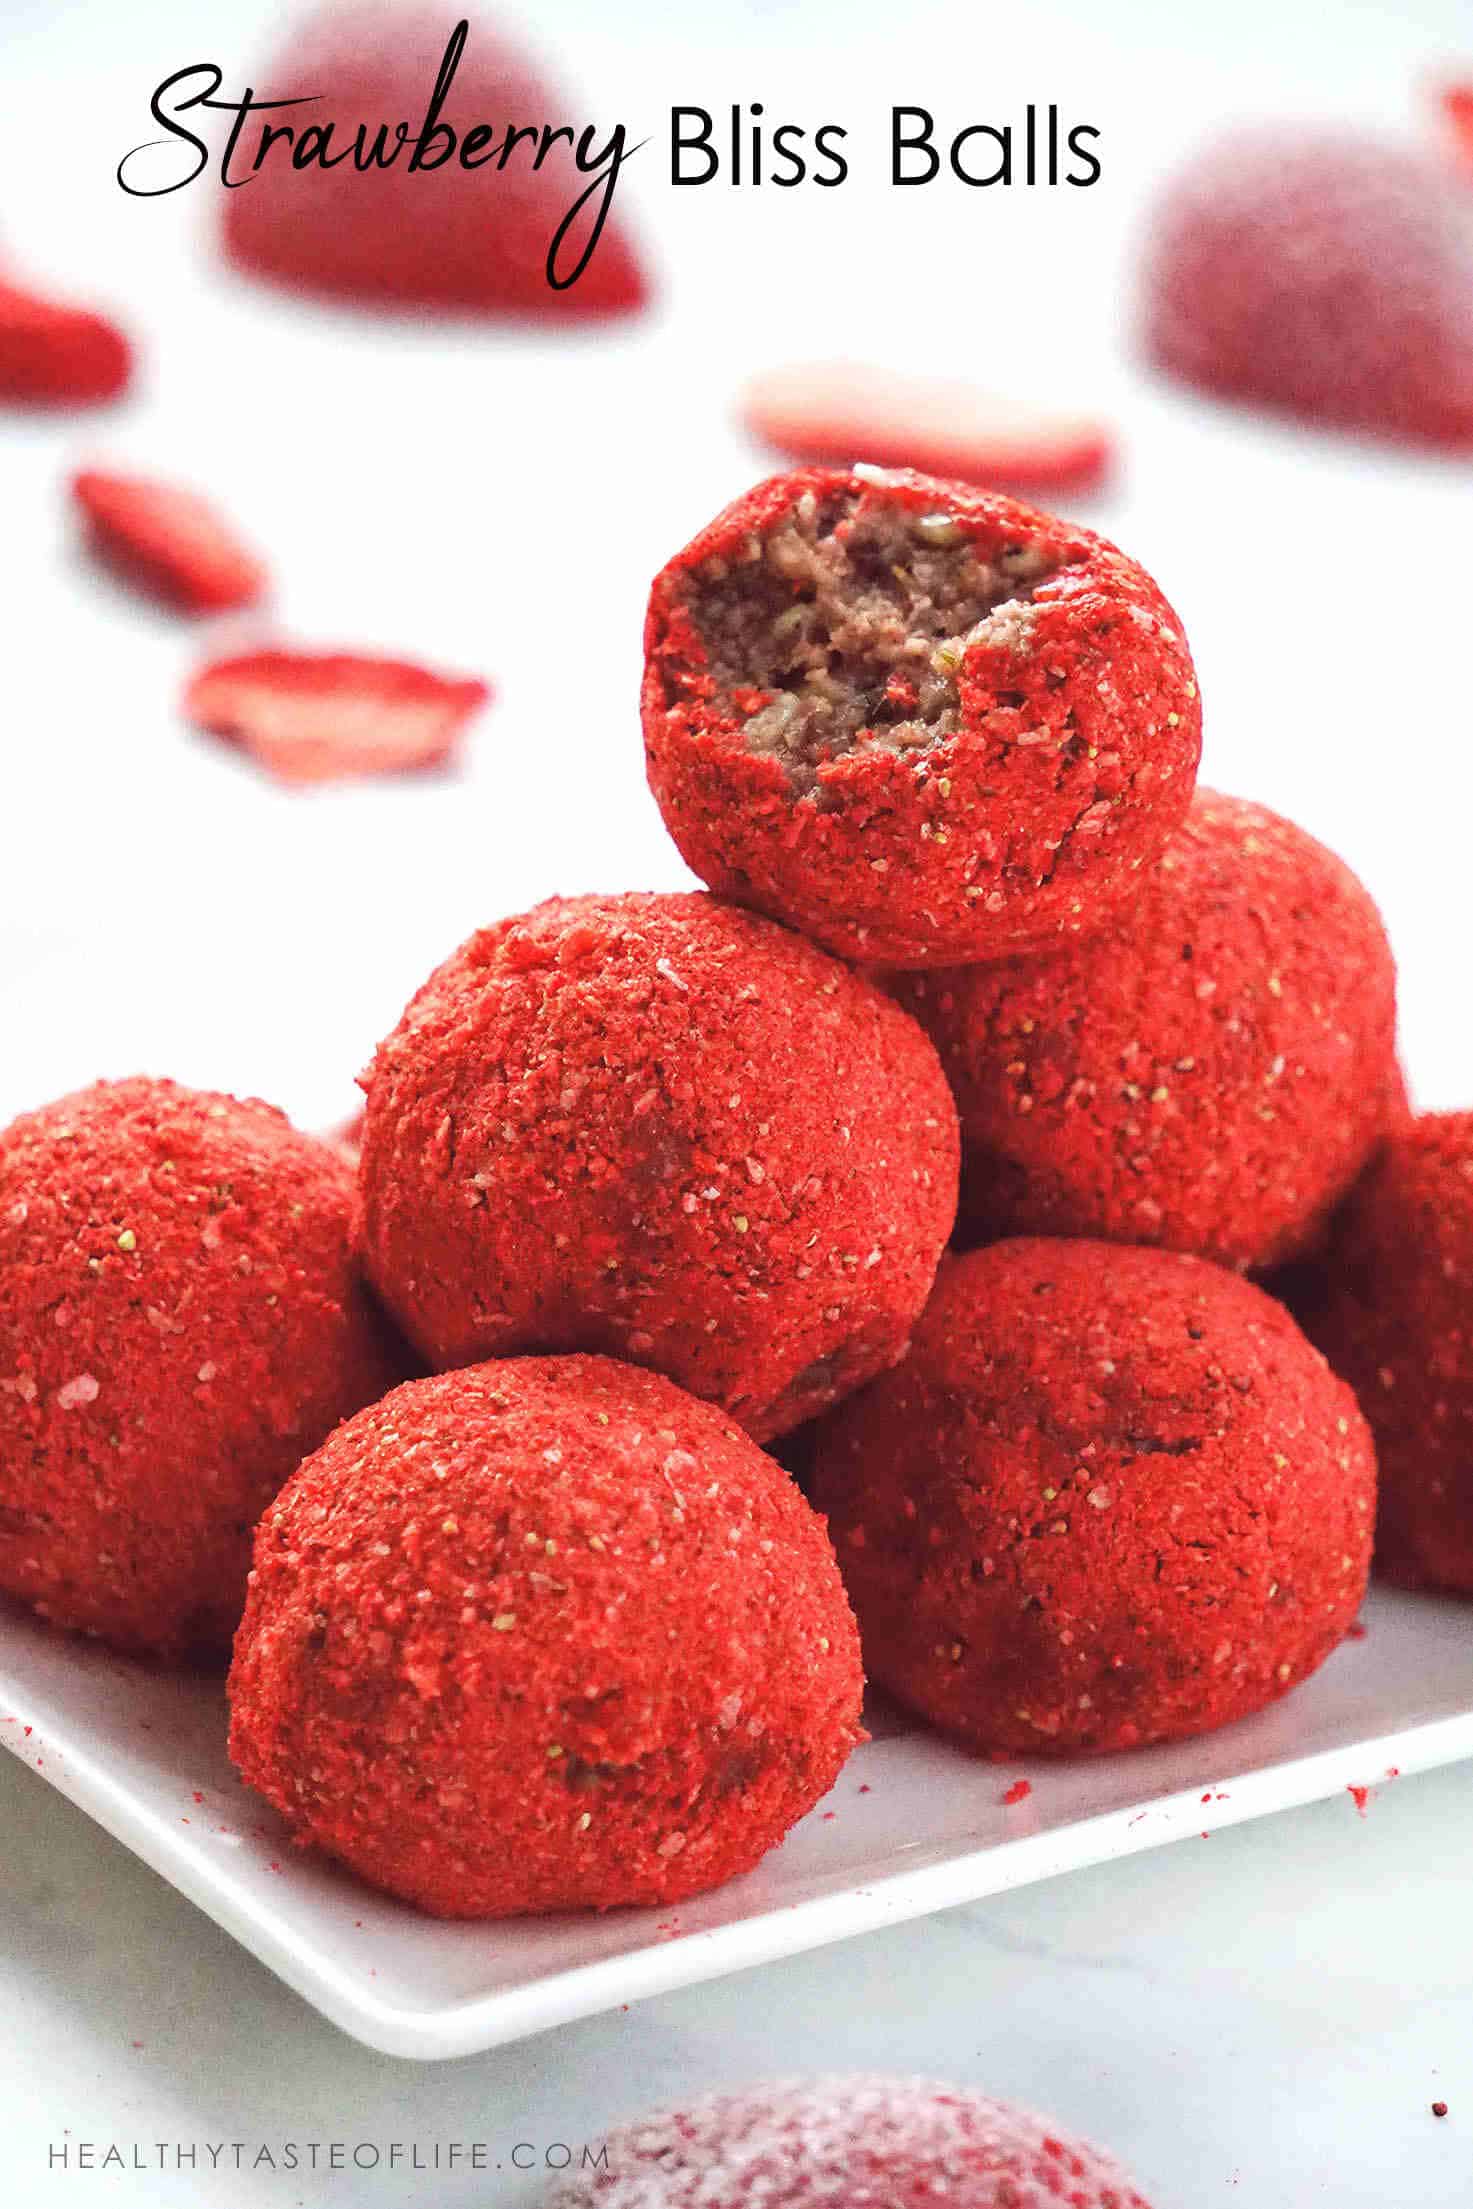
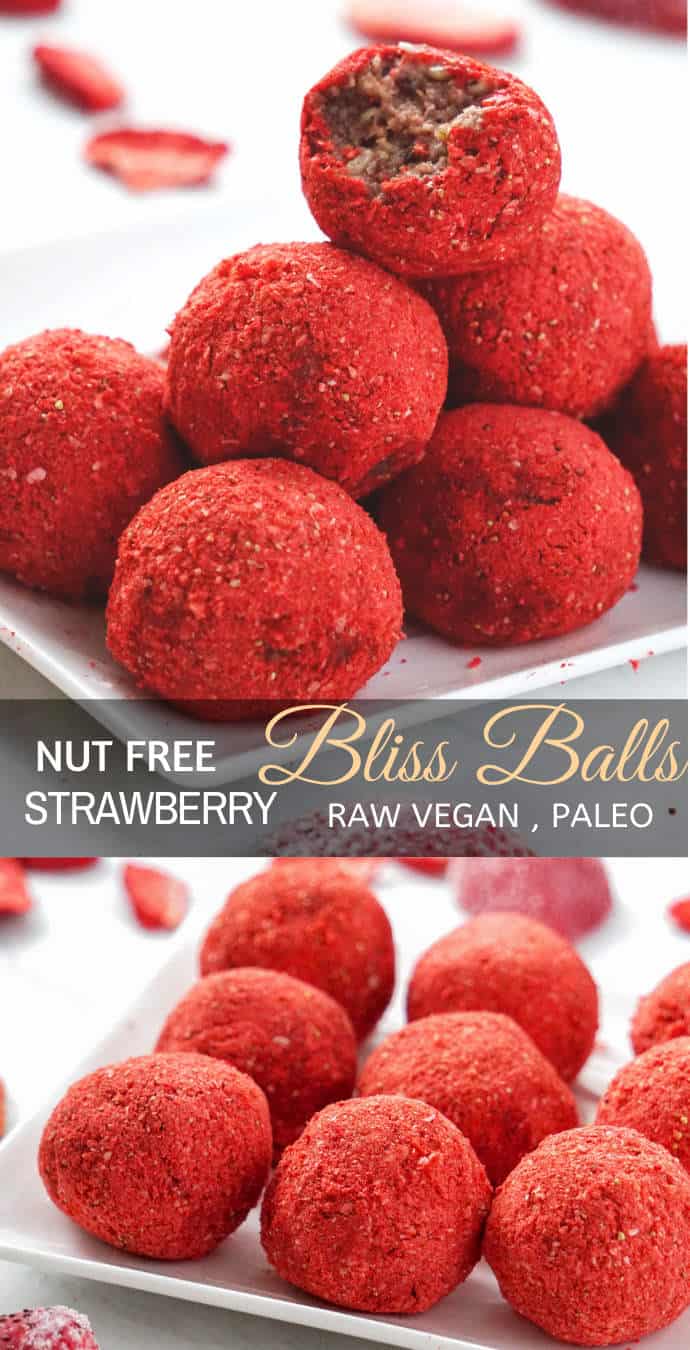
Strawberry Bliss Balls – Nut Free, Vegan & Paleo Friendly Recipe! These strawberry bliss balls are perfect for a healthy snack and lunch boxes – sweet and filling enough to satisfy any craving. Whether you call them strawberry bliss balls, energy balls / bites or protein balls – they are one of the best healthy snacks to have on hand.
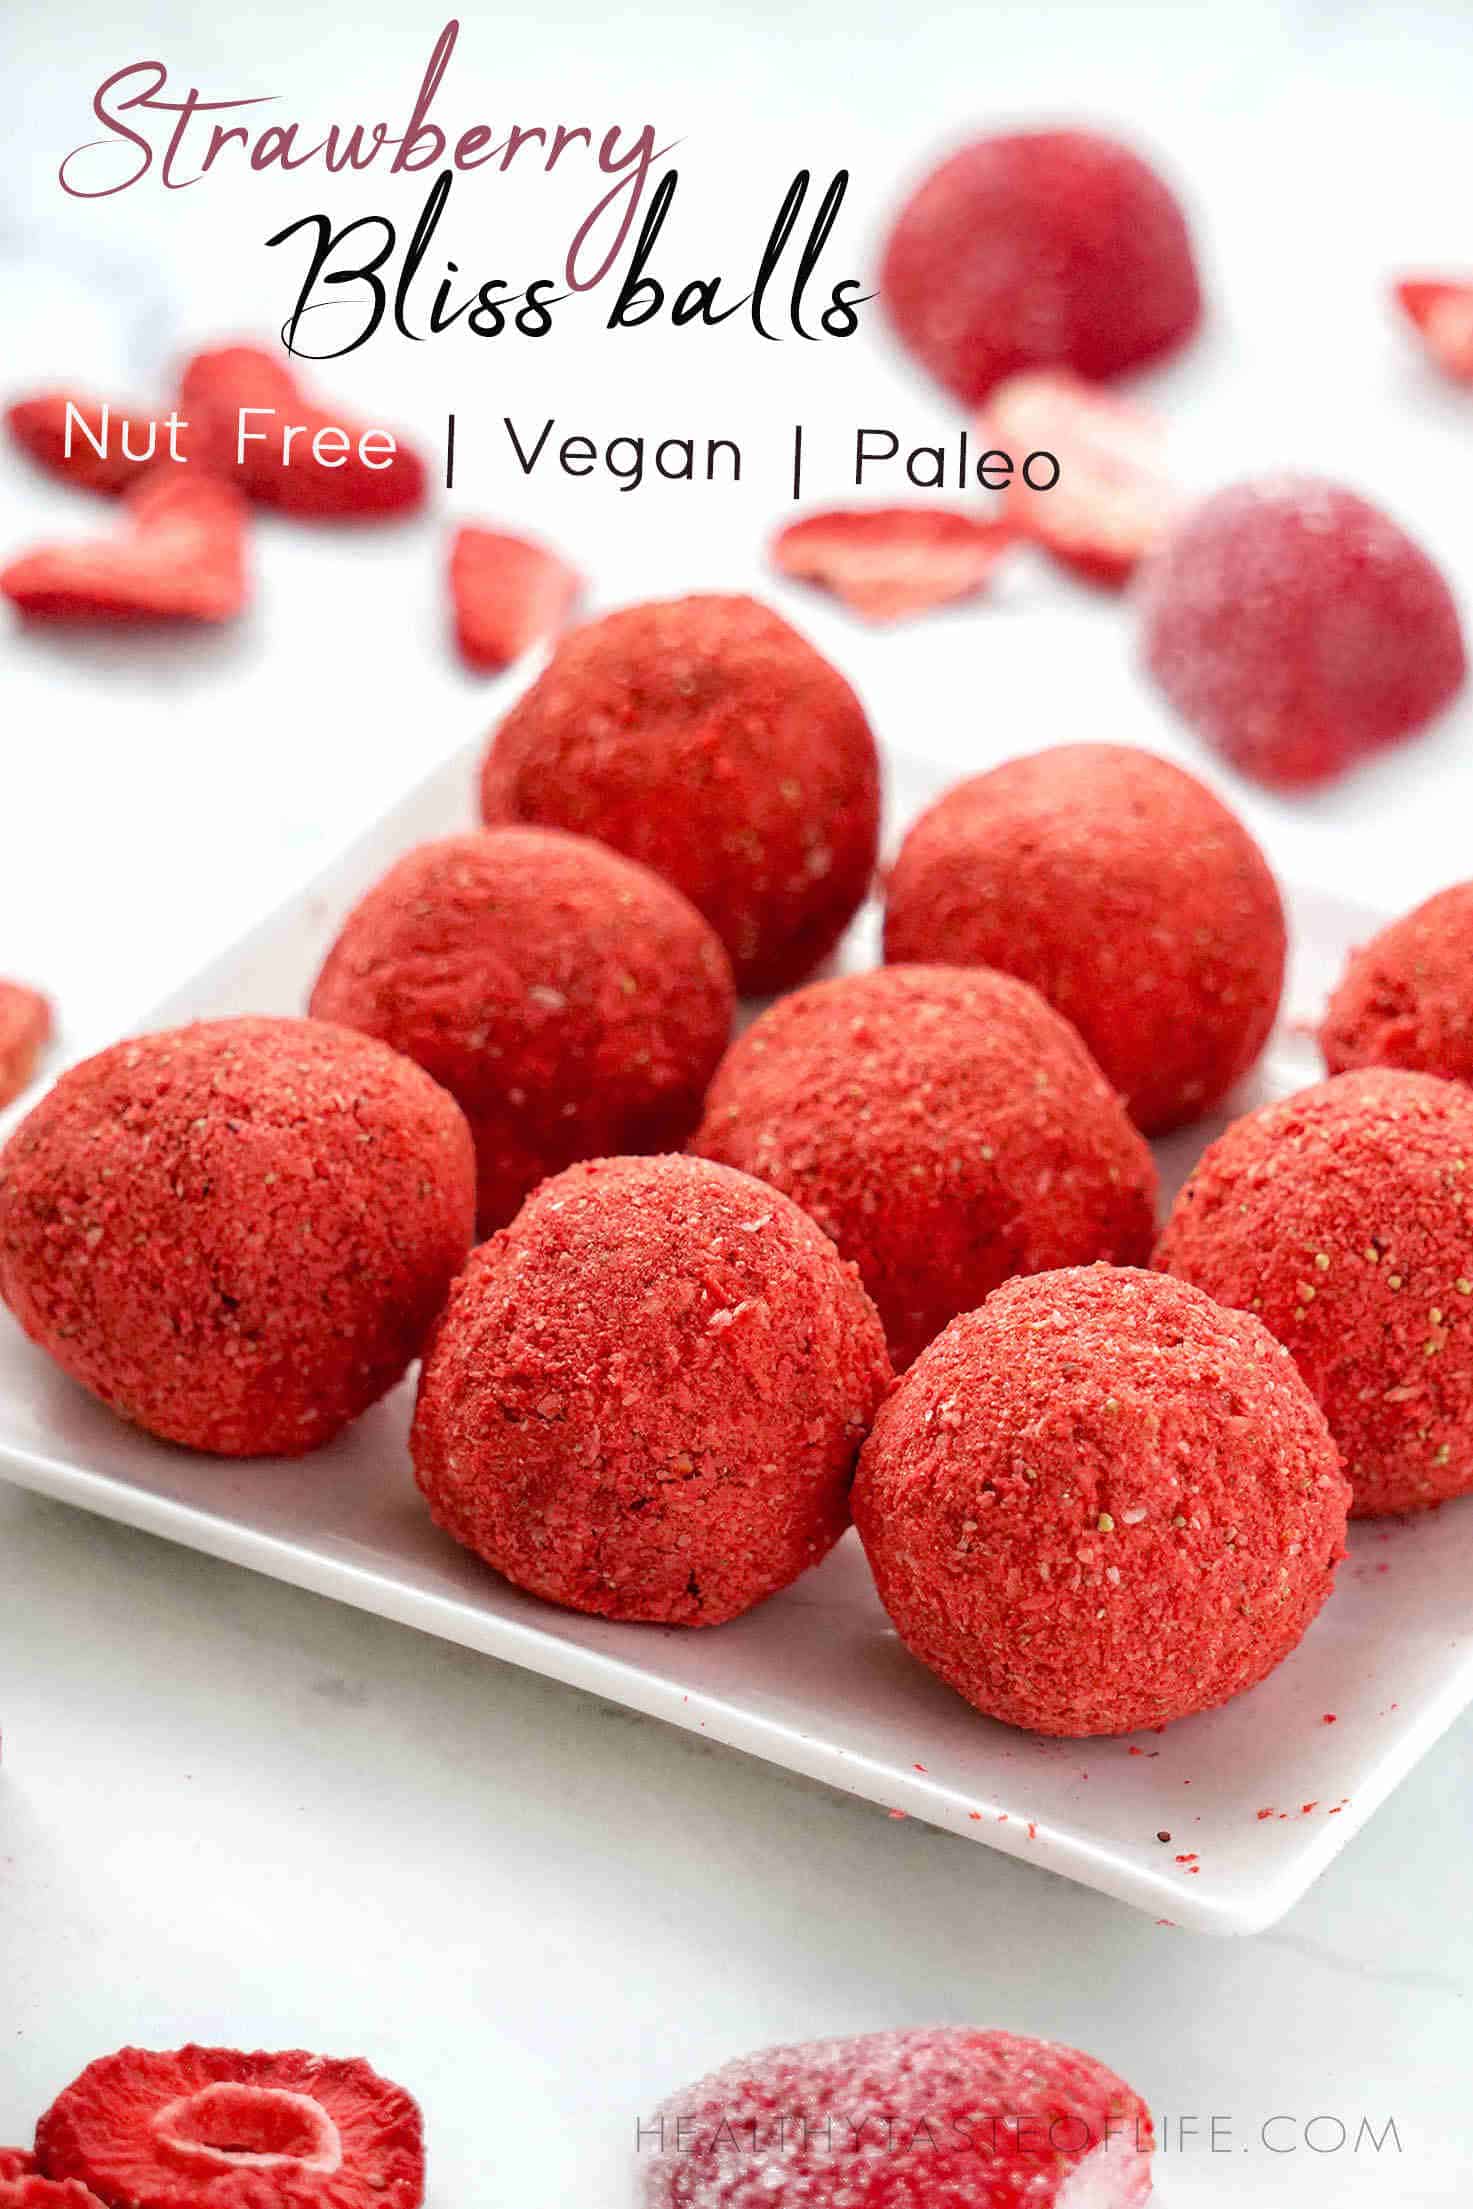
Strawberry Bliss Balls Without Nuts
Looking for a healthy bliss ball recipe? In this post I’ll be showing you how incorporate strawberries into little bliss balls as snack without using nuts or oats. You will want to make these strawberry bliss balls again and again, because they’re healthy little nutrient-dense bites that can satisfy that sweet tooth at the same time!
Why without nuts? Because some people are allergic and can’t tolerate nuts. But if you don’t have a problem with nuts, then you should definitely try these amazing salted caramel bliss balls which are also vegan friendly.
The main ingredients in my little strawberry energy balls are strawberries, medjool dates, tigernuts (nut free alternative) and a mix of seeds. See the details below.
Related: Vegan (GF) Strawberry Heart Cookies
Why Make This Healthy Strawberry Ball Recipe
- Even they’re nut free bliss balls, they have a soft and chewy texture, loaded with strawberry flavor.
- Easy to make and you don’t need to bake them;
- The strawberry energy balls are filled with protein, fiber, good carbs with the perfect amount of sweetness, and no refined sugar – so you can also call them strawberry protein balls;
- The bliss balls are also suitable for vegan, plant-based, paleo diets!
- They are whole and unprocessed, perfect as a healthy snack.
Related: Healthy Wholesome Snacks for Kids & Adults (GF, DF Snacks)
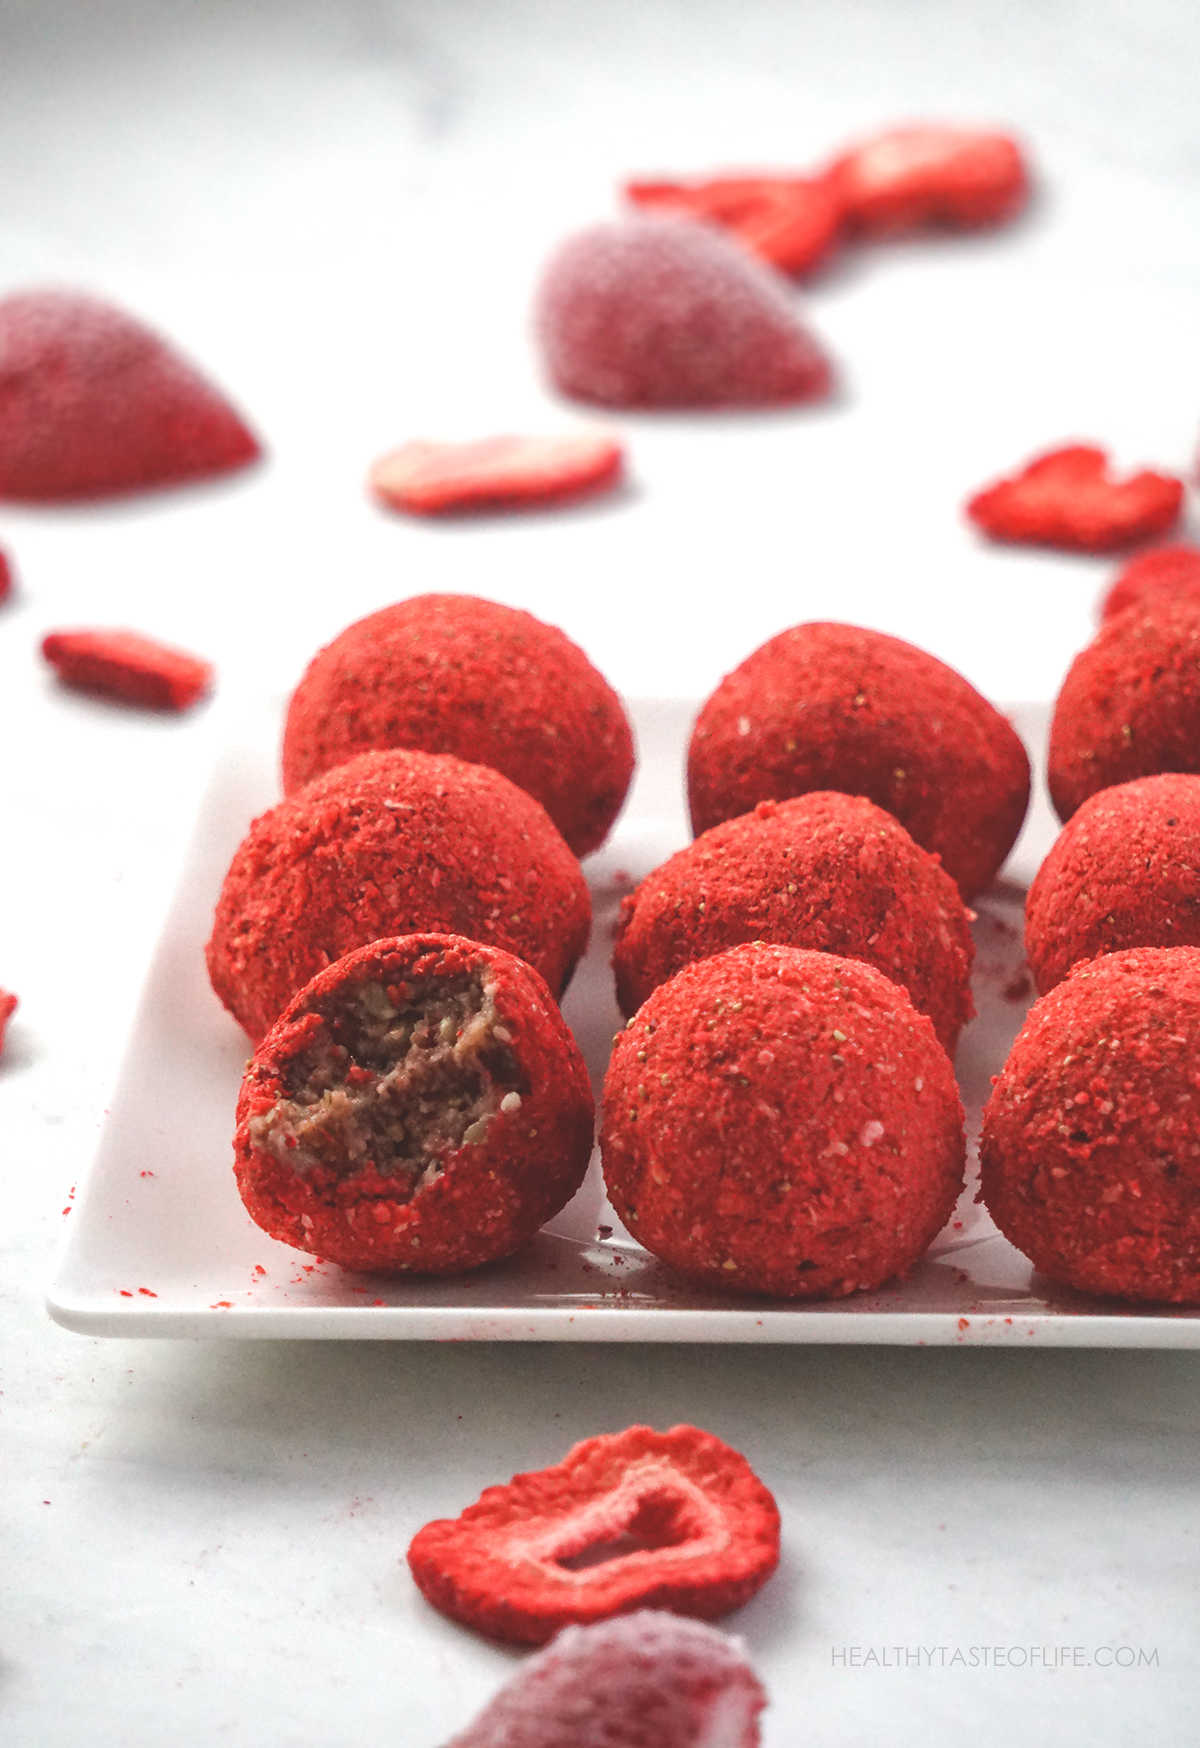
Strawberry Bliss Balls Ingredients
- Dates – are the primary ingredient of these vegan strawberry bliss balls, because of their chewiness and sweetness.
- Strawberries – you can use fresh or frozen, just keep in mind once they thaw they will release some liquid.
- Seeds (sunflower, hemp and flax seeds) – their purpose is to add bulkiness and more nutrients plus to absorb some of the liquid that may squeeze out of the frozen strawberries.
- Tigernuts – I used tigernuts (they are not actually nuts, but rather edible tubers) because they add in the perfect crunch to this otherwise soft energy ball, as well as fiber, vitamins and minerals. You can use sliced tigernut flakes (as they tend to break down easier than whole tigernuts) or use tigernut flour.
- Maple butter (or cream) – It’s basically spreadable maple syrup with a creamy almost peanut butter like texture. Nothing else is added.
- Freeze dried strawberries – freeze-drying is a process that removes 99% of the water within the strawberries while retaining most of the color, flavor, and nutrients. And since they are dry, crushing them will create a perfect vibrant red coating to make healthy bliss balls.
How To Make Healthy Nut Free Strawberry Bliss Balls
Step 1. Prepare the ingredients:
- Gather the ingredients. Soak the dates in warm water for 10 minutes if they look dry.
- Grind the freeze dried strawberries for coating the bliss balls.
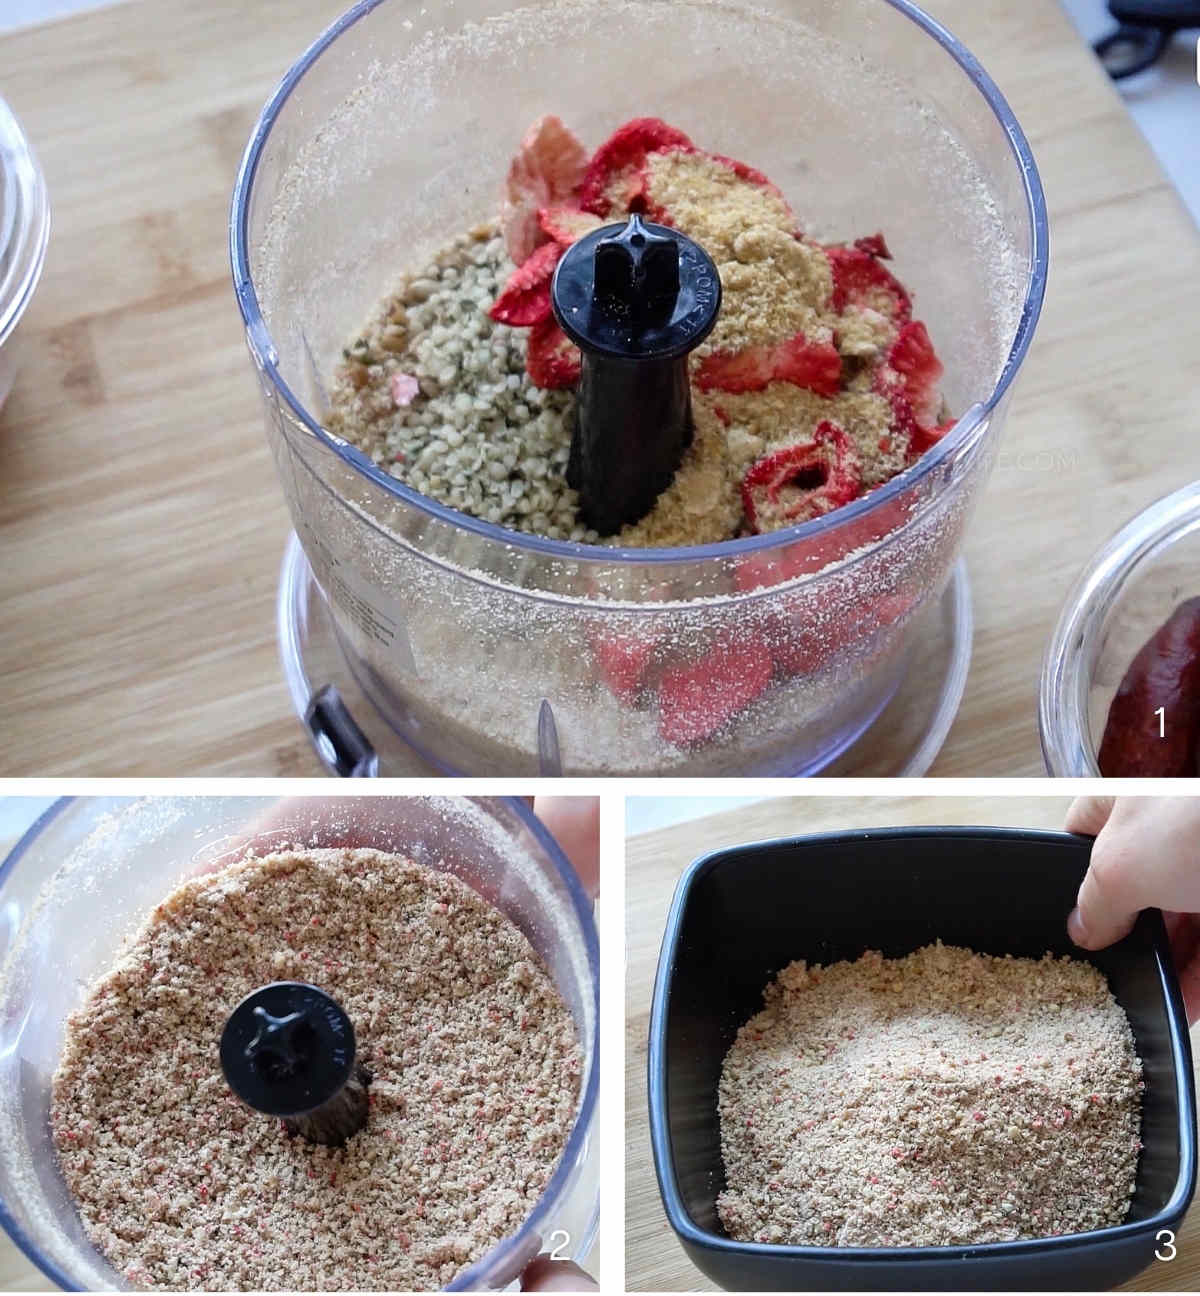
Step 2. Mix the dry ingredients:
- So first you add the dry ingredients that need to be chopped (tigernuts (if you’re using slices), the seeds and the freeze dried strawberries) and at the end you add the mushy ones. You will need food processor not a blender. Use a cheap food processor with glass bowl – if you’re trying to stay away from plastic. You need it to break everything in small pieces but without making a gooey mush.
- Once the dry ingredients look like a coarse flour, transfer the mixture in another bowl.
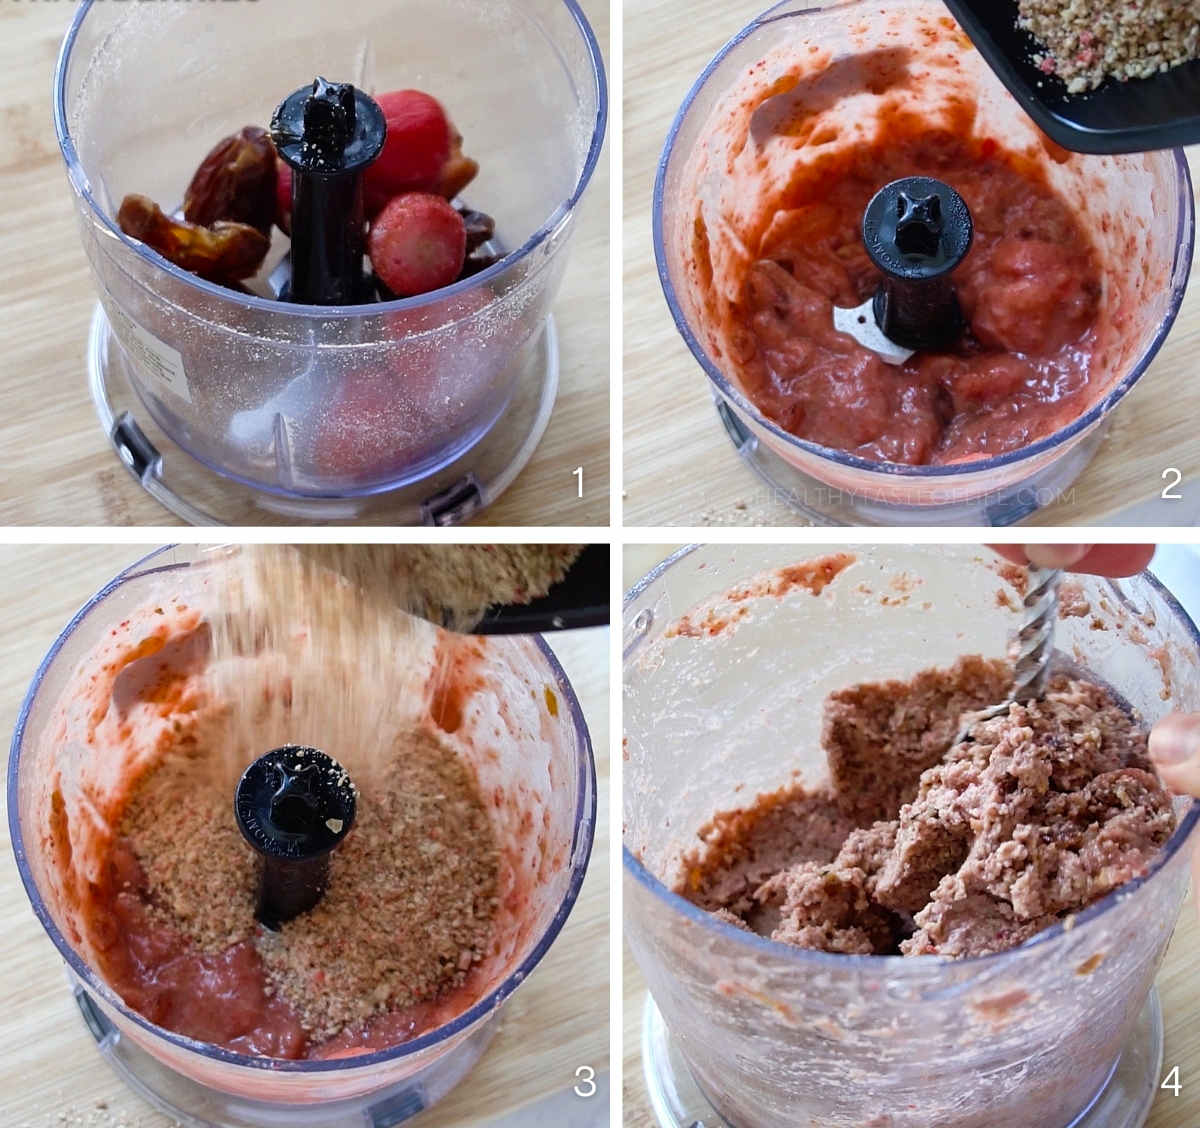
Step 3. Add the wet ingredients:
- Add the soft dates, maple butter (or syrup), fresh or frozen strawberries (let them thaw for 10 minutes before adding).
- Mix for a few minutes until it looks like a paste.
- Add on top the dry mixture and pulse again.
- You’ll know the mixture is ready when it moves past the crumbly stage and begins to clump to the sides of the food processor. Use a spatula to scrap the walls if needed.
Step 4. Form the bliss balls and chill:
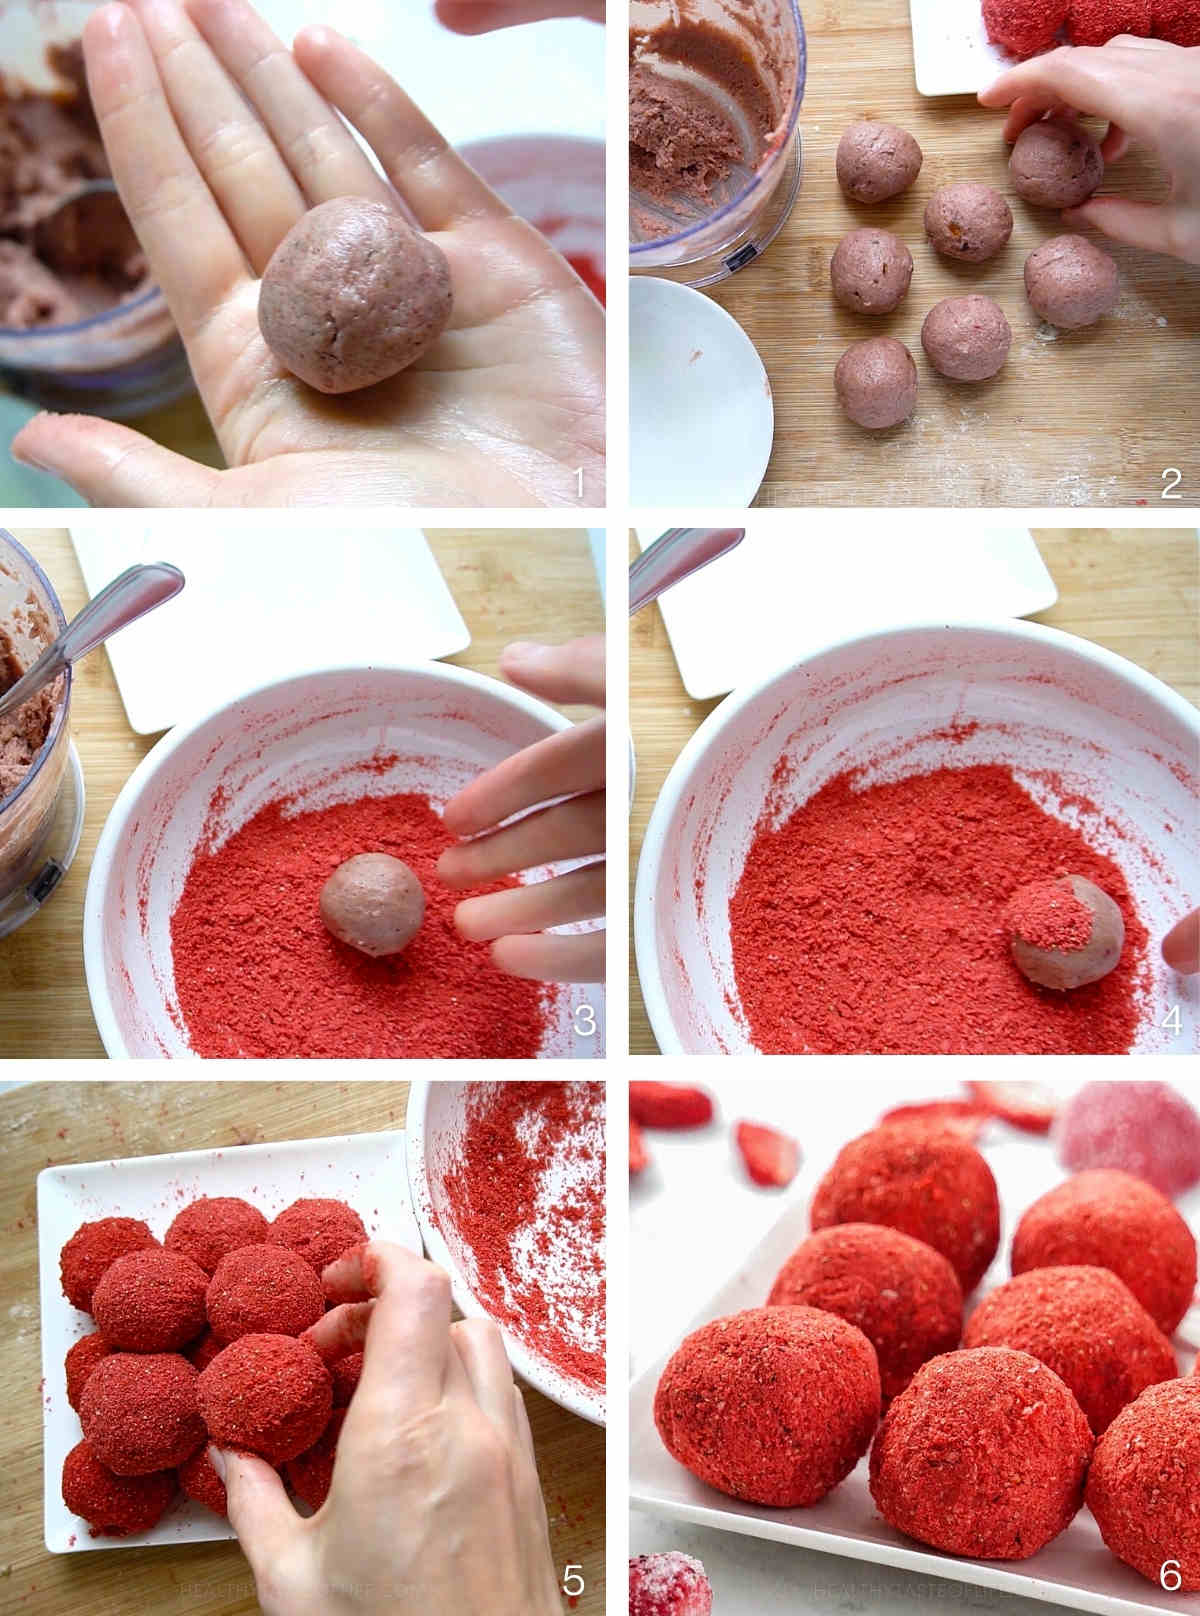
- Then form the bliss balls by hand. Roll tablespoonfuls of the mixture into snack-sized balls.
- Tip: I prefer to chill these healthy bliss balls in the fridge for at least an hour before rolling them in freeze dried strawberries (powder), it makes them much easier to handle.
Step 5. Coat the bliss balls:
- Make strawberry powder from freeze dried strawberries by using a coffee grinder.
- Then pour the crushed strawberries onto a plate or flat surface and roll the balls in the powder to coat.
- Return them to a prepared tray and refrigerate for 30 minutes.
- Serve the strawberry bliss balls straight from the fridge or store them in an airtight container in the refrigerator for up to 5 days. Enjoy!
Video: How To Make Strawberry Bliss Balls
These healthy bliss balls can easily be made in a Thermomix as well. Just follow the Thermomix’s instructions and ensure to scrape down the sides occasionally when mixing, the mixture will be very sticky.
Make The Healthy Strawberry Balls In Advance
You can make a batch or two on the weekend for a healthy snack all week. Making these healthy bliss balls in advance will prevent you from snacking a less healthier snack when the craving hits!
The best part, you can easily pack the nut free bliss balls in your kid’s lunchbox, for a trip, or for work, just throw a couple strawberry bliss balls in a snack bag and head out the door.
These Healthy Bliss Balls Are Great For Kids Too
Needless to say, I’ve been packing these strawberry balls in my daughter’s preschool lunchbox (it’s a peanut free school). And I’m happy that she has something nutritious to snack on during the day.
She’s a little sensitive to nuts as well, so I decided to make nut free bliss balls specially for her! The bright red color is what makes the kids eat them too!
How Long Do these Strawberry Bliss Balls Last?
Depending on the storage method is chosen, these strawberry protein balls can last between 5-7 days and up to 2-3 months. They can last up to 7 days in a sealed container, in the fridge. If kept in the freezer – up to 3 months.
To freeze, place the strawberry bliss balls side by side, flat. After the strawberry energy balls are frozen, then place them in multiple layers in whatever container you want.
To thaw, refrigerate overnight.
More Healthy Snack Ideas
More Sweet Strawberry Recipes
- Healthy Strawberry Muffins
- Strawberry Milkshake
- Strawberry Heart Cookies
- Strawberry Crepe Cake
- Strawberry Crumble/Crisp
Enjoy this nut free strawberry bliss balls recipe whenever you have a sweet craving and leave me a comment if you make it, I would love to hear your thoughts!
Healthy Strawberry Bliss Balls (Nut Free, Vegan, Paleo)
Ingredients
- 7 large medjool dates, - pitted
- 6 large strawberries - frozen or fresh
- ⅓ cup strawberry slices - freeze dried
- ¾ cup whole tigernuts - (or tigernut flour – 1 cup)
- ¼ cup sunflower seeds - raw or slightly toasted
- 2 tbsp hemp seeds - raw
- 1 tbsp flax seeds - ground
- 1 tsp maple butter - maple sugar, or maple syrup
- ¾ cup freeze dried strawberries (powder) - for coating
Instructions
Step 1. Prepare the ingredients:
- Gather the ingredients. Soak the dates in warm water for 10 minutes if they look dry.Grind the freeze dried strawberries for coating the bliss balls.
Step 2. Mix the dry ingredients:
- So first you add the dry ingredients that need to be chopped (tigernuts (if you’re using slices), the seeds and the freeze dried strawberries) and at the end you add the mushy ones. You will need food processor not a blender. Use a cheap food processor with glass bowl – if you’re trying to stay away from plastic. You need it to break everything in small pieces but without making a gooey mush.
- Once the dry ingredients look like a coarse flour, transfer the mixture in another bowl.
Step 3. Add the wet ingredients:
- Add the soft dates, maple butter (or syrup), fresh or frozen strawberries (let them thaw for 10 minutes before adding).
- Mix for a few minutes until it looks like a paste. Add on top the dry mixture and pulse again.
- You’ll know the mixture is ready when it moves past the crumbly stage and begins to clump to the sides of the food processor. Use a spatula to scrap the walls if needed.
Step 4. Form the bliss balls and chill:
- Then form the bliss balls by hand. Roll tablespoonfuls of the mixture into snack-sized balls.
- Tip: I prefer to chill these healthy bliss balls in the fridge for at least an hour before rolling them in freeze dried strawberries (powder), it makes them much easier to handle.
Step 5. Coat the bliss balls:
- Make strawberry powder from freeze dried strawberries by using a coffee grinder.
- Then pour the crushed strawberries onto a plate or flat surface and roll the balls in the powder to coat.
- Return them to a prepared tray and refrigerate for 30 minutes.
- Serve the strawberry bliss balls straight from the fridge or store them in an airtight container in the refrigerator for up to 5 days. Enjoy!
Video
Notes
Tips For Perfect Strawberry Bliss Balls
- You can check if the bliss ball dough is ready by taking a little of the mix in to your hand and squeezing it. If it holds together then it’s ready, if not, then add a little bit of liquid (water, oil, or sweetener). If it’s too sticky, add more ground flax seeds or tigernut flour.
- For making these strawberry coated bliss balls you will need a little bit less than 1 bag (1.2 oz) of freeze dried strawberries.
- Leftover strawberry bliss balls can be refrigerated for up to 1 week or frozen for up to 3 months. Let thaw in the refrigerator or overnight.
Nutrition
The information shown is an estimate provided by an online nutrition calculator.
©HealthyTasteOfLife. Content and photographs are copyright protected and need prior permission to use. Copying and/or pasting full recipes to other websites and any social media is strictly prohibited. Sharing and using the link of this recipe is both encouraged and appreciated!

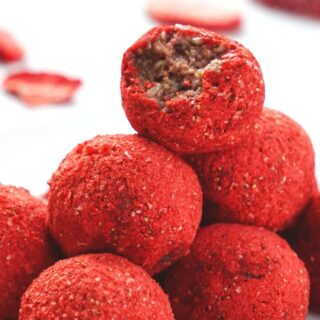

I love the idea of coating these bliss balls with freeze dried fruit’ they look so pretty and yummy too!
Thanks for sharing!
My pleasure! Enjoy!