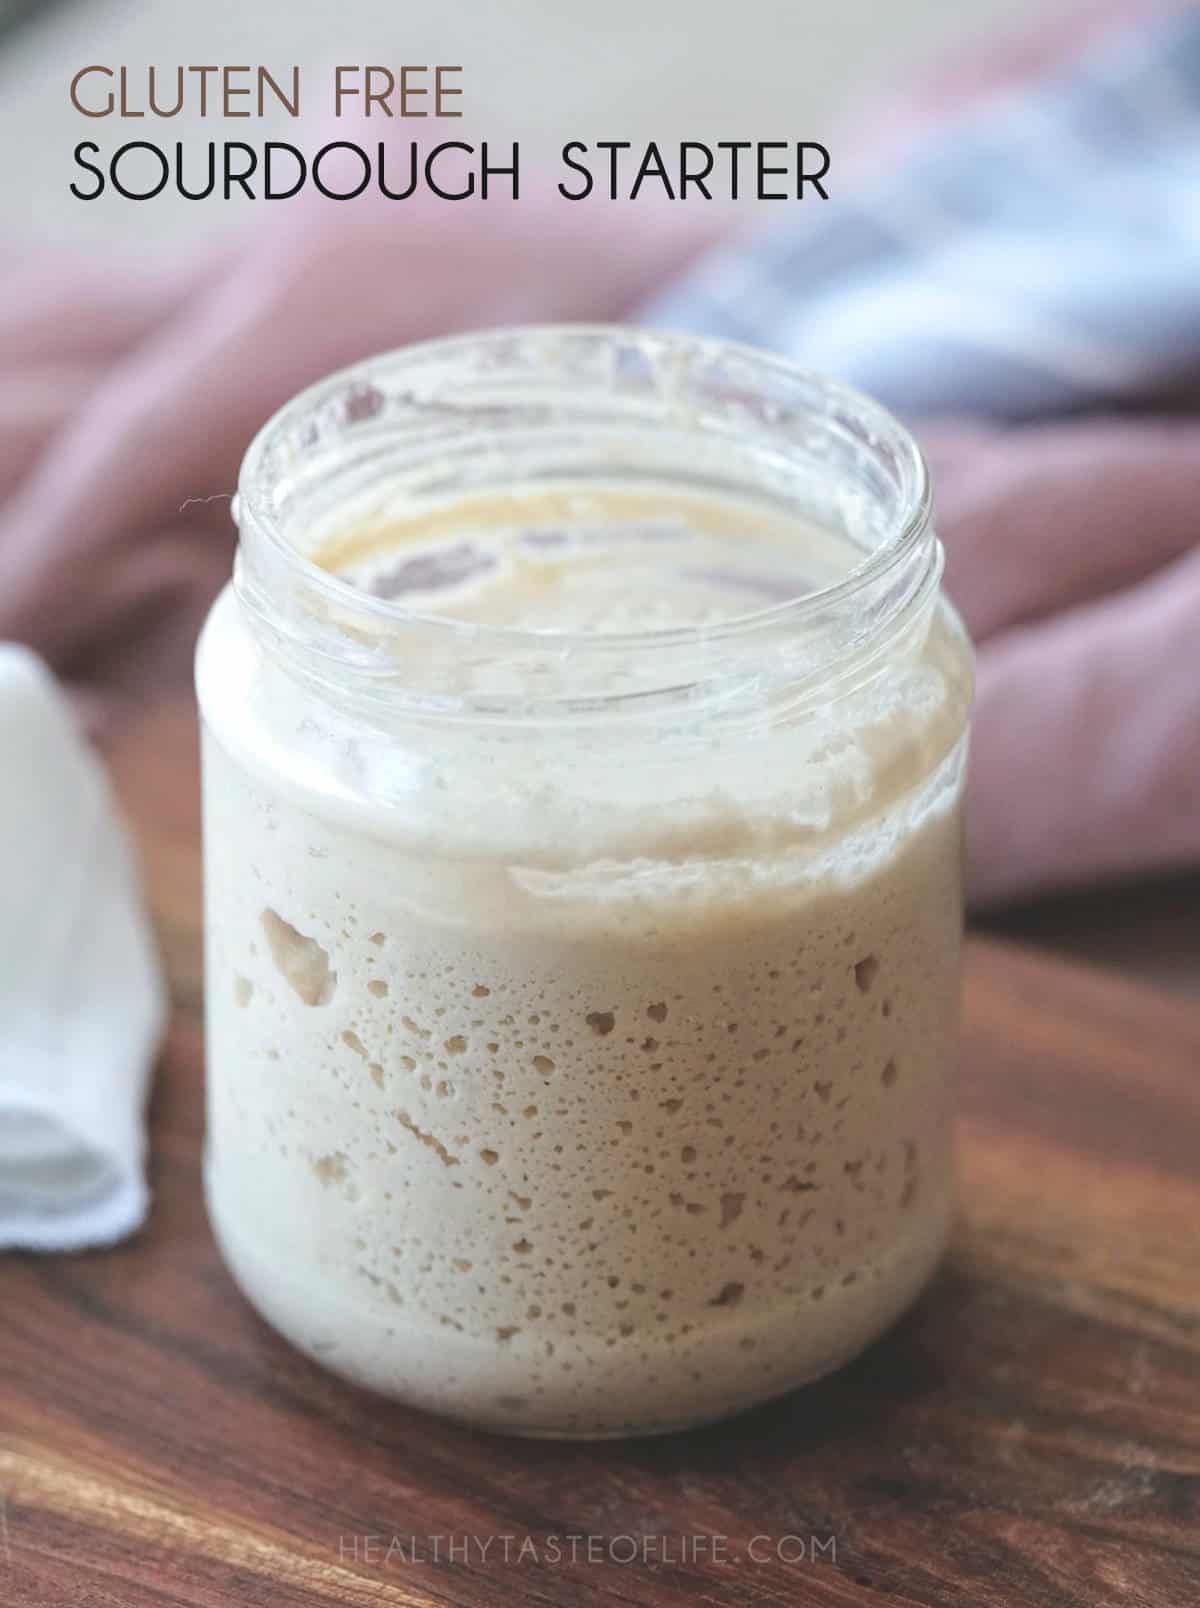
Gluten Free Sourdough Starter (Brown Rice, 1:1:1 Guide)

If your gluten free sourdough starter is not bubbling, not rising, or keeps forming hooch (that liquid on top), this guide walks you through a foolproof gluten free sourdough starter recipe using brown rice flour and a gluten free culture, plus exactly how to fix the common issues. You’ll get a day-by-day plan, the simple feeding ratio (by volume & by-weight option), the best temperature to keep it, and a quick checklist for when your gluten free starter is ready for baking a perfect gluten free sourdough bread.
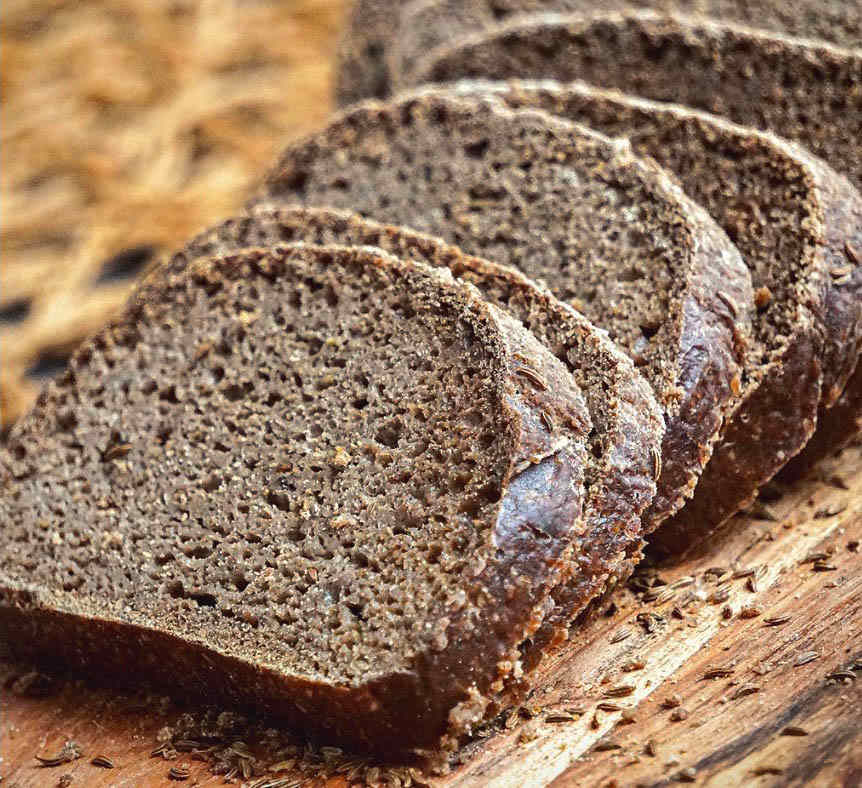
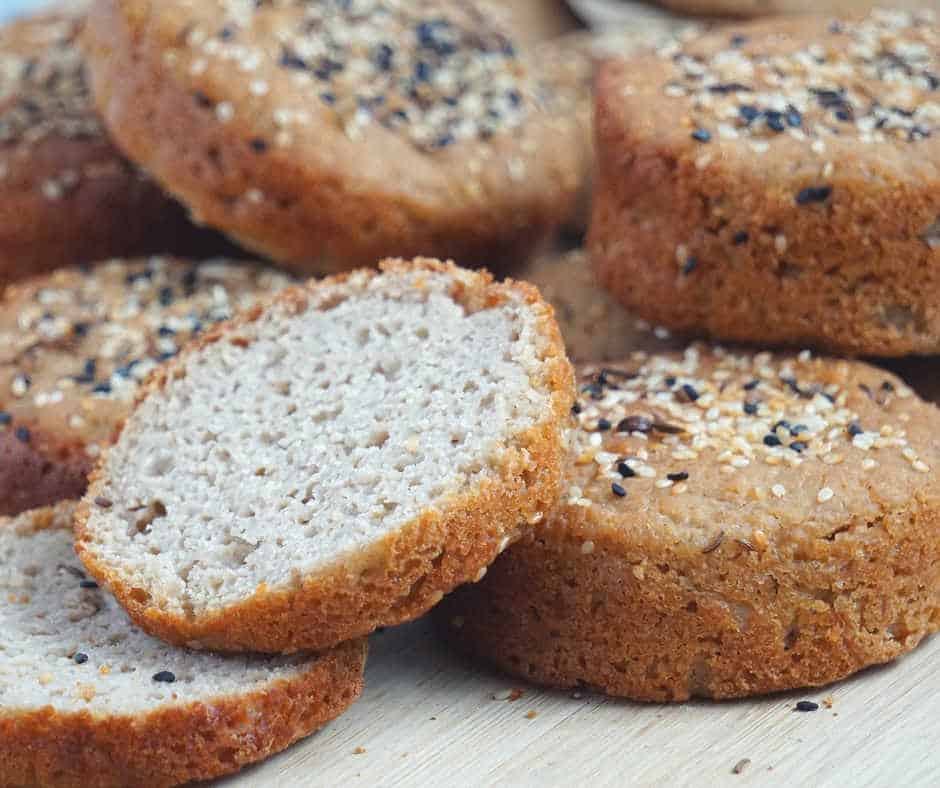
I’ll show you which gluten free flours work best for starters, how to revive a runny or watery starter, what to do if it’s bubbly but doesn’t rise or when it smells like alcohol or cheese, how often to feed and discard, and long-term storage options. There’s a step-by-step video, a printable recipe card, an at-a-glance troubleshooting table, and an FAQ so you could use it easily in recipes like: GF Sourdough Buns, Gluten Free Sourdough Pumpernickel Bread, Gluten Free Sourdough English Muffins, Crackers, Pancakes or Tortillas.
Quick Start For A Gluten Free Starter
- Feed ratio (by volume): 1 part starter : 1 part brown rice flour : 1 part water. Aim for pancake-batter consistency.
- Temperature: keep the jar somewhere warm, ideally 75–80°F (24–27°C). Warmer = faster; cooler = slower.
- Jar headspace: use a tall jar (2 qt) so it can double or triple without overflowing.
- When to feed: early days every 12–24h; once active, feed when it rises then just begins to fall.
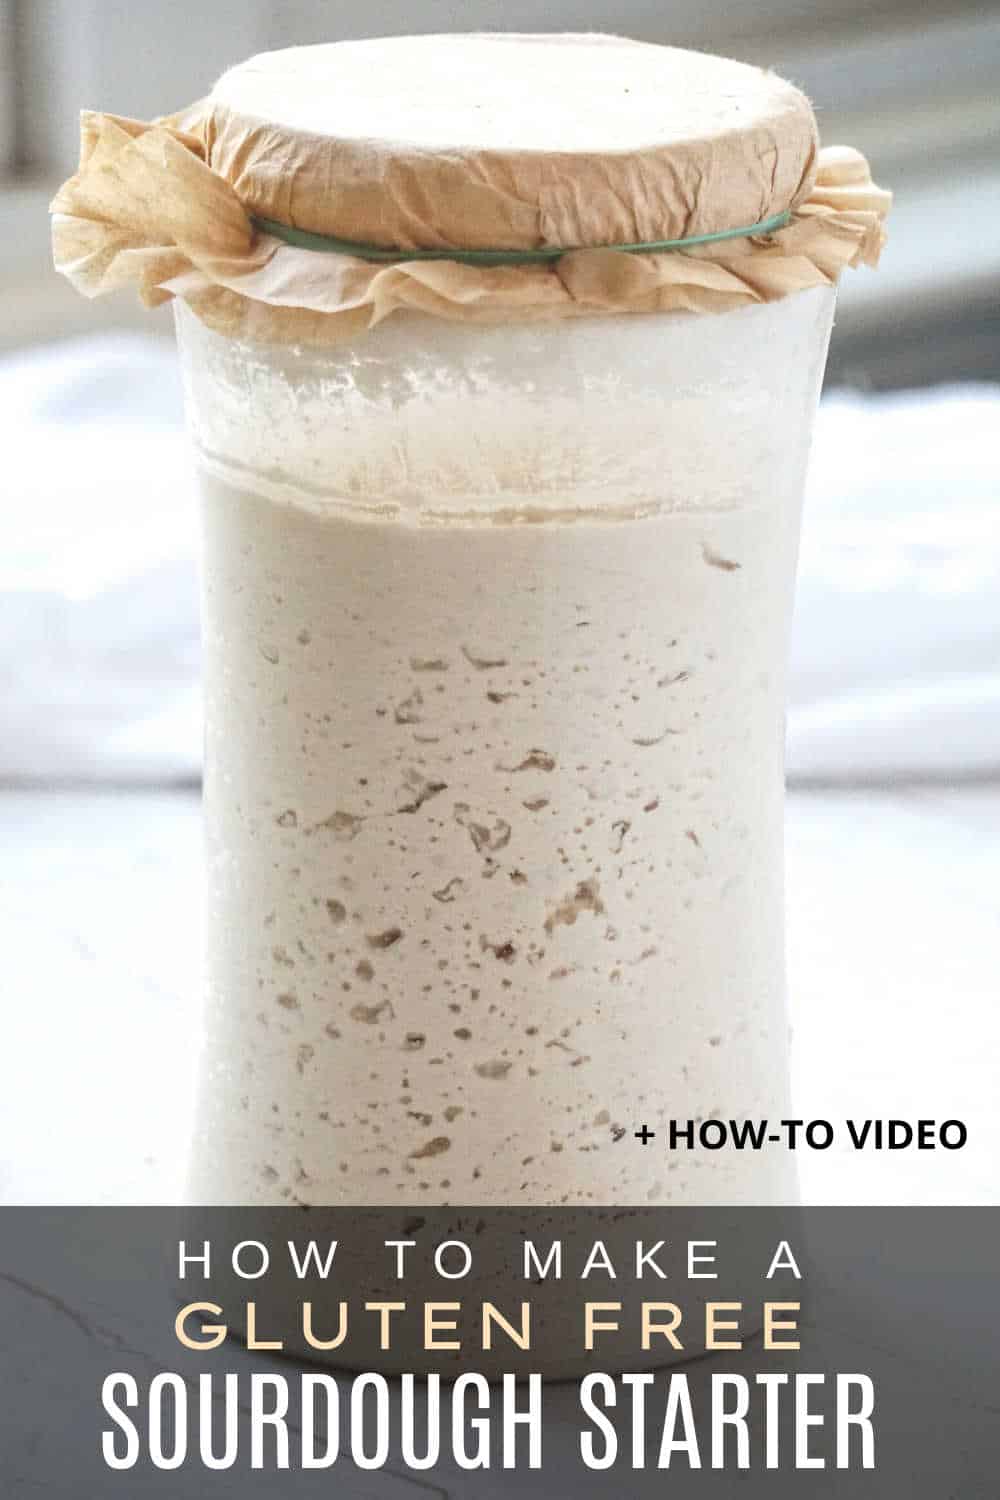
Video: How to Make a Gluten Free Brown Rice Sourdough Starter (1:1:1 Feed + Hooch Fix)
Friendly note for celiac readers: always use certified gluten-free flours (oats must be certified GF if used), and remember wheat sourdough isn’t gluten-free, even when long-fermented.
See all measurements in the recipe card:
Ways to Make a Gluten Free Sourdough Starter
Back in 2016 I wanted a clean-ingredient GF loaf that didn’t rely on gums or starch blends so I’ve tested the three common paths to a gluten-free sourdough starter:
- build it from scratch with whole-grain GF flour and water,
- jump-start it with a natural helper like fruit, cabbage leaves, water kefir, or sauerkraut juice, or
- use a gluten-free starter culture (which is basically an established starter, packed in a dehydrated form, made from brown rice).
I choose option 3 because it’s reliable and saves time and ingredients. I first used it in 2016 and baked with that starter for months (I only replaced it after a fridge spill, not a baking issue).
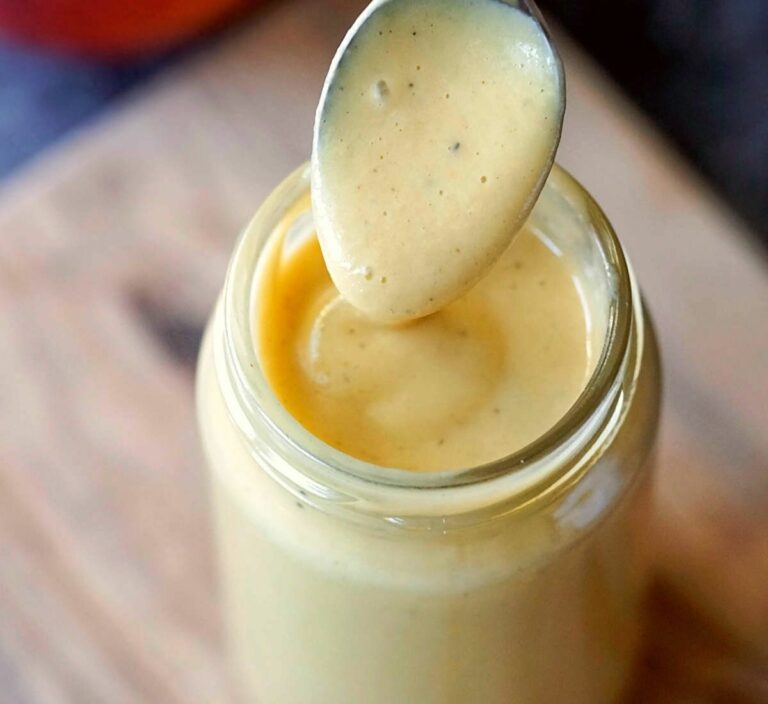
My method is simple: activate the dehydrated culture with brown rice flour and filtered water, keep it warm, and feed at a 1:1:1 ratio until it’s rising and falling on schedule. Alaways making sure it has a “pancake-batter” consistency. I used this starter for all gluten free sourdough recipes published in my cookbook.
If you love the DIY adventure, try #1; if you already brew kefir or have sauerkraut juice, #2 can work beautifully; but if you want the lowest-stress, foolproof route, the culture-based start is the one I recommend.
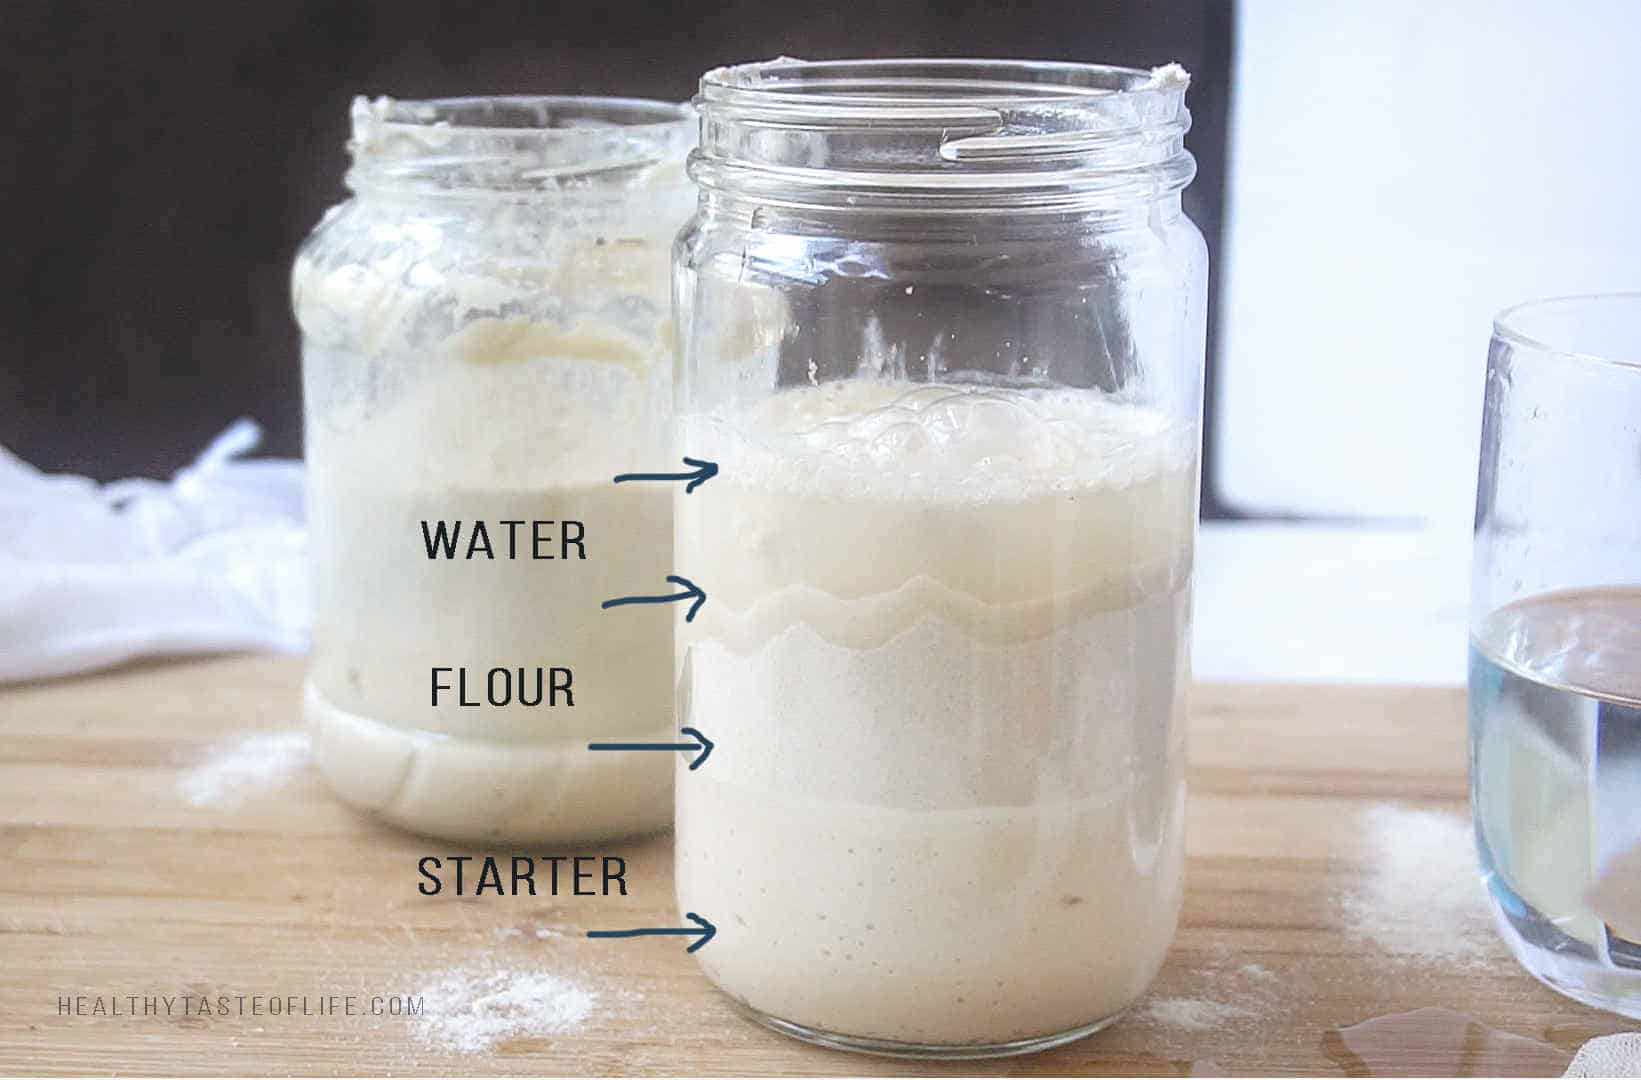
Sourdough Starter Feeding Ratio (By Volume & Weight)
- By volume (my method): 1:1:1 starter:flour:water.
- By weight: 1:1:1 at 100% hydration (e.g., 50 g starter + 50 g flour + 50 g water).
- Texture target: thick but stirrable, like pancake batter. If too runny, add a spoon of flour; if too thick, add a splash of water.
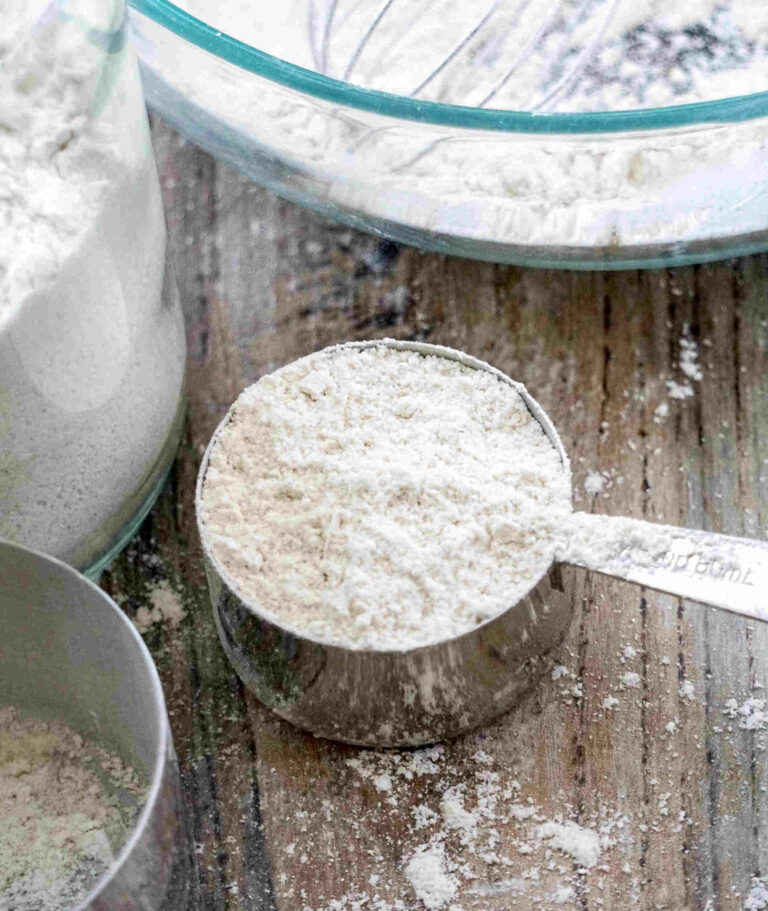
Note: Flour Choice
Use whole-grain GF flours to build your starter: brown rice is my go-to, but sorghum, buckwheat, or teff work too. For steady results, stick to one flour during the build; switching mid-way can slow or stall activity. Once the starter is mature and predictable, you can blend flours or transition to a different feed gradually.
Brown Rice Flour Starter (Why It Works)
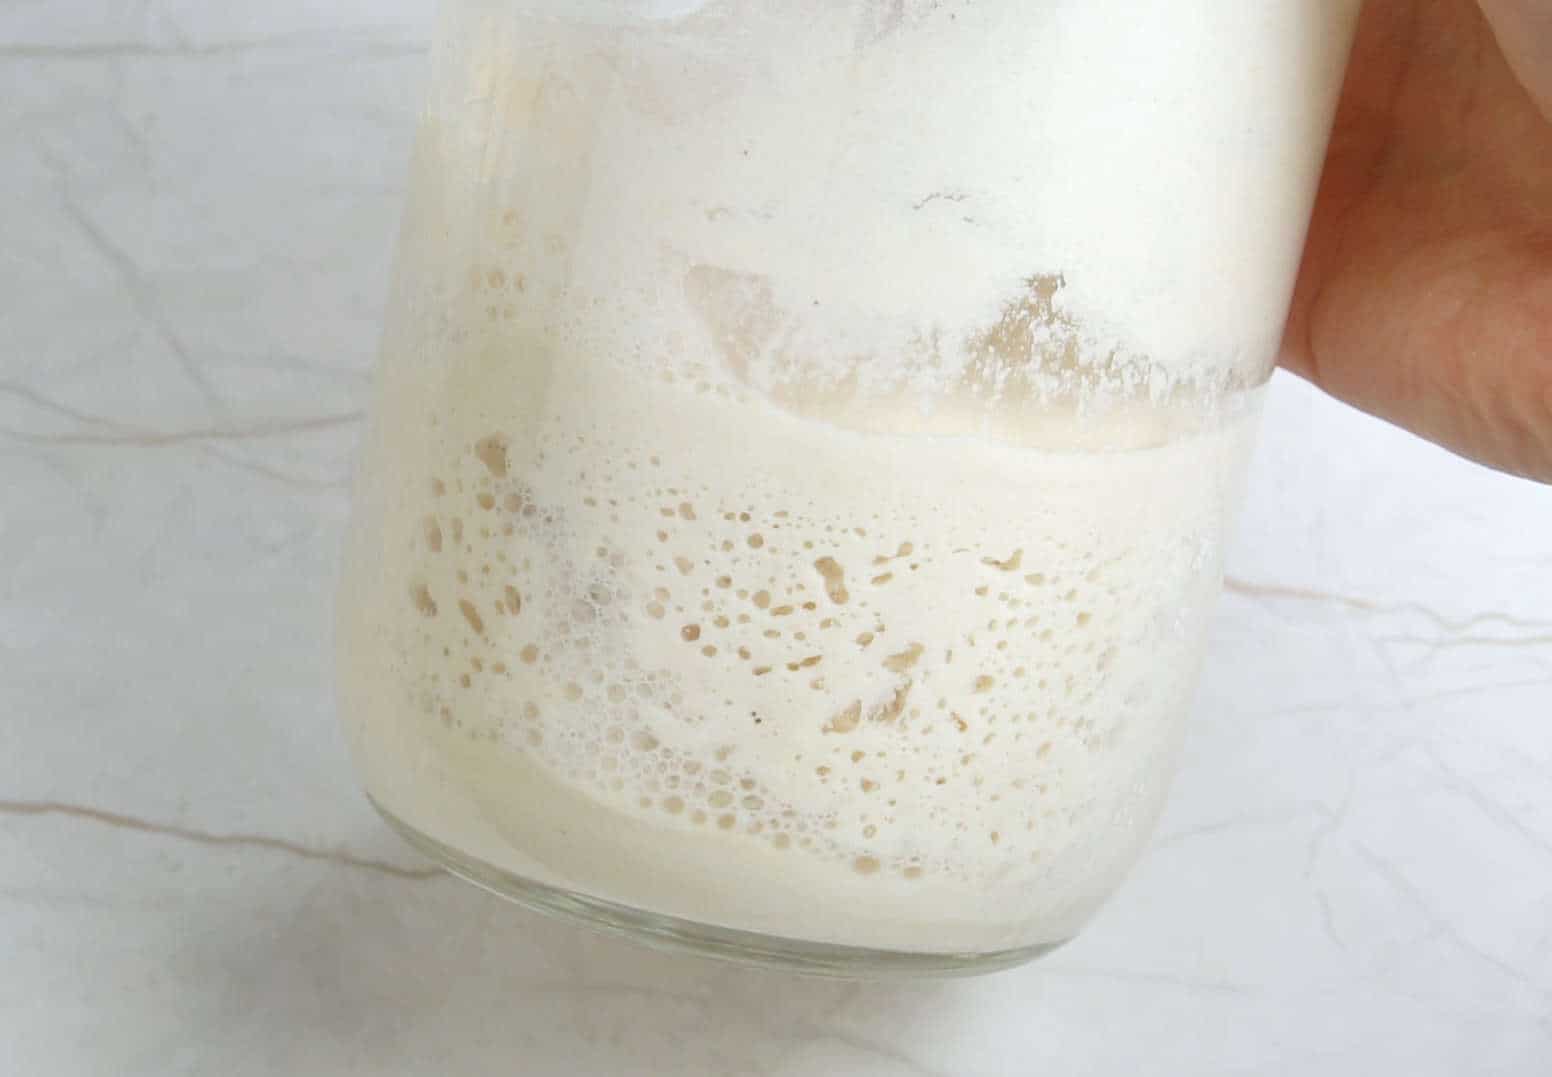
I start with brown rice flour because it ferments predictably, has a fine, gentle starch that’s easy for the microbes to digest, and makes activity easy to read, you’ll see a clear rise line and a domed top as it strengthens. It’s whole-grain (more nutrients for a robust culture), mild in flavor, and widely available as certified gluten-free. Once your starter is mature and consistent, you can keep feeding brown rice or slowly transition to sorghum, buckwheat, or a blend, you just change one thing at a time.
The Method
Equipment Needed
Use a tall jar or bowl with room to triple (I like two 64-oz Mason jars, one for starter, one for discard, non-hinged lid). Cover with cheesecloth + rubber band so it can breathe, stir with a spatula (scrape the sides clean), drape a kitchen towel to block bright light, and keep measuring cups handy for flour and water.
Or get a all-in-one Gluten Free Sourdough Starter Jar Kit + Culture Bundle (includes a packet of dehydrated gluten free sourdough starter, a mason jar, fermentation lids and weight, feeding band tracker and spatula) – this is perfect for first time trying, you don’t need anything else.
Day-By-Day Activation
The process of activating the gluten free sourdough starter can take from 5 to 10 days, it depends on a lot of factors. The package of sourdough culture comes with instructions on how to activate it, but the description doesn’t always coincides with what can happen in reality, so this is how it worked for me (also make sure to watch the video tutorial, for visuals).
Day 1 – Mix 1 Tbsp brown rice flour + 1 Tbsp lukewarm filtered water + GF starter culture in a 2-qt jar. Cover loosely. Warm spot (75-80°F is ideally);
Day 2 – Feed 2 Tbsp flour + 2 Tbsp water (should have consistency of a pancake batter, adjust if needed);
Day 3 – Feed 4 Tbsp flour + 4 Tbsp water (even if there’s no bubbles yet);
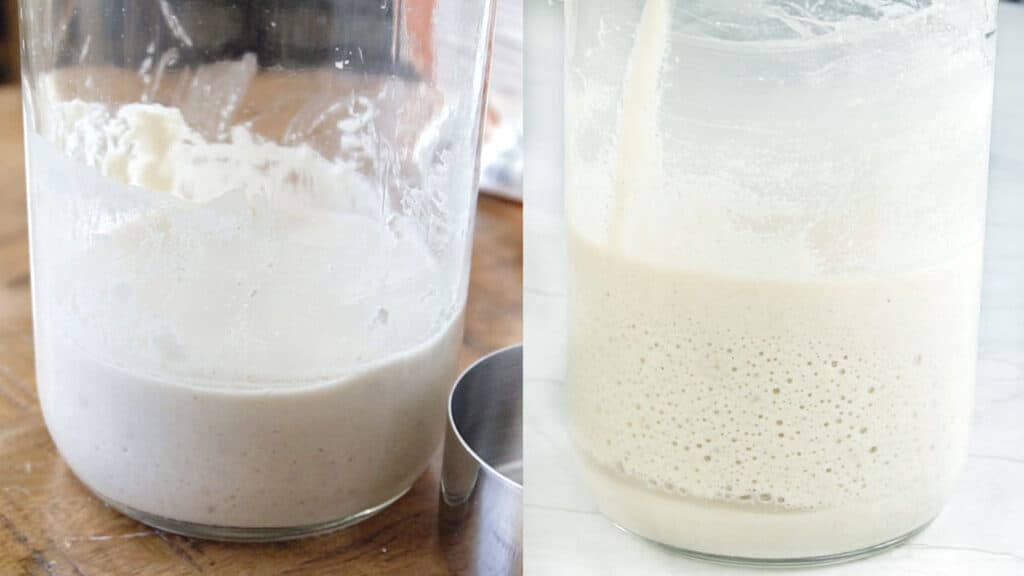
Day 4 – Tiny bubbles? Feed ½ cup flour + ½ cup water; shorten time between feeds as activity increases. Now check every 12 hours or so. Double the amount at each feeding.
Day 5 – More bubbles? More bubbles and more activity (fermentation) in less time so I fed it: 1 cup + 1 cup this time.
Day 6 – Next I didn’t feed it on time, it passed more than 14 hours so it deflated and a hooch appeard with strong acidic smell. I poured off most of it (so I wouldn’t use too much flour for feeding), and discarded to 3–4 Tbsp (total left), fed it just 2 Tbsp + 2 Tbsp.

Day 7 – Feed ¼ cup + ¼ cup; if active again, a second feed of ½ cup + ½ cup later that day (8 or 6 hours between feedings).
Day 8 – Very active? Discard ½ of jar, then feed 1 cup flour + 1 cup water.
Day 9 – If you’re unable to feed it as often as every 4-5 hours, it might deflate (no liquid on top yet), in this case: discard to ~1.5 cups (remaining in the jar), and feed 1.5 cups flour + 1.5 cups water (1:1:1). Next time when it doubles/triples in 4–5h, it’s ready.
To summarize: the way to maintain a healthy and manageable starter: is to pour off (discard) some starter each time you feed it. And maintain this ratio: starter (1) : flour (1): water (1).
Don’t worry so much about being exact. That was one of my biggest fears in beginning a sourdough starter. With time I wasn’t measuring anything anymore. I was just eyeballing so the amount are kept at equal ratios and the time between feedings: 12 to 24 hours not longer. And everything went perfectly fine from there.
Troubleshooting (Signs To Watch For)
Gluten-free Sourdough Starter Not Bubbling (Fix)
- Warm it to 75–80°F (24–27°C), discard to 2–4 Tbsp, then feed 1:1:1 (starter:flour:water). Use lukewarm, filtered water and don’t feed again until it rises and just starts to fall. Thin starters can be active with fewer visible bubbles, watch the rise line.
Gluten-free Sourdough Starter Not rising
- It’s either too cool or underfed. Keep it warm, reduce the jar volume by discarding, feed 1:1:1, and shorten the time between feeds once you see a full rise-and-fall. Repeat 1–2 cycles.
Liquid on Top of Sourdough Starter (Hooch): What To Do
- Hooch is an alcohol-like liquid from a hungry starter. Pour it off (or stir in), then feed now and feed a bit sooner next time. Darker hooch just means it sat longer/oxidized.
Runny or Watery Gluten Free Starter
- Too much water or not enough food. Discard most, feed 1:1:1, keep warm, and aim for pancake-batter thickness (add a spoon of flour if needed). Keep warmer to encourage gas production and structure.
The Starter Smells like Alcohol or Cheese
- Alcohol smell means hungry (feed more often). A mild “cheesy” smell can be normal early on; if you ever see pink/orange streaks or fuzzy mold, discard and start over.
Bubbly But Not Rising
- Gas is forming but the mix is too thin to lift. Thicken the next feed slightly (a bit more flour), keep it warm, and watch for a domed top and a visible rise line.
Rises, Then Collapses Quickly
- It ate through its food fast. Feed smaller amounts more frequently in a warm spot and use at peak (when domed and just beginning to fall).
Liquid on Top in The First Days
- Early separation is common. Stir, feed, and keep it warm; stick with brown rice flour during the build for steadier structure.
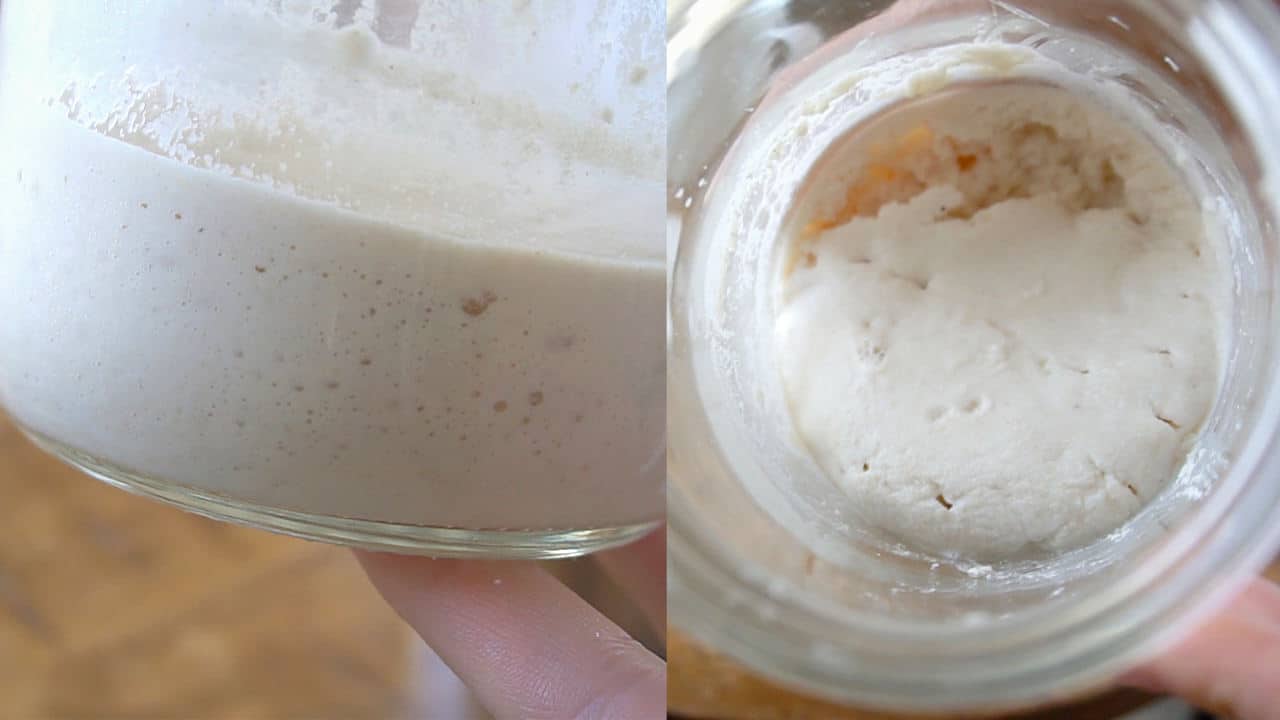
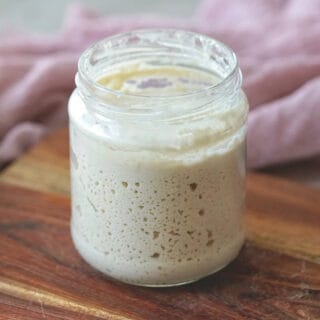
What Should a Gluten-Free Starter Look Like When Ready
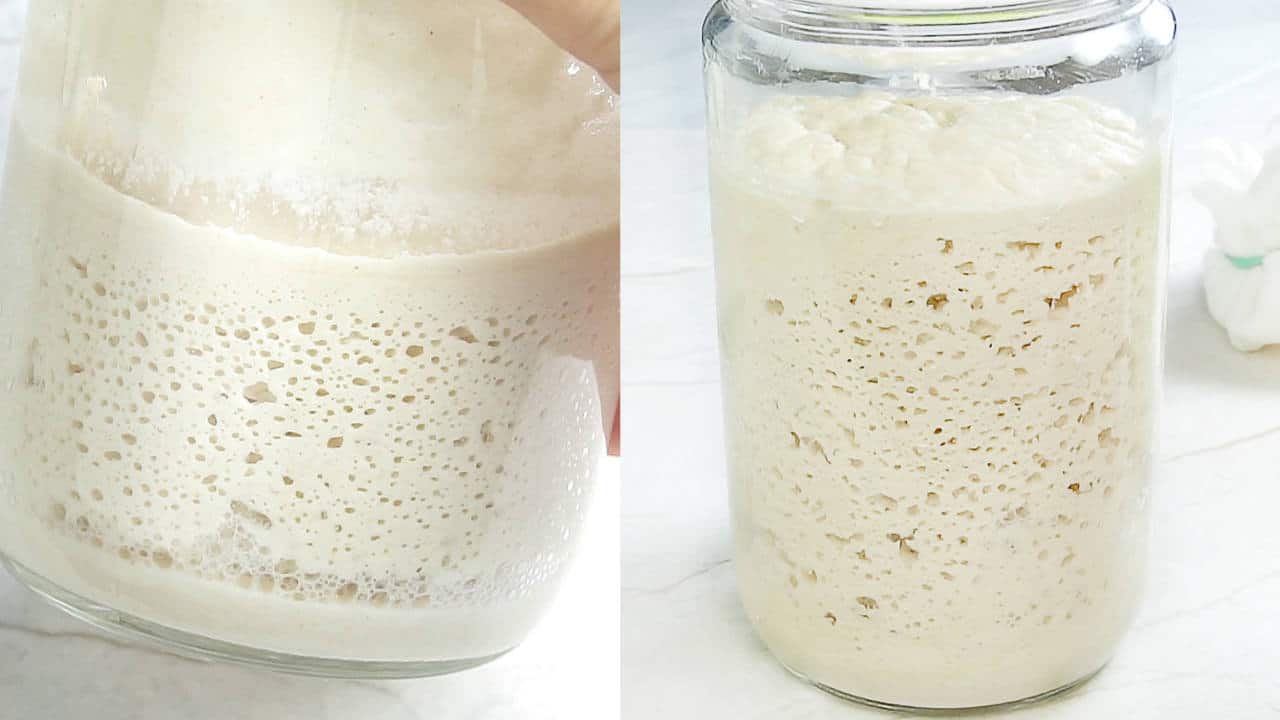
- Triples in 4–5 hours at 100% hydration after a feeding.
- Dome on top with tight, even bubbles; it peaks, then begins to fall if not fed or used. (Use immediately at peak for the strongest leavening.)
- The “float test” isn’t reliable for gluten-free starters; go by rise and timing instead (double/triple in 4–6h at 75–80°F environment).
Quick Troubleshooting Table
| Symptom | Likely cause | Quick fix |
|---|---|---|
| No bubbles after 3-4 days | Cool room, underfeeding | Warm to 75–80°F; discard to 2-4 Tbsp; feed 1:1:1; wait for rise-and-fall. |
| Clear/brown liquid on top (hooch) | Starter is hungry | Stir or pour off; feed now; shorten time between feeds. |
| Runny/watery | Too much water; low food | Discard most; feed 1:1:1; keep warmer. |
| Alcohol/cheesy smell | Normal by-products/early flora | Feed more frequently; discard if mold or pink/orange streaks. |
| Rises then collapses fast | Ate through food quickly | Feed smaller, more frequent meals; keep warm and consistent. |
Storage & Maintenance
- Short breaks (feed once every 3–4 days): stiffen slightly (kept in the refrigerator in order to slow down it’s activity.) Before storing, starter should be freshly fed.
- Weekly bakers: keep in the fridge, and only take the necessary amount, bring it to room temperature and feed it with equal amount of water and flour: 1–2x the day before baking. The rest which remains in the jar is fed as well (once a week), but it stays in the fridge. That’s how I maintain it for years.
- Long breaks (2+ weeks): dry with flour and store airtight; rehydrate to restart. How: place a large dollop of your active sourdough starter in the bottom of a bowl. Cover it with lots of flour (the same flour used for feedings) and use your hands to pinch through the mixture, and break up the clumps. Continue doing this until the mixture feels completely dry. Add flour if necessary. Then let the bowl sit out exposed to dry air for a day. Then, place it in a jar and seal.
FAQs
No. Fermentation may reduce gluten but not to safe levels for celiac; choose certified GF recipes only.
Aim for mid-70s°F; warmer ferments faster.
Alcoholic liquid from hungry starter. Pour off or stir in, then feed. If a second feeding doesn’t work as well, you can increase to a 1:2:2 feeding ratio.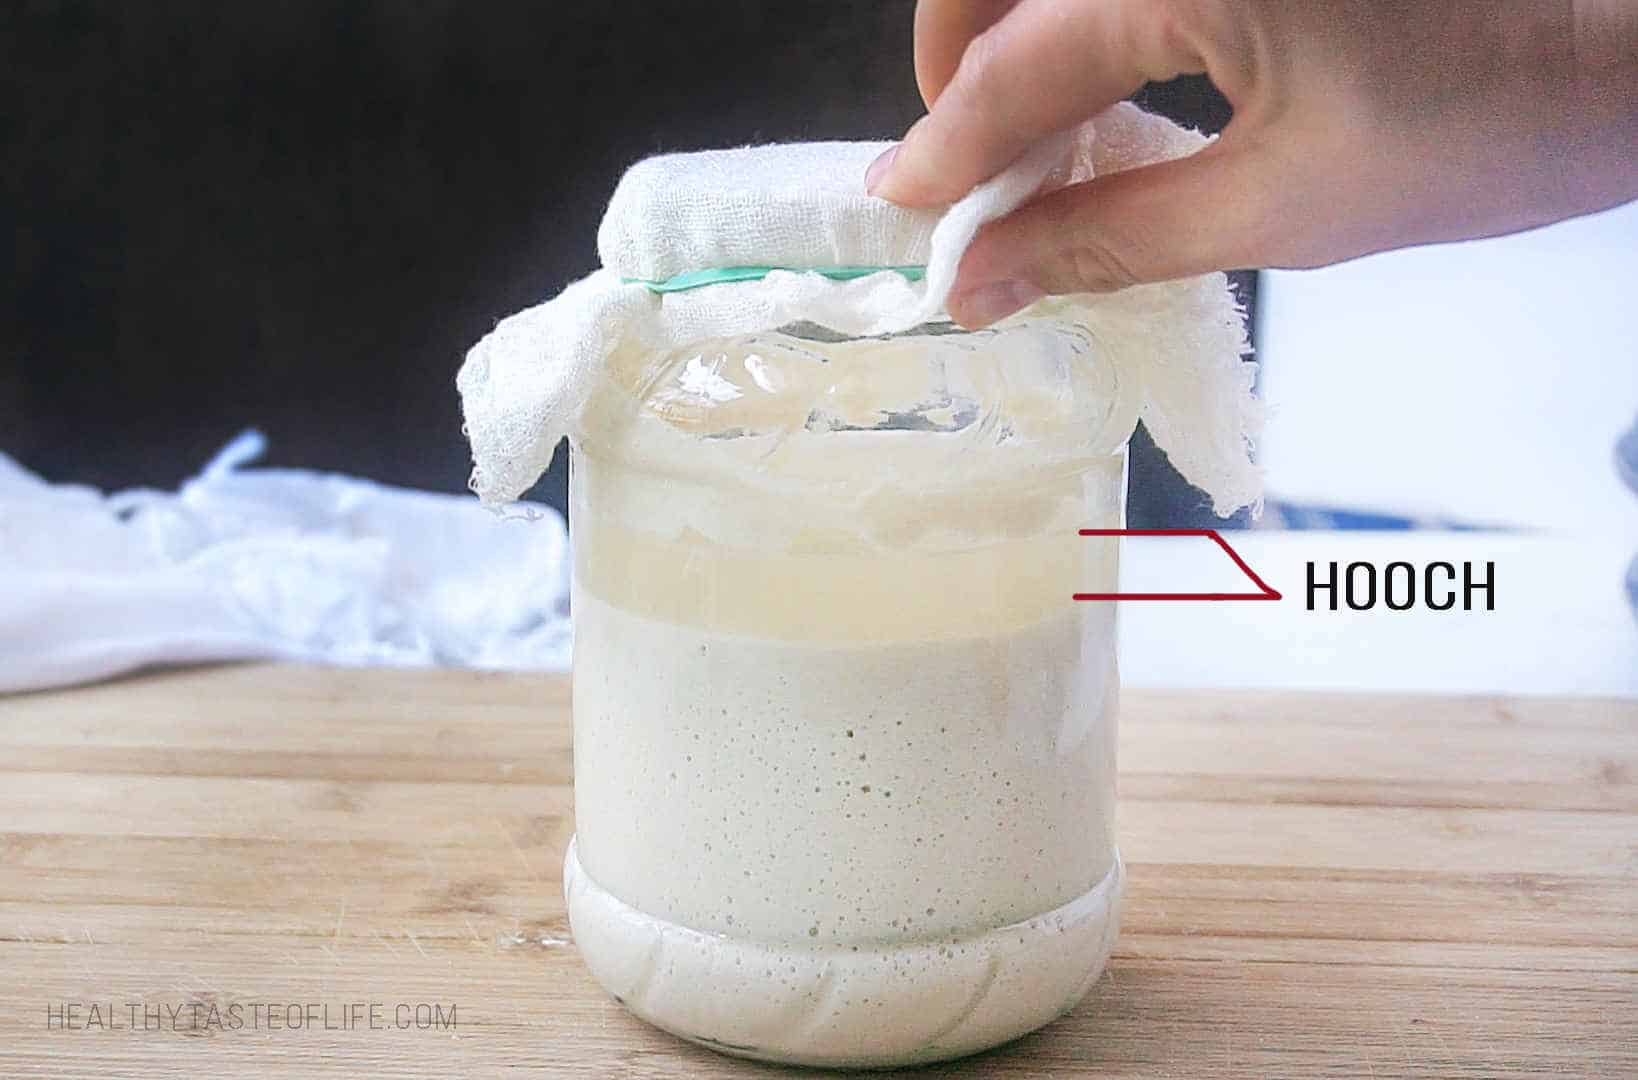
Early on every 12–24h; once it rises and falls between feeds, increase frequency up to every 4-5 hours.
Tripling in 4–5h after a feeding, with a domed, bubbly top.
Technically you could, just like you saw in the video I tried to discard less at the beginning and it ended up with slowing down the fermentation and the accumulation of a large amount of discard. So it’s better to feed smaller amounts and keep it minimal.
You can keep it in a separate jar in the fridge for use in other recipes. It can be used in gluten free sourdough pancakes, tortillas, waffle recipes, crackers (see my other recipes below). Every time I have to discard, I transfer it in the other jar. The buildup should be used immediately or in the next 2-3 days.
Tried This Method of Making a Gluten free Sourdough Starter? I’d love to hear how it turned out! Tap ⭐⭐⭐⭐⭐ to rate it or leave a quick comment below! your feedback helps other readers (and keeps me creating new treats).
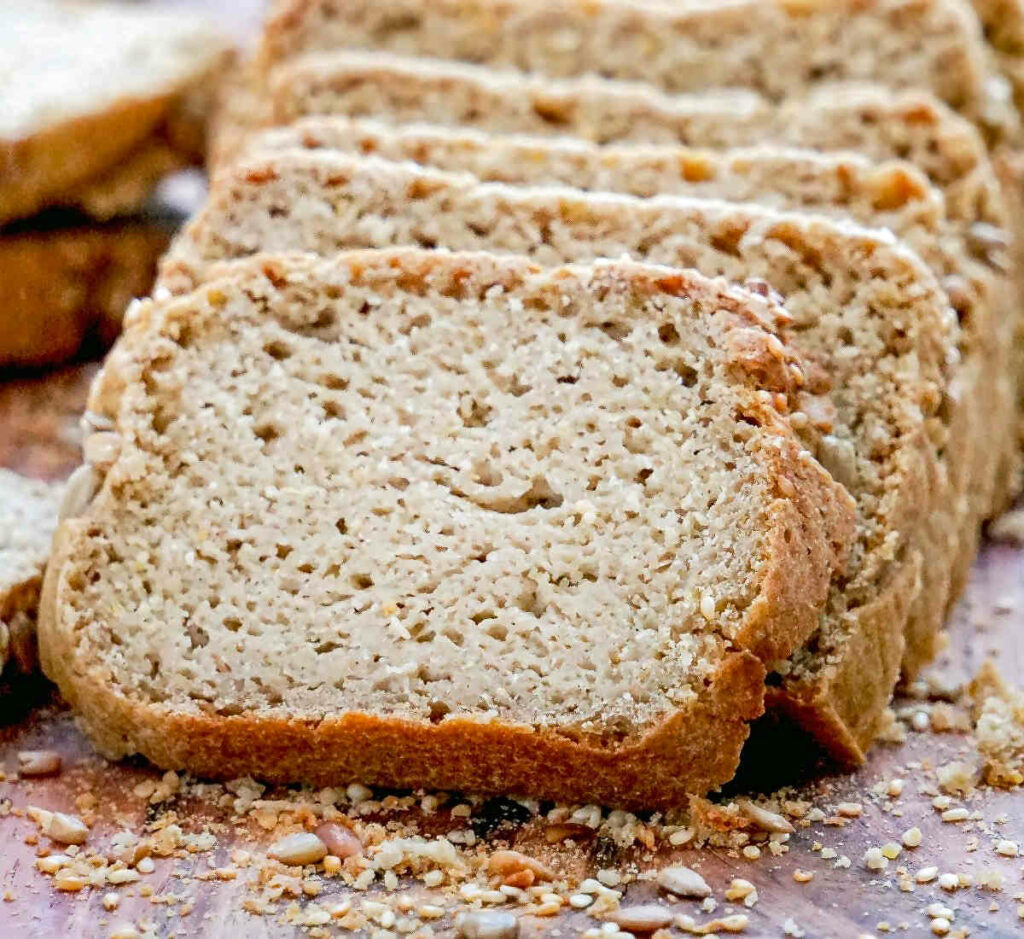
Ready to bake?
Try My Recipes With Sourdough Starter Discard
- Gluten Free Sourdough Pancakes (Gluten And Dairy Free)
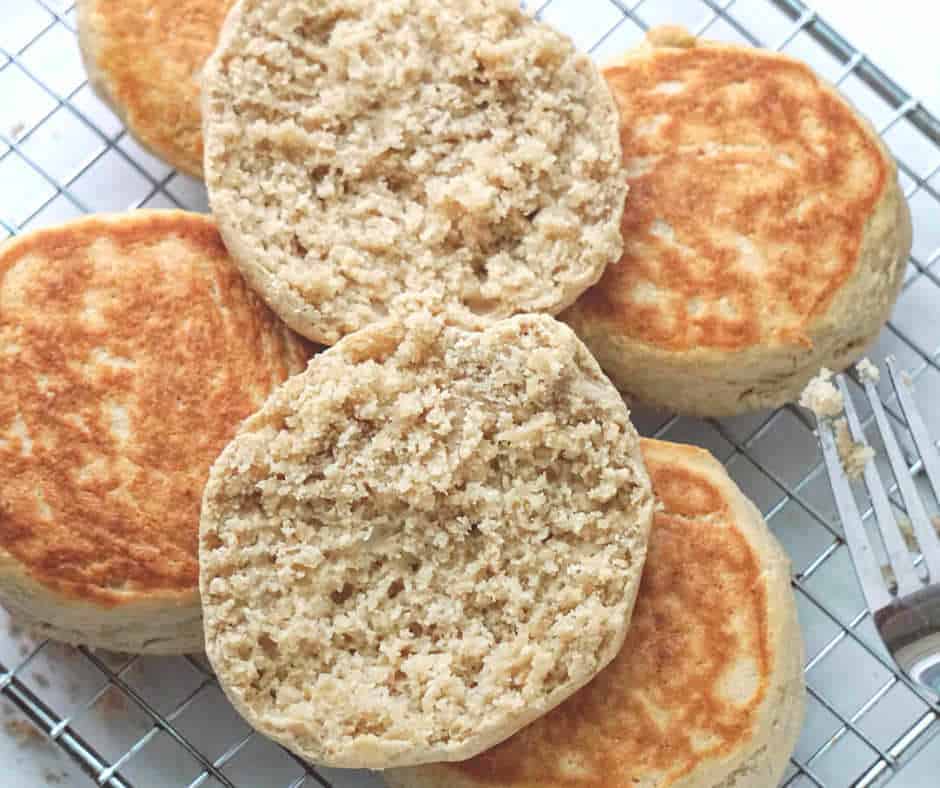
- Gluten Free Sourdough English Muffins (Vegan)
- Soft Gluten Free Wraps / Tortillas (Vegan)
- Gluten Free Sourdough Crackers With Seeds (Vegan)
- Gluten Free Sourdough Eggless Banana Bread
Gluten Free Sourdough Starter (Build, Maintain, Troubleshooting)
Ingredients
- brown rice flour - organic (see blog post fore more info)
- filtered water - room / lukewarm temperature
- gluten free sourdough culture - you can use any brand, see notes below
Instructions
Day 1: Activate
- In a 2qt jar combine 1 tablespoon of brown rice flour and 1 tablespoon of filtered lukewarm water, and add the packet of sourdough culture, stir well to incorporate (pancake-batter thick).You might need to add another 1-2 tsp of water, if it feels too thick to mix. Cover loosely with a cloth secured with a rubber band and let it sit at room temperature (75-80°F is ideal) for 24 hours. Cover the jar with a towel if your kitchen is really sunny during the day.
Day 2: First Feed
- Feed the starter with 2 more Tbsp of flour and 2 Tbsp of water, stir. Mix to the same batter consistency. Ferment 18–24 h.
Day 3: Keep Going
- After 24 hours, if there's no bubbles yet (a cold kitchen could be the cause) but still feed 4 Tbsp flour + 4 Tbsp water (even if bubbles are minimal). Ferment ~24 h.
Day 4: Activity Starts
- After only 18 hours you could see really tiny bubbles and feel a mildly acidic smell (it’s a sign the starter is hungry), in this case, feed it again with 1/2 cup flour + 1/2 cup water. As the starter is getting hungrier and growing, you'll notice that the time between feedings will shorten too. Start checking every ~12 h; as activity speeds up, feed a bit more often.
Day 5: Build Strength
- This time after only 14 hours you could notice more bubbles and more activity (fermentation). Feed 1 cup flour + 1 cup water. Look for a puffed, bubbly surface.
Day 6: If Hooch Appears
- After 12-14 hours, the starter developed more bubbles abut it also had some liquid accumulated on top plus a strong acidic smell. This usually means the starter is stressed and it needs more food and fed more often. I couldn’t wake up in the middle of the night to feed it. In this situation discarding will revive the starter: first get rid of the liquid, and then discard (move to another jar) most of the starter and leave only about 3-4 Tbsps. Feed it with 2 Tbsp flour + 2 Tbsp of water. Keep warm.
Day 7: Shorter Intervals
- Just like at the beginning after about 12-18 hours it started to develop small bubbles. Feed ¼ cup flour + ¼ cup water.If activity surges again later the same day, feed ½ cup + ½ cup (about 6–8 h apart). A turned-off oven (just warm, not hot) works well as a cozy spot.
Day 8: Scale Up
- When very active, discard half (about 1 cup was left), then feed 1 cup flour + 1 cup water (aiming for a 1:1:1 ratio by volume). Next feeding ideally would be after 4-5 hours.
Day 9: Ready Check
- After 8 hours: the next feeding was supposed to be during the night and I didn’t bother waking up, and by the morning it started to show signs of deflating again. Less activity, but still: a lot of bubbles and no sign of liquid on top.If it rises fast and begins to deflate between feeds, discard to ~1½ cups, then feed 1½ cups flour + 1½ cups water.Same Day: After only 4-5 hours the starter doubled in size, it looked puffed up and very bubbly.Ready to bake when it doubles to triples within 4–5 h, shows a domed top with tight, even bubbles, and then just begins to fall. Use at peak.
Ongoing Care
- Maintain about 1:1:1 (starter:flour:water) by volume or by weight: 50 g starter + 50 g brown rice flour + 50 g water (100% hydration).; discard before feeding to keep amounts manageable.
Video
Notes
Rapid fixes (use anywhere in the process):
- Not bubbling / not rising: Warm to 75–80°F, discard to 2–4 Tbsp, then feed 1:1:1; wait for a full rise-and-fall before the next feed.
- Use lukewarm filtered water ~85–90°F (29–32°C) when sluggish
- Runny/watery: Discard most; feed 1:1:1 and keep warmer to rebuild structure.
- Alcohol/cheesy smell: Feed more frequently; discard if you ever see pink/orange streaks or fuzzy mold.
- The time between feedings: should be 12 to 24 hours not longer for the first 2-4 days and between 4 to 8 hours after.
Storing
- If you’re continuing to use and feed the starter daily, just keep it in its original jar. If you decide it is time to take a break for 3-4 days, transfer it to a sealable jar, mix the starter to a slightly stiffer consistency and keep it in a few degrees colder environment. The reduced hydration will slow fermentation activity.
- If you’re planning to bake once a week, store in the refrigerator. Feed it (once or twice, it depends how quickly it gets active) the day before you will bake (or at least 5 hours in advance).
- For long-term sourdough starter storage (2 week and longer), see blog post.
Don’t Throw The Discarded Sourdough Starter
Each time you discard (you will need to do that quite often) gather in a separate jar and keep it the fridge up to 2-3 weeks. Use it in recipes like pancakes, tortillas, crackers, English muffins etc.Nutrition
The information shown is an estimate provided by an online nutrition calculator.
©HealthyTasteOfLife. Content and photographs are copyright protected and need prior permission to use. Copying and/or pasting full recipes to other websites and any social media is strictly prohibited. Sharing and using the link of this recipe is both encouraged and appreciated!


I have a question. I used the “Bob’s Red Mill Gluten Free 1 to 1 Baking flour” to creat a sourdough starter. The starter is rising quite quickly within a day but the texture is almost like squishy wet play dough or kinetic sand….any thoughts on what I’ve done wrong?
I never worked with this flour, so I can’t say anything about this experience.
Hi Olga. My name is Matt from Toronto. I’ve been reading your articles and just ordered all the bits for trying the GF starter and sourdough. Thanks so much for making such a wonderful website!
Hi Matt,I hope you succeed in your trial!
Thank you!
I’ve read that some people feed their regular wheat starter in a 1:2:2 ratio, as this makes it more active. Just wondering if this could be the case for gluten free starter too? Or 1:1:1 is sufficient and there is no need to do 1:2:2 ?
I found it to be sufficient when my starter is healthy. But you can change the ration if you notice the starter is getting weaker or if you want a fast revival.
Any chance you can provide a new link to the sourdough culture? It’s no longer available. Thank you!
Thanks for letting me know Peggy, it looks like they removed their product from Amazon. I included the link from other similar brand or you can find the link (in recipe notes) to their product on their website.
Thank you for clarifying the all possible situations that could arise with an uncooperative sourdough starter! It really helped me figure out the problem with mine.
I’m glad I could help! 🙂