

Gluten-Free Sourdough Bread (Vegan, No Yeast, No Xanthan)
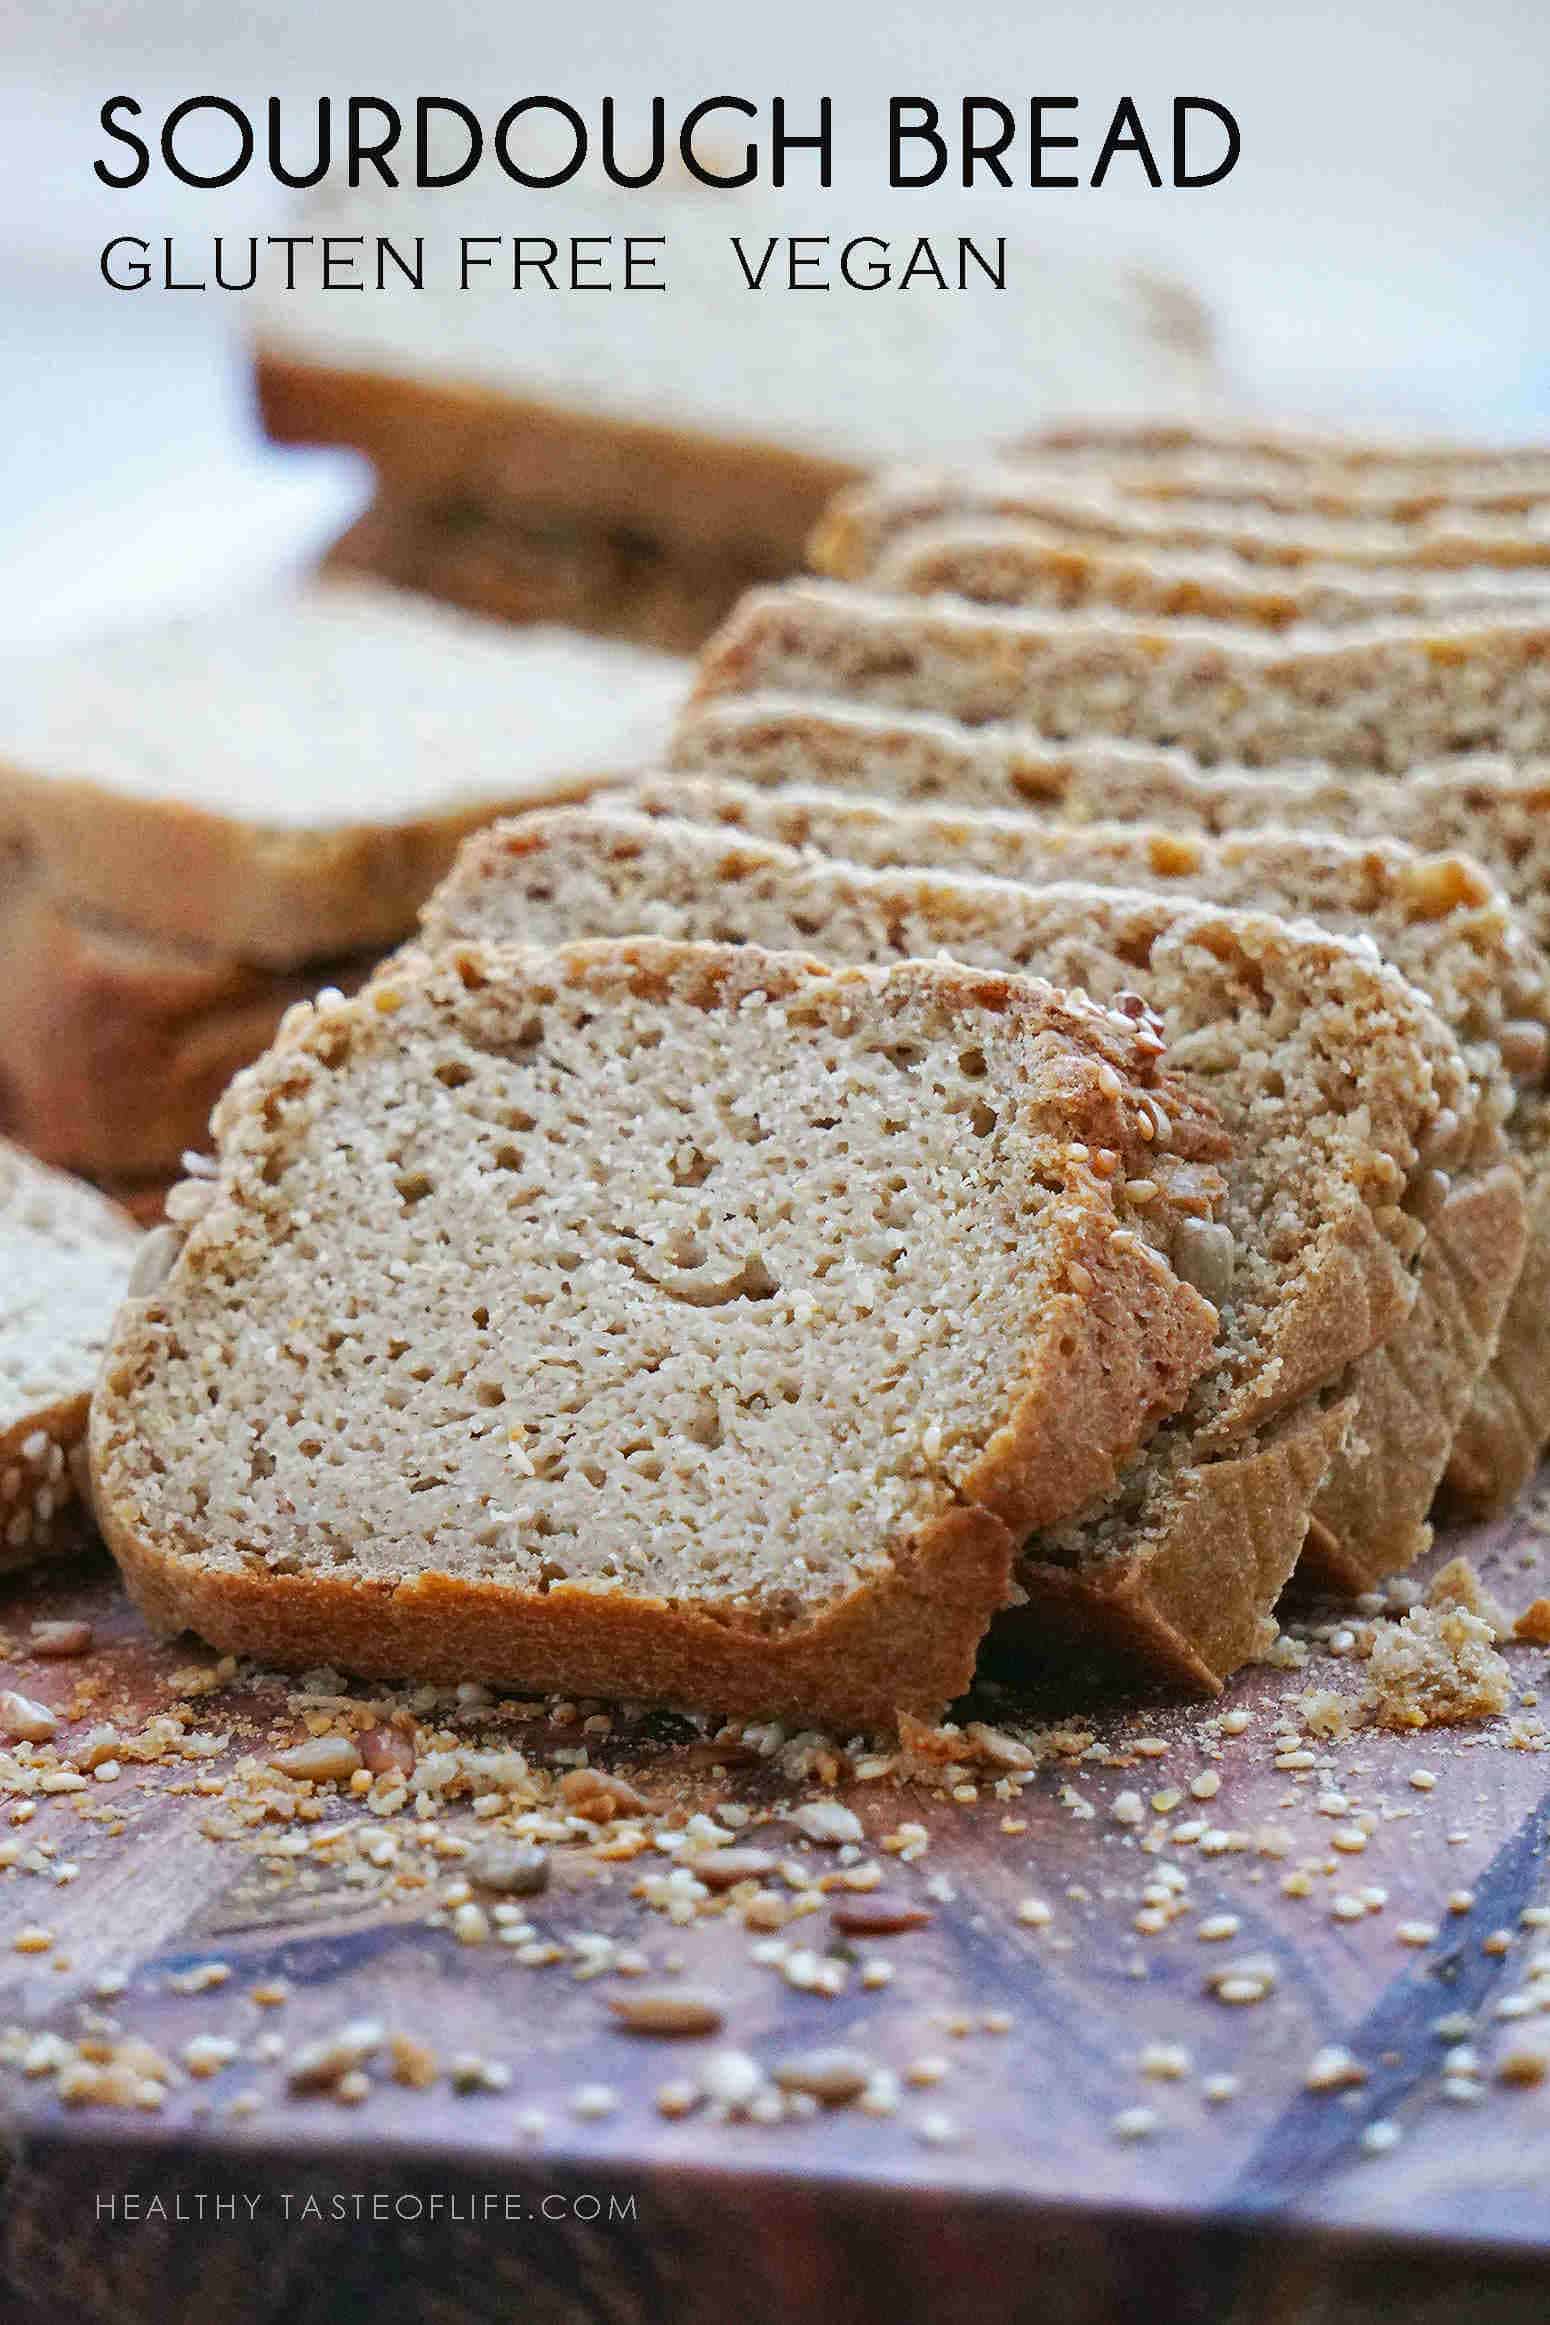
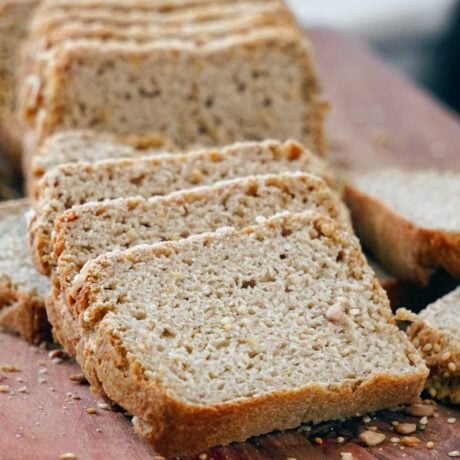
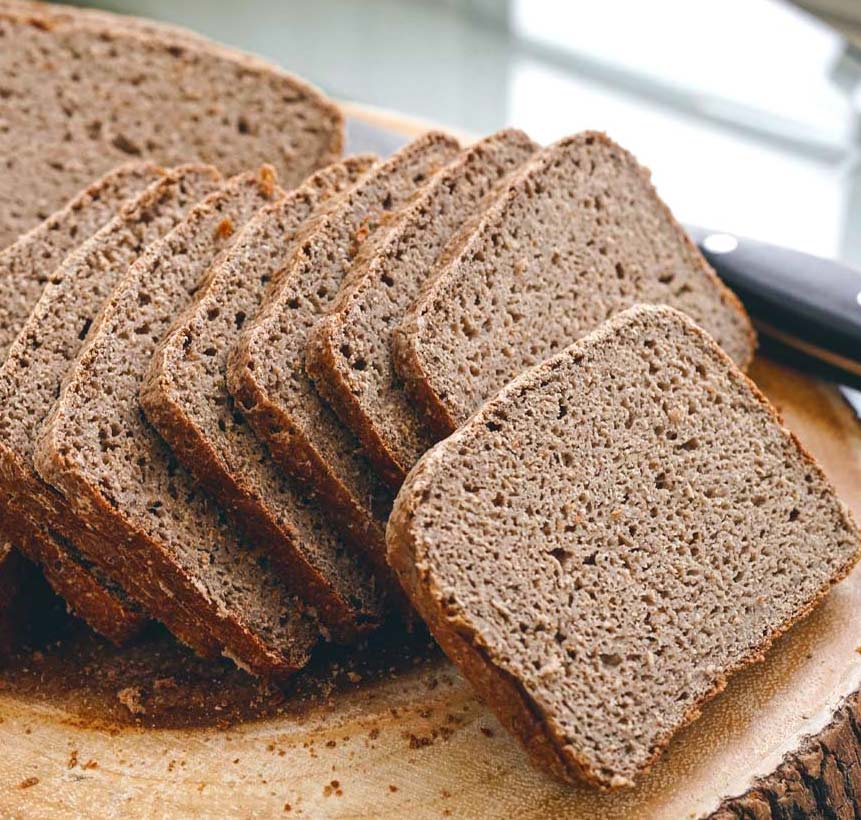
This is my family’s everyday gluten free sourdough bread: vegan, no commercial yeast, no xanthan gum, no oils and no psyllium. It’s made with gluten free sourdough starter and sprouted whole-grain flours for a nice sliceable crumb that toasts beautifully.
Back in 2018, most gluten free breads I could find leaned on gums and heavy refined starch blends low in fiber/nutrients and not the simple, whole food ingredients I wanted (especially for a sensitive digestion).
It also seemed “impossible” to get a tall, sliceable loaf without all those add-ins. So I started testing my own: whole-grain flours, no commercial yeast, no psyllium, gum free binders, and a strong gluten free starter. A plain gluten free loaf with good texture is much harder to achieve than banana bread or small buns, there’s no eggs in this recipe and no fruit to add softness, no shortcut with baking soda or powder + acid, so the starter had to do the real work, and it does.
Why This Loaf Works
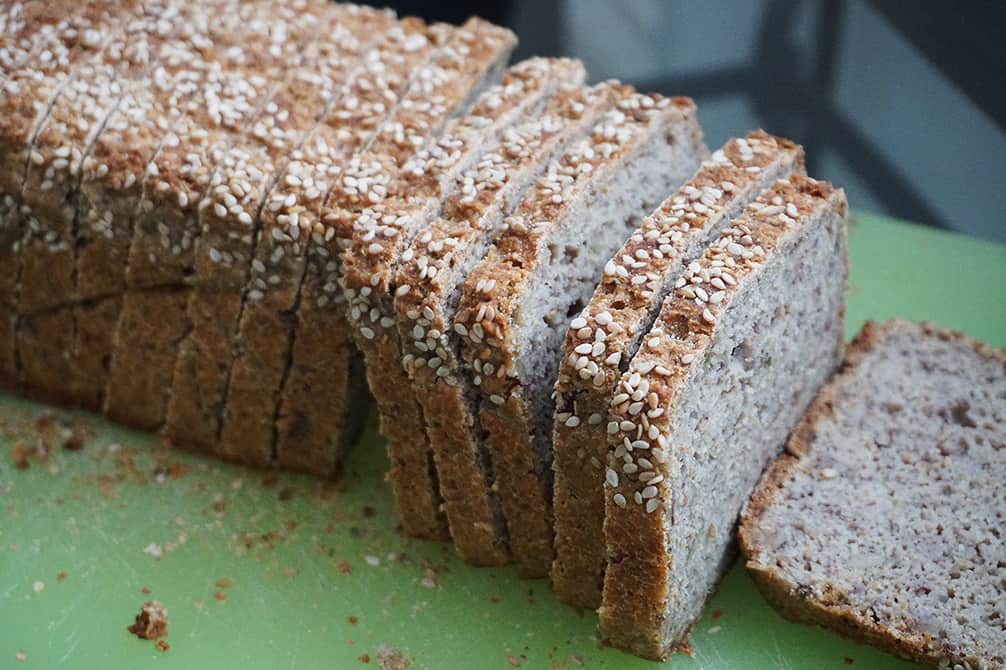
- No commercial yeast – naturally leavened by a GF sourdough starter, just real ingredients doing the work.
- No xanthan gum – gentle binders (flax; optional psyllium) for structure. Some people report GI discomfort (me included) when using gums.
- No oil – no cheap oil like canola or other seed oils.
- Sprouted, whole-grain flours – great flavor, may improve mineral availability after sprouting and easier to digest, hence healthier.
- Sliceable crumb – batter-style dough bakes tall in a loaf tin, no Dutch oven needed.
So to ensure a well risen loaf with a good structure, I had to get my hands on an active gluten free sourdough starter. I admit, at first I was a bit intimidated because I wasn’t sure what I would do with so much starter, but then I realized that it can be used for so many recipes.
Since baking gluten free so often, I managed to switch entirely to only using sourdough and I use it in most of my favorite breads, rolls, buns, tortillas, English muffins and naan, you can find some of these in my cookbook.
Key Ingredients (And Simple Swaps)
- GF sourdough starter (active): fed and bubbly. See how I feed and store my GF starter tutorial.
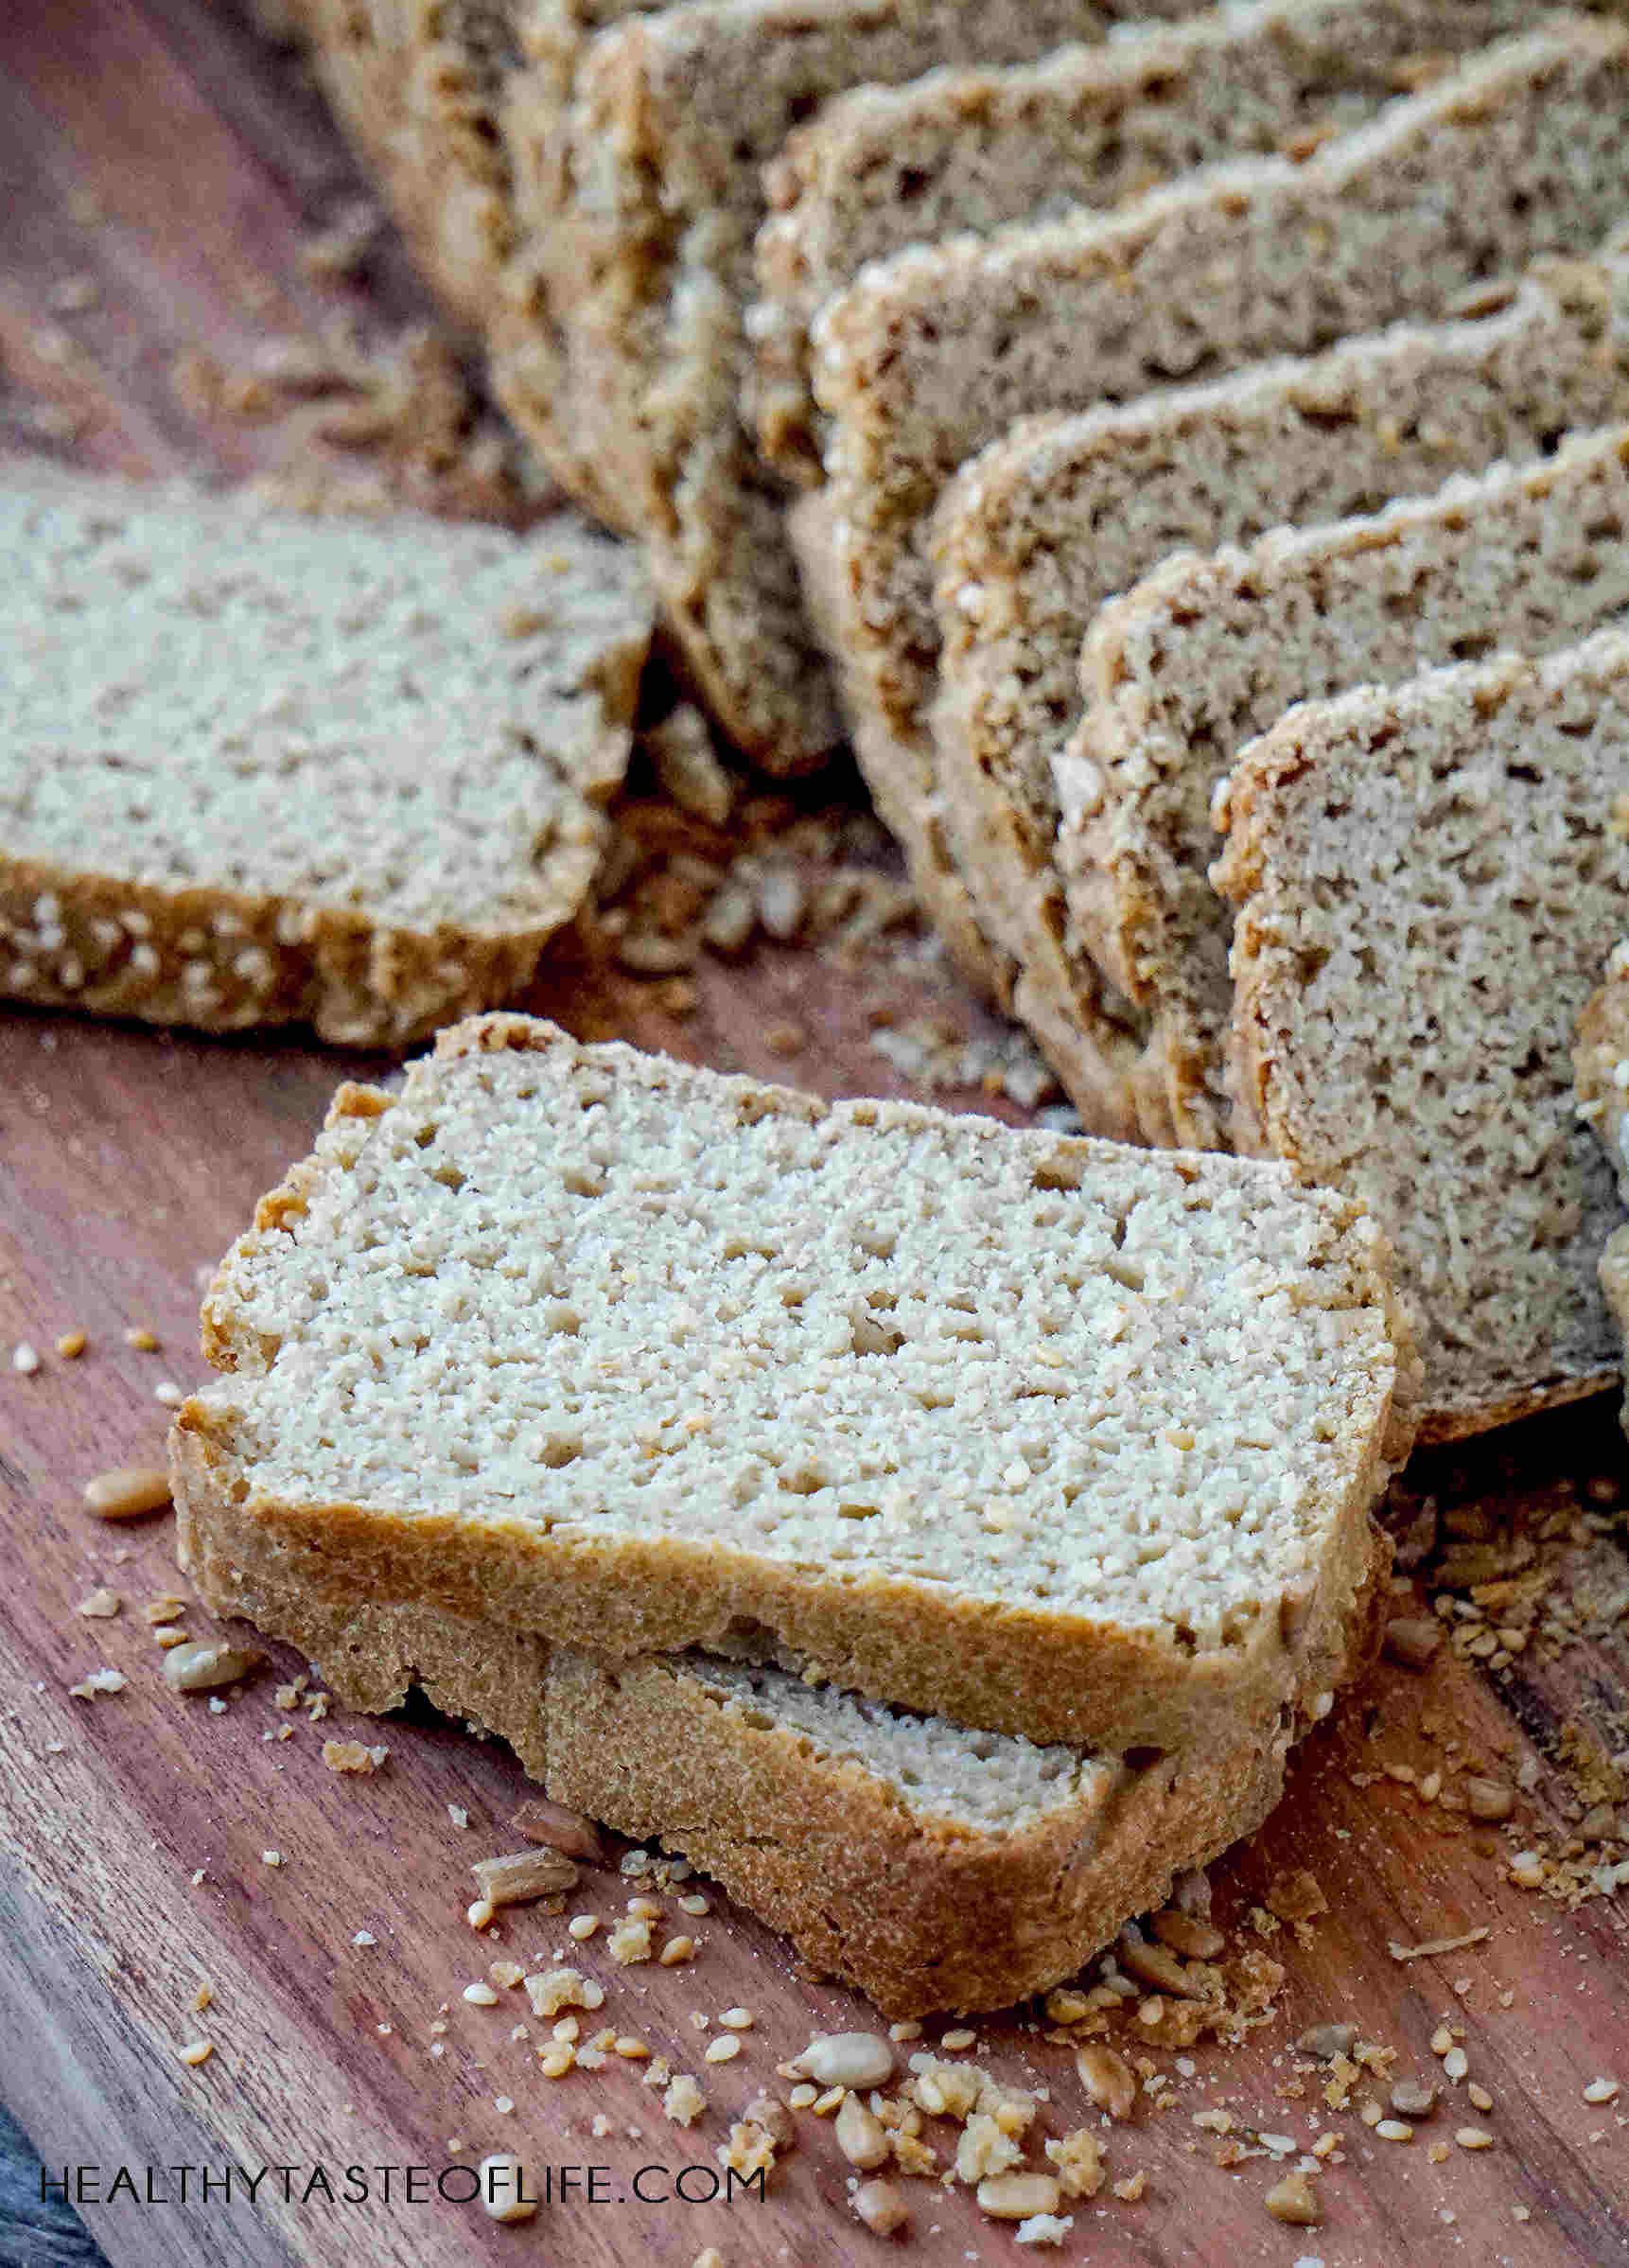
- Flours: light buckwheat + millet or oat (sprouted versions if you have them, are the best).
- Binder: ground flax (primary).
- Water, sea salt. Small maple touch is optional for flavor/rise.
Note on oats: If using oat flour, choose gluten-free labeled (and organic, ideally trusted source) due to common cross contact in the supply chain. Some people also react to oat avenin.
See all measurements in the recipe card:
How To Make This Gluten Free Sourdough Bread
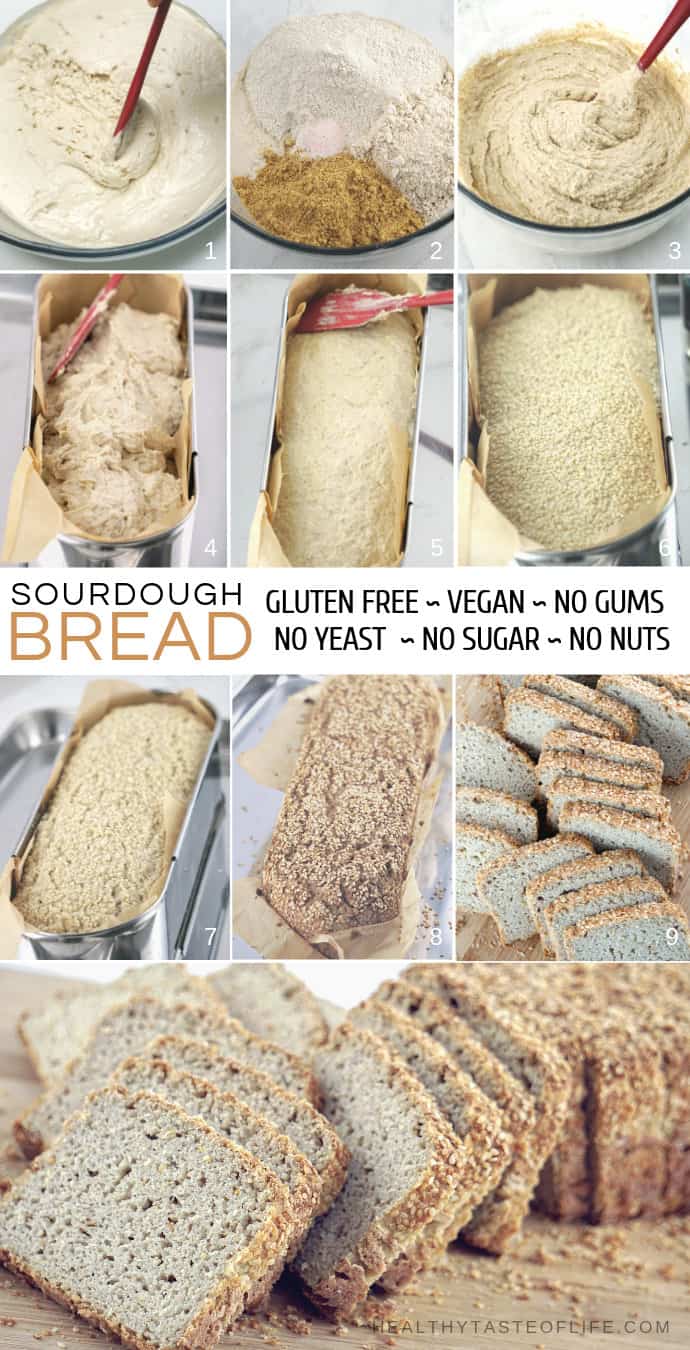
Step 1. Wake The Starter
You will need to use only 1 cup of starter for the recipe. Activate it with flour (1/2 cup of brown rice flour) + water (1/2 cup of filtered water)+(3-5h warm spot) until bubbly. If your starter is thin and watery, use less water (about 1/3 cup), if it’s thick – use more. I’m using a gluten free sourdough starter from Cultures For Health (maintained with brown rice flour).
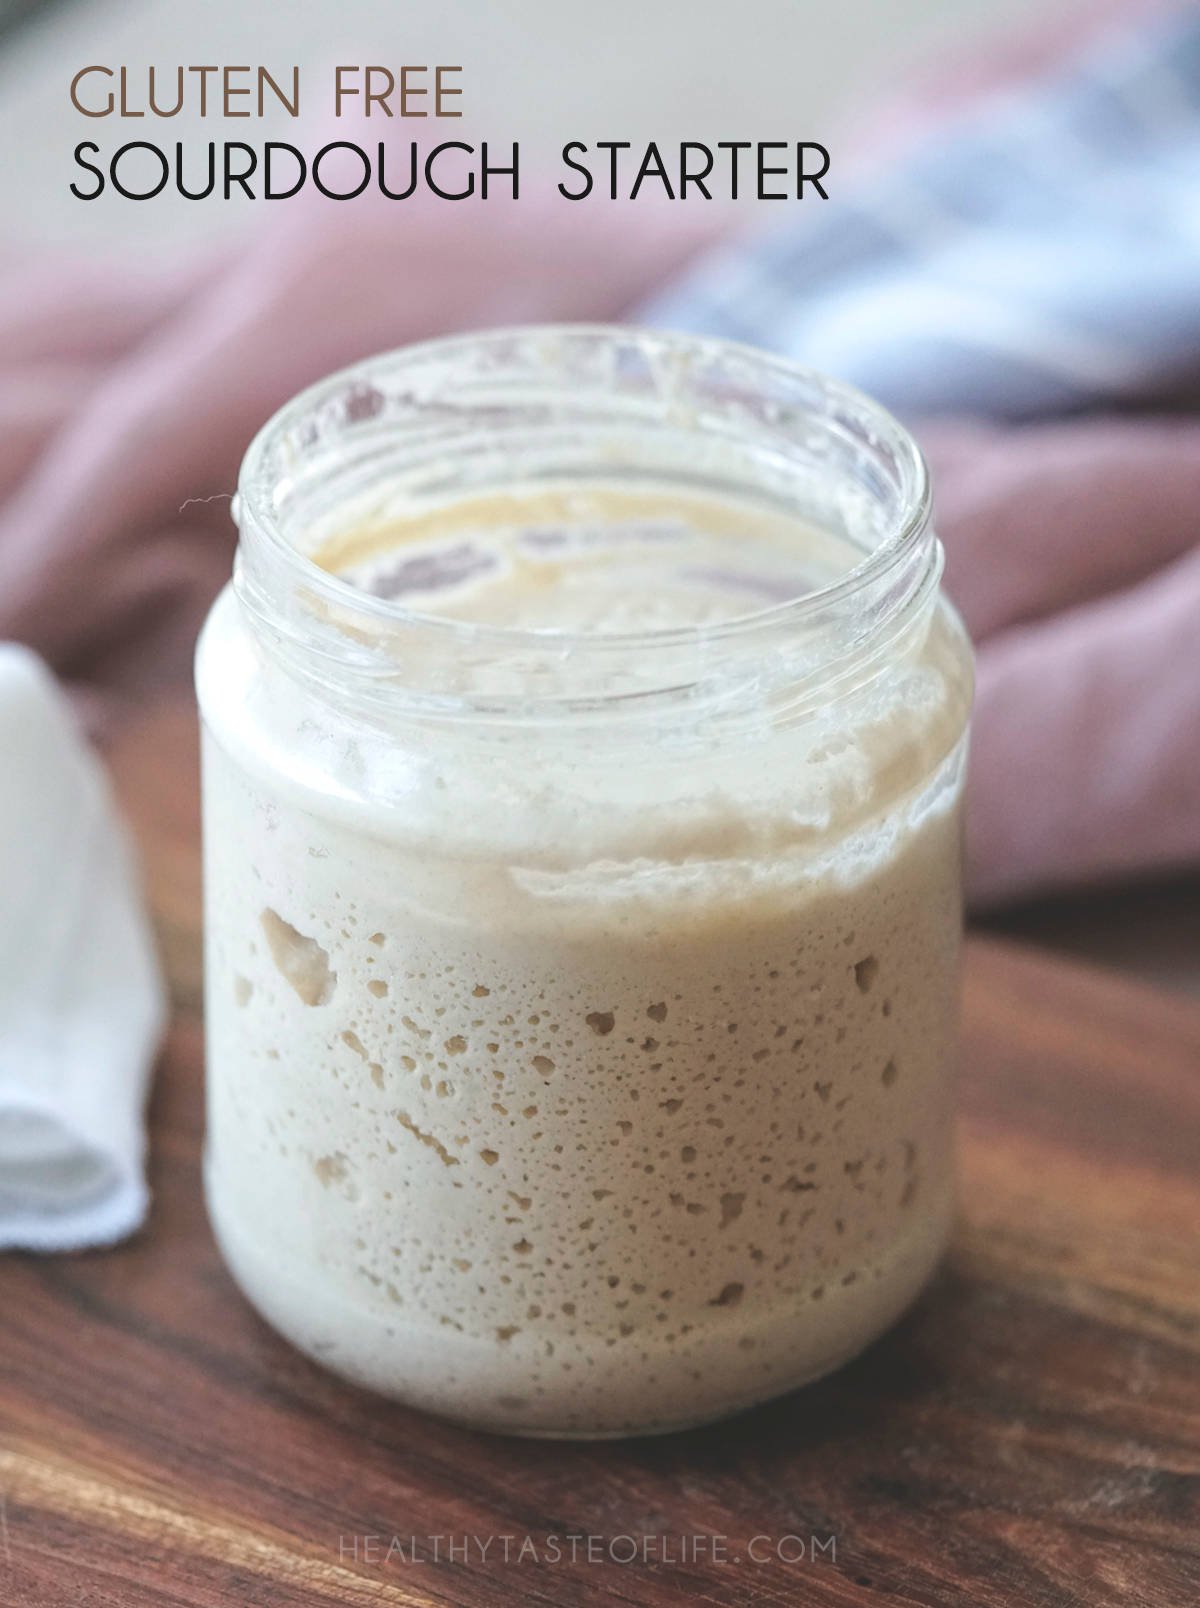
Keep in mind that this recipe uses an established gluten free starter. Take the amount of starter you need, the rest feed it and place it back in the fridge. If your starter is sluggish, give it one extra feed before mixing the dough.
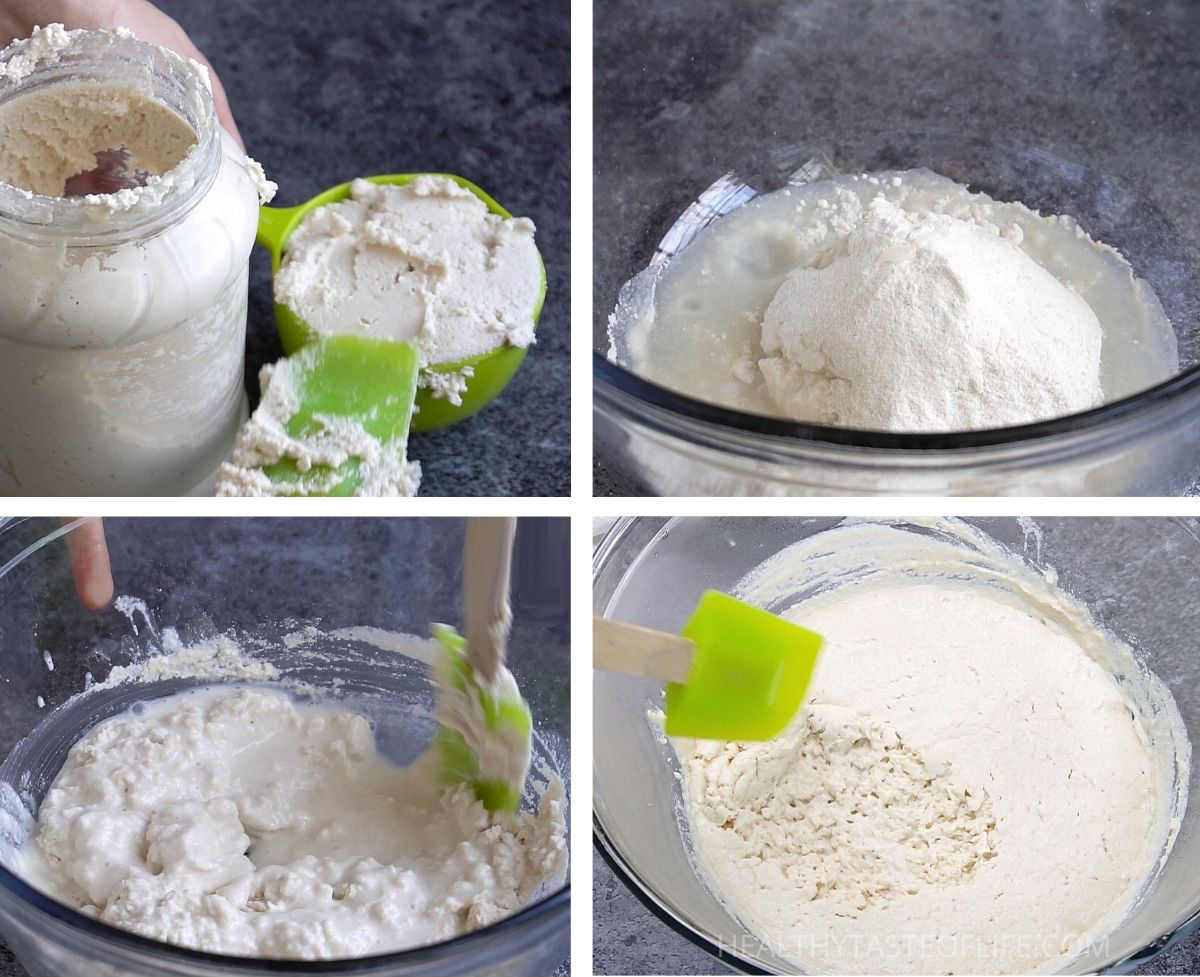
Step 2. Mix a thick batter (no kneading)
- When your starter is active and bubbly, add the flours (sifted), water, salt and maple syrup (it’s optional, but I use to enhance the taste plus the sugar makes the bread rise faster). Use same bowl.
- The dough should look like a thick batter like a thick oatmeal porridge, or like a brownie batter once everything mixed. No kneading is required.
Step 3. Proof
- Scrape the dough into the pan (use a in a high-wall loaf tin) and smooth it out with a spatula (the final batter is pretty sticky) to produce a nice dome shape. Add seeds or nuts on top if you want.
- Cover with a plastic wrap or a towel to seal moisture (you can also spray the inside of the wrap with water to prevent dough cracking) and let it rise in a warm place approximately 4-5 hours. It depends on how warm is your kitchen.
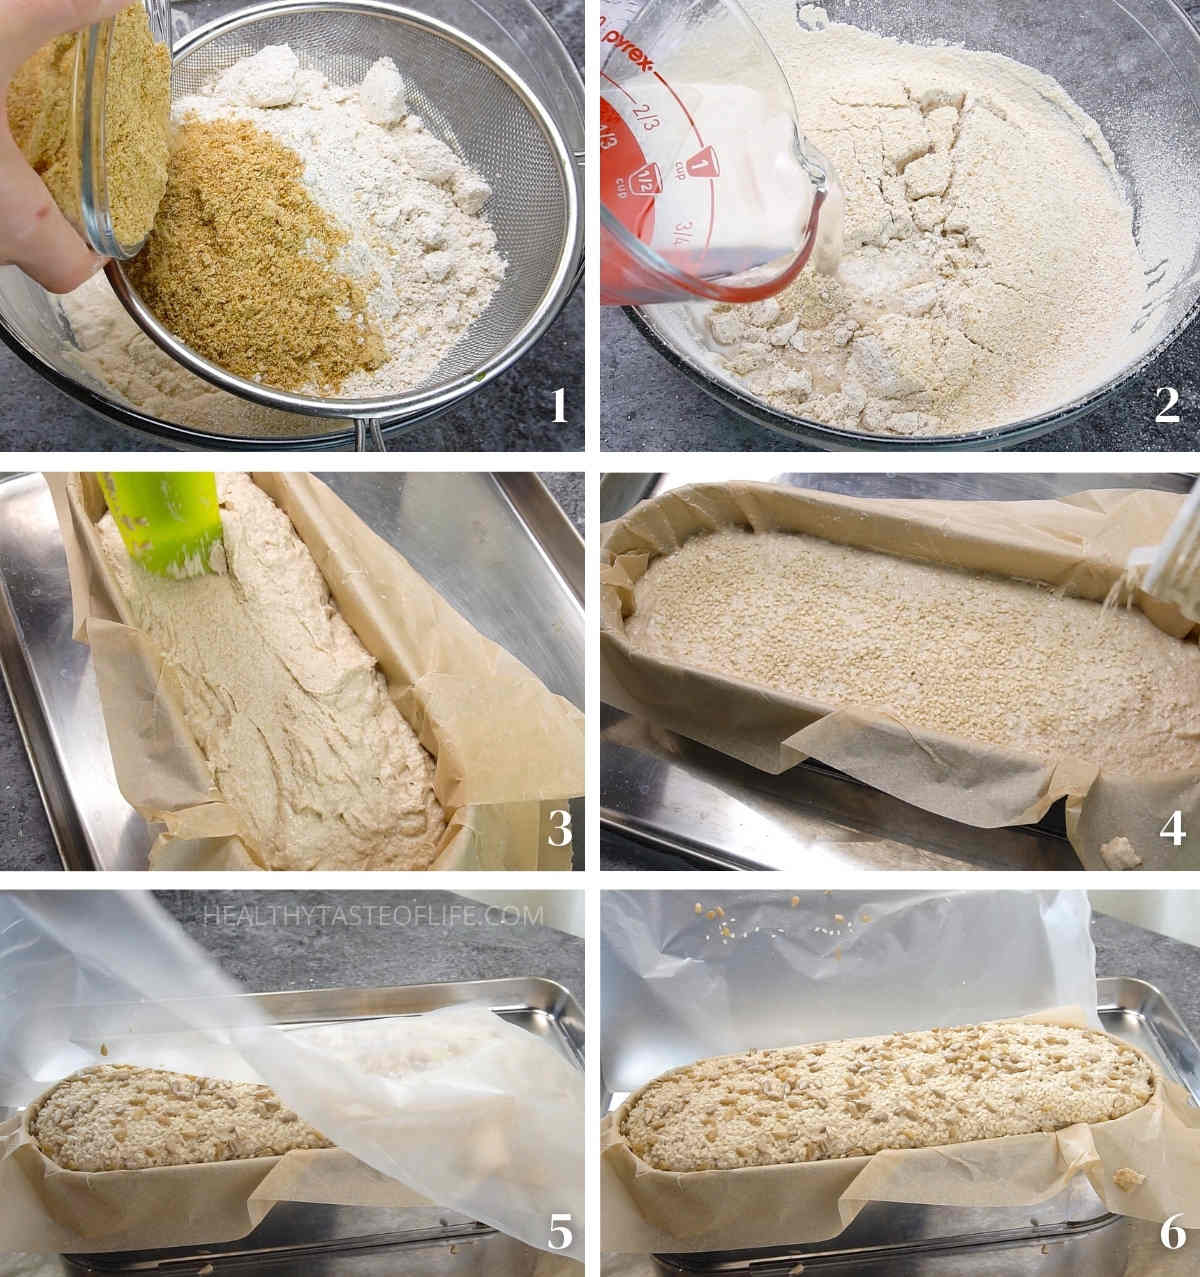
My Favorite Best Baking Pans For Gluten Free Sourdough Bread
Gluten-free batter-style dough needs tall walls to rise up (not out). So here are some of my favorite reliable options I use:
- Adjustable oval baking frame (no base): slips off for easy release and resizes for different loaf sizes.
- High-wall non-stick loaf tin: supports vertical lift; parchment paper not needed, very easy to take out once baked.
- Enameled Cast Iron Loaf Pan with Lid 8.5×4.5: you can make two loaves at once, or use the 2nd pan as a lid.
If you want your loaf to stand up on it’s own, you can add high starch flours. But I prefer a more nutritional gluten free bread made with whole grain flours only.
Step 4. Bake
- Preheat oven at 425 degrees F (220 C).
- Once ready to bake the bread, cover with an aluminum foil (without touching it, any shake-up can deflate it), turn the temperature down to 390 F (200 C) and bake for 30 minutes.
- Then remove the foil (at this time you can also remove the baking tin for an uniform baking on all sides) and bake for another 40-45 minutes until golden brown.
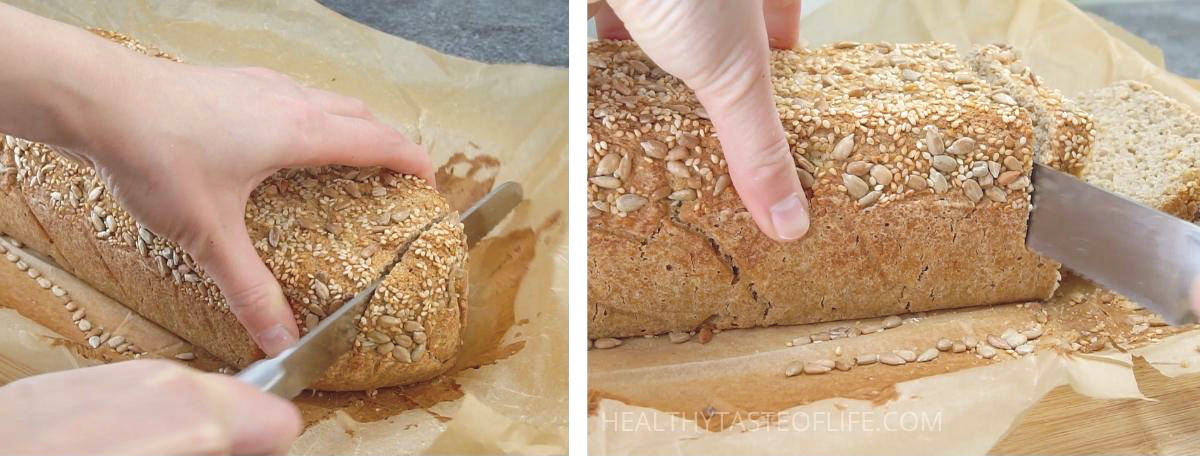
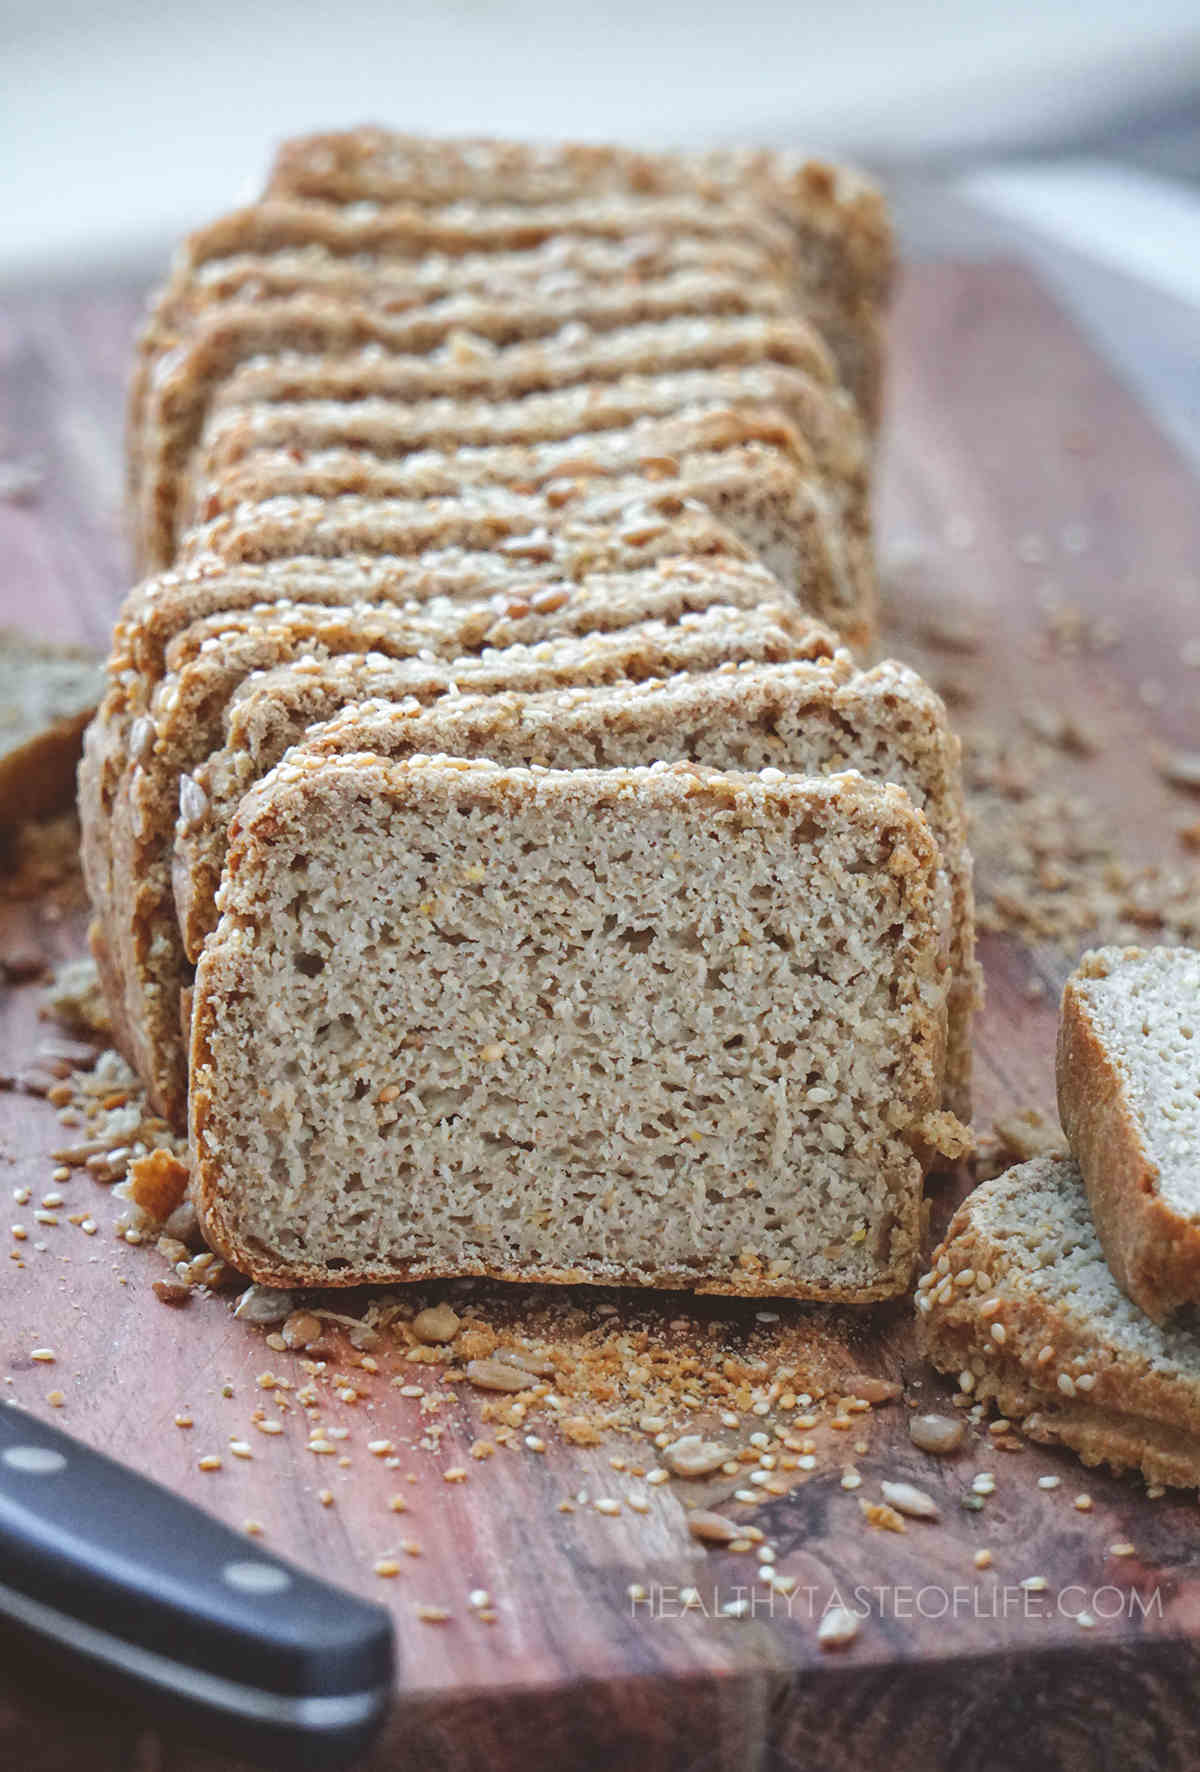
- Allow to cool completely before handling or slicing (use a serrated knife)! Best to do that the next day.
Video: How to Make Gluten-Free Sourdough Bread (No Yeast, No Xanthan, No Psyllium, Vegan)
Watch the batter texture, proofing height and the end result in the video below.
If you can’t see the video, disable your ad-blocker and refresh the page.
PRO TIPS For Baking Gluten Free Sourdough Bread
- Flour Mix: Aim for a mix, not a mono-flour: roughly 70% medium density flours (buckwheat, millet, oat), 10% heavier/coarse (teff/quinoa/amaranth), 20% soft/fine (oat or finely milled rice). This balances lift, moisture, and chew. Choose finely milled flours for a less crumbly slice.
- Want a lighter crumb? Use light buckwheat (hulled) and sorghum/oat (choose GF labels).
- Want a heartier, darker loaf? Use dark buckwheat (unhulled) and more whole grain sorghum/teff.
- Whole grain flours tend to contain more organisms to feed the yeasts and bacteria. Switching from a whole grain flour to white flour may cause a decline in the health of the starter.
- Egg-free structure, gum-free feel: Ground flax is the primary binder here, stable during baking and great for sliceability, don’t skip it.
- More starter = faster rise (and you can proof a bit cooler).
- Tang control: shorter proof = milder; longer = more sour.
- Proof high, bake hot: cover for steam, then uncover to color.
How To Store
Slice. Keeps 3-4 days at room temperature in a breathable bread bag;
If longer, keep in the freezer (flat in bags) and toast from frozen anytime. Personally I like double toasting or toasting at the highest intensity of my toaster, the crunchy texture and smell is just incredible!
Looking For A Different Gluten-Free Sourdough Bread?
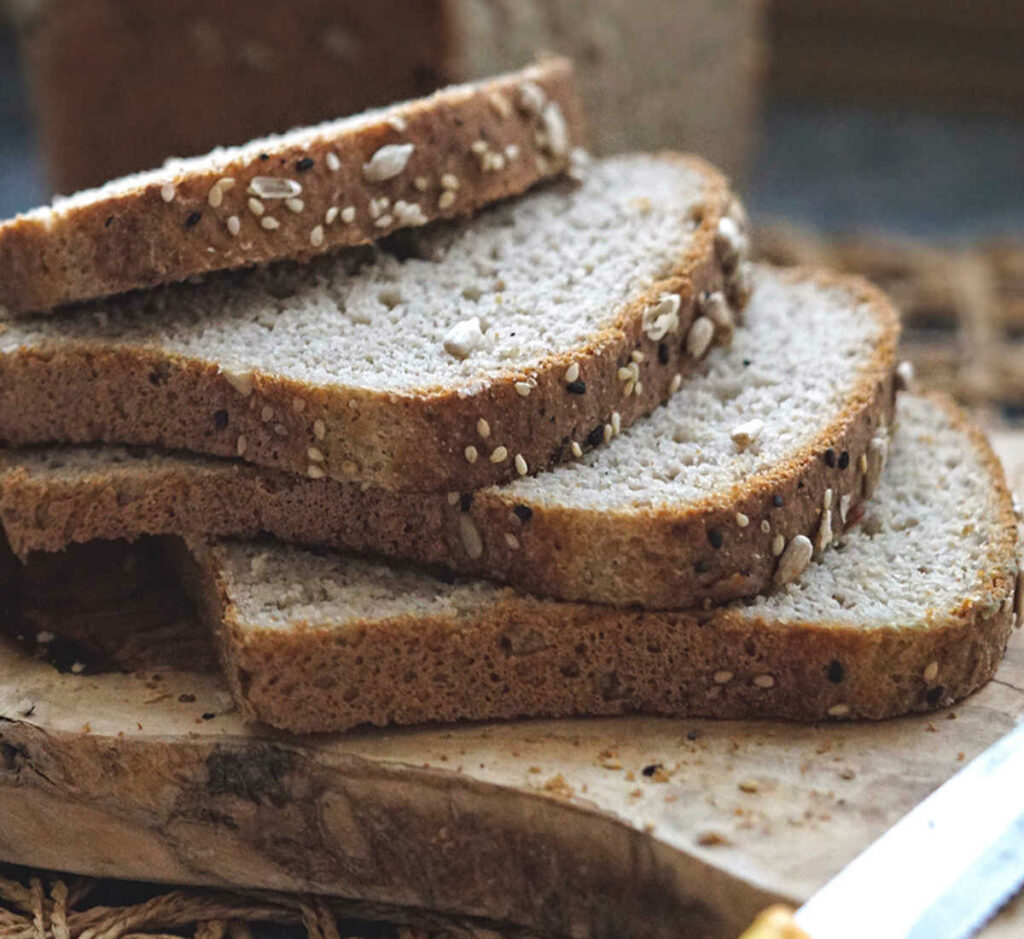
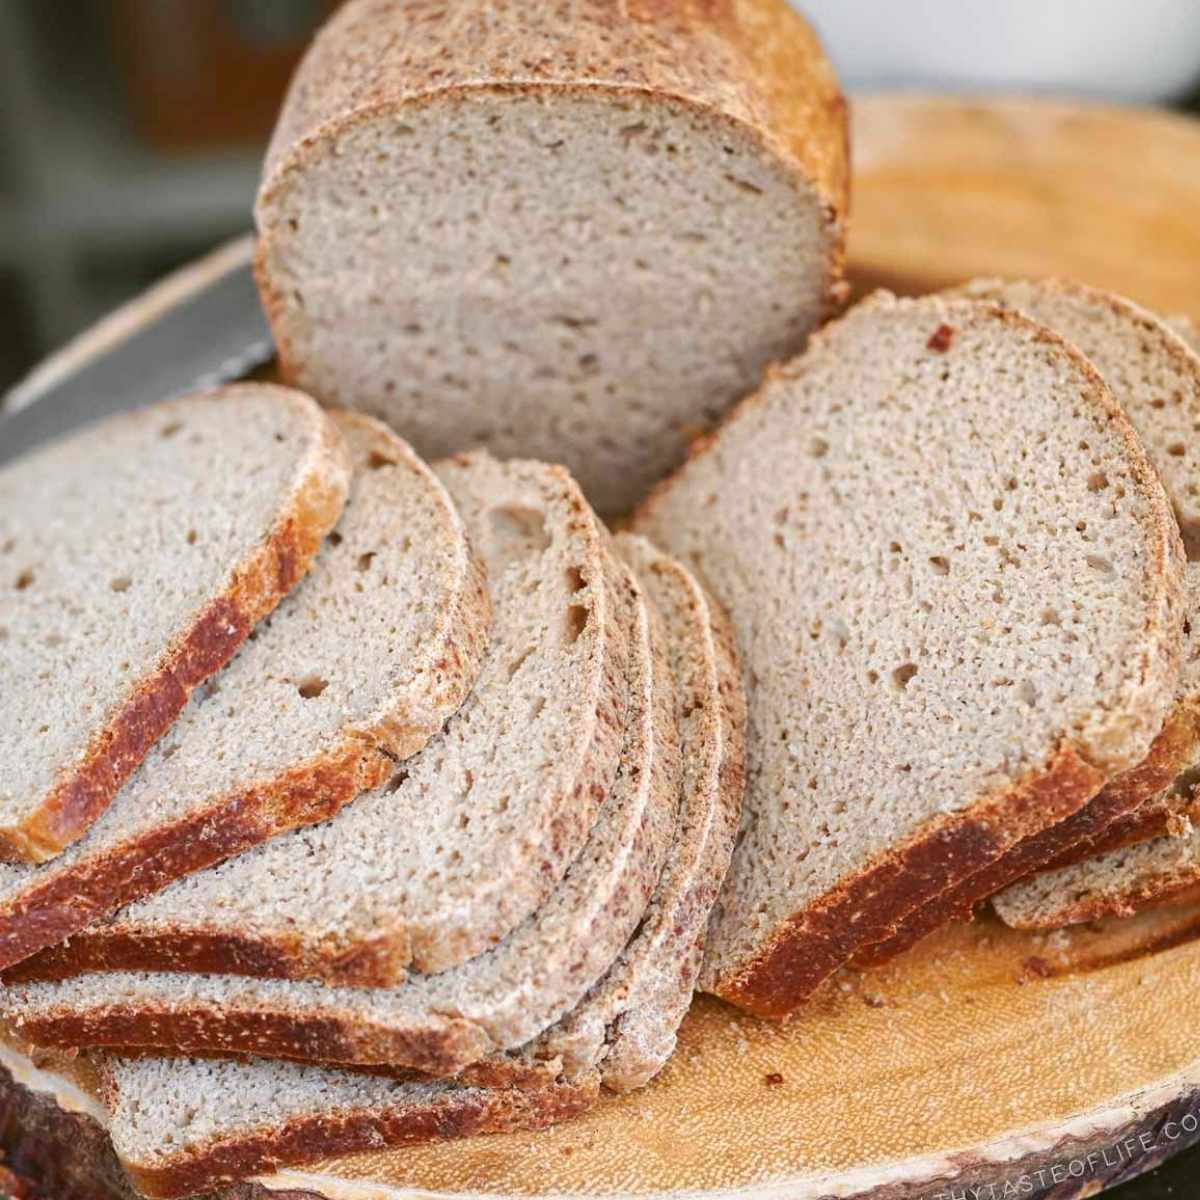
- Need a loaf that slices extra flexible and thin for toast? ➤ GF Sourdough Bread For Thin Slices & Toast (No Yeast, No Gums)
- Want the simplest flour combination? ➤ Easy 3-Flour Loaf GF Sourdough Bread
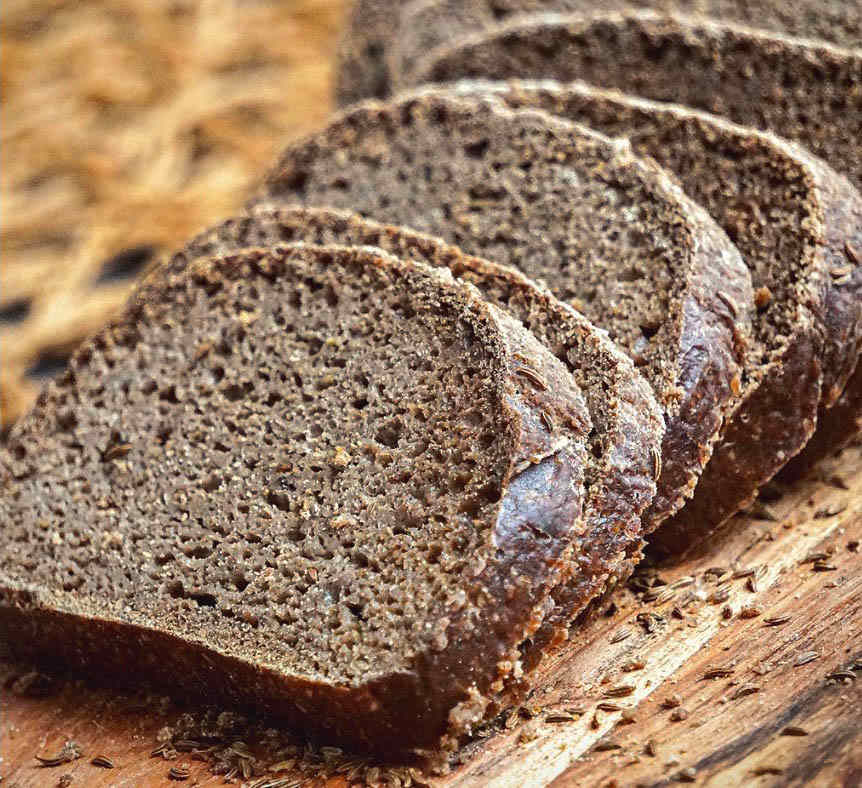
- Love darker European breads? ➤ Teff & Buckwheat Sourdough Bread (Pumpernickel-Style)
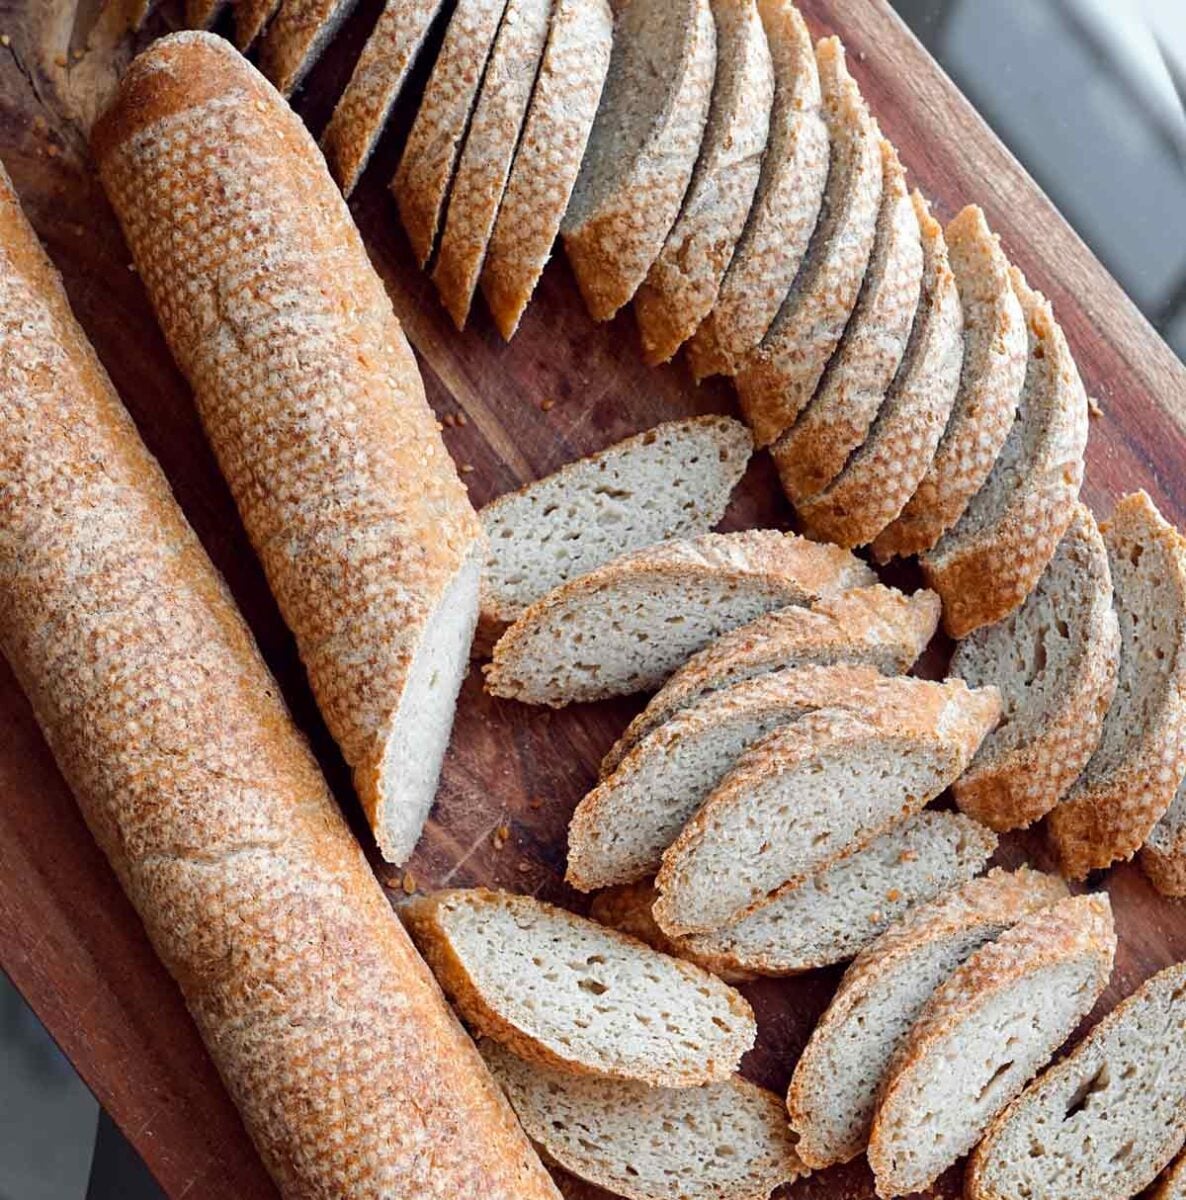
- Want crusty bread? ➤ GF Sourdough Baguette (No Yeast)
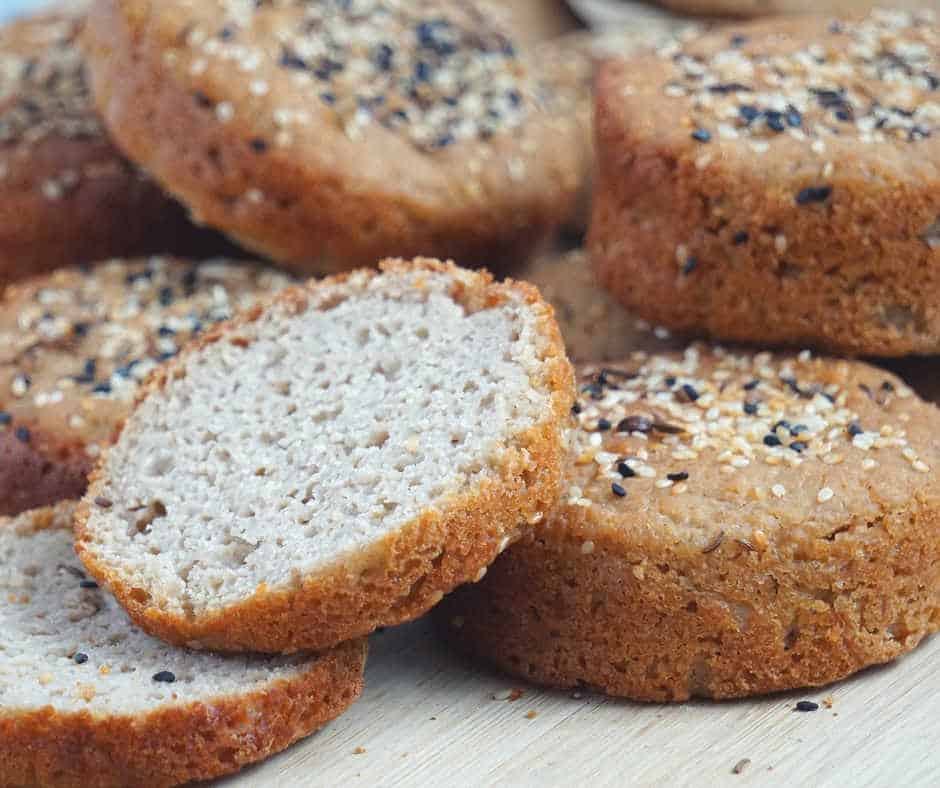
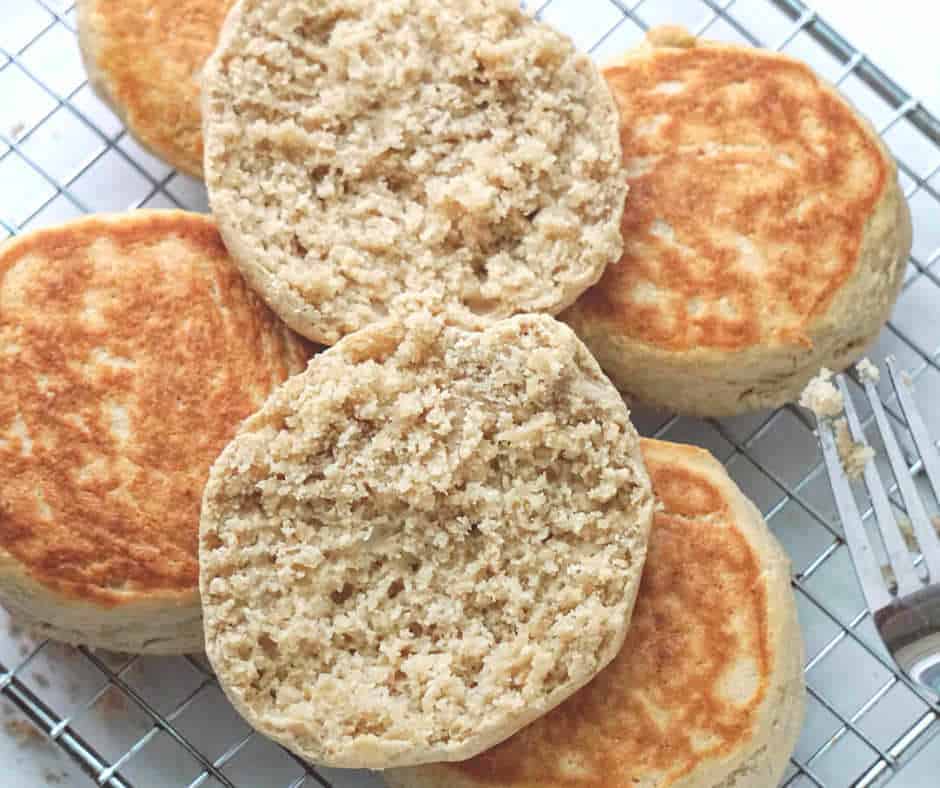
- Making burgers? ➤ Gf Sourdough Buns (No Egg, Vegan)
- Looking for naturally buckwheat-rich bread? ➤ Soft GF Buckwheat Bread
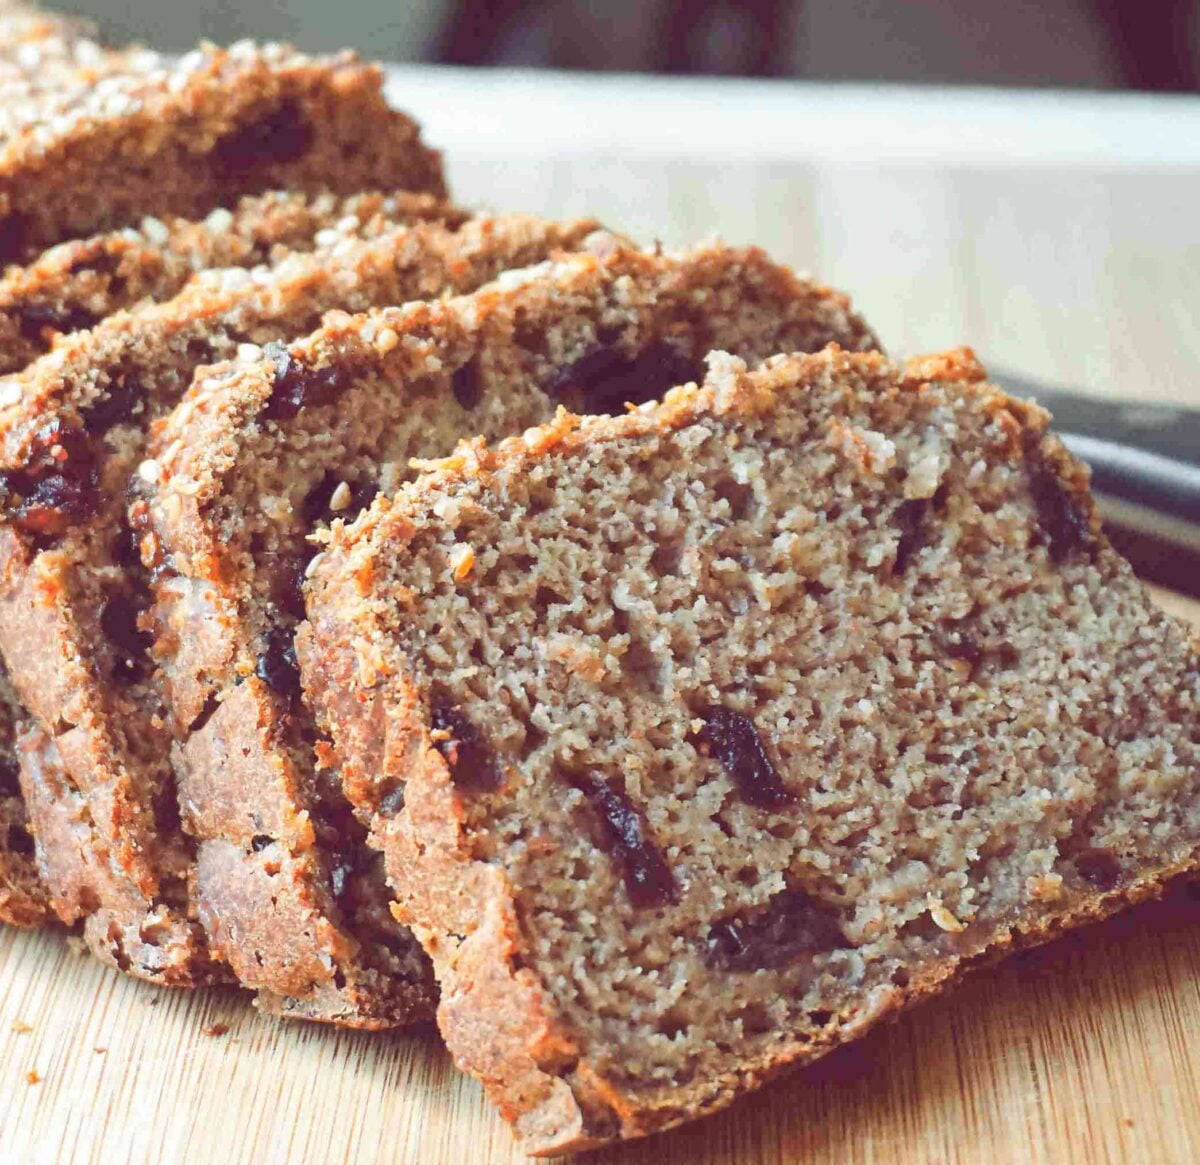
- Want something sweet? ➤ Moist Gluten Free Sourdough Banana Bread (Vegan)
If You’re Tired of Conflicting Nutrition Advice + Want a Simpler Approach To Healthy Eating
Join My Newsletter 👇
I share insights on food quality, gut health, health coaching tips beyond nutrition, and whole-food recipes that support long-term health, without strict rules or complicated meal plans.
Plus, you’ll get access to exclusive resources I don’t always share on the website.
Gluten-Free Sourdough Bread (Vegan, No Yeast, No Xanthan, No Psyllium)
Ingredients
Activate The Gluten Free Sourdough Starter
- 1 cup gluten free sourdough starter - active ~ 240 g (100% hydration)
- ½ cup brown rice flour - (80g) to revive the starter
- ½ cup filtered water, room temperature - 118 ml (adjust if needed)
Main Batter (Add to The Activated Starter)
- 1 cup buckwheat flour - (120g) light color
- 1 cup millet flour - (120g), if oat flour (100g) if sorghum flour (120g)
- ⅓ cup flax seeds - (37g) ground
- 1½ cup filtered water - (355 ml) or plant milk
- 1½ tsp pink salt - or ¾ tsp sea salt
Optional
- 1 tbsp maple syrup - (15 ml)
Instructions
Wake The Starter
- Take your (previously established) refrigerated starter and scoop 1 cup (that's all you need for this recipe).
- Feed it with brown rice flour (1/2 cup) and water (1/2 cup) mix in a large bowl; Rest in a warm place, covered: 3–5 hours until light and bubbly (depends on room temperature).Feed the rest of the starter in the jar and place it back in the fridge (or use for another recipe). See notes for troubleshooting.
Add The Rest of Ingredients and Mix The Batter
- Once the starter is awake (is bubbling regularly within a few hours of feeding) – in the same bowl, add the rest of ingredients: flours, ground flax (all sifted to prevent clumps) salt, and maple;
- Mix to a very thick, scoopable batter (like brownie batter). No kneading is required.
Pan and Proof
- In a high wall loaf tin, scrape in batter; Smooth it out with a wet spatula to produce a nice dome shape. Since the batter is very thick and sticky, I use parchment paper for my loaf pan (it has no bottom, just walls), so it's easy to remove while baking. See video.
- Add seeds or nuts on top if you want. Mist a cover (wrap, foil) or towel and cover. Proof warm until noticeably domed (about 4–5 hours, room-temp dependent).
Bake
- Preheat 425°F (220°C).
- Uncover, tent with foil (not touching batter, it's really sensitive and collapsible). Reduce to 390°F (200°C) and bake for 30 min.
- Then remove the foil (at this time you can also remove the baking tin if you used parchment paper inside, for an uniform baking on all sides) and bake for another 40-45 minutes until golden brown.
Cool And Slice
- Cool in tin 10–15 min, then on a rack until fully cool before handling. For best slices, wrap and slice next day with a serrated knife.
Video
Notes
- Do not shake or touch the dough once it has risen and is ready to bake, it will collapse and lose it’s shape.
- Topping bread dough with seeds and grains is a great way to develop even more crunch and depth of flavor. You can experiment with mixing seeds, nuts and dried fruit.
- For a lighter in color bread use lighter gluten free flours, read more about choosing the right flours in the post above.
- If you can’t find gluten free (and organic) oat flour, use your blender to grind some rolled oats.
- If you want your gluten free sourdough bread to be more sour you can keep it 1 hour longer to ferment, otherwise you won’t feel the sourness much.
- Whole grain flours tend to contain more organisms to feed the yeasts and bacteria. Switching from a whole grain flour to white flour may cause a decline in the health of the starter.
- Switch flours only when your sourdough starter has been fed for at least a week and is healthy, bubbling and growing.
- Pan choice: a tall loaf tin helps vertical lift, especially when the batter is soft and sticky.
- The ground flax seeds act as a binder and help the gluten free sourdough bread form a better structure. They are stable during baking and do not loose their health benefits like the flax seed oil does at high temperatures. I also experimented with adding more ground flax seeds (increased from 1/2 cup to 2/3 cup) and added 1/2 cup more water – turned out even better.
- More elasticity: if you add 1 tbsp psyllium husk to the batter – will add even more elasticity, flexibility and pliability to the bread). If you try it, make sure to mix it with 3 tbsp of water first.
Nutrition
The information shown is an estimate provided by an online nutrition calculator.
FAQs
It contains no commercial baker’s yeast. Like all sourdough, it’s naturally leavened by wild yeasts and lactic acid bacteria in the starter.
No. Fermentation does not reliably remove gluten from wheat or rye. This loaf is gluten-free because it uses gluten-free flours only.
Long fermentation can reduce certain FODMAPs and modify starches, which some people find gentler; benefits vary person to person.
Sprouting can lower phytate and may improve mineral bioaccessibility, depending on grain and conditions.
Oat flour usually performs not very well when used to grow a gluten free sourdough starter.
If you try this bread recipe, leave a quick ★★★★★ rating and tell me your experience. Your feedback helps me and readers.
More Healthy Gluten Free Bread Recipes
©HealthyTasteOfLife. Content and photographs are copyright protected and need prior permission to use. Copying and/or pasting full recipes to other websites and any social media is strictly prohibited. Sharing and using the link of this recipe is both encouraged and appreciated!



I can’t eat buckwheat…. can I replace it with a different flour?
Yes, You can use millet flour, amaranth flour, sorghum flour, oat flour, just make sure the flour is finely ground.
I noticed that when you made the update, you changed the amount of flaxseed for the egg replacement from 1/3 cup to 2/3 cup. Was this a typo or did you change the amount for a reason?
Yes, I changed it on purpose, I noticed that a higher amount of ground flax seeds gives the bread a better structure, texture and pliability.
A gluten free sourdough bread that I finely mastered to make and really enjoy, thanks for sharing!
So lovely to hear that, thank you!
My first attempt was pretty successful, I can eat bread again…yoo hoo!!
I’m so happy for you, enjoy!
At the beginning this gluten free sourdough bread seemed so intimidating to make… once I had the starter active in my fridge it is soooooo easy to bake it …that’ s the only time I feed the starter –
once a week..I usually make 2 loafs, slice them and then store them in the freezer…very convenient! ?
You’re right! I felt the same way… then with practice it’s so much faster and easier!