

Gluten-Free Sourdough Bread For Thin Slices & Toast (No Yeast, No Gums)
If you’ve ever made gluten-free sourdough bread, you probably know the frustration: the flavor may be good, but the texture often falls short. Too crumbly, too gummy, too wet inside, or impossible to slice thin without everything falling apart. Or the texture might be nice but the taste and ingredients are not “the best”.
If you need an egg-free vegan version, or a psyllium husk free bread, my original gluten-free sourdough bread recipe may be a better fit.
After testing multiple gluten-free sourdough bread recipes over the years, I wanted something very specific: an easy loaf made with clean, simple ingredients that slices thin, holds together beautifully, and tastes good enough to enjoy every day, especially toasted.
This recipe is also beginner friendly and requires no kneading. There is no commercial yeast, gums, refined flour blends, or excess starch. Instead, it relies on a balanced combination of whole-grain flours, active sourdough starter, psyllium, flax, and one egg for extra structure.
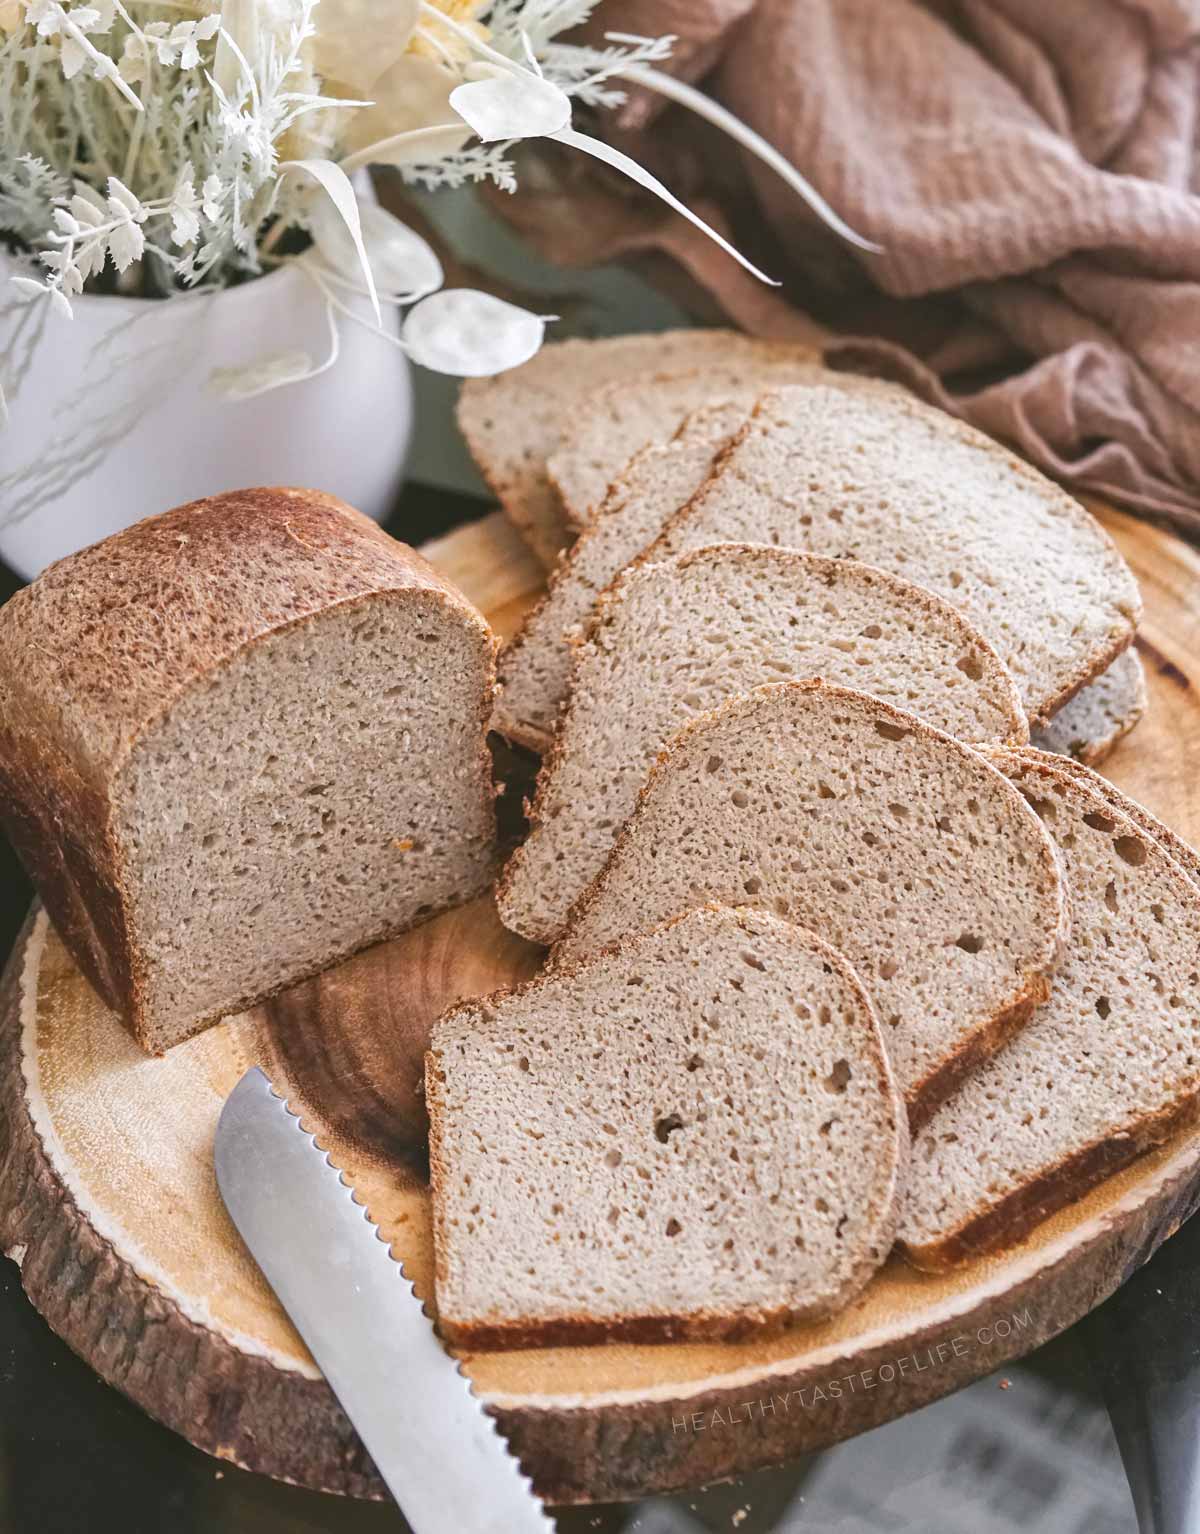
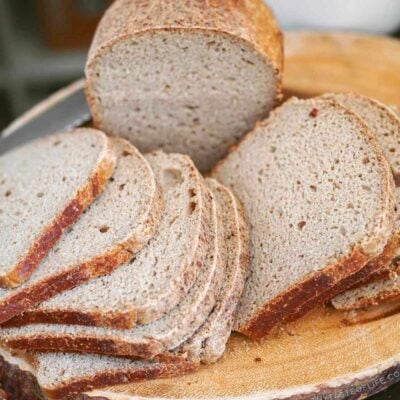
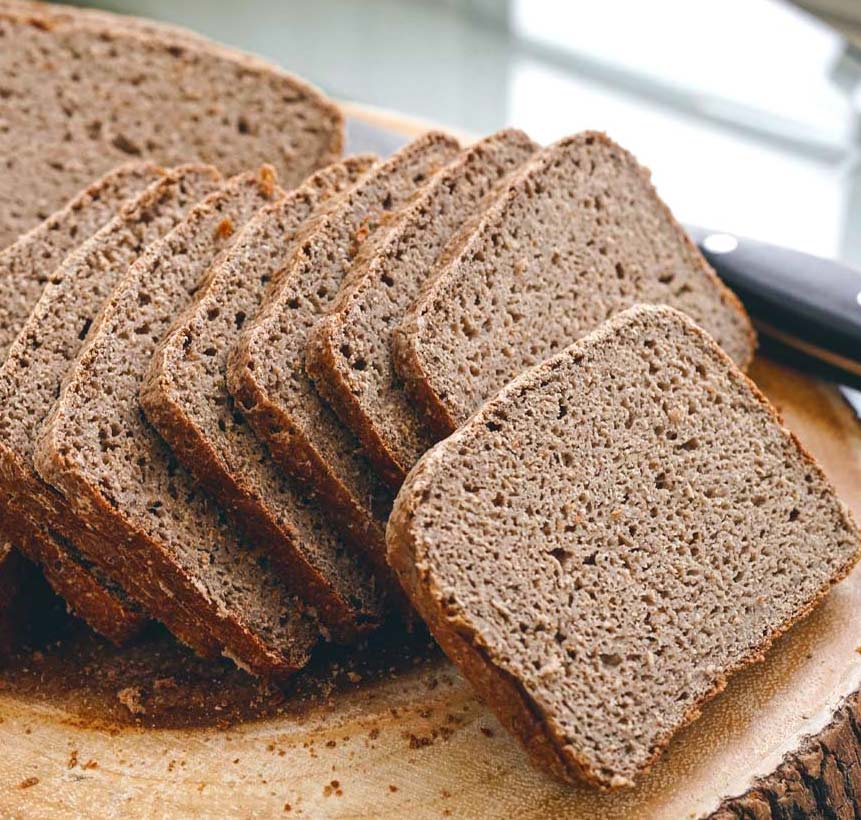
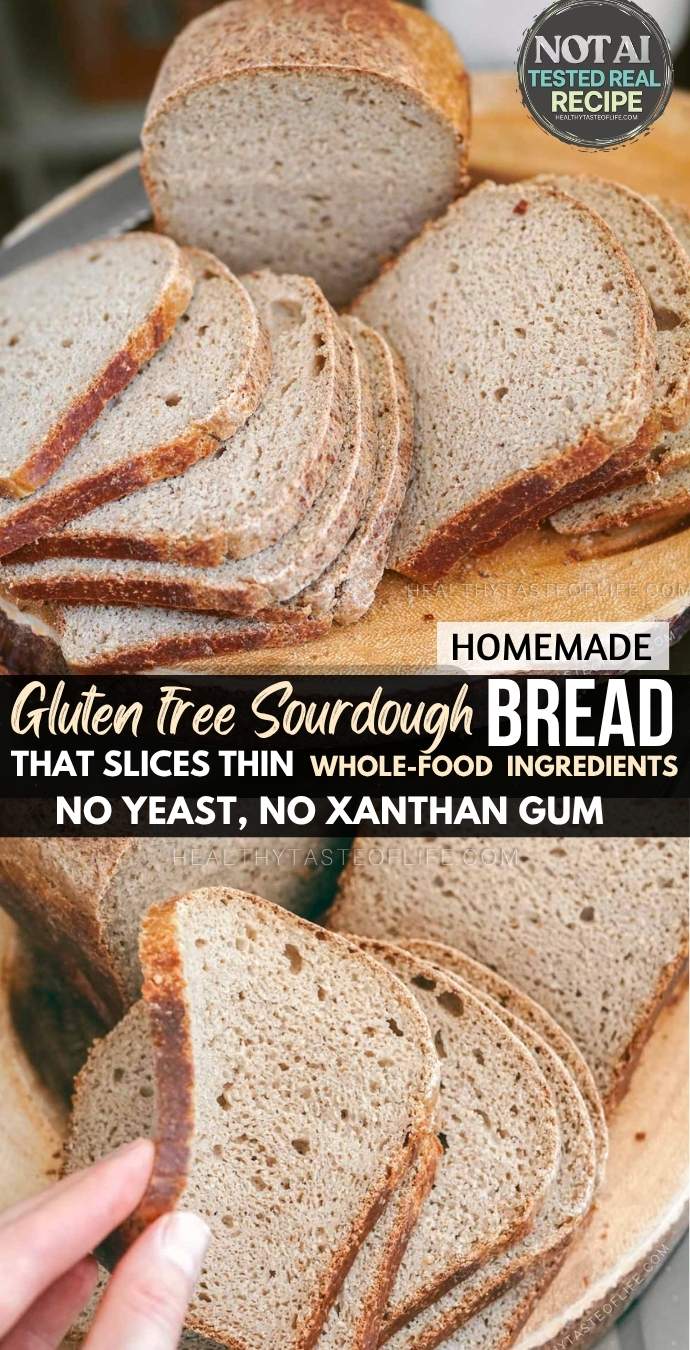
The result is a bread with an elastic, flexible crumb that holds together surprisingly well. It’s sturdy enough for thin slices, toast, open-faced sandwiches, and spreads, without turning dry or crumbly.
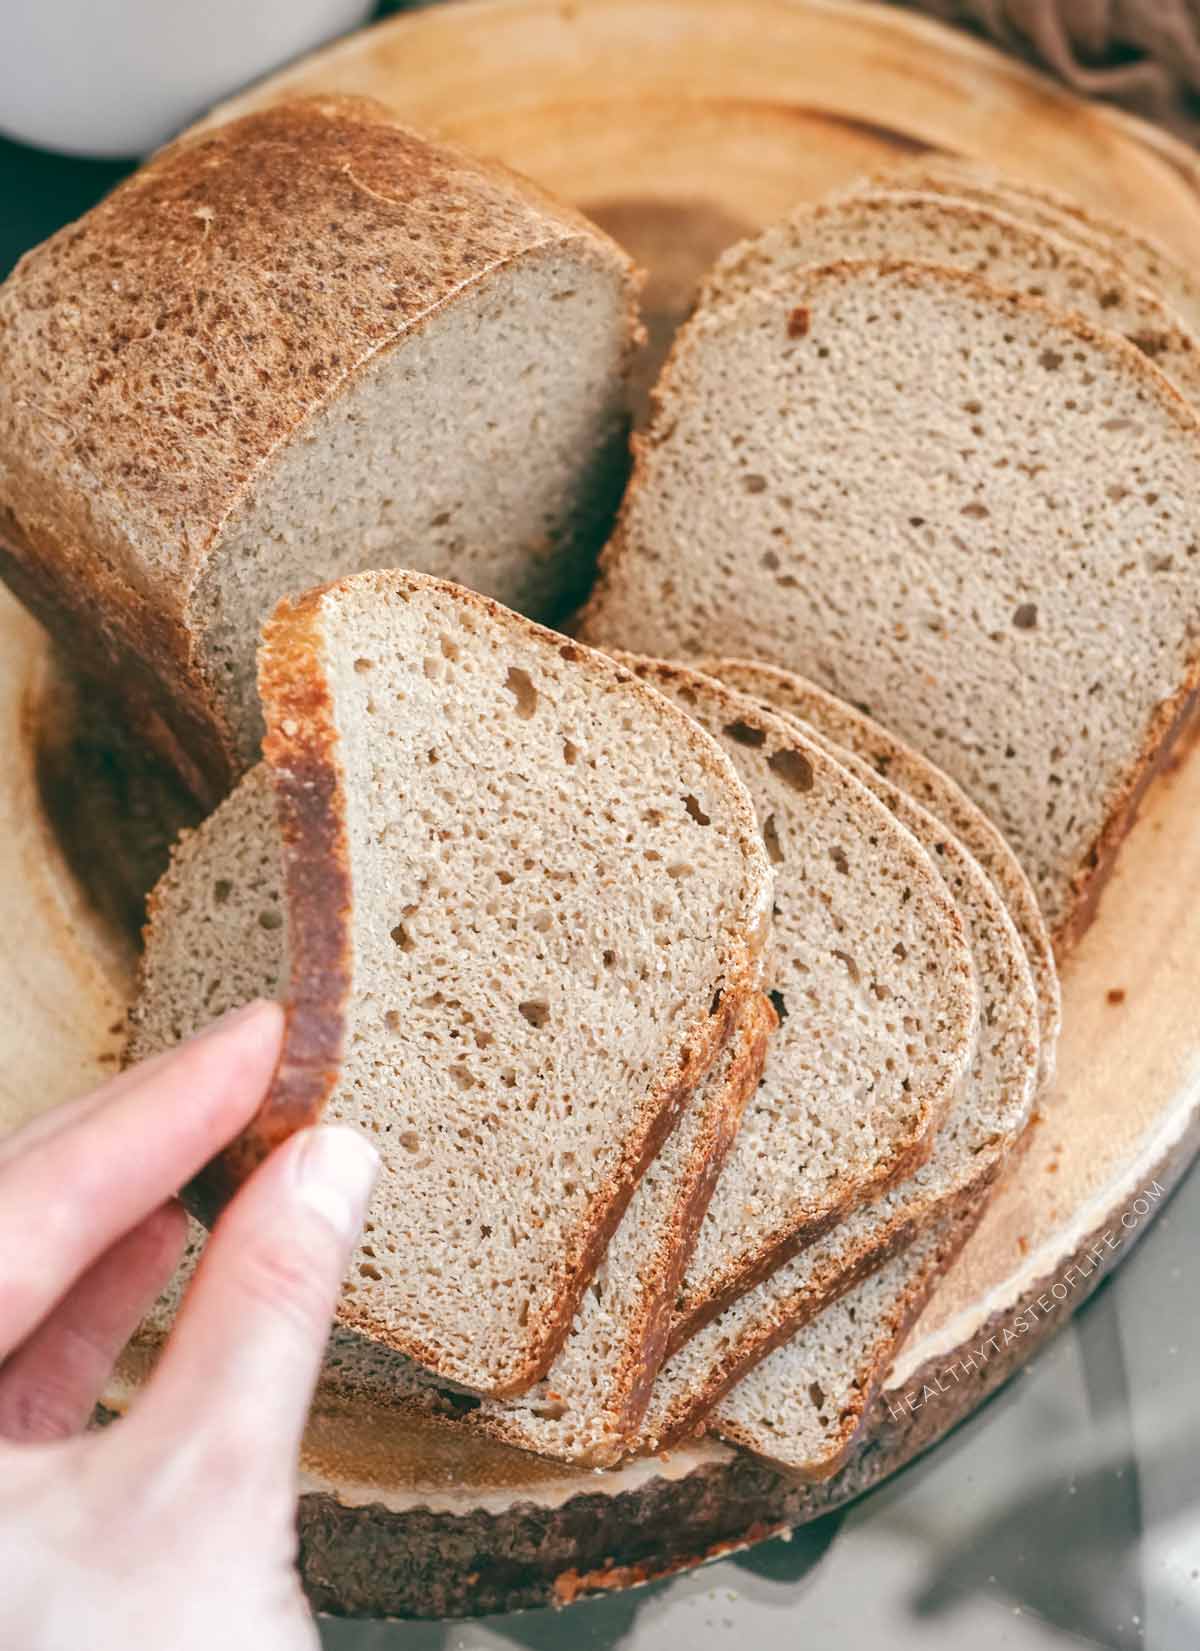
It’s not a fluffy white sandwich loaf, and it’s not meant to be. Instead, think of it as a nourishing everyday bread with a satisfying chew, mild sourdough flavor, and a texture that feels reliable and practical for real-life use.
Why You’ll Love This Bread
- Easy, beginner-friendly recipe
- No kneading required
- No commercial yeast or baking powder
- No xanthan gum or guar gum
- No store-bought gluten-free flour blends
- No excess sugar or seed oils
- Made with simple whole-food ingredients
- Good fiber from flax, buckwheat, and psyllium
- Slices thin without crumbling
- Excellent for toast and sandwiches
- Mild to medium sourdough flavor
What Makes This Gluten-Free Sourdough Different
Many gluten-free bread recipes depend heavily on:
- tapioca starch
- potato starch
- cornstarch
- xanthan gum
- commercial yeast
These ingredients can improve rise and softness, but they often create bread that feels overly processed, gummy, or nutritionally lacking.
This loaf, just like all my bread recipes, takes a different approach. Instead of relying on a commercial flour blend full of refined starches, this recipe uses a simpler flour combination built around more nutrient-dense ingredients:
- rice flour for structure
- buckwheat flour for flavor and minerals
- a moderate amount of arrowroot for elasticity
- sourdough starter for fermentation and flavor
That balance creates a loaf that feels more like real bread rather than a starch-heavy substitute.
Because it contains more whole-food ingredients and less refined starch than many gluten-free breads, it also provides better fiber and more nutritional value.
Is Gluten-Free Sourdough Easier To Digest?
Many people find properly fermented sourdough easier to tolerate than standard gluten-free bread.
Why? The fermentation process helps:
- partially break down starches
- reduce certain anti-nutrients
- develop organic acids
- improve flavor complexity
For some people, this may support digestion and reduce bloating compared with highly processed commercial gluten-free breads.
That said, digestion is individual. What feels nourishing and satisfying for one person may not feel the same for another.
And fermentation alone doesn’t guarantee better digestion for everyone, your foundation for gut health and digestive function still has a huge impact.
Texture: What To Expect
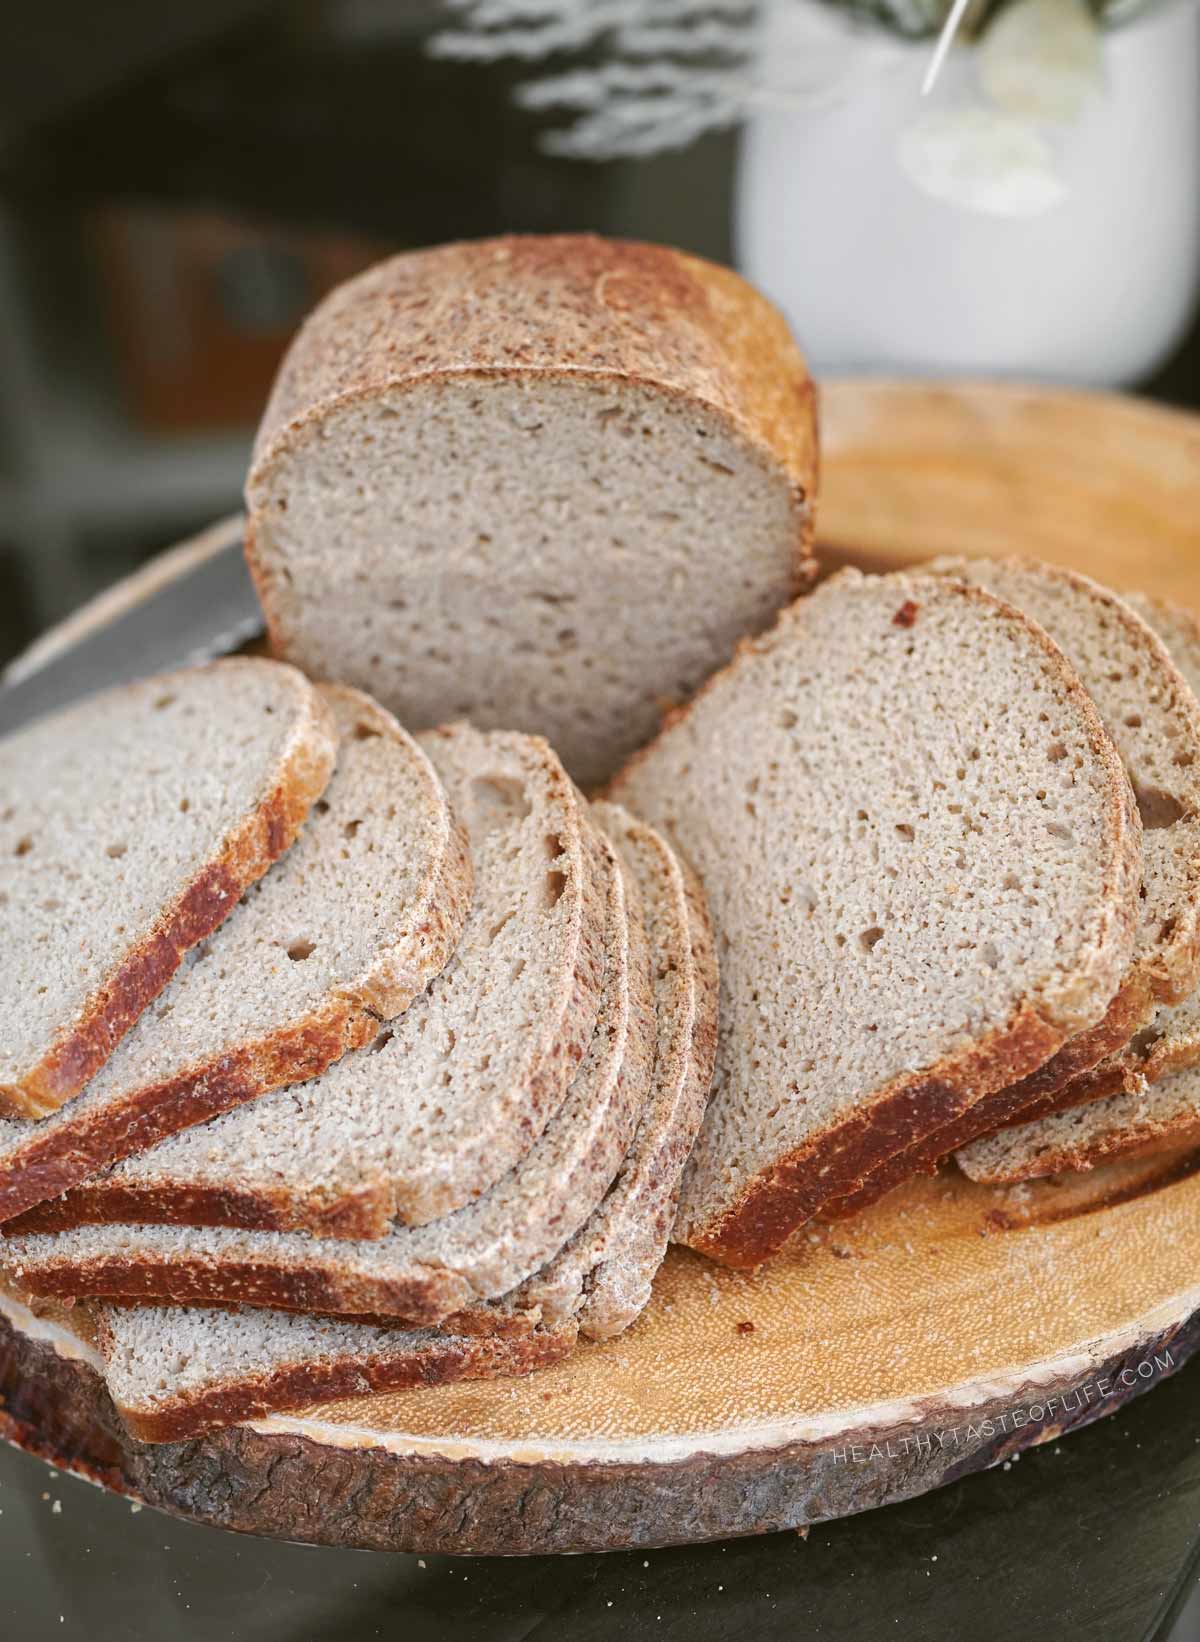
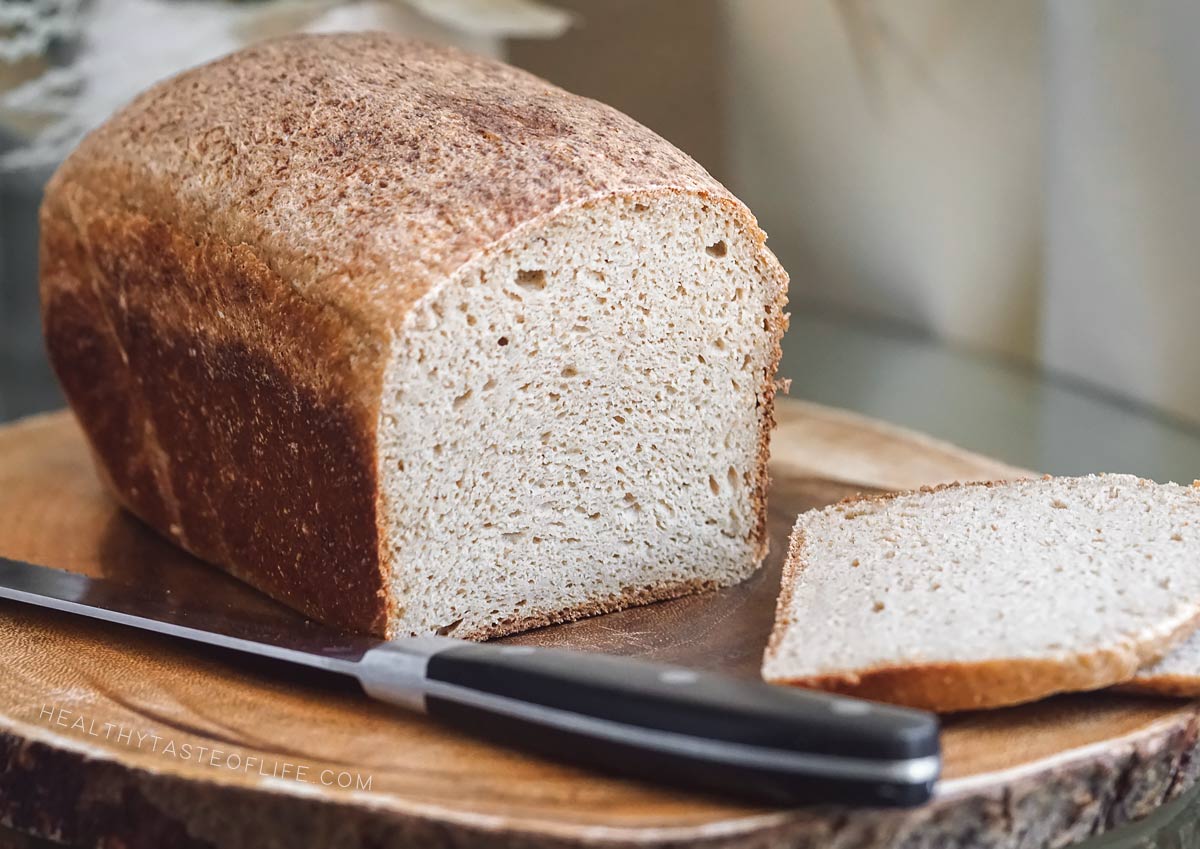
This bread is not: fluffy like white sandwich bread, airy like wheat sourdough or cake-like soft. Instead, the crumb is: sturdy, but flexible, slightly chewy, moist but not wet, a bit dense without feeling heavy.
The biggest win? You can slice it very thin without it crumbling.
That makes it especially good for: toast, open-faced sandwiches, butter, jam, spreads and pâtés. Even after toasting, it stays pleasantly structured instead of turning dry or brittle.
If you prefer a darker, heartier loaf, my 3-flour sourdough bread may be a better fit.
Ingredients You’ll Need
Wet Ingredients
- water
- egg (improves rise, structure, elasticity, crumb cohesion)
- apple cider vinegar (acts as a natural dough conditioner)
- avocado oil (or other neutral oil) creates a softer, more tender crumb, a thinner/less crackly crust
- honey (optional)
- sea salt
Binders
- ground flaxseed + psyllium husk (replaces gums while creating elasticity and better sliceability + fiber). Instead of a crumbly loaf, you get a flexible structure that holds together.
Other + Dry Ingredients
- rice flour
- buckwheat flour
- arrowroot flour (I use only a moderate amount. Too much starch can make gluten-free bread overly gummy or empty nutritionally). Here, arrowroot helps improve texture without leading the recipe.
- active gluten-free sourdough starter (sorghum based).
Before you start, make sure your gluten-free sourdough starter is active, bubbly, and at least doubled in volume. If you don’t already have one, follow my step-by-step guide for making a gluten-free sourdough starter at home first.
How To Make Gluten-Free Sourdough Bread
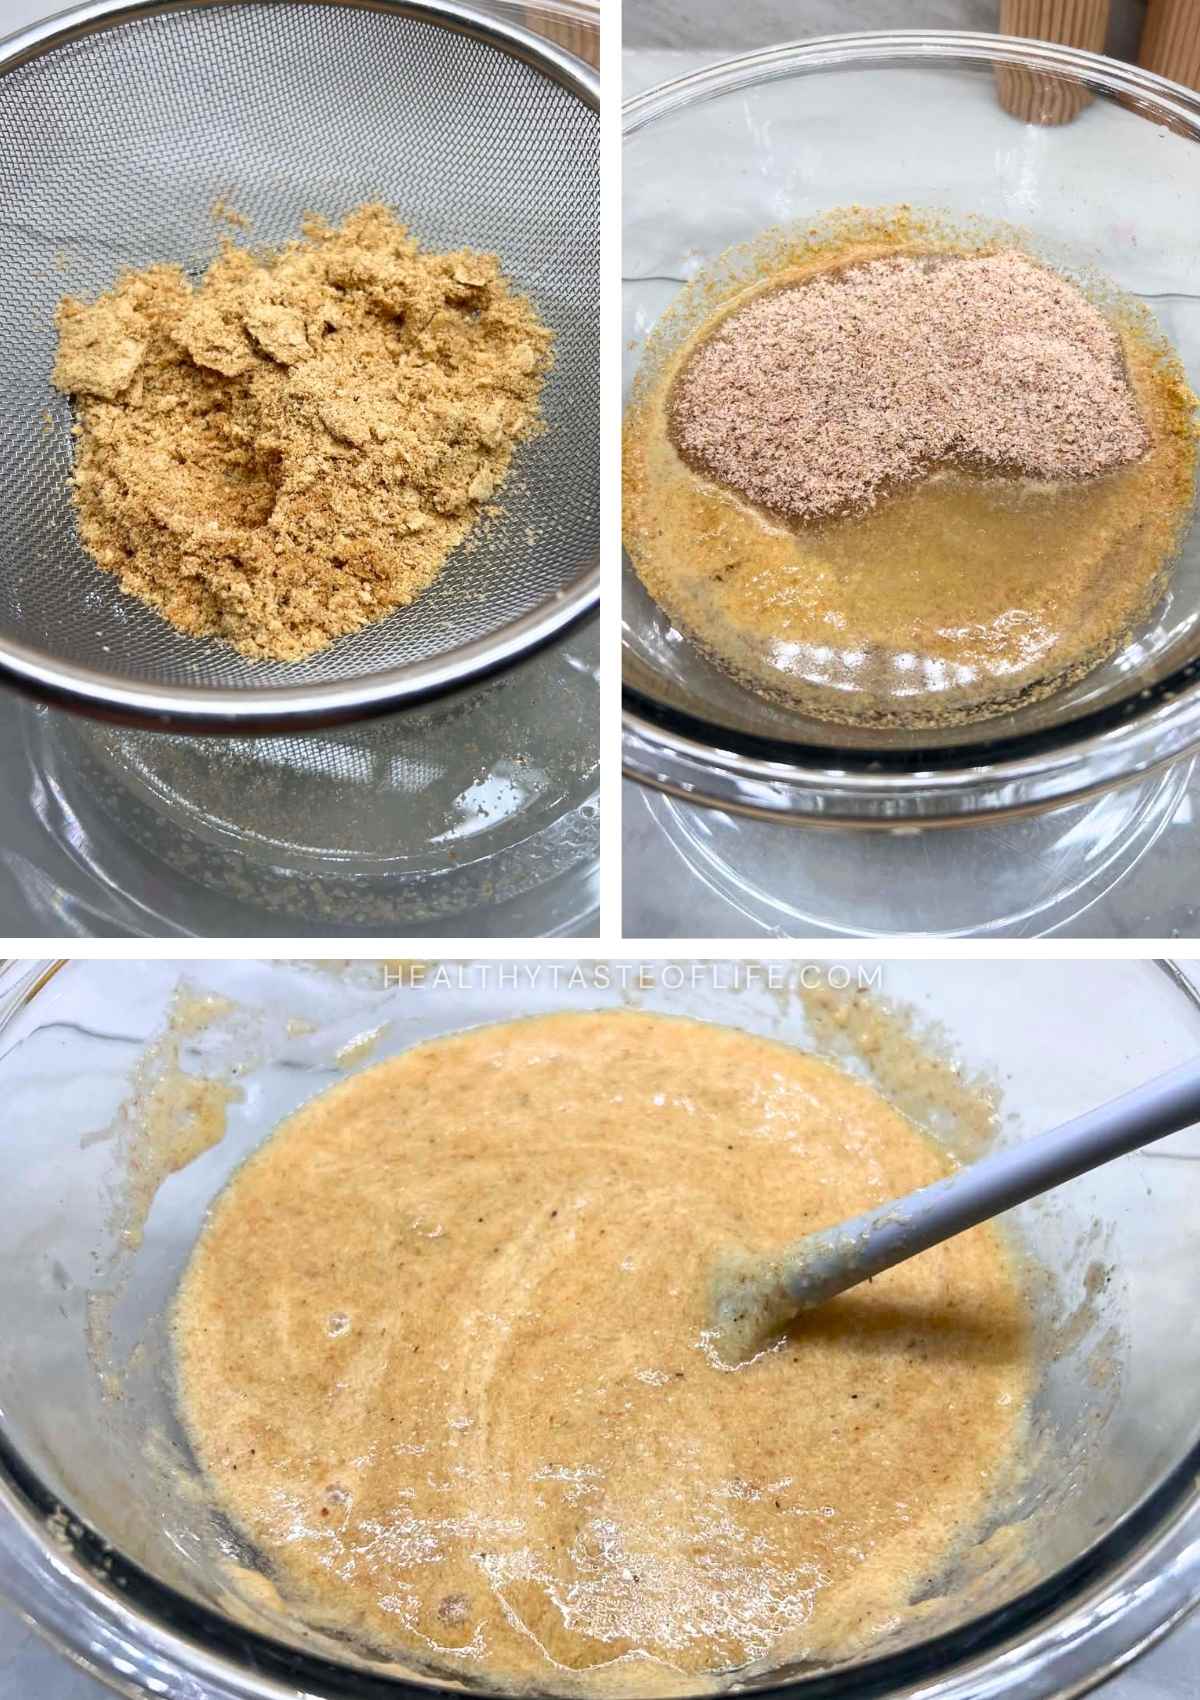
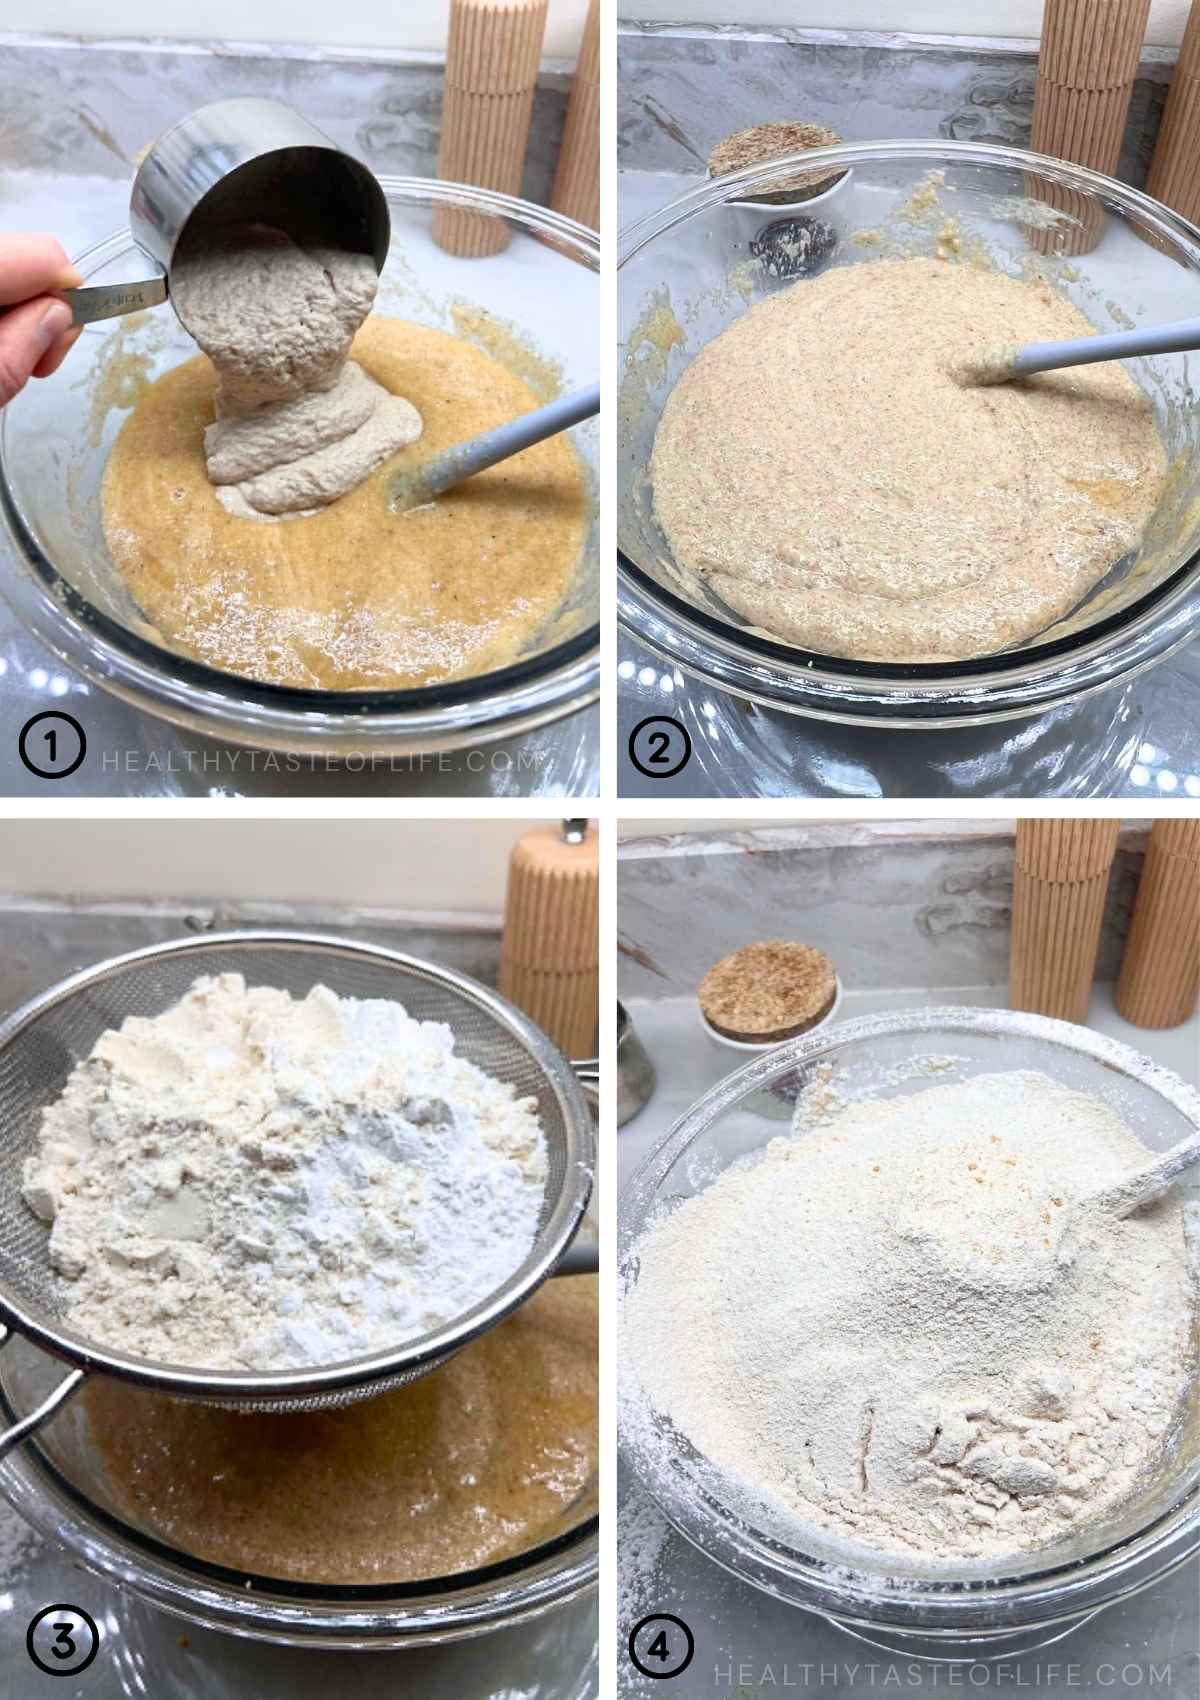
Step 1: Make the gel base
In a bowl, mix:
- water
- ground flax
- psyllium
- egg
- apple cider vinegar
- oil
- salt
- honey (optional)
Mix until smooth and uniform. Let it sit briefly so the flax and psyllium hydrate.
Step 2: Add flours and starter
Add:
- active sourdough starter
- rice flour
- buckwheat flour
- arrowroot
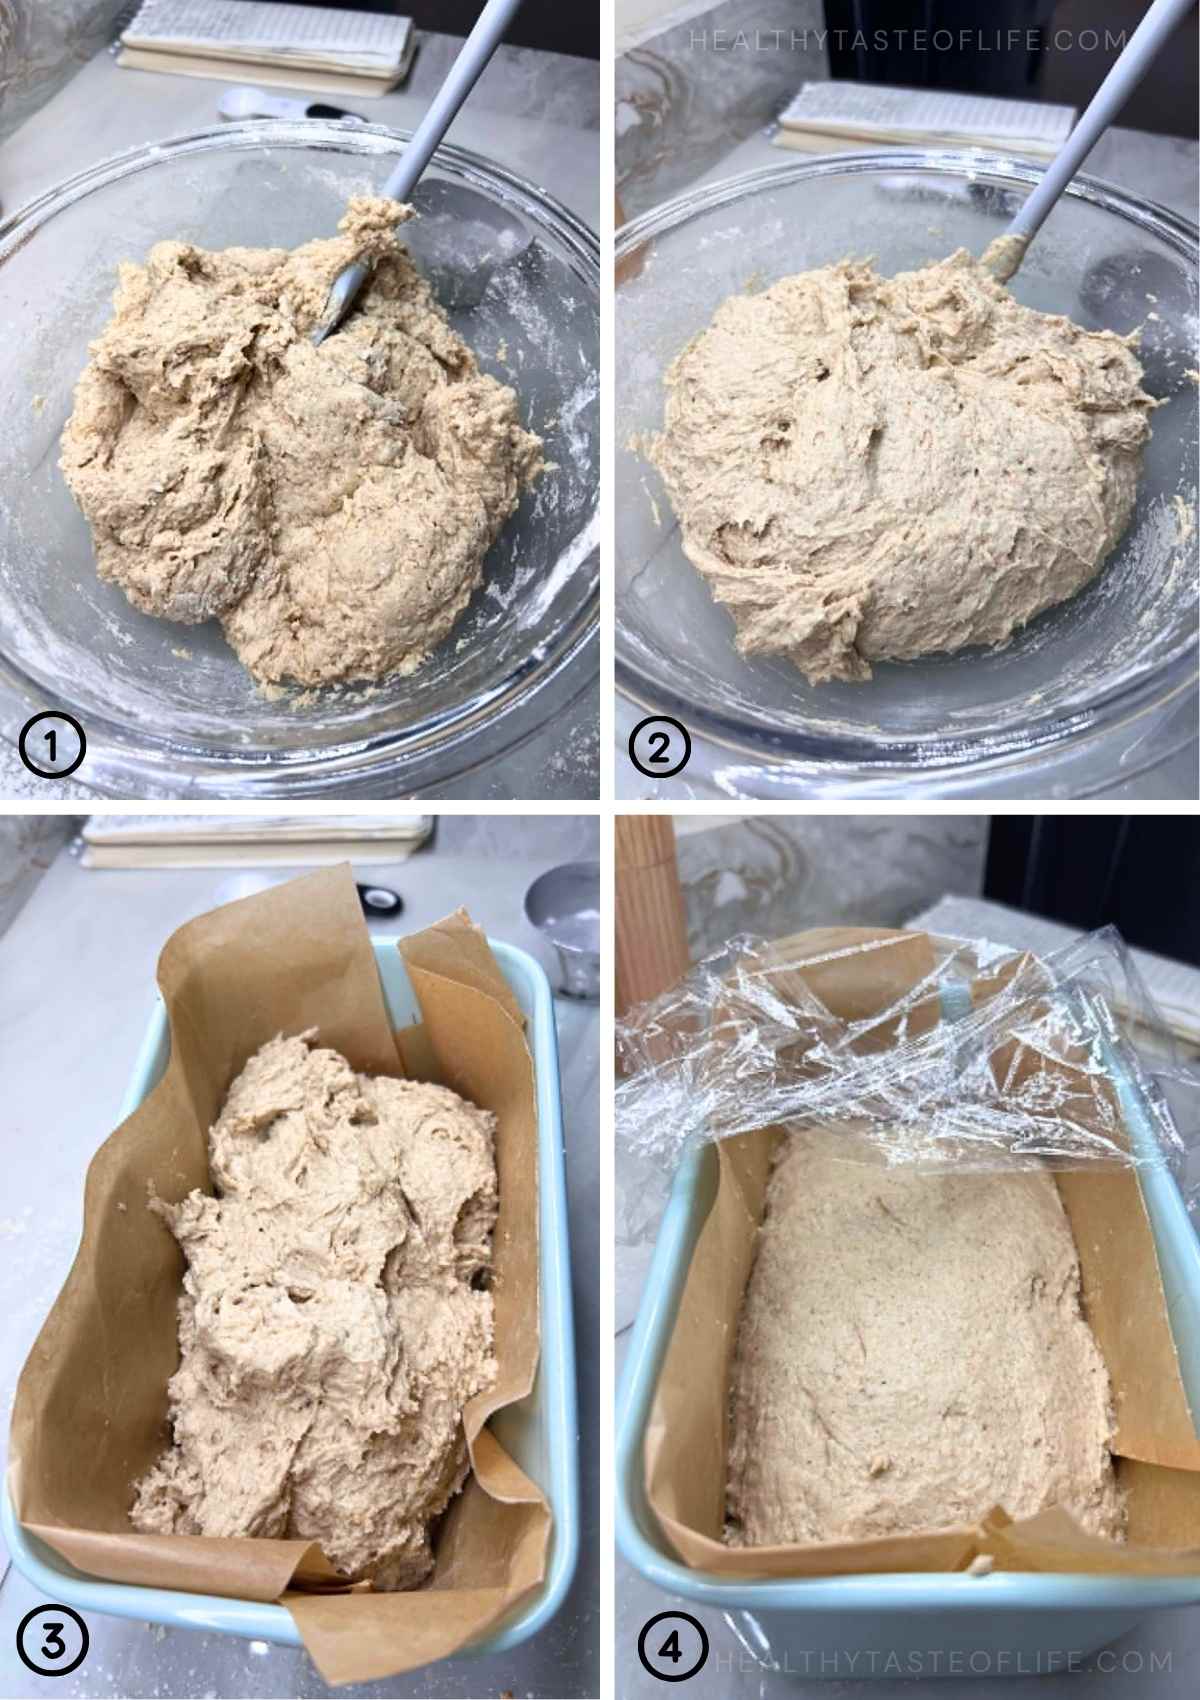
Mix with a spatula until a thick batter forms. The dough should look like a very thick wet bread dough. Not pourable, but not kneadable either.
Step 3: Transfer to pan
- Transfer the dough into a prepared loaf pan with tall sides. You can use: parchment-lined metal loaf pan or ceramic non-stick loaf pan.
- Smooth the top with a wet spatula.
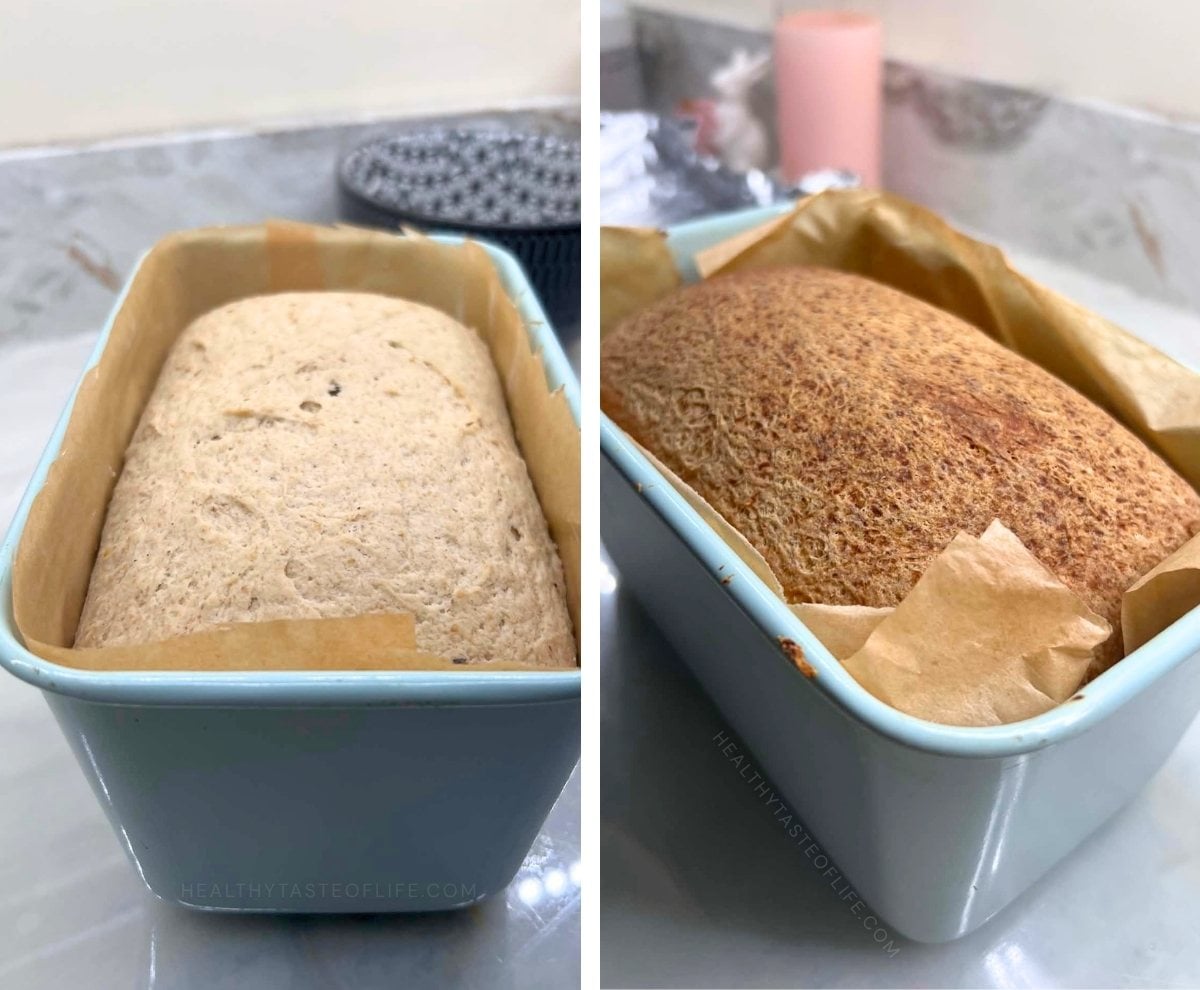
Step 4: Bake
- Bake at 400°F, covered with foil, for 20-25 minutes. Spray the inside of the foil lightly with water before covering.
- This creates steam, helps the loaf rise better, and reduces cracking.
- Then remove foil, reduce heat to 370°F, and bake another 35-40 minutes.
Step 5: Cool completely
Let the bread cool fully before slicing. This is important. Cutting too early can make the crumb seem wetter than it actually is.

Expert Tips For Best Results
⦿ Use an active bubbly starter.
⦿ Measure flours consistently (sift if you can: sifting flour eliminates lumps, aerates the mixture for a lighter texture).
⦿ Don’t skip psyllium and there is no substitute for that.
⦿ You can use a kneading machine as well if you don’t want to mix by hand.
⦿ Let the loaf cool fully before slicing. For extra thin slices, I prefer waiting until the next day. The crumb becomes even more stable.
⦿ Use a serrated knife for cleaner slice.
How To Store
- Store covered at room temperature for 1–2 days.
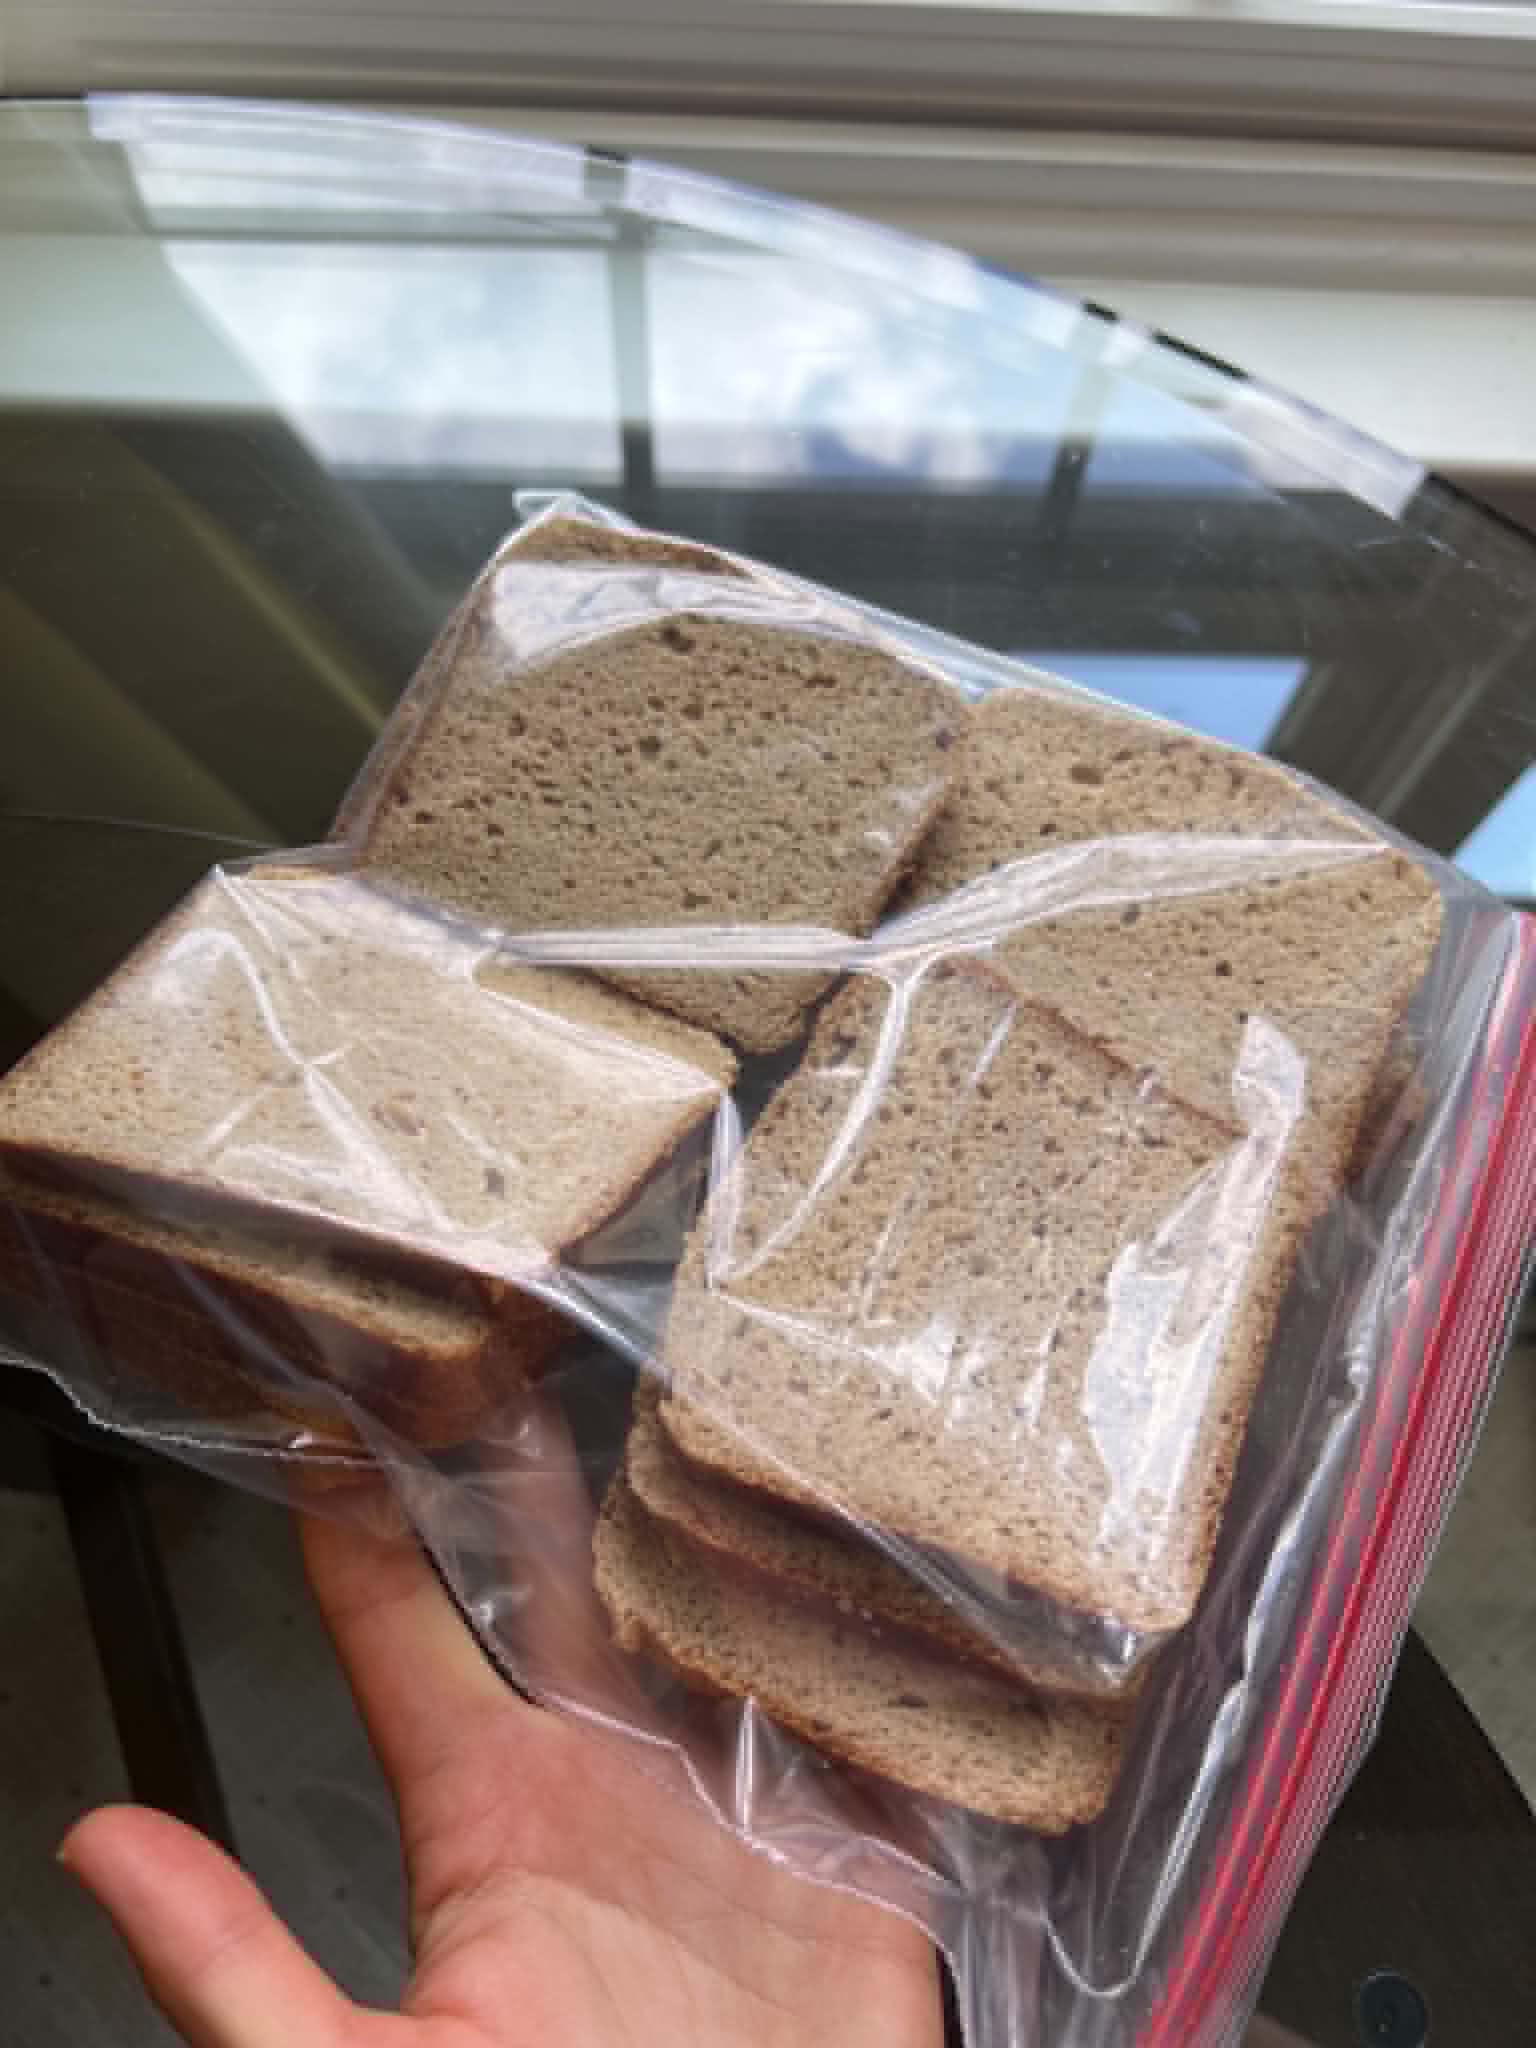
- For longer storage: refrigerate up to 5 days or slice and freeze in a bag (see image below). I like freezing individual slices so I can toast them directly.
Ways To Use This Bread
This loaf is especially good for:
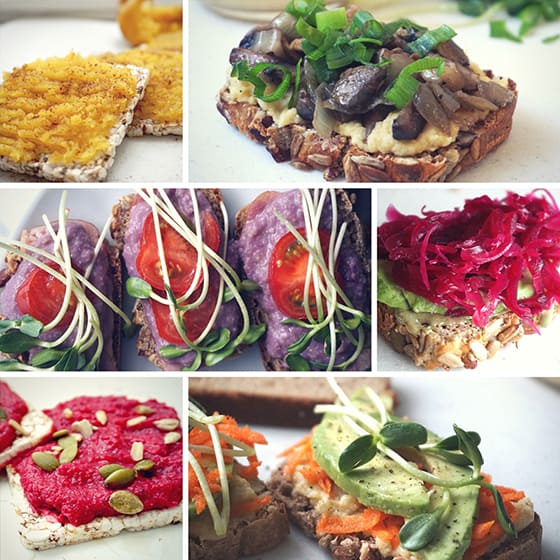
- breakfast toast with egg/avocado
- other healthy toppings for toast
- open-faced sandwiches (like this Protein Salmon Salad as topping)
- soup sides or as dry cubed bread slices (croutons)
If you’re just getting started with gluten-free eating, you may also find my Gluten-Free Dairy-Free Guide helpful.
If you try this bread recipe, leave a quick ★★★★★ rating. Your feedback helps other readers.
If You’re Tired of Conflicting Nutrition And Health Advice + Want a Simpler Approach To Healthy Eating and Living
Join My Newsletter 👇
I share insights on food quality, gut health + whole-food recipes that support long-term health, without strict rules or complicated meal plans. And much more including holistic health coaching tips beyond nutrition!
Plus, you’ll get access to exclusive resources I don’t always share on the website.
Watch The Video
In this video, I’ll show you how my favorite gluten-free sourdough bread looks like, it’s great for thin slices and toast. You’ll see the dough consistency, before and after baking it, and the flexible crumb using simple whole-food ingredients, without commercial yeast or gums.
Gluten-Free Sourdough Bread For Thin Slices And Toast (No Yeast, No Gums)
Ingredients
Wet Ingredients
- 1½ cups water
- 4 tbsp flax seeds - ground (I used golden color)
- 2½ tbsp psyllium husk
- 1 egg
- 1 tbsp apple cider vinegar
- 2 -3 tbsp avocado oil - or other neutral oil
- 1 tbsp honey - optional
Other + Dry Ingredients
- 1 cup active gluten-free sourdough starter - 100% hydration, sorghum-based
- 1 cup rice flour
- 1 cup buckwheat flour
- ½ cup arrowroot flour
- 1-1½ tsp sea salt
Instructions
Prepare the loaf pan
- Preheat oven to 400°F (200°C).
- Line an 8 x 4.5 inch loaf pan with parchment paper or use a non-stick ceramic loaf pan. A 9 x 5 inch pan also works, though the loaf will be slightly shorter.
- In a large bowl, combine: water, ground flax seeds, psyllium husk, egg, apple cider vinegar, oil, honey (if using). Mix until smooth and homogeneous.
- Let sit for 1–2 minutes so the psyllium and flax begin absorbing moisture.
Add the starter and dry ingredients
- Add: the active sourdough starter, mix it a bit and then add the rest: rice flour, buckwheat flour, arrowroot flour and salt.
- Mix using a spatula or your hand until fully combined. You can also use a dough mixer to save manual effort.
Ferment the dough
- Transfer dough into the prepared loaf pan. Smooth the top with a wet spatula.
- Cover to prevent drying and let ferment at room temperature for 4–5 hours, depending on kitchen temperature, until risen and airy.
Bake covered
- Cover loosely with foil. Bake for 20-25 minutes at 400°F.
Bake uncovered
- Reduce oven temperature to 370°F (~185°C). Remove foil.
- Bake for another 35-40 minutes, or until the loaf is firm and the crust is slightly golden.
Cool completely
- Remove from pan, cover with a towel, this traps steam and creates a softer crust.I let it cool slowly and completely till next day.
Notes
Texture
This is not a fluffy white sandwich loaf. Expect a crumb that is: cohesive, flexible, slightly chewy, moist but not wet, moderately dense without feeling heavy. The biggest advantage is that it slices thin without crumbling, making it excellent for toast and open-faced sandwiches.Storage
- Store covered at room temperature for 1–2 days.
- Refrigerate up to 5 days.
- For longer storage, slice and freeze.
- Toast slices directly from frozen if desired.
Substitutions
- Arrowroot may be replaced with tapioca starch (texture may vary)
- Honey can be omitted
- Avocado oil can be replaced with olive oil or melted butter/ghee
- If you have a rice-based starter, use that instead, and replace the rice flour with sorghum flour in the recipe.
Nutrition
The information shown is an estimate provided by an online nutrition calculator.
FAQ
The egg contributes significantly to structure and sliceability, so I don’t recommend omitting it without further testing.
Possibly with tapioca starch, but texture may change.
Usually because of one of these: too much moisture, inactive starter, underbaking, slicing too early.
Not strictly low starch, but compared with many gluten-free breads made mostly from tapioca, potato starch, or cornstarch, this recipe uses more whole-food flour and less refined starch.
Yes, this is one of the best uses for this bread. It toasts beautifully and holds together very well.
Compared with many store-bought gluten-free breads, this loaf uses simpler ingredients and more whole-food flours. Still, no single food determines whether a diet is healthy, context matters. I prefer thinking about how bread fits into a balanced meal rather than labeling it as simply “good” or “bad.”
More Gluten Free Bread Recipes
©HealthyTasteOfLife. Content and photographs are copyright protected and need prior permission to use. Copying and/or pasting full recipes to other websites and any social media is strictly prohibited. Sharing and using the link of this recipe or article is both encouraged and appreciated!



Thank you for this recipe, the bread came out great, like in your photos, I wish I could show it to you! Im definitely keeping this one!
Wonderful, enjoy!