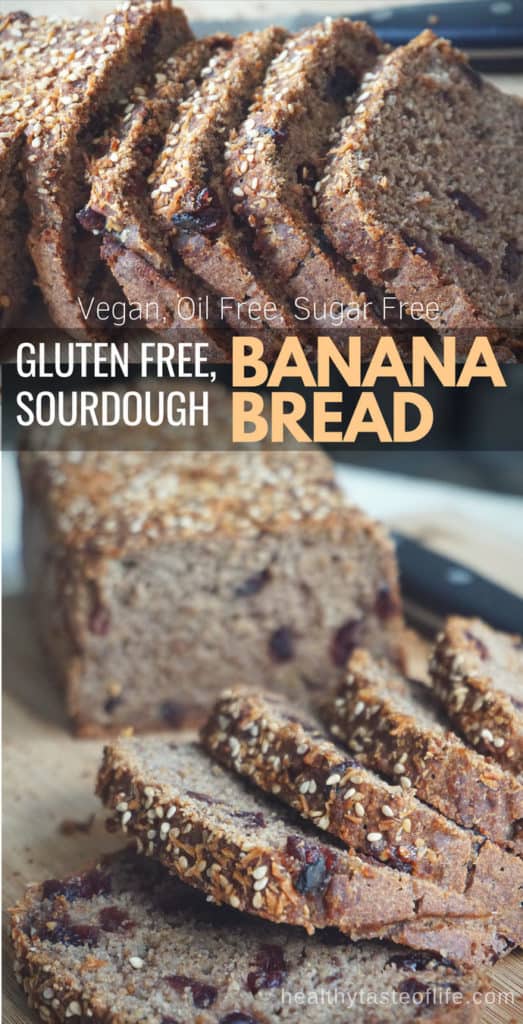
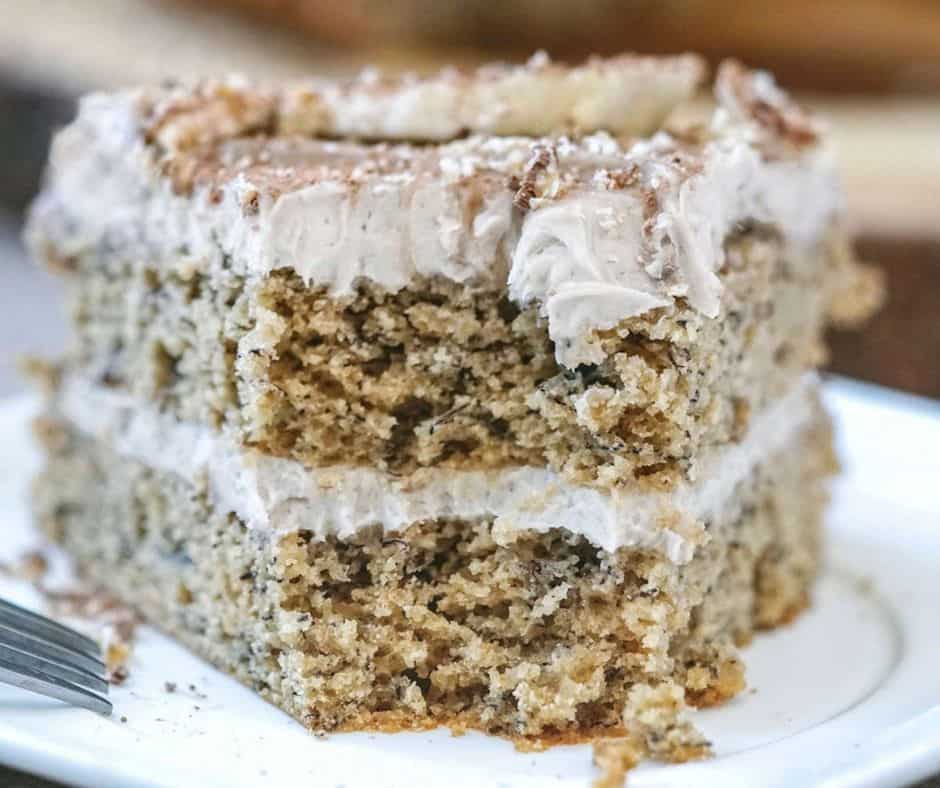
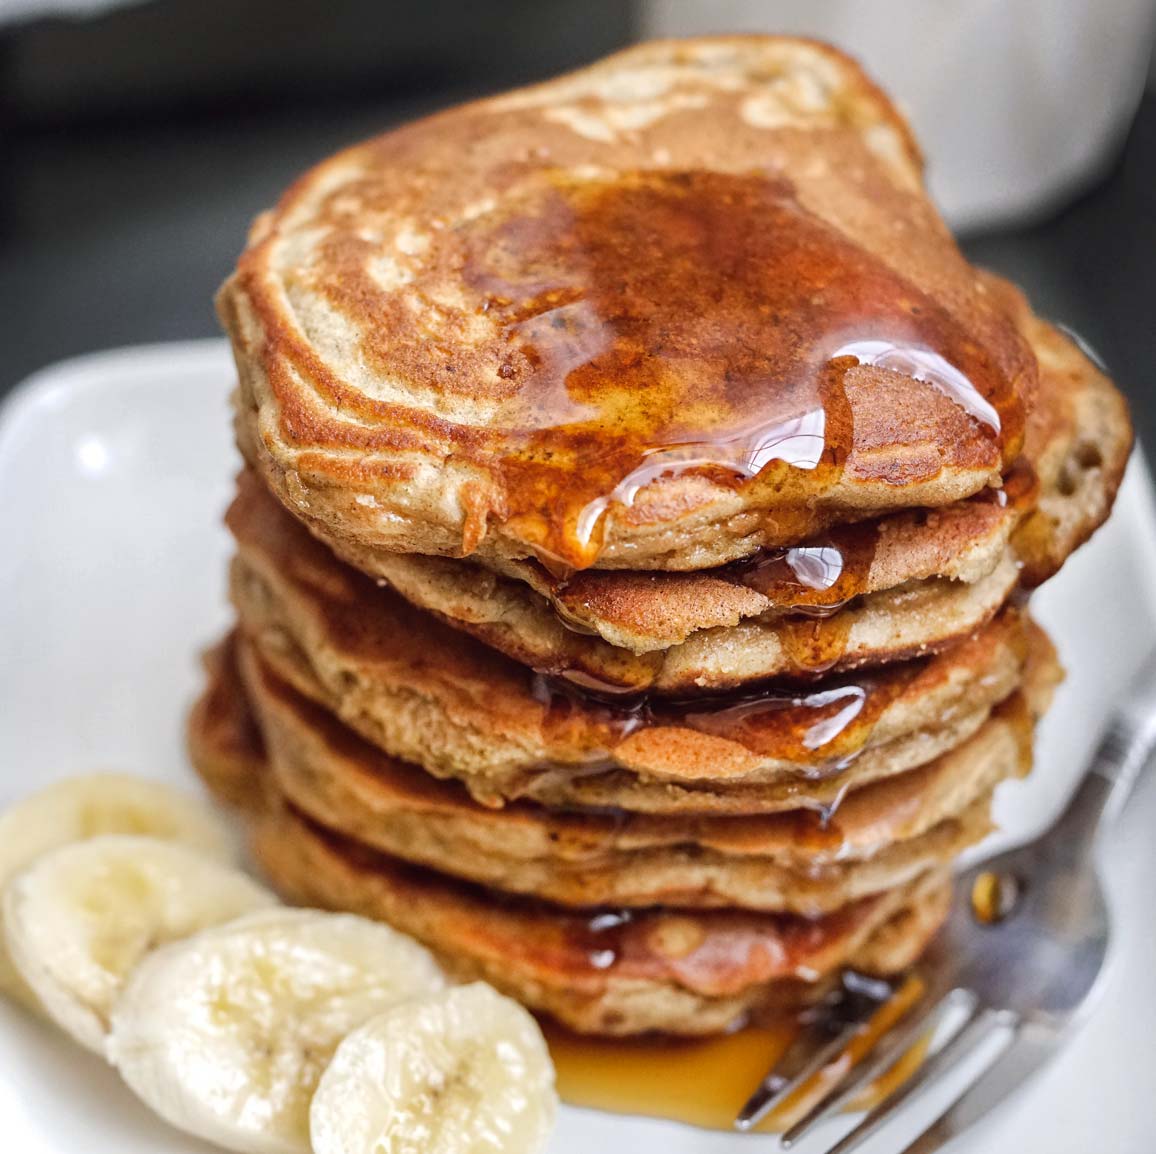
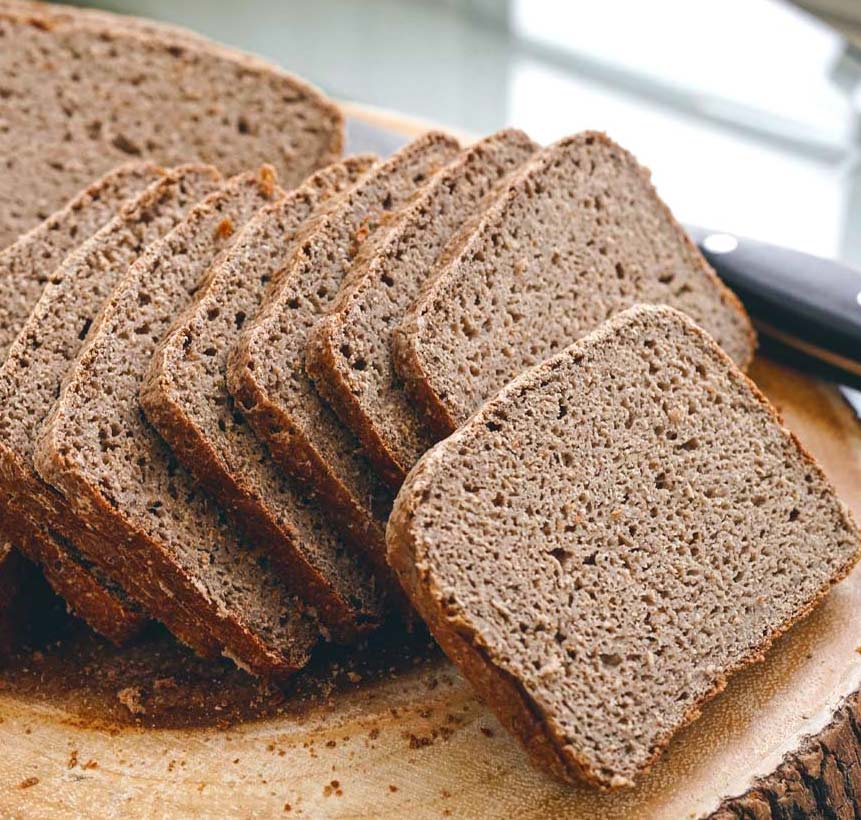
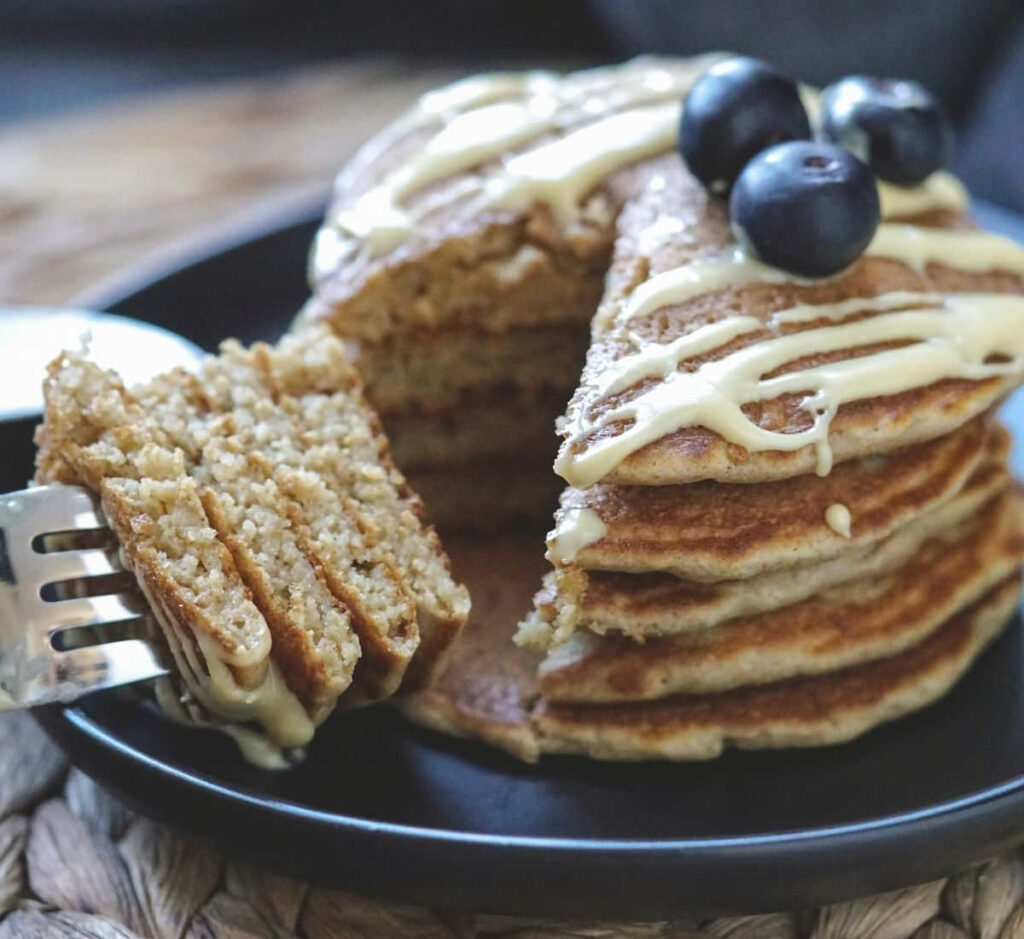
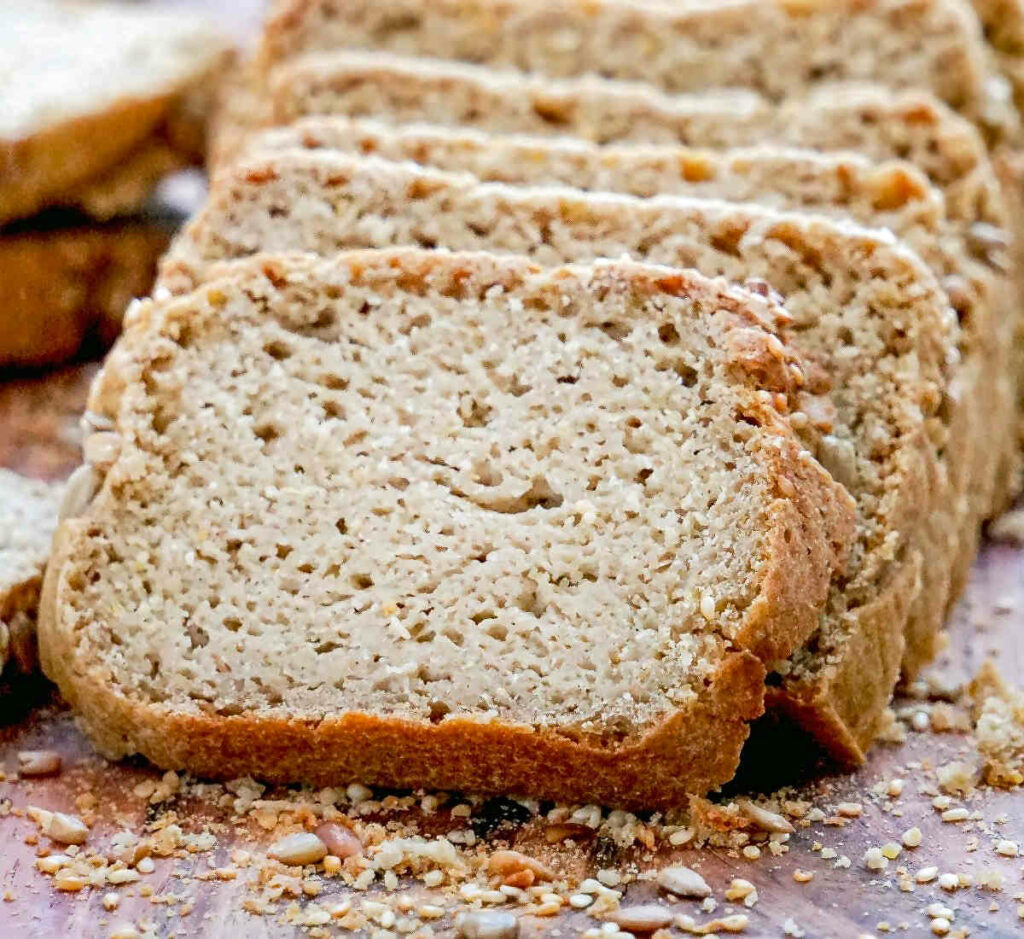
Gluten Free Sourdough Banana Bread (Vegan, Moist)
If you have extra sourdough discard and a few ripe bananas, this gluten free sourdough banana bread is one of the easiest ways to use it.
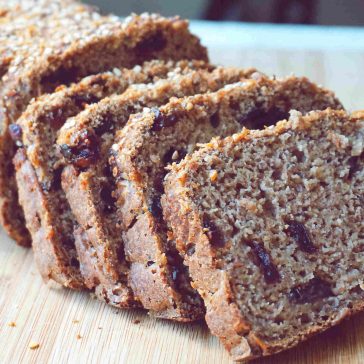
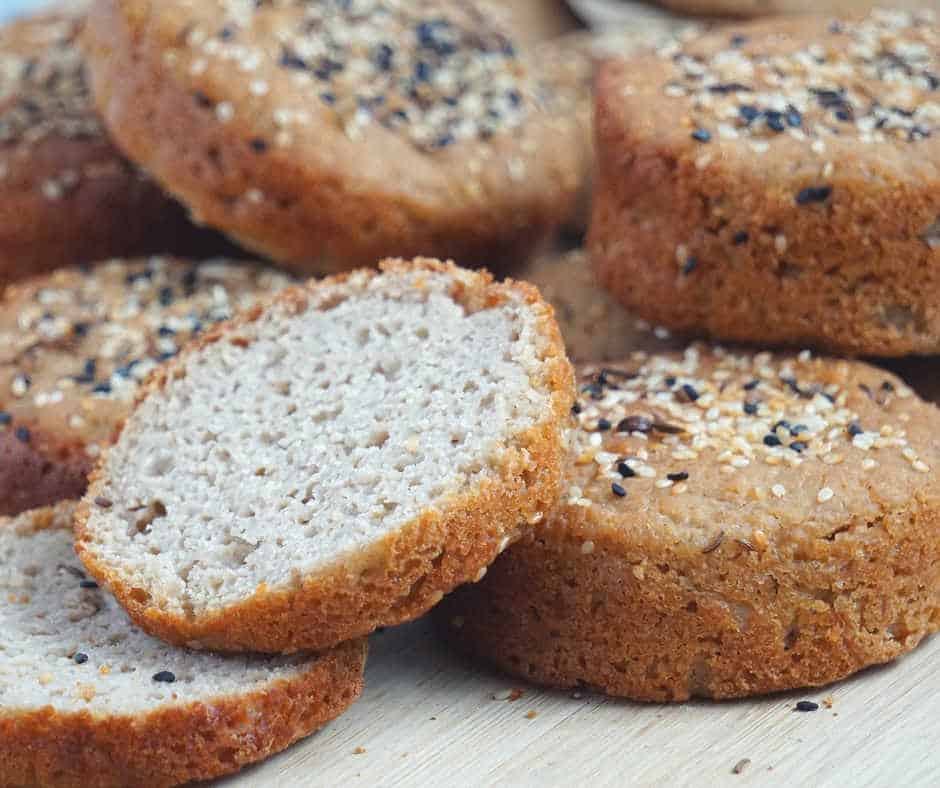
It’s soft, moist, and holds together well without eggs, gluten, or dairy. Unlike many gluten free banana breads, this version doesn’t rely on gums, heavy starches and added sugar. Instead, it uses a combination of sourdough fermentation, flax, and simple flours to create structure and a light texture.

If you’re already working with gluten free sourdough, you might also like this 👉 Gluten Free Sourdough Bread
Why This Banana Bread Works (and Doesn’t Turn Dense)
Most egg-free gluten free banana breads turn dense because they lack both structure and lift.
Here’s what makes this one different:
- Sourdough starter – adds structure + mild fermentation
- Flax seeds – bind the batter naturally, provides fibre
- Balanced flours – avoid heavy starches and use less processed flours
- Baking soda + acid – creates lift without baking powder
This combination creates a loaf that:
- doesn’t fall apart
- isn’t gummy
- stays soft for days
- doesn’t need added sugar to taste good
- and made with more whole-food flours instead of relying mostly on starches and gums

Health Tip
👉 If your digestion is sensitive, some people find that freshly milled, sprouted, or fermented grains feel easier to tolerate. Everyone is different, so adjust based on your own needs.
Ingredients (and why they matter)
- Sourdough starter (gluten free) – provides structure + flavor
- Bananas (very ripe) – give natural sweetness + moisture
- Dried fruit – add sweetnes, bulk, flavor and more fibre, no need to add extra sweeteners
- Oat / buckwheat flour – for base soft structure
- Tigernut (or almond flour) – for softness + structure and fat balance
- Cassava flour – light binding and starchy (small amount only)
- Flax seeds (ground) – egg replacement +extra fibre
- Plant milk – for hydration
- Baking soda + vinegar – provides rise
Why I Don’t Use a Standard Gluten Free Flour Mix Here
Many gluten free banana bread recipes rely on all-purpose gluten free flour blends, which often include gums and mostly starches. This recipe uses gluten free oat flour (or buckwheat flour), tigernut (or almond flour), cassava, ground flax, and sourdough starter for a more whole-food approach.
It still behaves like banana bread, but the ingredients feel more balanced and less processed.
How To Make Gluten Free Sourdough Banana Bread
- Mash bananas and mix with milk + vanilla + dried fruit
- Combine dry ingredients separately and add to wet ingredients
- Mix gently (don’t overmix)
- Add baking soda + vinegar last
- Pour into pan
- Bake until fully set
Texture Tips
- Use very ripe bananas
- Don’t overmix
- Let it rest ~15-20 minutes before baking
- Cover first part of baking to avoid over-browning
Fermentation Option
If you want deeper flavor and easier digestion:
- Mix batter without baking soda and vinegar
- Let sit 4–6 hours (ferment and rise)
- Then bake
This mimics a longer fermentation process.
How To Store
- Room temp: 3–4 days
- Freeze sliced for convenience
- Toast straight from frozen
Watch Video: Gluten Free Sourdough Banana Bread (Vegan, No Gum Recipe)

I make this kind of recipe often because it fits a very specific need: simple ingredients, easier digestion, and something you can actually keep making without relying on processed gluten free mixes.
It’s not about making it perfect, just something that works consistently, tastes awesome and feels good to eat.
Gluten Free Sourdough Banana Bread (Vegan, Moist)
Ingredients
- 1 cup gluten free sourdough starter - activated or discard
- ½ cup oat flour, - or buckwheat four
- ½ cup tigernut flour - or almond flour
- ¼ cassava flour
- ⅓ cup flax seeds - ground
- 1 cup plant milk, - dairy free
- 3 ripe bananas - mashed
- 1 tsp vanilla extract
- 1 cup dried cranberries - or other dried fruit
- 1 tsp cinnamon
- ¼ tsp sea salt
- ¾ tsp baking soda
- ¾ tsp apple cider vinegar - or lemon juice
Optional Toppings
- 1 tbsp maple sugar - or other
- 1 tsp sesame seeds - or other
- 1 tsp shredded coconut - or other
Instructions
- Preheat oven to 400 degrees F. Cover a 10 x 4-inch loaf pan with parchment paper; I used an extendable tin. Set aside.
- In a bowl, combine the bananas with plant milk, vanilla extract and cranberries. Set aside.
- Meanwhile in a large bowl, combine the starter, the flours, cinnamon, flax seeds and salt.
- Whisk together the banana mixture with the dry ingredients. Gently mix.
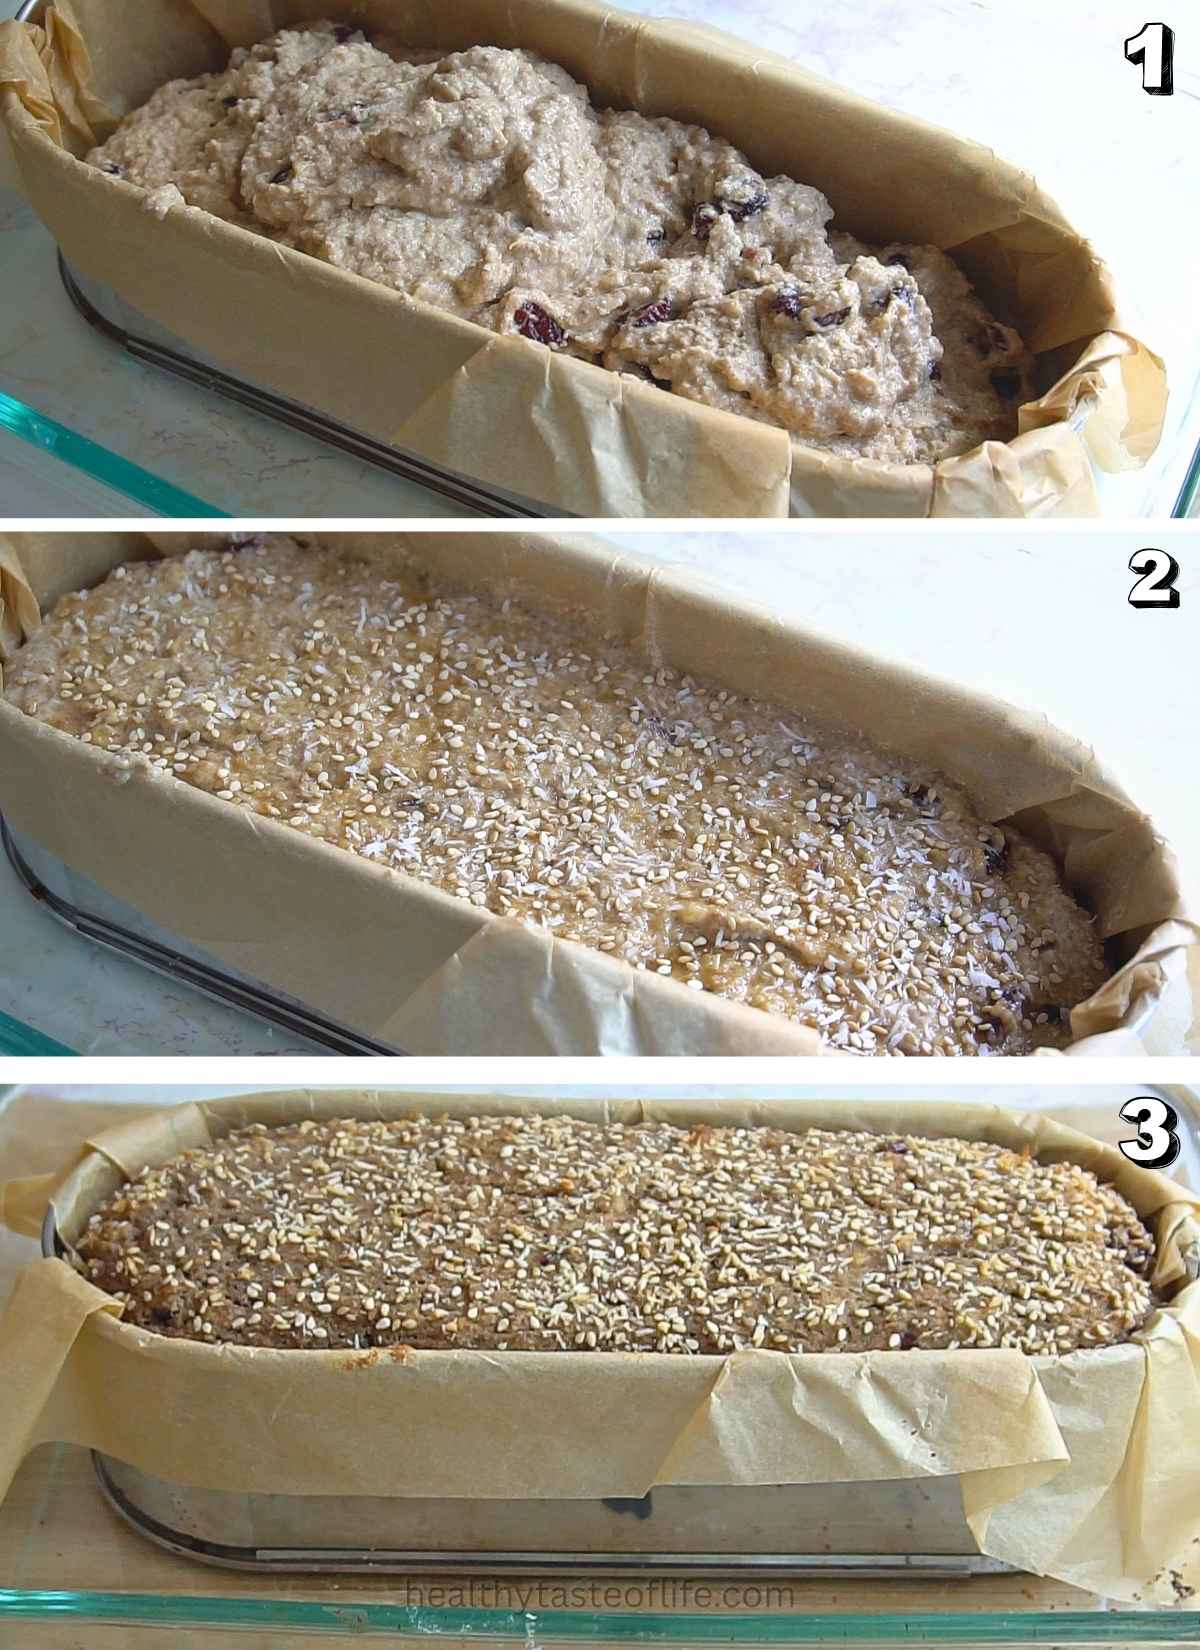
- Pour the batter into the prepared loaf pan. If desired, sprinkle the top generously with maple sugar, cinnamon or seeds.
- Cover with a clean towel and let it rise for about 15-20 min in a warm place (not too hot). Or for longer natural rise through fermentation: skip the baking soda, and vinegar and let it ferment for aprox. 4 hours or so.
- When baking, cover the banana bread with a piece of aluminum foil for the first 30 minutes, then remove it. After that, lower the temperature from 400F to 370F. At this time you can also remove the bread from the tin (see video), so it can bake evenly on the sides.
- Bake for 70 minutes total, until a toothpick inserted into the center comes out clean. Allow to cool before removing from the pan, then set on a rack to cool completely. Then you can slice.
- I keep it frozen (pre-sliced) and whenever I need I just throw a few slices in the toaster, the smell is extraordinary and it tastes like it was just baked.
- For extra details, see video.
Notes
Nutrition
The information shown is an estimate provided by an online nutrition calculator.
This recipe is shared for general informational purposes and is not intended to diagnose or treat any condition. Always adjust ingredients based on your individual needs.
FAQs
Yes. Both active starter and discard work. When using the discard you need another rising agent so I’m using the baking soda and the vinegar.
Usually from: too much flour, not enough leavening or overmixing.
Not recommended. They replace eggs and help bind.
Yes, but you need a longer fermentation (4–6 hours). Or use baking powder instead.
Yes. The bread will be less sweet, so use very ripe bananas or add a small amount of maple sugar, coconut sugar, or chopped dates if needed.
Yes. Almond flour works well and adds softness. Tigernut flour keeps it nut-free and slightly naturally sweet.

©HealthyTasteOfLife. Content and photographs are copyright protected and need prior permission to use. Copying and/or pasting full recipes to other websites and any social media is strictly prohibited. Sharing and using the link of this recipe is both encouraged and appreciated!


This is a great recipe for using up discard. I used almond flour instead of tigernut flour. My batter was pretty liquid with the bananas only, so I reduced the milk to 80g. My loaf came out very moist and a tad sticky; I think perhaps I didn’t bake it enough? I did the toothpick test and it came out clean though. Still, the loaf was very tasty! Thank you for such a healthy recipe 😊
Would be great if you could include metric measurements in your recipes; it provides more accuracy than measuring in volume.
Looking forward to trying your other recipes!
Im excited to try this! Can you use the baking soda and let it ferment for a little while (like 2 hours) to get the benefits of fermentation but not have to wait so long for it to rise?
If you want to ferment it, you can let it do that until it has risen in size (2-3 hours) but don’t use baking soda in this case, it will deflate after 30 minutes of using it.
Are you still available? This recipe looks great! I just need to substitute the oat/buckwheat flours, my son is sensitive to them. What do you think would be the best substitute? He can eat coconut, tigernut, sorgum, millet, flax, amaranth, arrowroot and tapioca.
Thank you!
Sorghum and millet flour will work great as substitutions for oat and buckwheat!
The suggested oven temperatures on the video do not match the written instructions. The written instructions state 400 F for the first 30 minutes and 370 F for next 40 minutes. The video uses 360 F for both parts.
I found that higher temperature at the beginning gives greater results, so the written instructions were changed, but I could’t change them in the video. So Follow the written instructions, they are always updated.