A vegan gluten free sourdough banana bread that is soft, moist and doesn’t fall apart when cut. This vegan gluten free banana bread is the perfect use of the gluten free sourdough discard when feeding your gluten free sourdough starter!
Learn how to make a tasty banana bread without eggs, gluten free, dairy free, oil free and refined sugar free!

Why I Make A Vegan Gluten Free Sourdough Banana Bread
Making a vegan gluten free sourdough banana bread is pleasure for me especially when I have some extra sourdough discard. I like to customize my gluten free sourdough breads according to my dietary needs (food intolerances): no gluten, dairy, eggs, refined sugar or highly processed ingredients.
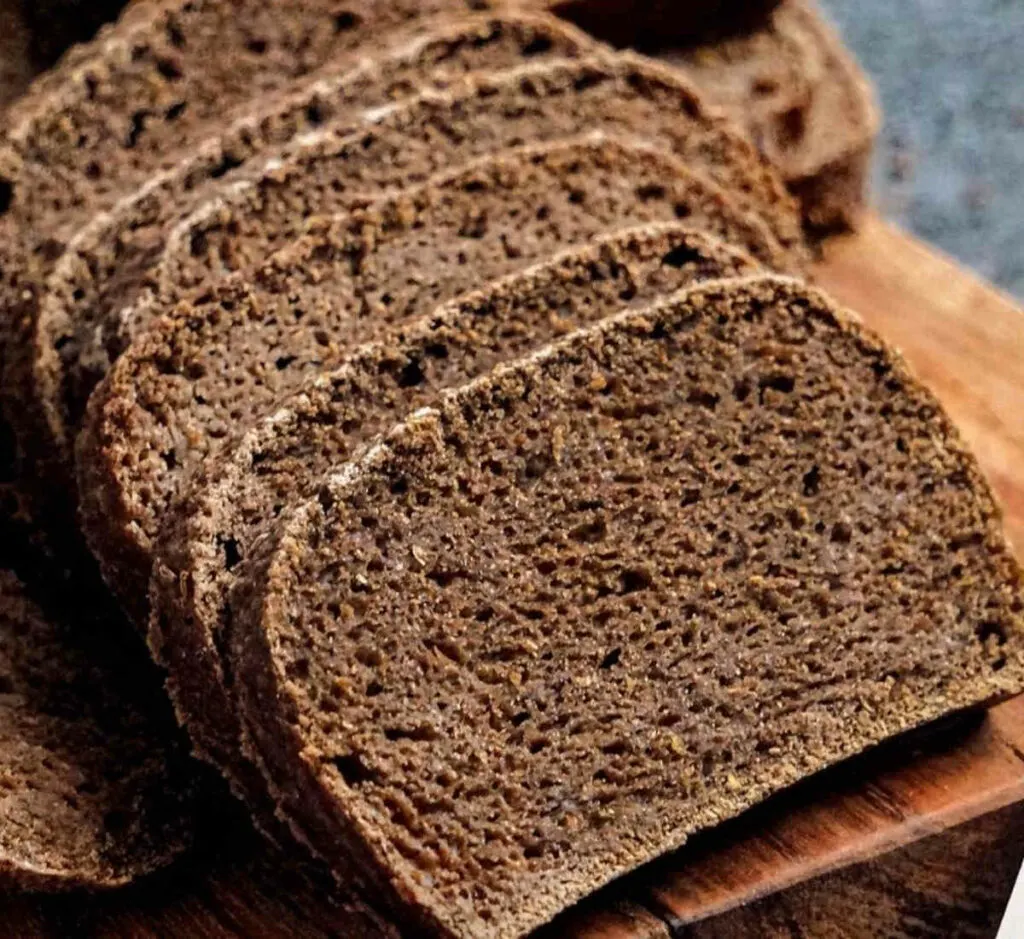
The sourdough starter adds extra flavor, lending this vegan gluten free sourdough banana bread a very slight tang, but doesn’t actually make it taste like sourdough bread. Check out my gluten free sourdough pumpernickel bread – for a more distinct flavor.
This banana bread with sourdough starter comes together just like a quick-bread – no need to wait to rise and is great for breakfast, snack, or dessert.
More Gluten Free Dairy Free Recipes With Bananas:
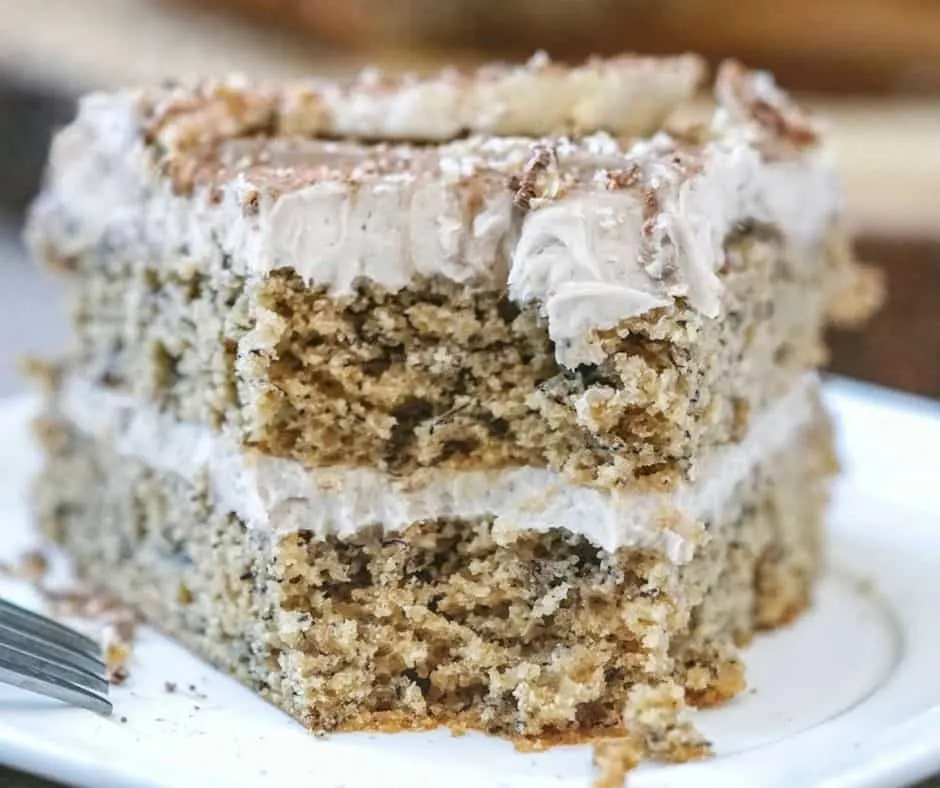
- Gluten Free Banana Cake With Dairy Free Frosting
- Banana Pudding With Vanilla Wafers (Gluten Free Dairy Free)
- Vegan Strawberry Banana Milkshake
Moist Fluffy Vegan Sourdough Banana Bread
Usually when people make a banana bread without eggs, they use egg substitutes like yogurt, applesauce, buttermilk or flax meal. But all these when used without a leavening agent will make the banana bread very dense with a heavy flat looking texture.
So how do I make a sourdough banana bread without eggs, dairy, gluten, sugar or baking powder and still with a great fluffy texture? The answer is: natural fermentation + a leavening agent (baking soda and apple cider vinegar or lemon juice). This will give your banana bread bread that airy texture while adding some more complex dimension, like in these vegan gluten free sourdough buns.
Gluten Free Sourdough Banana Bread
It’s not that hard as it looks to make your own gluten free sourdough banana bread without eggs. If you have a gluten free sourdough starter great! You’re almost set to bake. If you don’t, you can easily learn how to make a sourdough starter in your kitchen.
I also tend to avoid store-bought gluten free flours due to their “not so healthy” ingredients like tapioca starch, potato starch, xanthan gum, cheap rice flour (possibly contaminated with arsenic). Instead I choose organic (sprouted) flours, in proportions that aren’t detrimental to my gut health.
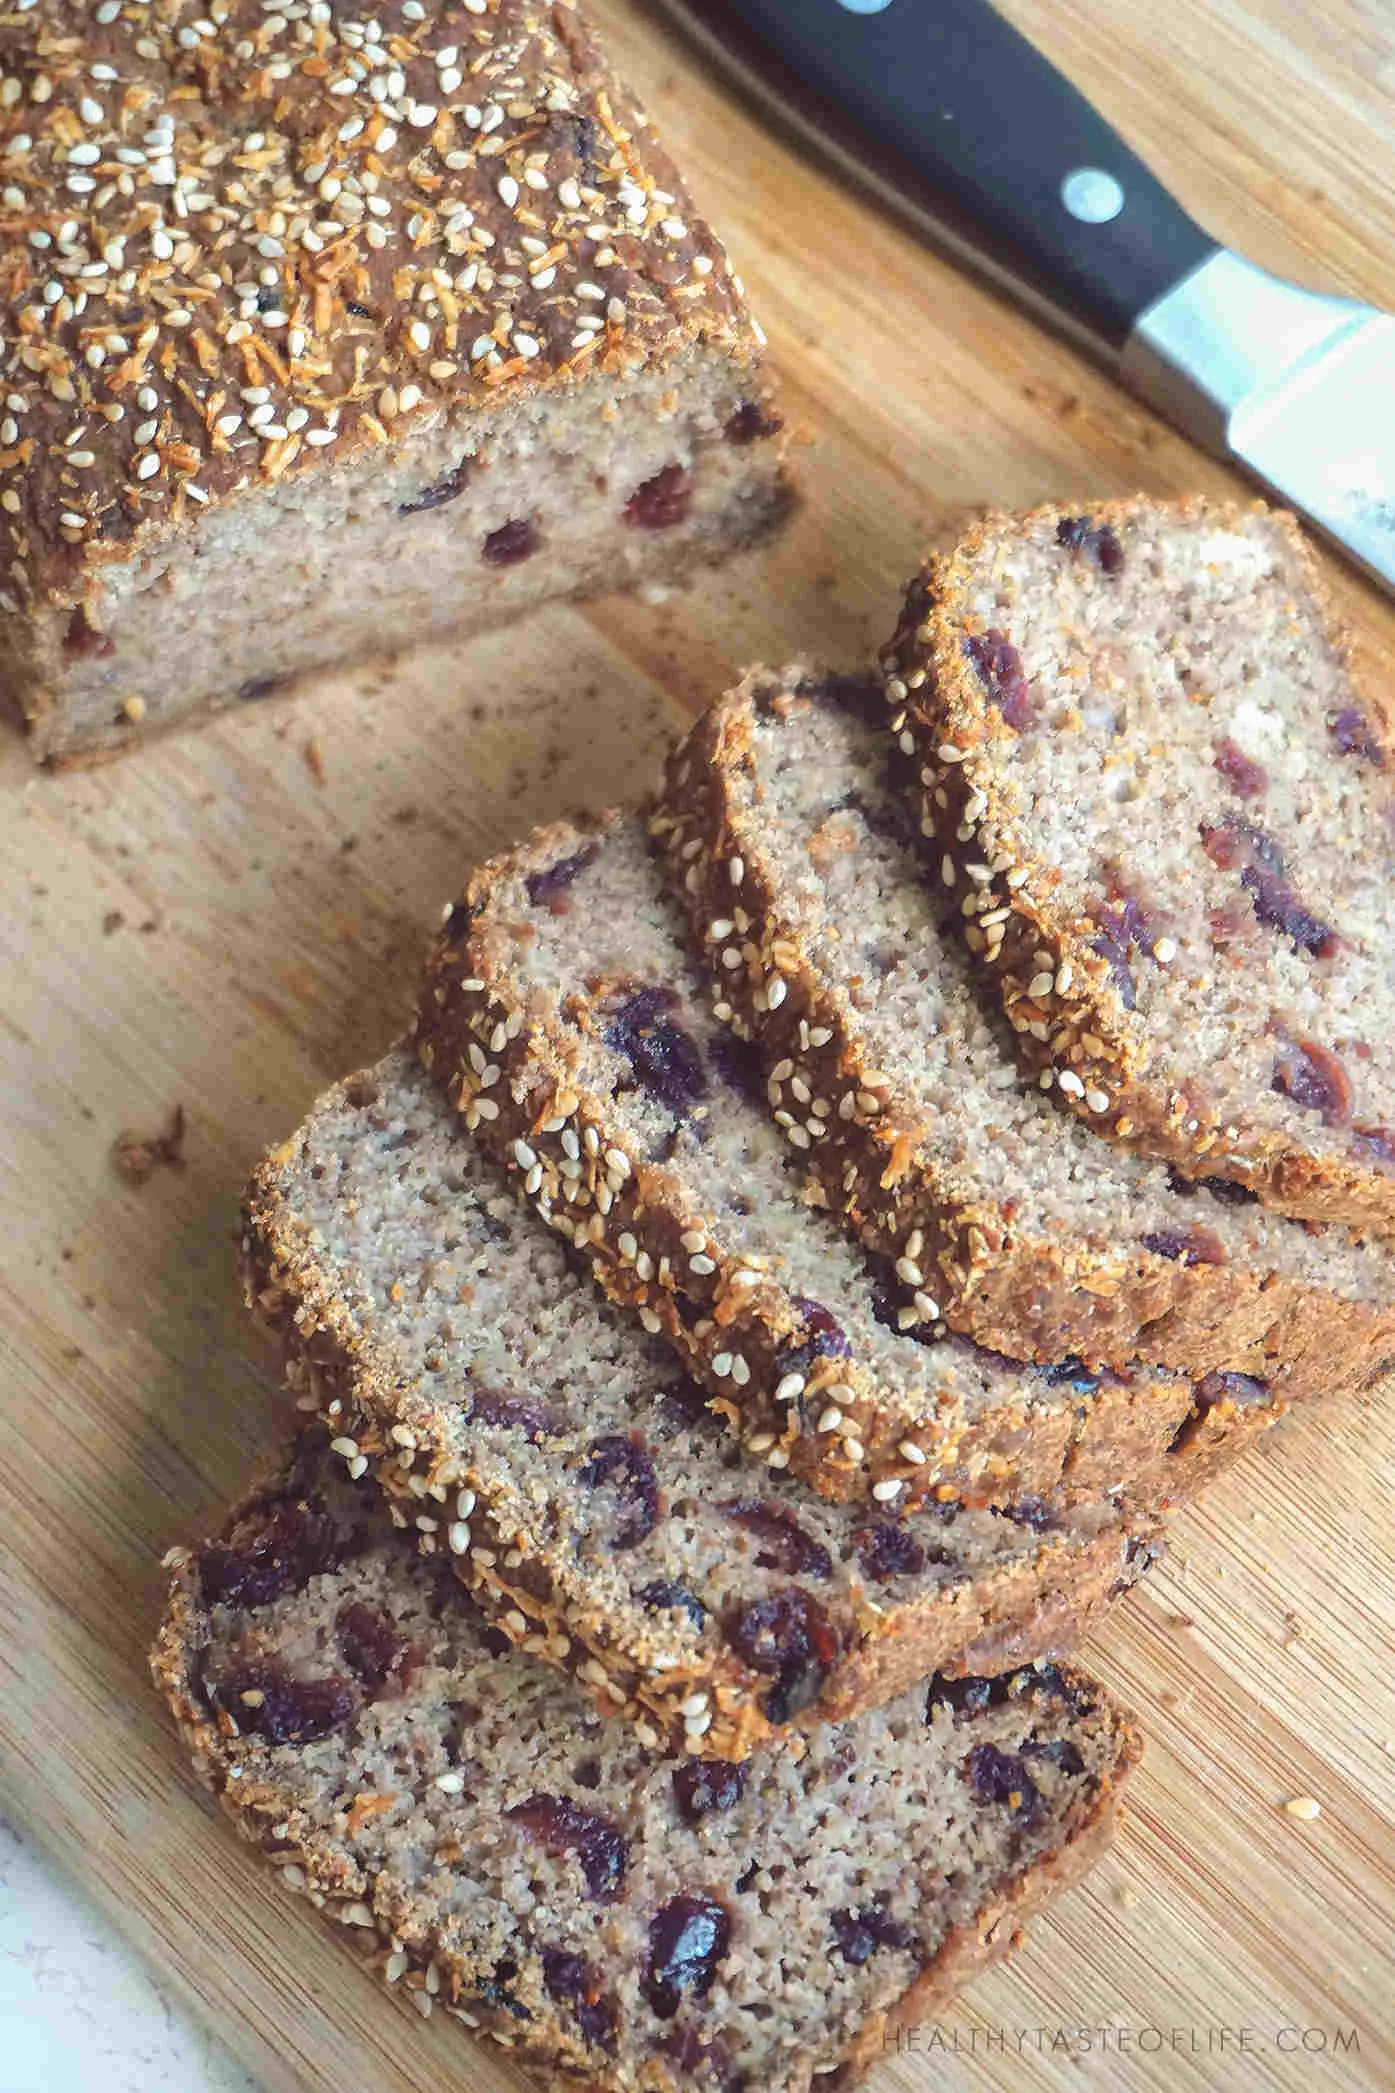
Tips For Making Gluten Free Sourdough Banana Bread
- The riper the bananas, the better.
- Dried fruits and the bananas make the banana bread pretty sweet, so there is no need to add extra sweeteners.
- There is no need to use oil in the recipe, the sourdough banana bread will be moist and soft just as it is.
- To make banana bread without eggs and keep the texture and shape sturdy enough, use ground flax seeds instead (vegan friendly).
- You don’t need baking powder to make a vegan gluten free banana bread rise, using baking soda (which will react with the apple cider vinegar or the acid in the dough) will do the job just fine.
- Another option to make this sourdough banana bread rise (without baking soda) is to mix all ingredients, and let it ferment in the baking tin for 4-6 hours or until it doubles in size.
- Drape the banana bread with a piece of aluminum foil for the first 30 minutes of baking, then remove it. You can also remove the bread from the tin for an even baking. This will prevent the sourdough banana bread from getting too dark especially when the center isn’t done yet.
How To Make Dairy Free Banana Bread Without Eggs
Making this sourdough banana bread recipe requires a bowl, a spatula, and a lined loaf pan.
Step 1: Mash the bananas well and whisk together the wet ingredients + the dried fruits (if using any) – I used dried cranberries, so they will get plumper and softer.
Step 2: Mix add the dry ingredients to the wet ingredients. When you combine the dry ingredients and wet ingredients, don’t over mix. Stir until just combined. If you over mix you will end up with a flat banana bread.
Step 3: Pour the the batter in the prepared pan and bake according to instructions (see recipe card + video).
How To Store And Freeze Sourdough Banana Bread
Once baked, this vegan sourdough banana bread should last about 3-4 days tightly sealed on the counter. You can either freeze the loaf as a whole or slice it and freeze the slices. To defrost a slice just pop it in the toaster.
If you want a warm fresh baked sourdough banana bread early in the morning the you can let it ferment overnight. Just mix the starter with flours and liquid (dairy free milk) in the evening. Then in the morning, the dough can be mixed with the remaining ingredients and you can have a fresh-from-the-oven breakfast.
To make it even easier, I created videos on YouTube for the bread recipes with extra directions and visual guidance, so go head and subscribe in case you decide to watch them later.
More Gluten Free Bread Recipes
- Buckwheat Bread (GF, DF)
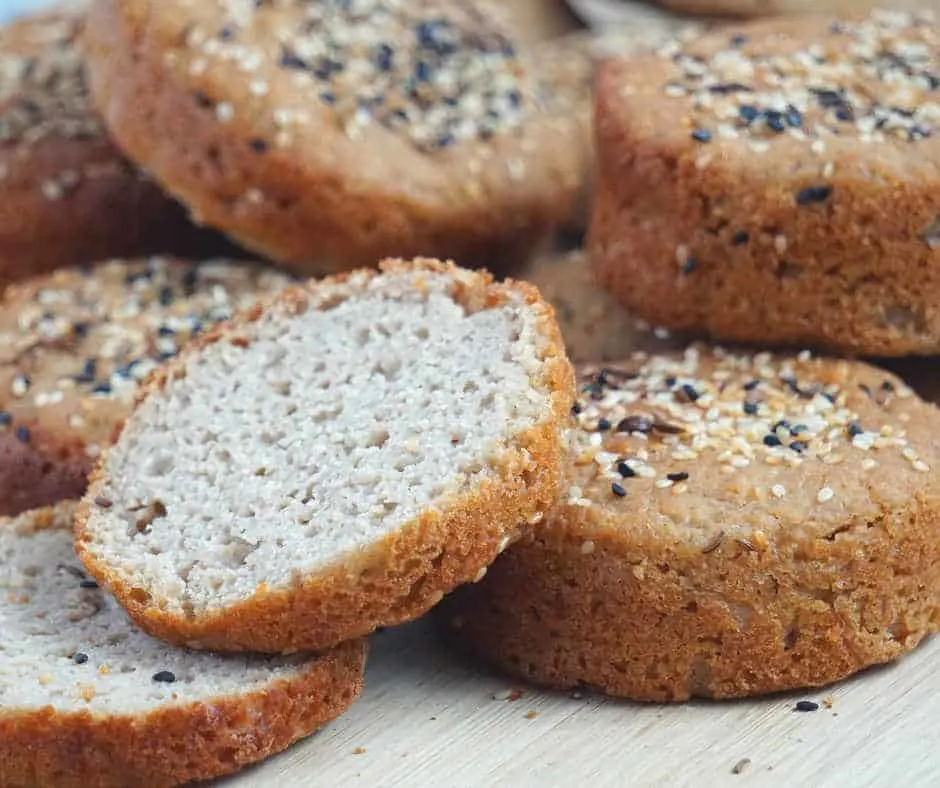
- Gluten Free English Muffins (Vegan, Sourdough)
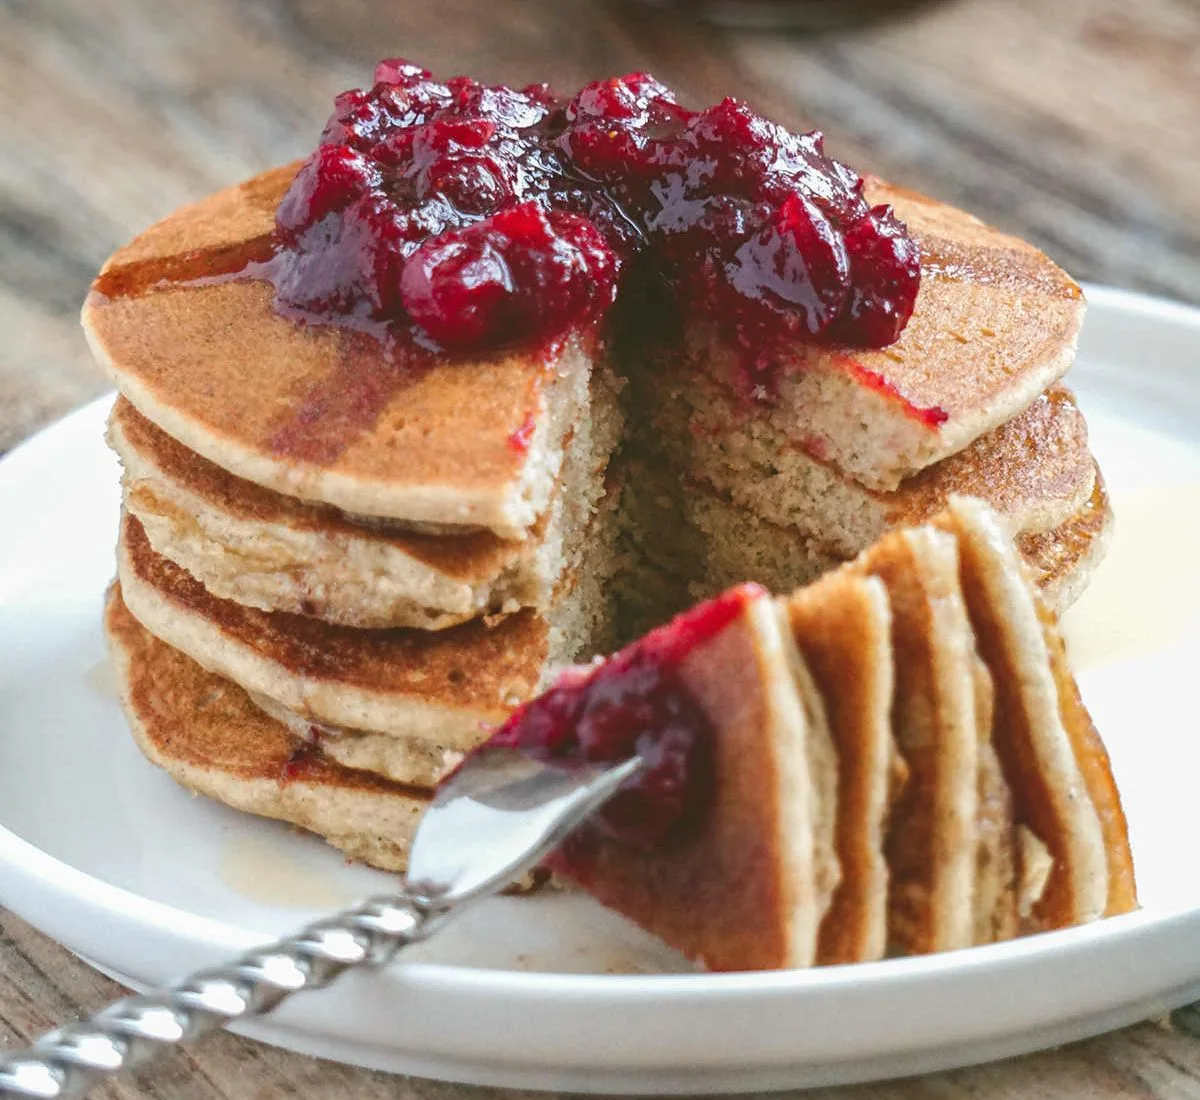
- Gluten Free Sourdough Pancakes With Sorghum Flour
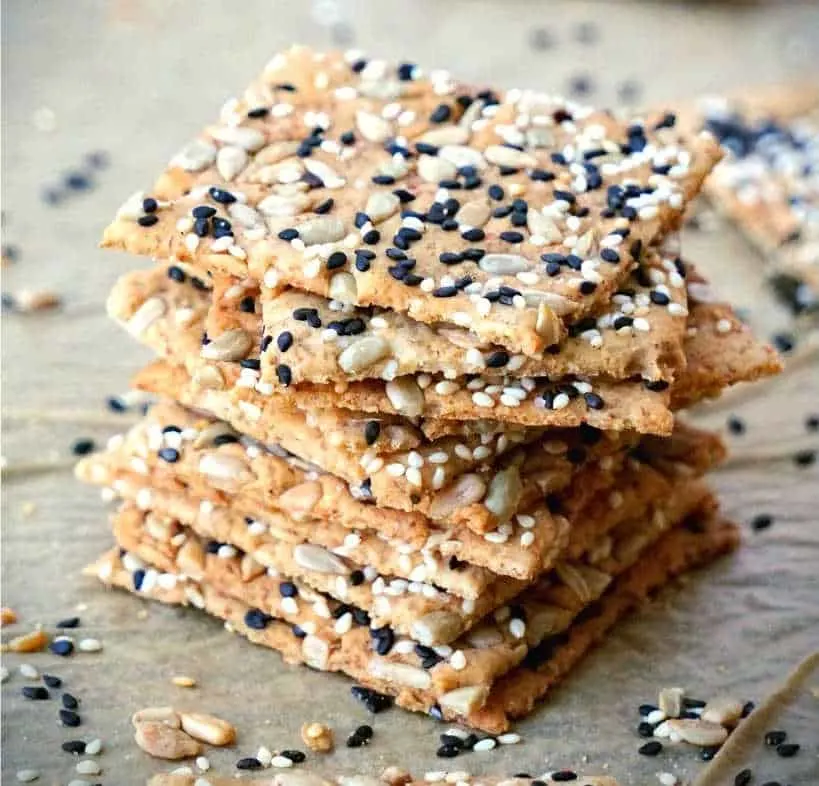
- Gluten Free Sourdough Crackers With Seeds (Vegan)
- Gluten Free Sourdough Buns (No Egg, Vegan)
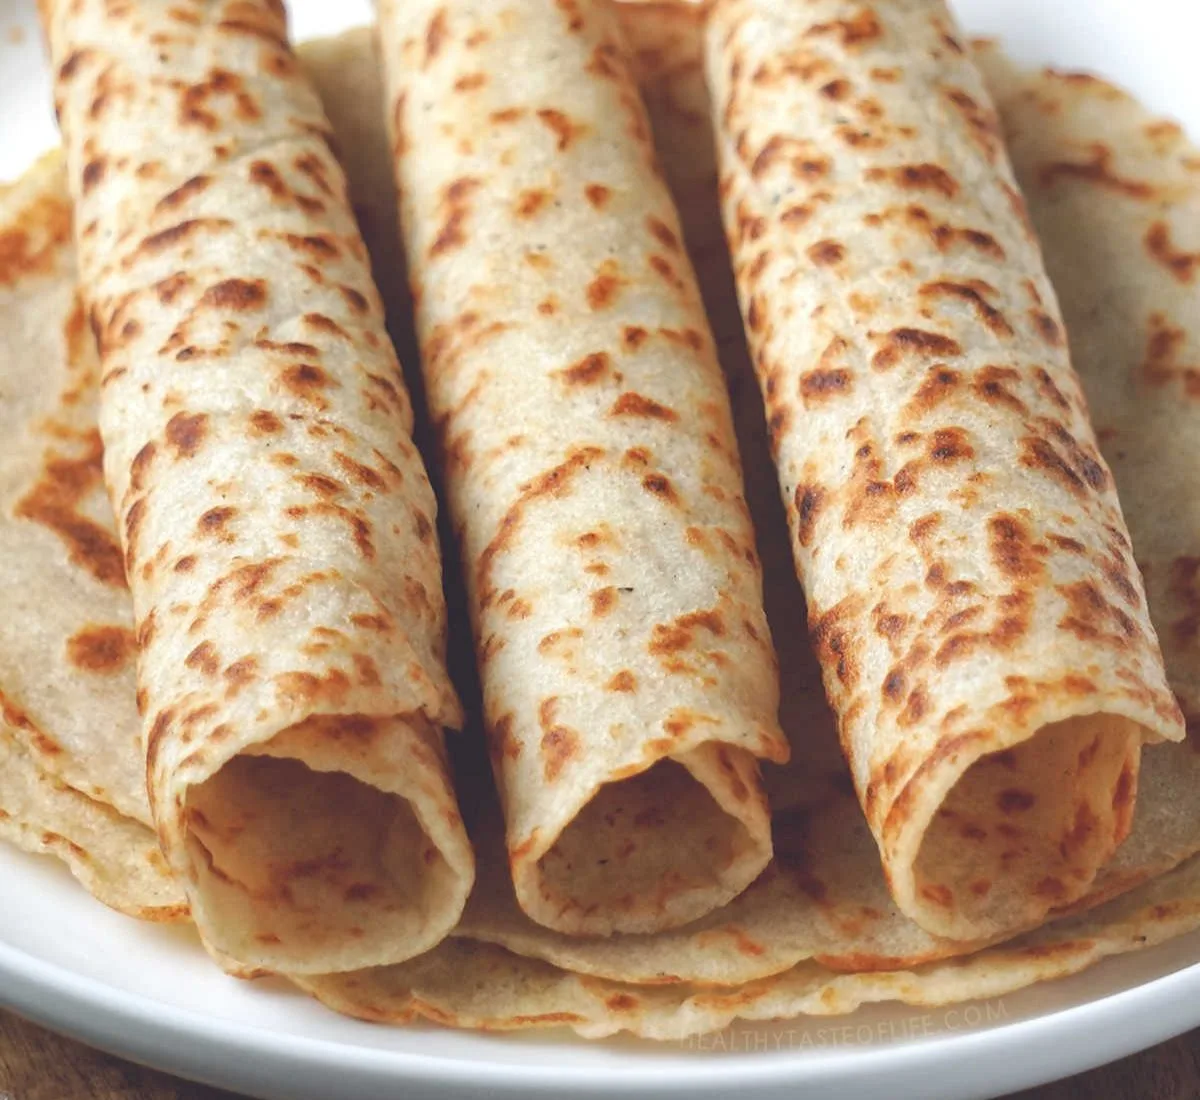
- Soft Gluten Free Wraps / Tortillas (Vegan)
If you make vegan gluten free sourdough banana bread recipe, I’d like to hear from you!
Leave a comment or snap a photo and share it on Instagram with the tag #healthytasteoflife. You can also leave a review with a rating, it help a lot. Thank you!
Sourdough Eggless Banana Bread – Dairy Free Gluten Free
Ingredients
- 1 cup gluten free sourdough starter - activated
- ½ cup oat flour, - or buckwheat four
- ½ cup tigernut flour - or almond flour
- ¼ cassava flour
- ⅓ cup flax seeds - ground
- 1 cup plant milk, - non-dairy
- 3 bananas - mashed
- 1 cup dried cranberries - unsulfured
- ½ tsp pink salt
- 1 tsp cinnamon
- 1 tsp vanilla extract
- ¾ tsp baking soda
- ¾ tsp apple cider vinegar - or lemon juice
- 1 tsp maple syrup crystals - optional
- 1 tsp sesame seeds - optional
- 1 tsp shredded coconut - optional
Instructions
- Preheat oven to 400 degrees F. Cover a 10 x 4-inch loaf pan with parchment paper; I used an extendable tin. Set aside.
- In a bowl, combine the bananas with plant milk, vanilla extract and cranberries. Set aside.
- Meanwhile in a large bowl, combine the starter, the flours, baking soda, cinnamon, flax seeds and salt.
- Whisk together the banana mixture with the dry ingredients. Gently mix.
- Pour the batter into the prepared loaf pan. If desired, sprinkle the top generously with maple syrup crystals, cinnamon or seeds.
- Cover with a clean towel and let it rise for about 15-20 min in a warm place (not too hot). If you’re not using baking soda, let it ferment for aprox. 4 hours or until it doubles in size.
- When baking, cover the sourdough banana bread with a piece of aluminum foil for the first 30 minutes, then remove it. After that lower the temperature from 400 F to 370 F and remove the foil. At this time you can also remove the bread from the tin (see video).
- Bake for 70 minutes total, until a toothpick inserted into the center comes out clean. Allow to cool before removing from the pan, then set on a rack to cool completely and slice.
- I keep it frozen (pre-sliced) and whenever I need I just throw a few slices in the toaster, the smell is extraordinary and it tastes like it was just baked.
- For extra details, see video.
Video
Notes
Nutrition
The information shown is an estimate provided by an online nutrition calculator.
©HealthyTasteOfLife. Content and photographs are copyright protected and need prior permission to use. Copying and/or pasting full recipes to other websites and any social media is strictly prohibited. Sharing and using the link of this recipe is both encouraged and appreciated!


Emilye
Wednesday 24th of July 2024
This is a great recipe for using up discard. I used almond flour instead of tigernut flour. My batter was pretty liquid with the bananas only, so I reduced the milk to 80g. My loaf came out very moist and a tad sticky; I think perhaps I didn’t bake it enough? I did the toothpick test and it came out clean though. Still, the loaf was very tasty! Thank you for such a healthy recipe 😊 Would be great if you could include metric measurements in your recipes; it provides more accuracy than measuring in volume. Looking forward to trying your other recipes!
Erica
Monday 17th of October 2022
Im excited to try this! Can you use the baking soda and let it ferment for a little while (like 2 hours) to get the benefits of fermentation but not have to wait so long for it to rise?
HealthyTasteOfLife
Tuesday 18th of October 2022
If you want to ferment it, you can let it do that until it has risen in size (2-3 hours) but don't use baking soda in this case, it will deflate after 30 minutes of using it.
B.N.
Tuesday 21st of December 2021
Are you still available? This recipe looks great! I just need to substitute the oat/buckwheat flours, my son is sensitive to them. What do you think would be the best substitute? He can eat coconut, tigernut, sorgum, millet, flax, amaranth, arrowroot and tapioca. Thank you!
HealthyTasteOfLife
Thursday 23rd of December 2021
Sorghum and millet flour will work great as substitutions for oat and buckwheat!
HH
Friday 22nd of May 2020
The suggested oven temperatures on the video do not match the written instructions. The written instructions state 400 F for the first 30 minutes and 370 F for next 40 minutes. The video uses 360 F for both parts.
HealthyTasteOfLife
Tuesday 2nd of June 2020
I found that higher temperature at the beginning gives greater results, so the written instructions were changed, but I could't change them in the video. So Follow the written instructions, they are always updated.
Alyssa
Saturday 14th of December 2019
Not sure what I’m doing wrong but it’s not cooking into the middle. Any ideas?
HealthyTasteOfLife
Tuesday 17th of December 2019
It could be several scenarios : 1. The mixture was too wet before baking. 2. You used different ingredients. 3. It wasn't baked long enough. Did you follow the instructions by covering the loaf with a piece of aluminum foil for the first 30 minutes of baking? And then I usually remove the foil and the tin and bake it uncovered for another 40 min.