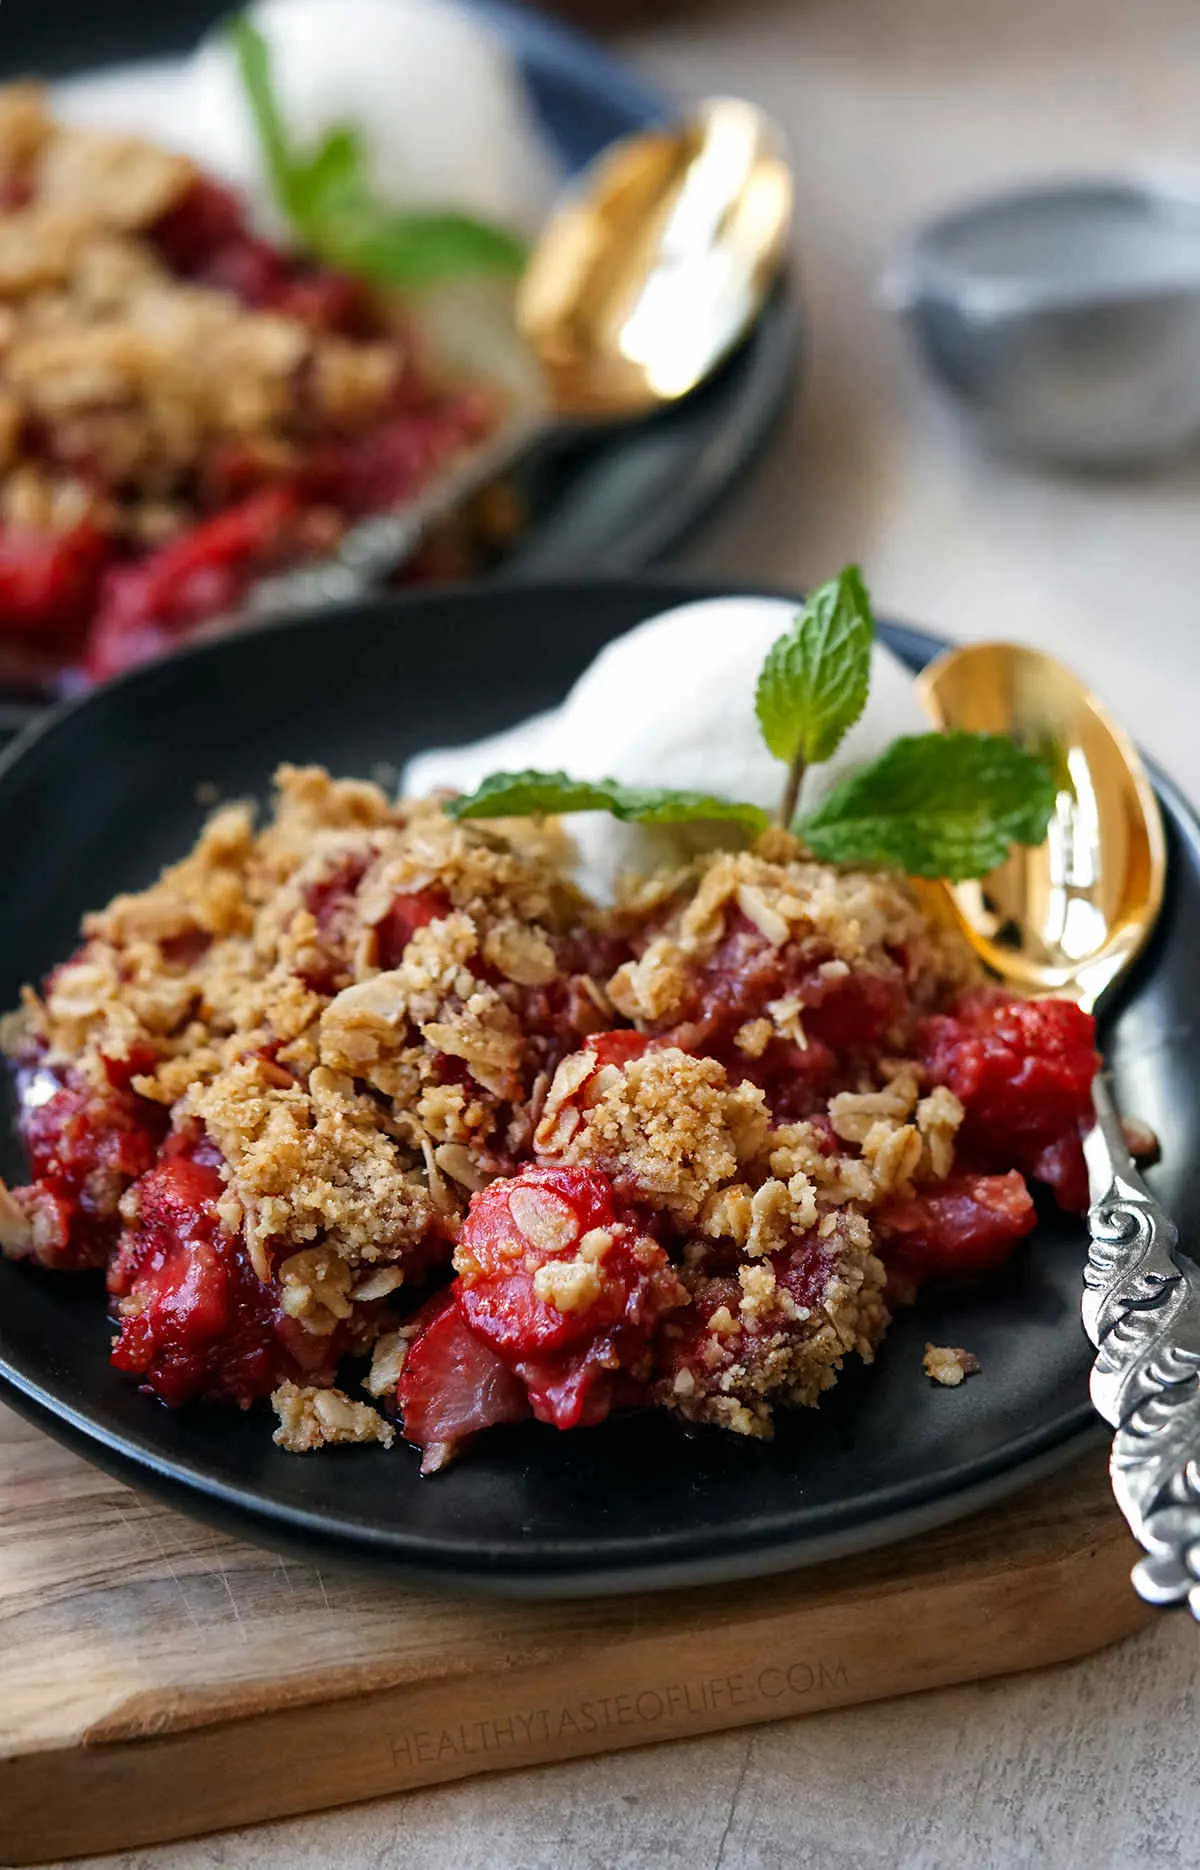
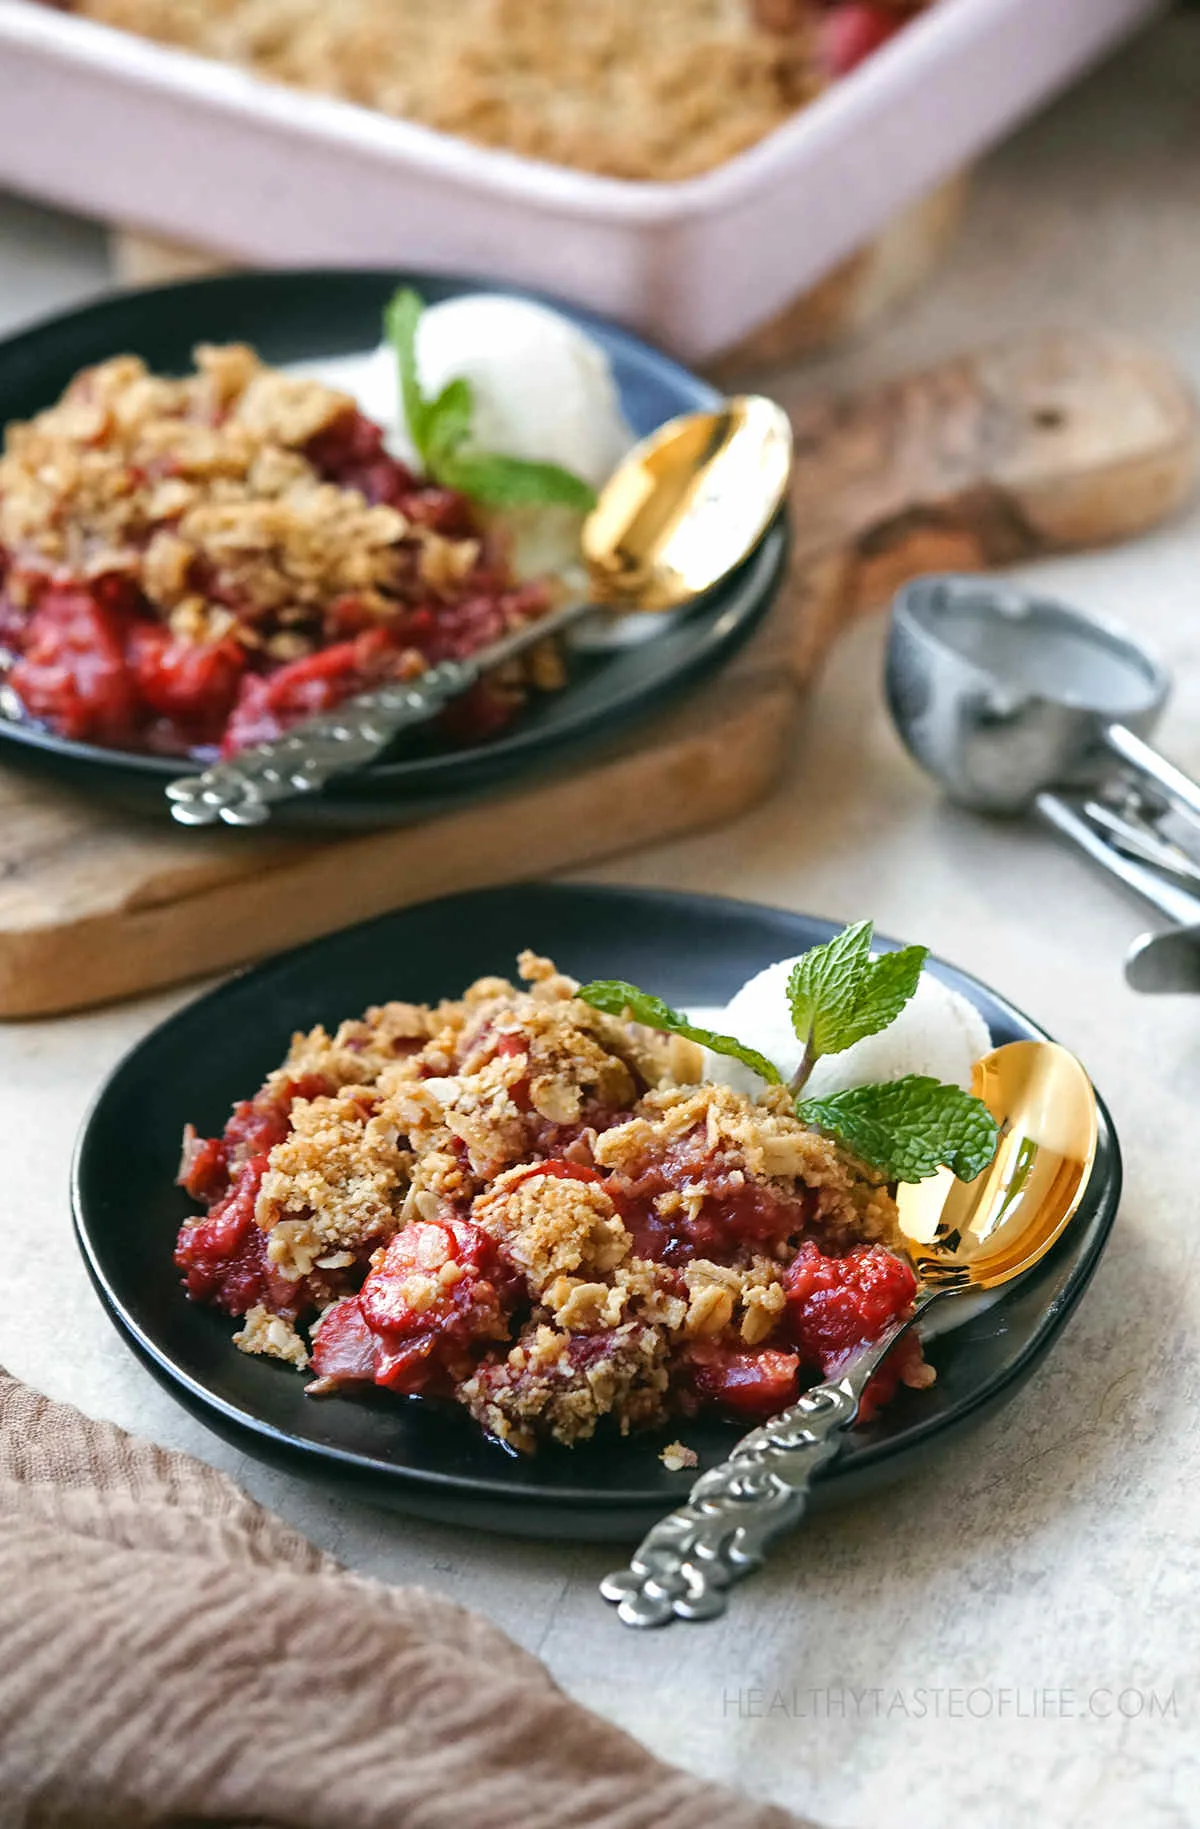
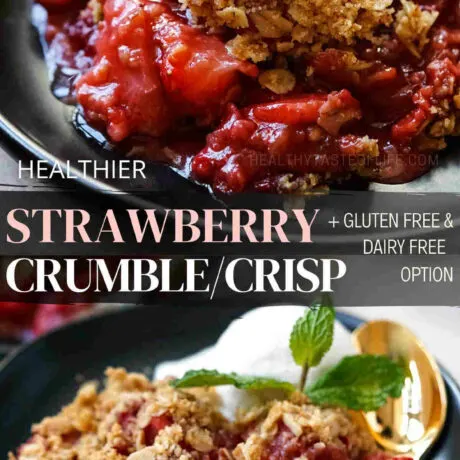
Indulge in the freshness of the strawberry season with this easy simple yet versatile Strawberry Crumble recipe. This summer dessert brings an irresistable mix of crispy and jammy textures: the tart sweetness of juicy strawberries caramelized to perfection, layered under a crumbly crust that’s baked till golden brown.

Strawberry Crumble Or Crisp
According to it’s origin, this mouth-watering strawberry crumble typically consists of a layer of strawberries topped with a crumbly mixture of butter, flour, and sugar (a more soft, cake-like texture). But I like a crunchy texture, so I included oats and nuts, basically making it more a strawberry crisp. The oat crumble topping is what makes the difference. It has more fiber, less sugar and a little healthier.
For variety try is thisflavorful blackberry apple crumble, fruity apple blueberry crumble, this sweet peach oat crumble, or this unique apple and plum crumble.
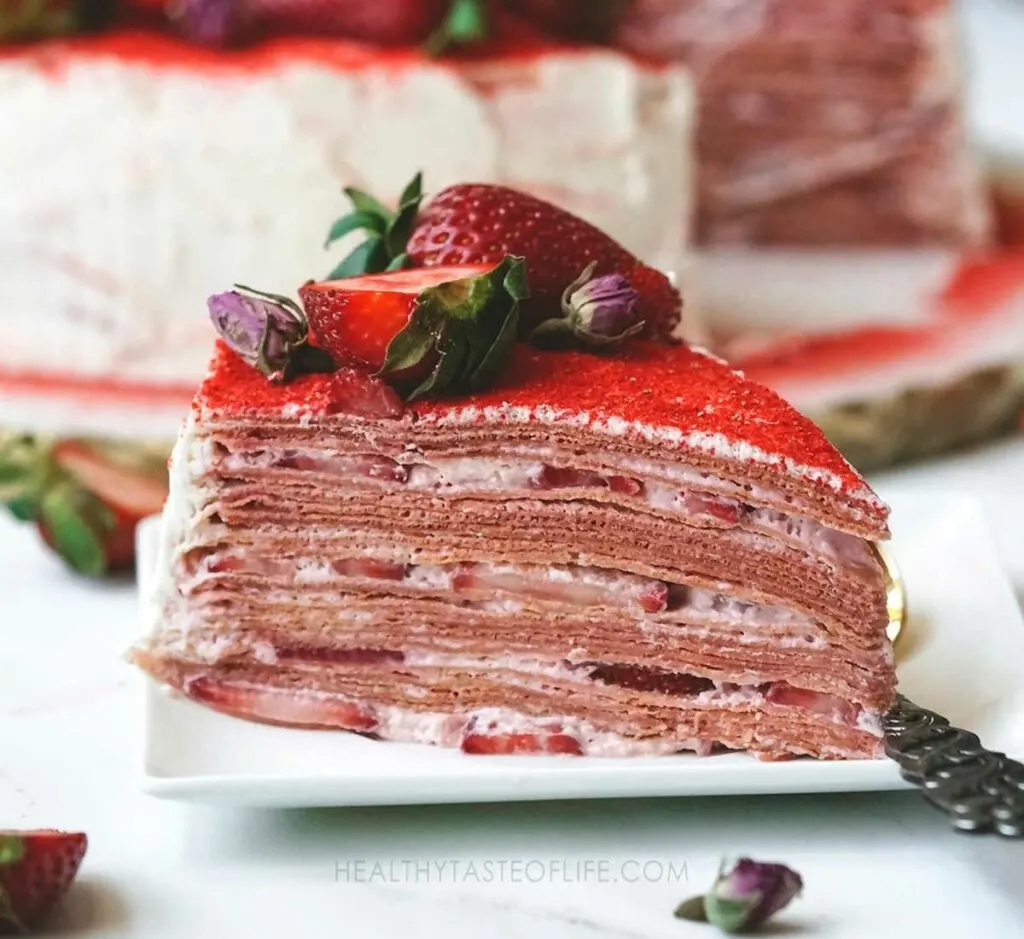
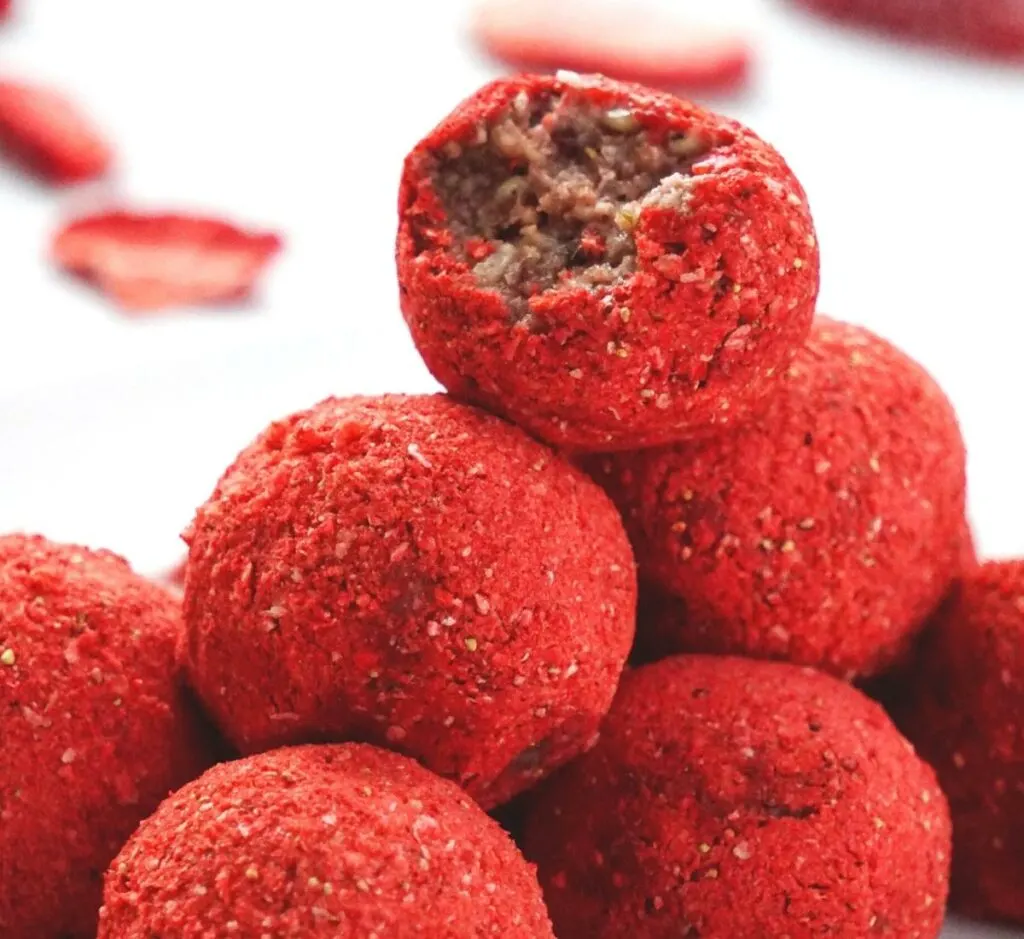
And if you have extra fresh strawberries, you could try this light strawberry crepe cake or these strawberry bliss balls with frozen strawberries.
Needed Ingredients
There are 2 components in this strawberry crumble recipe: the strawberry layer (the filling) and the oat crumble topping.
Heads up: some links are affiliated & I may receive a small commission from qualifying sales. For more info see my disclaimer policy.
For The Strawberry Filling:
- Fresh strawberries – or frozen. Just keep in mind that frozen fruit lowers the temperature of mixture, which can result in a longer baking time. Also due to high water content you will need a bit more starch to absorb it. If you use frozen strawberries, don’t thaw them! You want them to stay frozen and release liquid slowly as they cook.
- Arrowroot flour – or any starchy flour, it helps absorb moisture and thicken the juices so that your filling isn’t too runny. I’m using arrowroot flour in order to avoid the corn starch, and it’s grain free.
- Maple sugar – coconut sugar, brown sugar, or regular sugar also works. Add less if your strawberries are ripe and sweet. Add more if they’re not.
- Lemon Juice (optional) – the strawberries are tart enough, so I’m not using any.
For The Crumble Topping:
- Rolled oats – rolled oats are the best (not steel cut or quick oats) whether you use regular or gluten free.
- Flour – use one plain type or a mix (your choice). Finer (starchier) flours will yields a more golden brown surface. Whole grain flours are healthier but they will change the texture and flavor a bit. You can use oat flour combined with a finer flour for a healthier strawberry crumble. Or use a gluten free flour mix with same great results!
- Butter – use vegan butter or coconut oil to keep it vegan & dairy free.
- Maple sugar – to keep the recipe refined sugar free. Brown sugar or coconut sugar are also wonderful.
- Walnuts – provide crunch and a rich sweet taste. Feel free to use your favorite nuts or omit them. You can use almond flour (ground almonds) as an alternative.
- Spices: cinnamon, nutmeg and salt.
Find the complete printable recipe with measurements below in the recipe card.
How To Make Strawberry Crumble Step By Step
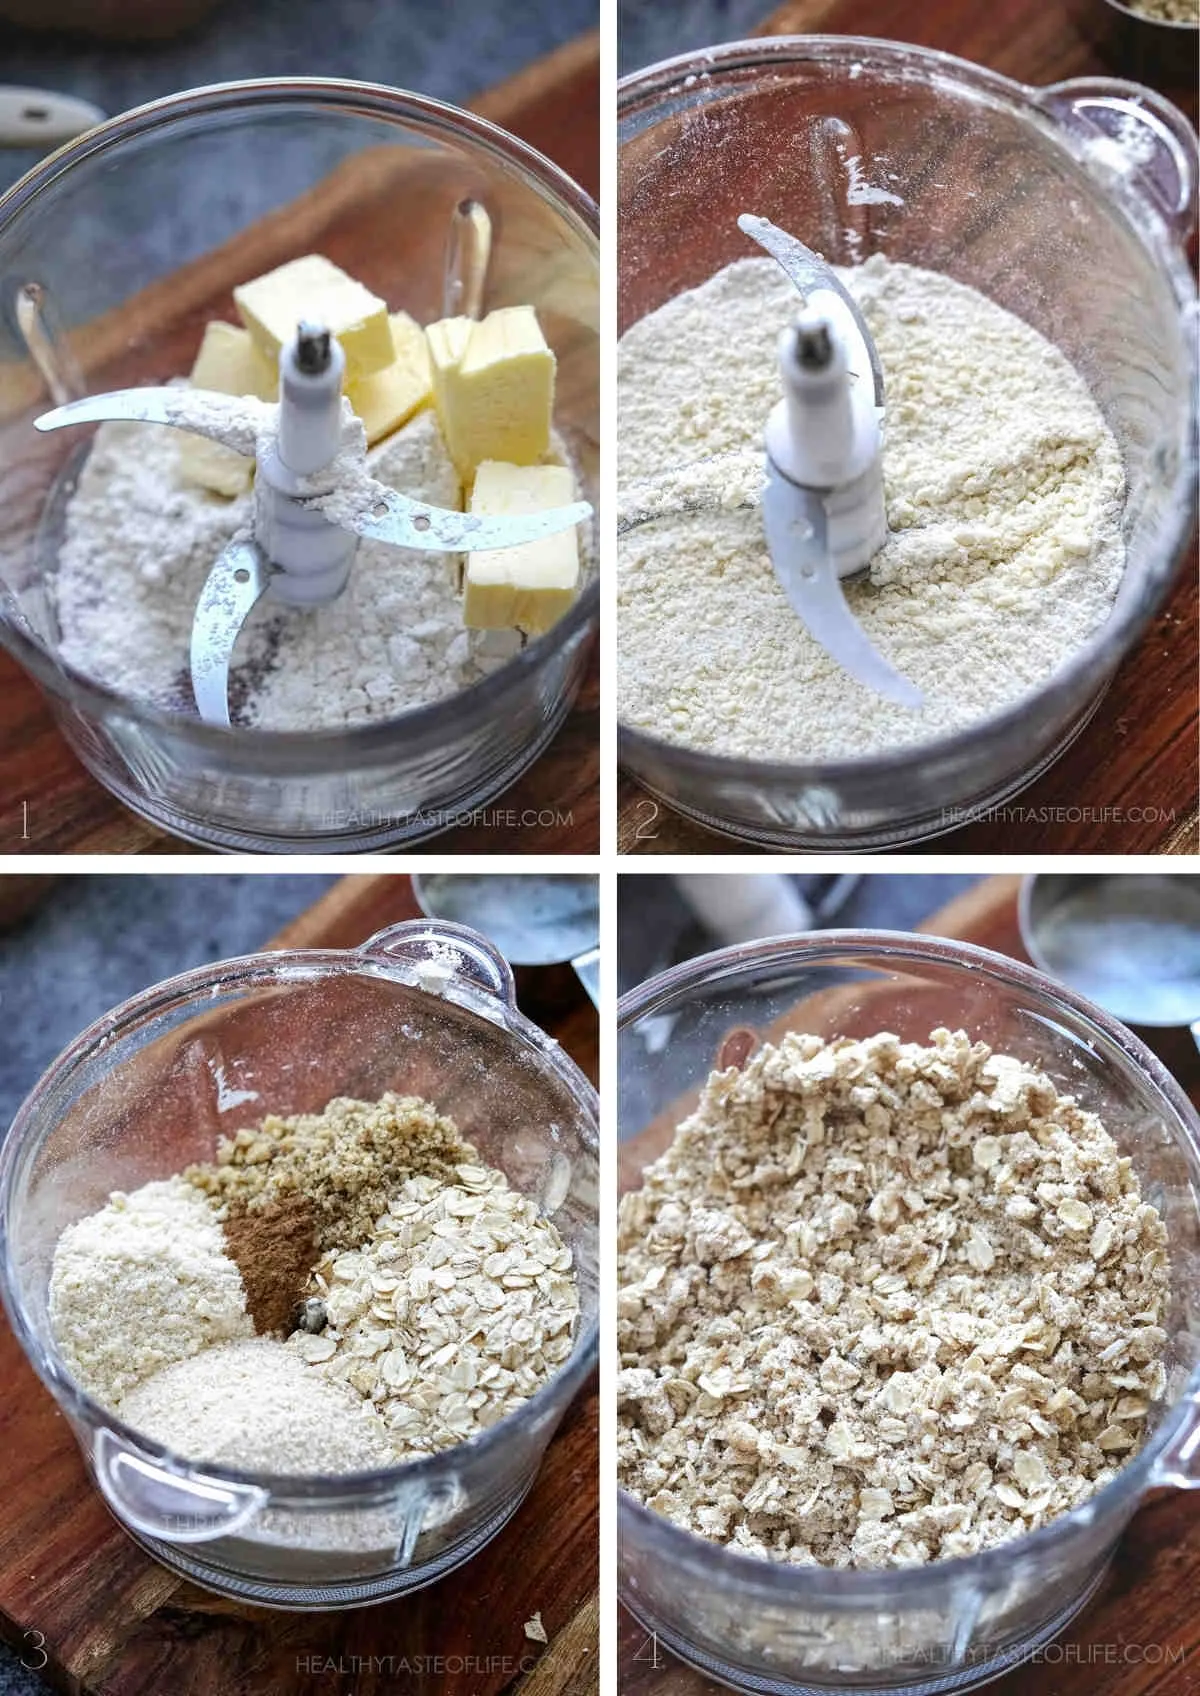
Step 1. Prepare The Crumble Topping First
- Place you butter in the freezer for at least 1 hour before starting. Then, if you’re doing it by hand, use a grater: in a bowl, rub the frozen butter against the smaller grating surface on a box grater. Toss the frozen shreds of butter with flour until all pieces are coated.
- If you have a food processor: add the cold butter and the flour to the bowl of a food processor and pulse the mixture until you have a chunky / crumb like mixture.
- To the butter and flour mixture, add the rest of ingredients and mix to combine. Place the crumb topping in the fridge while you make the rest.
- Preheat oven to 360 degrees F.
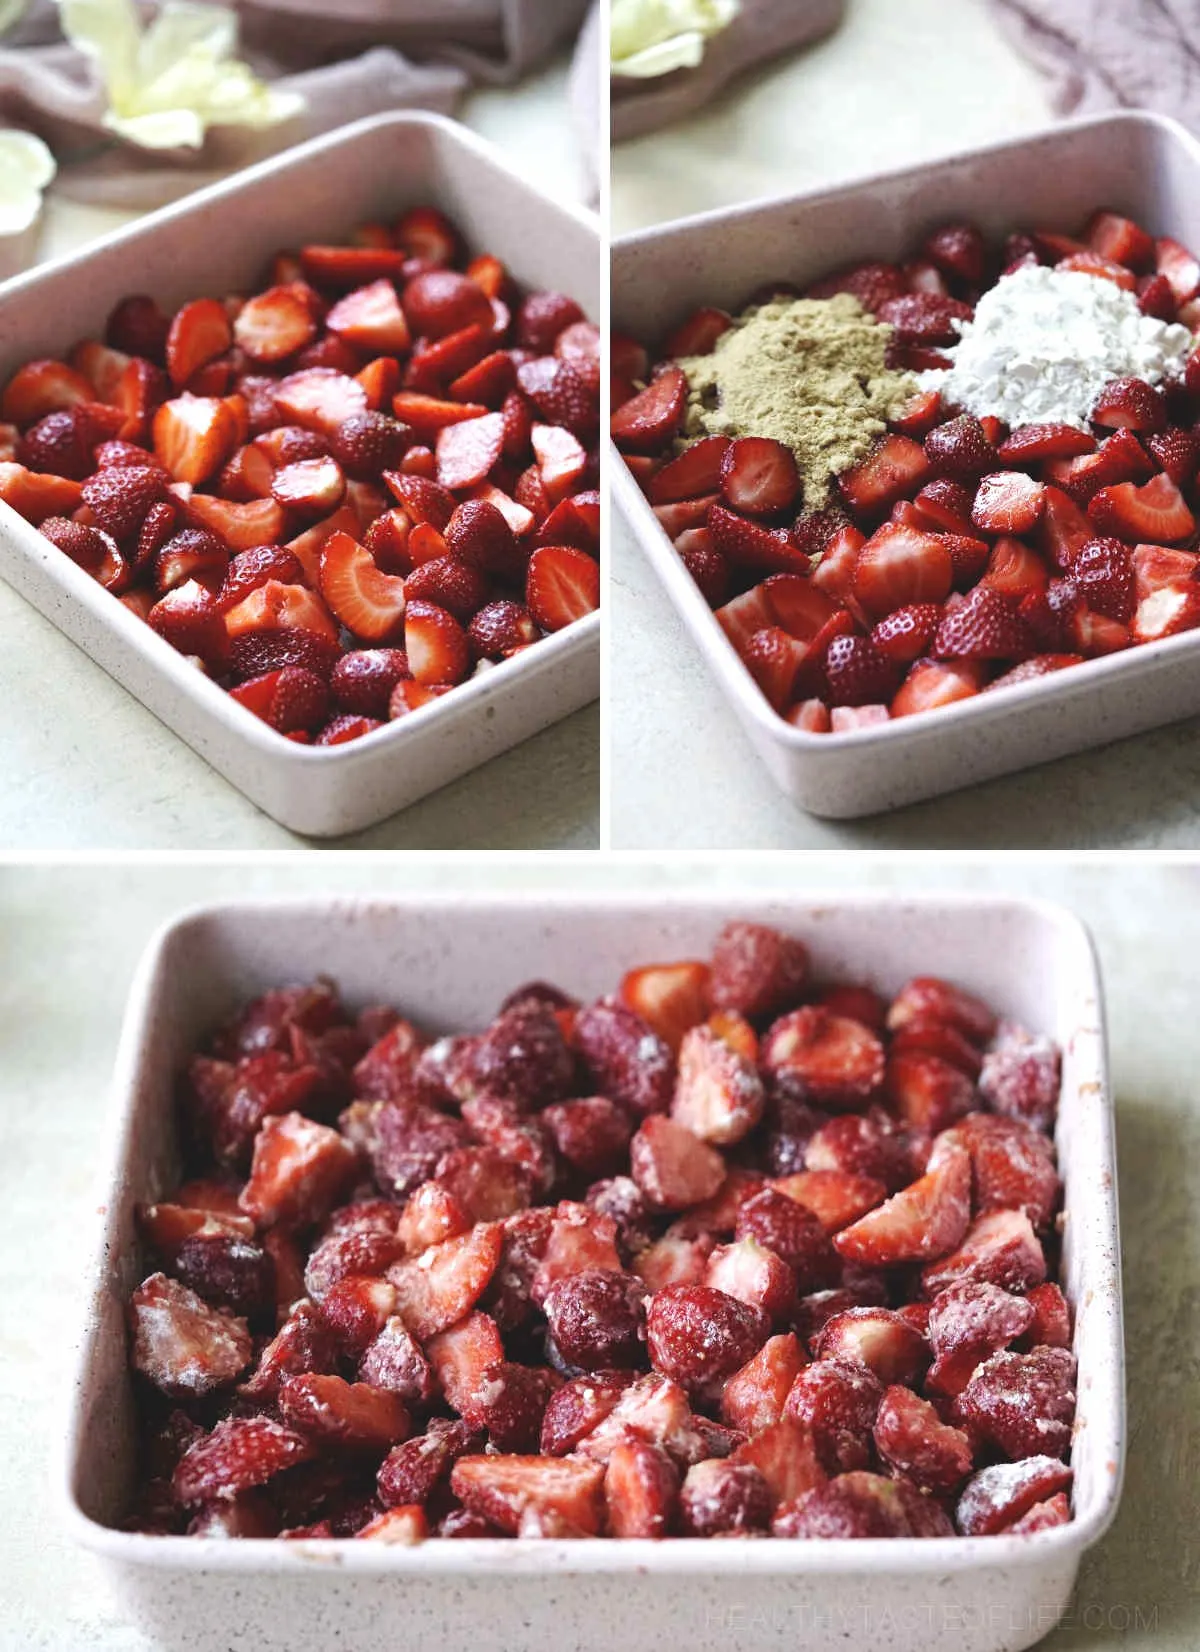
Step 2. Prepare the strawberry filling:
- Rinse the strawberries and pat dry, cut into 2 or 3 if they’re large.
- Add maple sugar (or your regular) and flour and place them all in a baking dish, toss to coat. I used the same 9-inch square pan for mixing that I’m going to use for baking, to reduce the dirty dishes. This baking dish has a ceramic coating so you don’t need to grease it.
- Spread in an even layer.
Step 3. Assemble the strawberry crumble and bake:
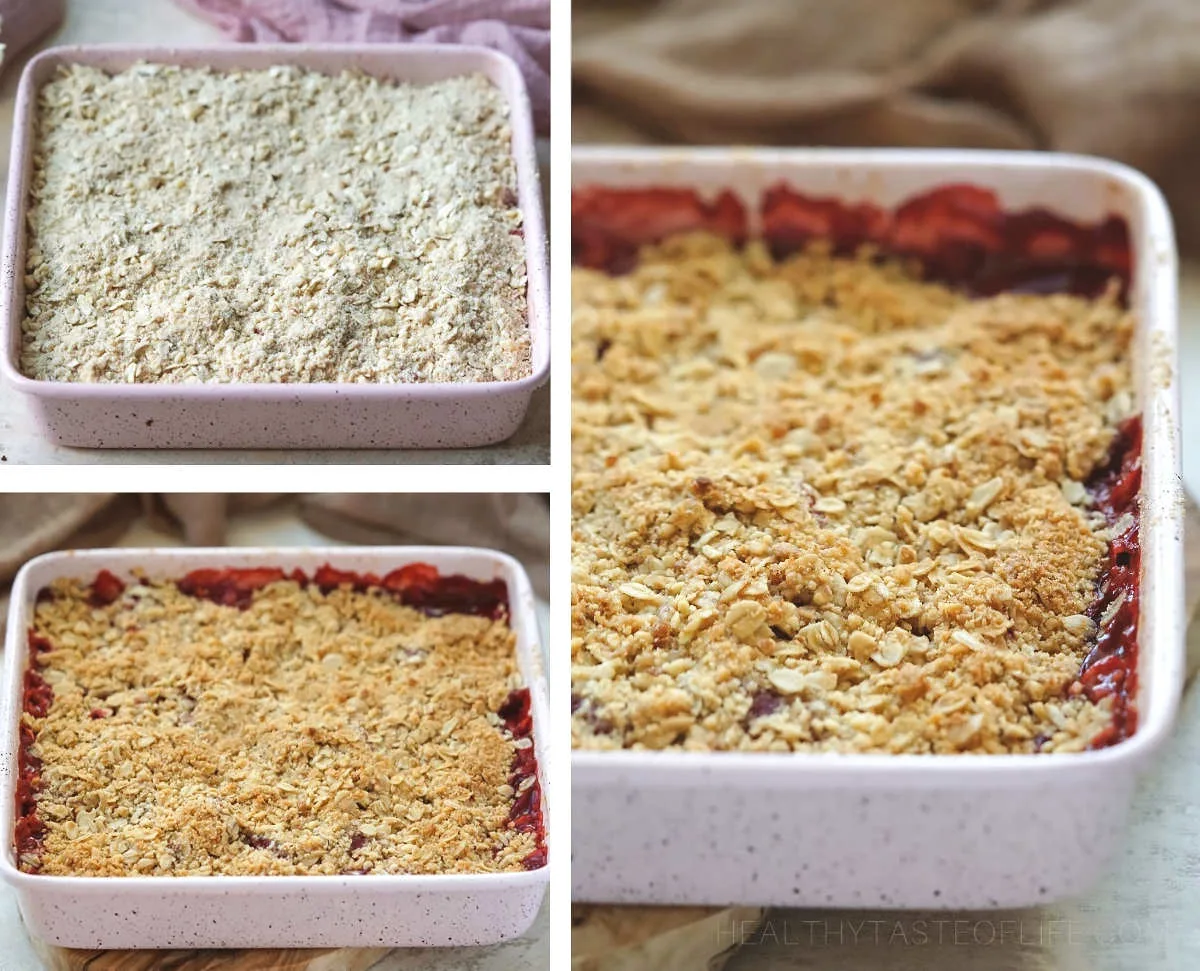
- Scatter the crumble topping over the surface of the strawberry layer.
- Bake in the oven for about 35 minutes, or until the topping is golden brown. If using frozen strawberries, the baking time could be 5 to 10 minutes longer.
Step 4. Cool and serve!
- Once it’s crisp and golden remove from oven and let it cool.
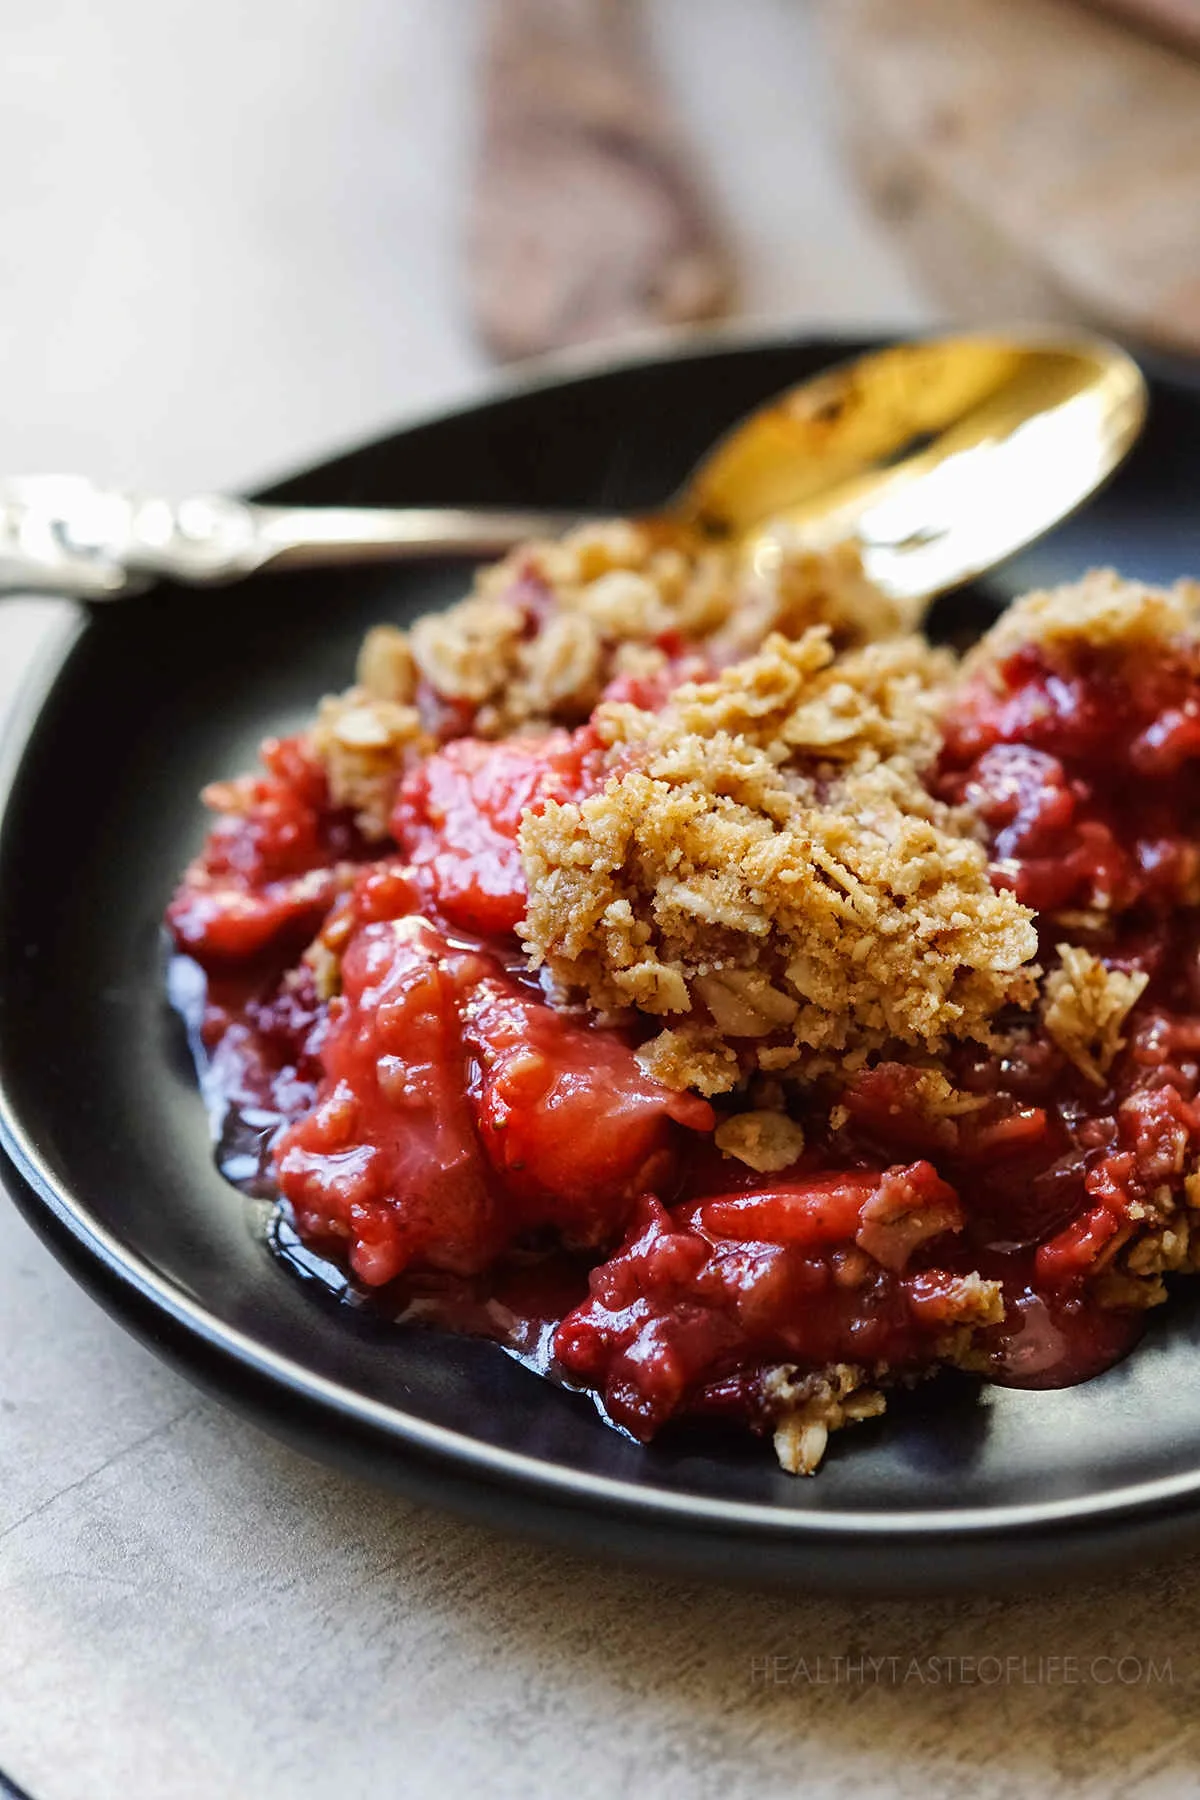
- Serve warm, cold or room temperature.
Add-ins And Tips
- Add-ins: flaked coconut, dried fruits, crushed pecans or sliced almonds (or seeds if allergic to nuts).
- Combine with other fruits: If you don’t have enough strawberries, you can add some apples, peaches or other berries.
- Smaller portions: bake the apple and blueberry crumble in small individual ramekins instead of one large pie dish.
Storing The Strawberry Crumble
- Storing leftovers: if already baked, keep the strawberry crisp/ crumble at room temperature for 1 day or up to 3 days in the fridge. If you want to prepare the healthy strawberry crumble in advance (unbaked) and store, then keep it assembled in the freezer for before baking. Keeping in the fridge will make the strawberries release a lot of juice, they don’t keep well once mixed with sugar.
- Freezing: the strawberry crisp/ crumble can be frozen for up to 3 months either baked or un-baked. For longer storage is best to freeze the strawberry crumble unbaked, it will keep it’s texture better.
- Thawing: No need to thaw the strawberry crisp. Just place it in your preheated oven (360 degrees F) straight from the freezer and add a few minutes on to the cooking time.
FAQs
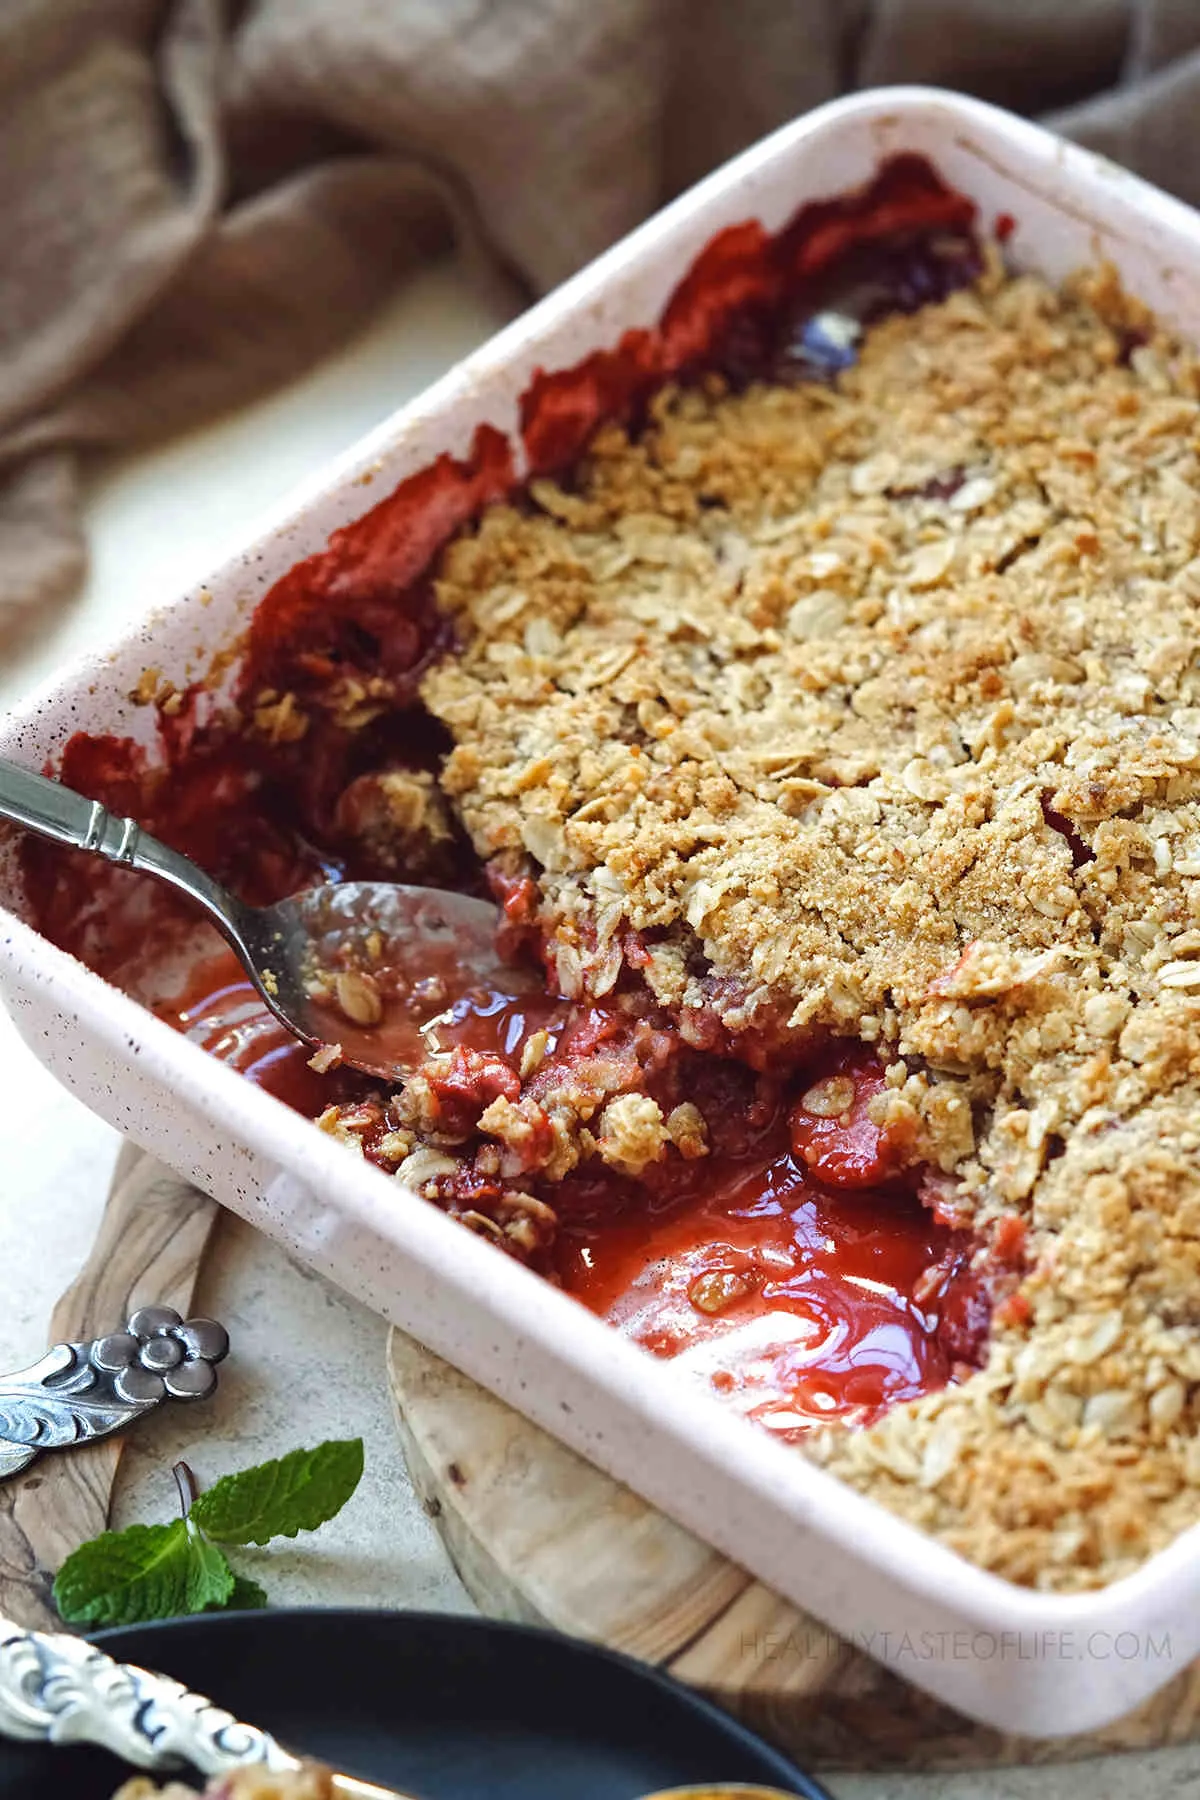
The strawberry layer should be bubbling and the surface of the crumble should be an even medium golden brown.
Adding oats in the crumble topping and the right amount of butter and sugar will ensure the top is crisp.
There are a couple of things you can do to thicken strawberry crumble: You need to make sure your strawberries are coated with a starchy flour in order to absorb as much water as possible. You can start with adding an extra tablespoon and see how it goes. Or/ and bake the strawberry crumble for a little longer, this will also help to evaporate some of the liquid.
Yes! If you’re using frozen strawberries, there’s no need to thaw them before adding them to the baking dish. Frozen berries will release more juice as they bake so the strawberry crumble might be a bit runnier.
Yes. Use a gluten free flour mix with same great results!
Other Healthy Fruit Crumble Recipes
- Blackberry And Apple Crumble
- Apple And Blueberry Crumble
- Peach Oat Crumble
- Apple And Plum Crumble
- Blueberry Muffins + Crumb Topping
- Healthier Apple Pie With Crumb Topping (DF,V)
If you made this strawberry crumble recipe, then please leave a star rating and a comment below the recipe card, it’s helpful for me and readers.
Printable Recipe
Strawberry Crumble / Crisp Recipe
Ingredients
Strawberry Filling
- 6 cups fresh strawberries - halved, or frozen
- 3-4 tbsp maple sugar - or your favorite sweetener
- 2 tbsp arrowroot flour - or any other starchy flour, add 1 tbsp more if using frozen strawberries
Crumble Topping
- ¾ cup rolled oats - use gluten free if you need
- ⅓ cup flour - for gluten free see notes
- ½ cup crushed walnuts - optional, but recommended
- 6 tbsp butter - for dairy free see notes
- ⅓ cup maple sugar - or brown sugar or coconut sugar
Instructions
Step 1. Make The Crumble Topping First
- Place you butter in the freezer for at least 1 hour before starting. Then, if you’re doing it by hand, use a grater: in a bowl, rub the frozen butter against the smaller grating surface on a box grater. Toss the frozen shreds of butter with flour until all pieces are coated.If you have a food processor: add the cold butter and the flour to the bowl of a food processor and pulse the mixture until you have a chunky / crumb like mixture.
- To the butter and flour mixture, add the rest of ingredients and mix to combine. Place the crumb topping in the fridge while you make the rest.Preheat oven to 360 degrees F.
Step 2. Prepare the strawberry filling
- Rinse the strawberries and pat dry, cut into 2 or 3 if they’re large.
- Add maple sugar and flour and place them all in a baking dish, toss to coat. I used the same 9-inch square pan for mixing that I’m going to use for baking, to reduce the dirty dishes. This baking dish has a ceramic coating so you don’t need to grease it.Spread in an even layer.
Step 3. Assemble the strawberry crumble and bake
- Scatter the oat crumble over the surface of the strawberry layer.
- Bake in the oven for about 35 minutes, or until the topping is golden brown. If using frozen strawberries, the baking time could be 5 to 10 minutes longer.
Step 4. Cool and serve
- Once it’s crisp and golden remove from oven and let it cool.Serve warm, cold or room temperature. Enjoy!
Notes
Tips
- The butter can be replaced with a dairy free version, like this coconut based butter.
- Gluten free strawberry crumble – you can use oat flour combined with a finer flour for a healthier strawberry crumble. Or use a gluten free flour mix with same great results!
- If you use frozen strawberries, don’t thaw them! You want them to stay frozen and release liquid slowly as they cook.
Nutrition
The information shown is an estimate provided by an online nutrition calculator.
©HealthyTasteOfLife. Content and photographs are copyright protected and need prior permission to use. Copying and/or pasting full recipes to other websites and any social media is strictly prohibited. Sharing and using the link of this recipe is both encouraged and appreciated!


Sam
Wednesday 31st of August 2022
Defintely don't skip the starhy flour if you don't want a mushy soupy filling! The second time just turned perfect!
HealthyTasteOfLife
Friday 2nd of September 2022
Indeed! I'm glad you decided to try it again!