
Gluten Free Dairy Free Tiramisu (Easy, No Ladyfingers)
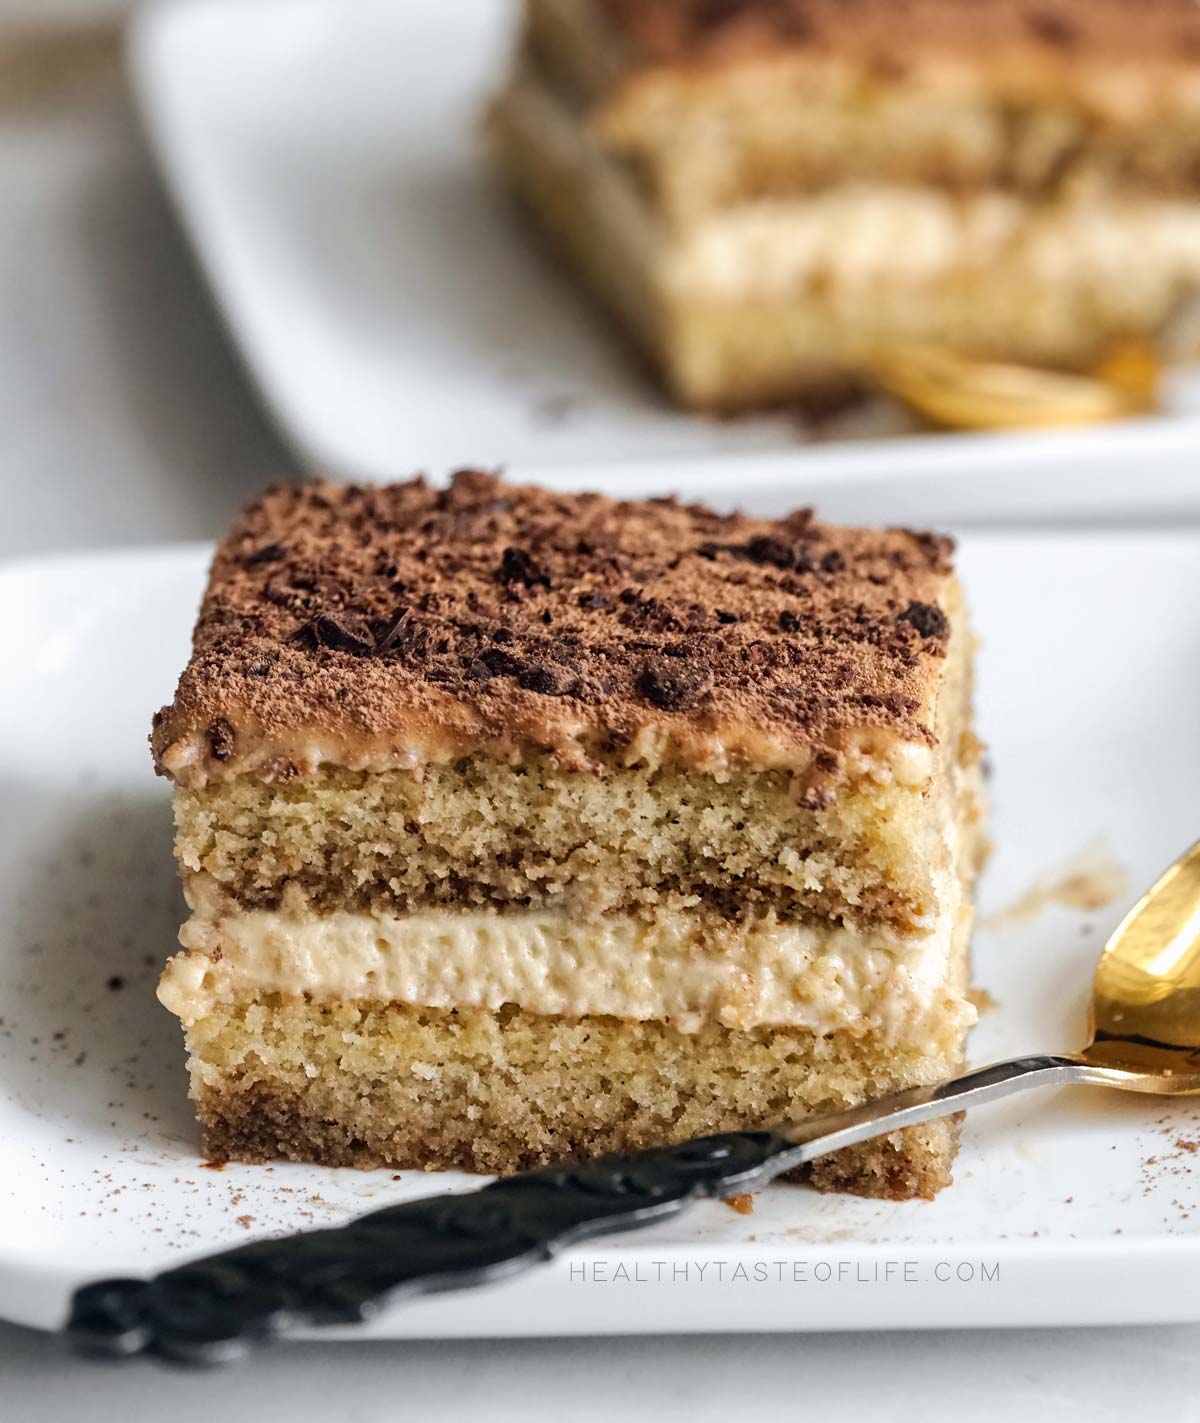
Classic tiramisu doesn’t have to rely on wheat flour or mascarpone to taste authentic. This gluten-free dairy-free tiramisu is made completely from scratch with a light sponge cake baked in one pan, a rich coffee syrup, and a creamy cooked egg custard folded into whipped coconut cream. The result is a soft, creamy dessert with the same flavor and texture people love about traditional tiramisu, without needing gluten, dairy, or the extra step of baking individual ladyfingers.
Why You’ll Love This Recipe
Finding a gluten-free dairy-free tiramisu that still tastes like the classic version isn’t always easy. Many recipes rely on store-bought gluten-free ladyfingers or complicated mascarpone substitutes that add extra work without improving the final dessert.
After testing different methods, I found that baking one soft sponge cake in a sheet pan is both easier and more reliable, than piping and baking individual ladyfingers. Once soaked with espresso syrup, it develops the same moist, melt-in-your-mouth texture as classic ladyfingers, without the piping, shaping, or multiple baking batches.
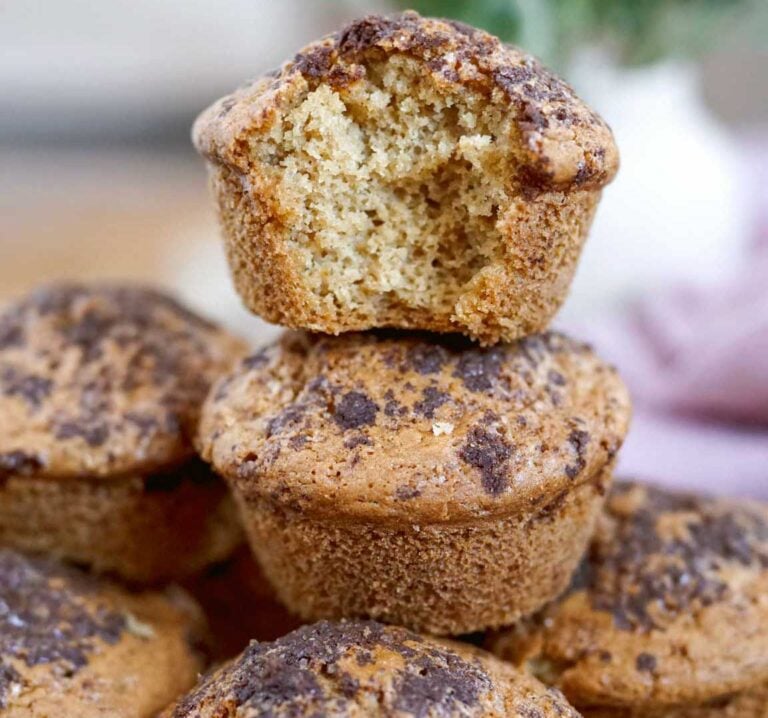
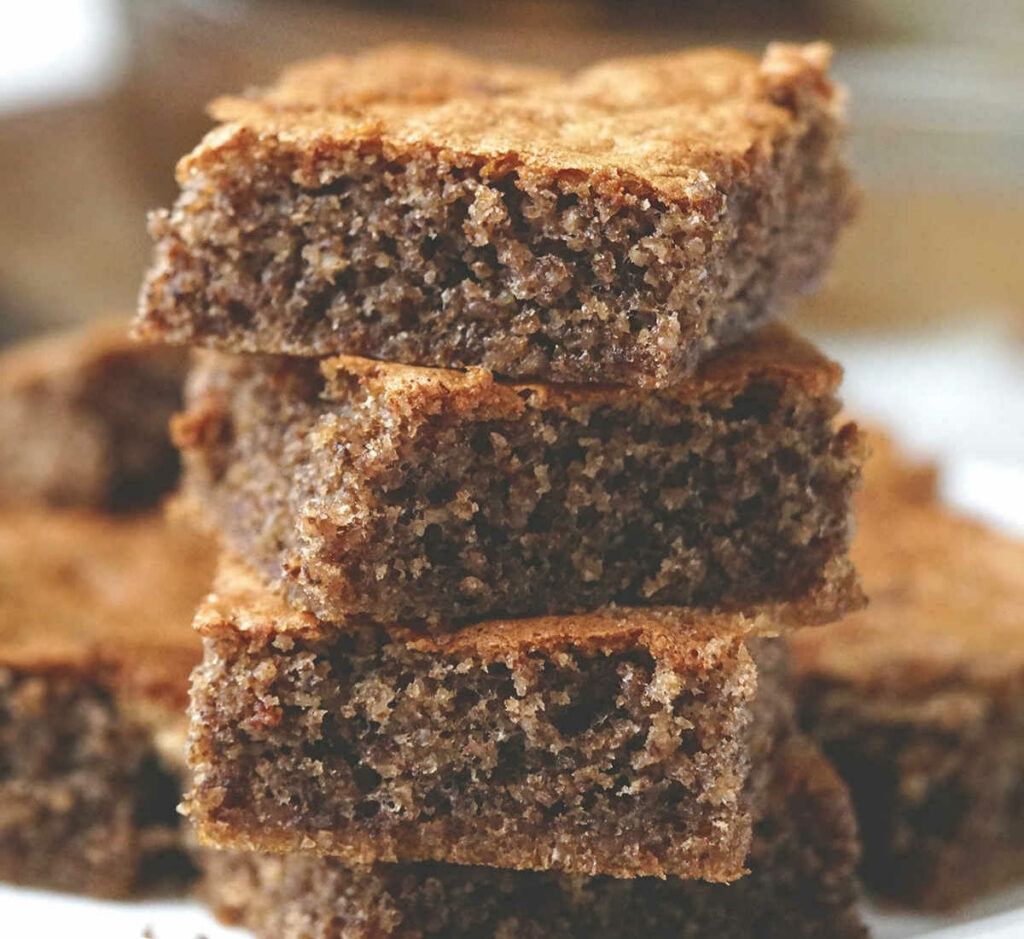
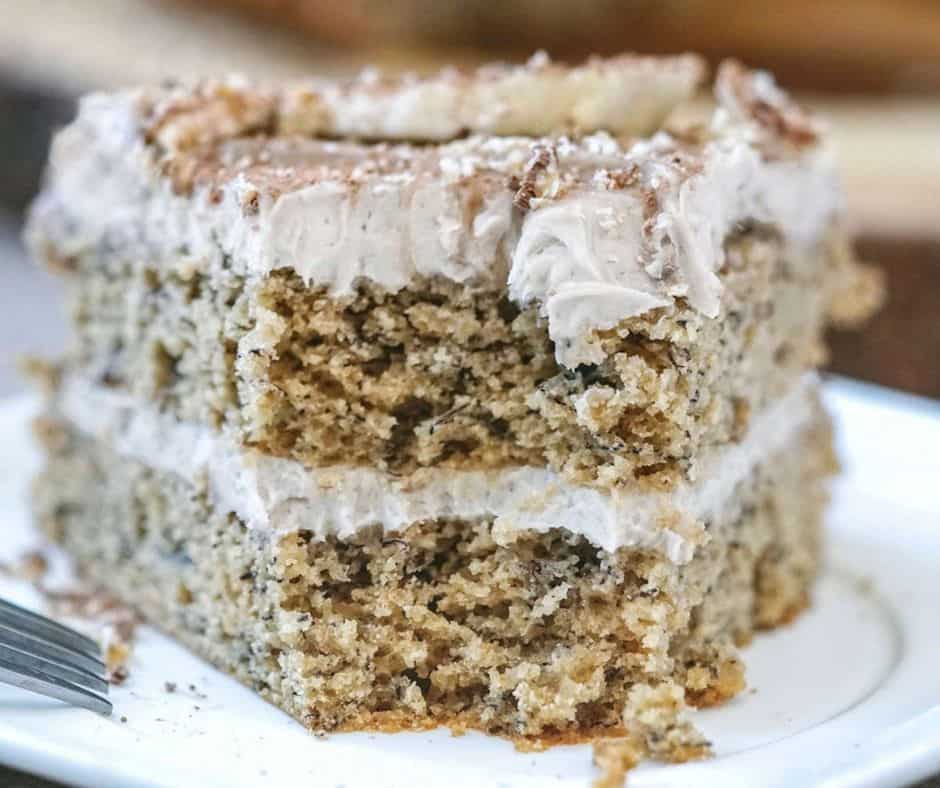
If you enjoy classic desserts made with wholesome ingredients, you might also like my Moist Gluten-Free Banana Cake With Dairy-Free Frosting or this light and airy Sheet Pan Walnut Cake inspired by traditional Greek baking.
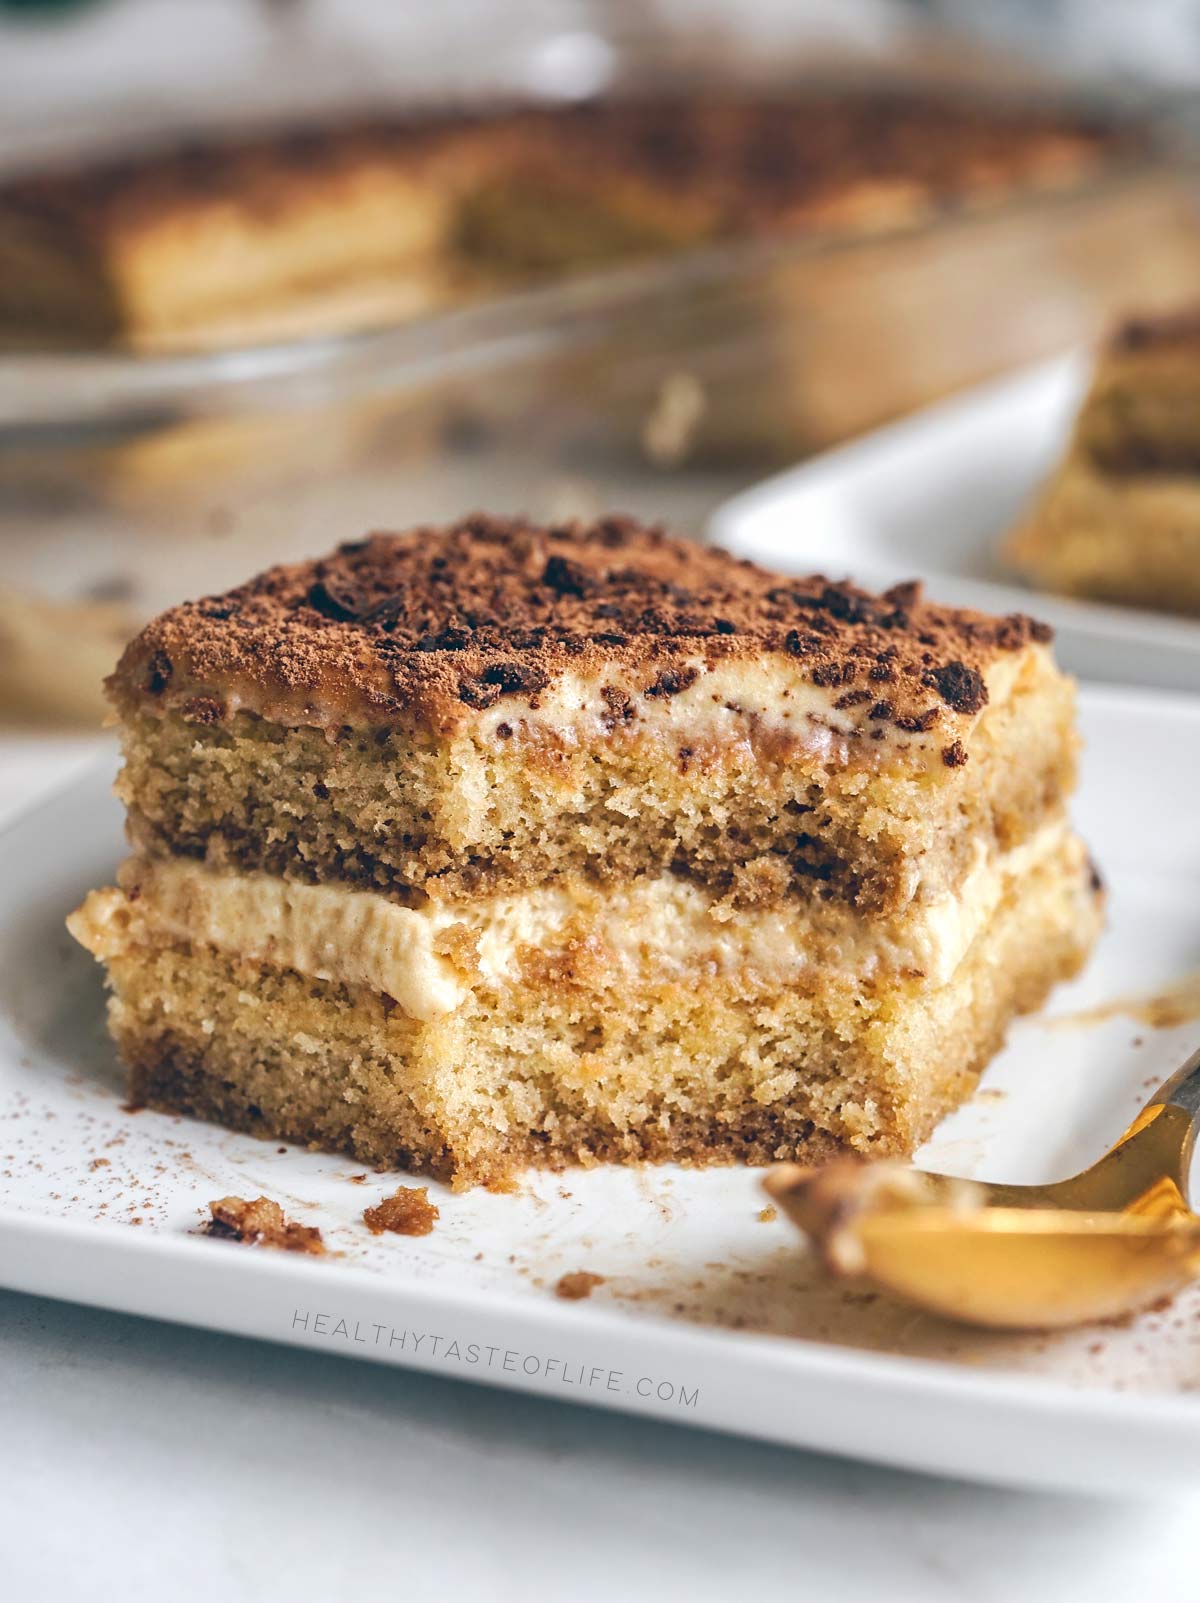
The filling stays true to the traditional Italian method by starting with a gently cooked zabaione (egg yolks and sugar whisked over a double boiler). Folding it into whipped coconut cream creates a light, creamy filling that’s remarkably close to mascarpone, while avoiding raw eggs and dairy.
After years of developing gluten-free and dairy-free recipes, I’ve found that simplifying recipes and using good quality ingredients is often the most failsafe. Baking one sponge instead of individual ladyfingers saves time without changing the rich coffee flavor, creamy layers, and classic tiramisu texture.
Note: If you’re new to gluten-free baking, choosing the right gluten free flour blend makes a big difference in recipes like this.
How To Make Gluten-Free Dairy-Free Tiramisu
This dessert comes together in four easy steps.
1. Bake the Sponge Cake
- Preheat the oven to 375°F. Line an 11 × 11-inch baking pan with parchment paper.
- Beat the eggs and sugar until pale, thick, and tripled in volume, about 5 minutes. Mix in the coconut yogurt, vanilla, and almond extract. Gently fold in the flour and salt just until combined.
- Spread the batter evenly into the pan and bake for about 15 minutes, or until its golden and the center springs back lightly. Let the cake cool completely.

2. Make the Espresso (or Coffee) Syrup
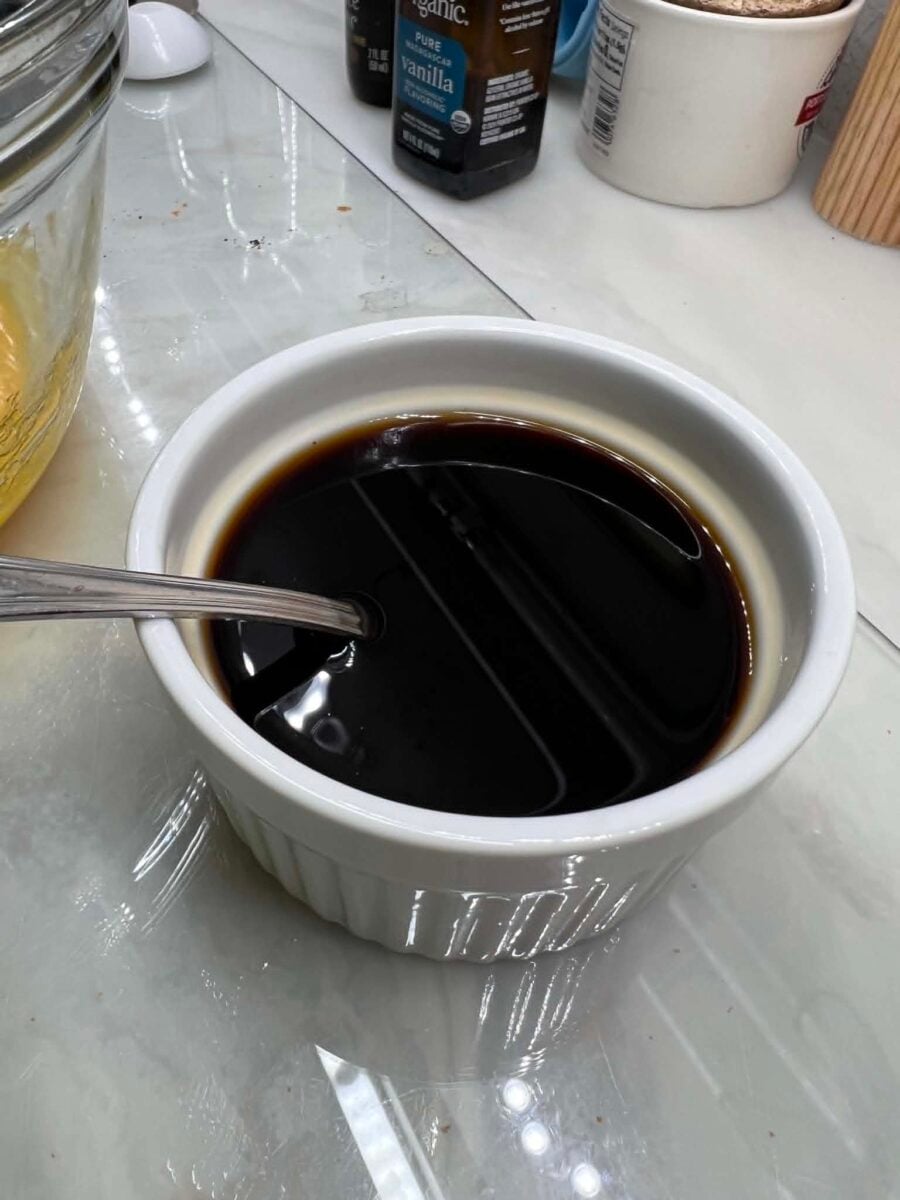
Stir together the espresso (or strong coffee), maple syrup, and vanilla. Let it cool before using.
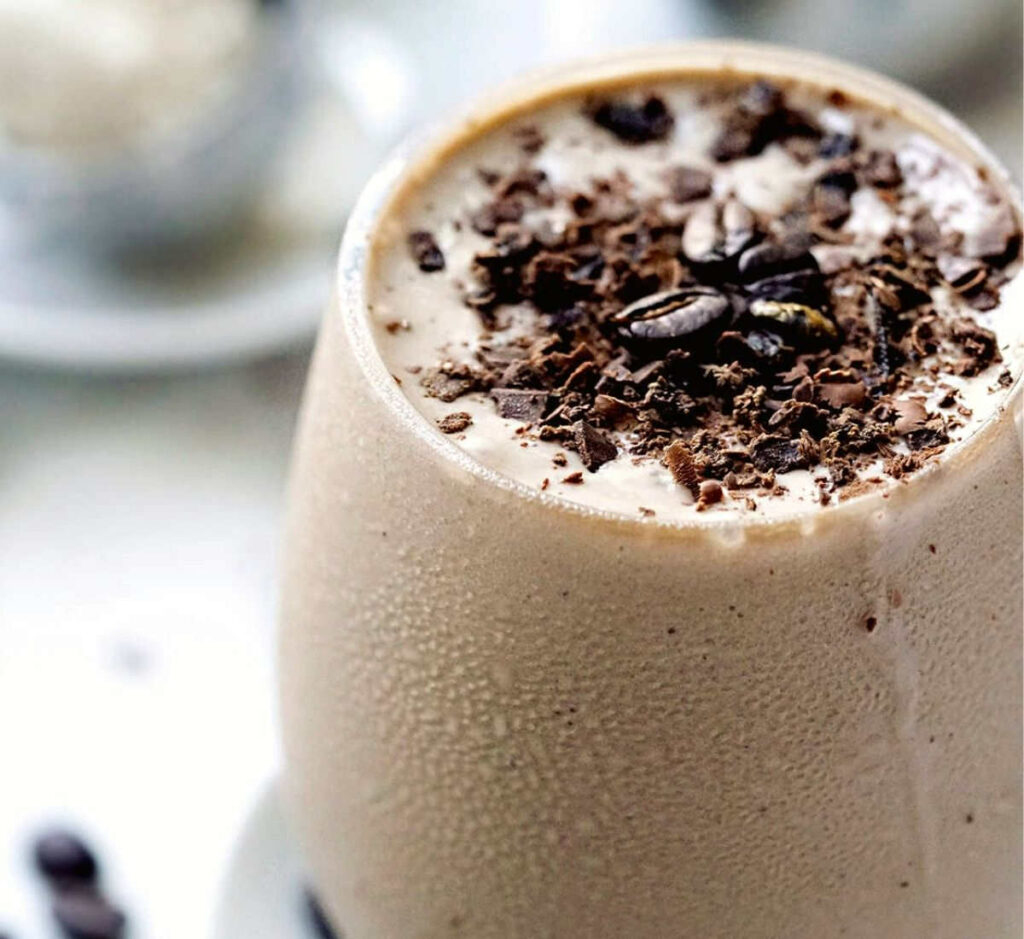
If you’re a coffee lover, don’t miss my creamy Coffee Milkshake With Mocha Flavor for another easy coffee-inspired treat.
3. Make the Dairy-Free Cream
Whisk the egg yolks and sugar over gently simmering water (double boiler) for 2-4 minutes, until pale and thickened (see image below how it falls from the whisk in heavy ribbons). Add vanilla and almond (or coffee) extract, mix to incorporate.
Cool completely.

In another bowl, whip the chilled coconut whipping cream to soft peaks, then gently fold in the cooled zabaione (egg yolk mix we just made) until smooth and fluffy.
4. Assemble
- Cut the sponge into two equal layers.
- Place one layer into your serving dish and slowly spoon over half of the coffee syrup making sure the entire surface is evenly soaked. Then flip the sponge so the coffee-soaked side faces down. This helps distribute moisture evenly throughout the layer instead of concentrating it on top.
- Spread half of the cream on top.
- Repeat with the second sponge layer, the remaining syrup, and the remaining cream.
- Cover and refrigerate for at least 6 hours, preferably overnight.

Dust generously with cocoa powder and finish with chocolate shavings just before serving.


Tips For the Best Gluten-Free Dairy-Free Tiramisu
A few small details make all the difference when it comes to getting that classic creamy texture.
➊ Use cold ingredients: Cold eggs whip into a lighter sponge, and well-chilled coconut whipping cream produces the fluffiest filling.
➋ Let the sponge cool completely: If the cake is still warm, it absorbs the coffee too quickly and can become too soft before the dessert has time to chill.
➌ Spoon the coffee syrup gradually: Instead of pouring all the coffee at once, spoon it evenly over the cake, giving it a minute to soak in before adding more. This helps every bite stay moist without becoming soggy.
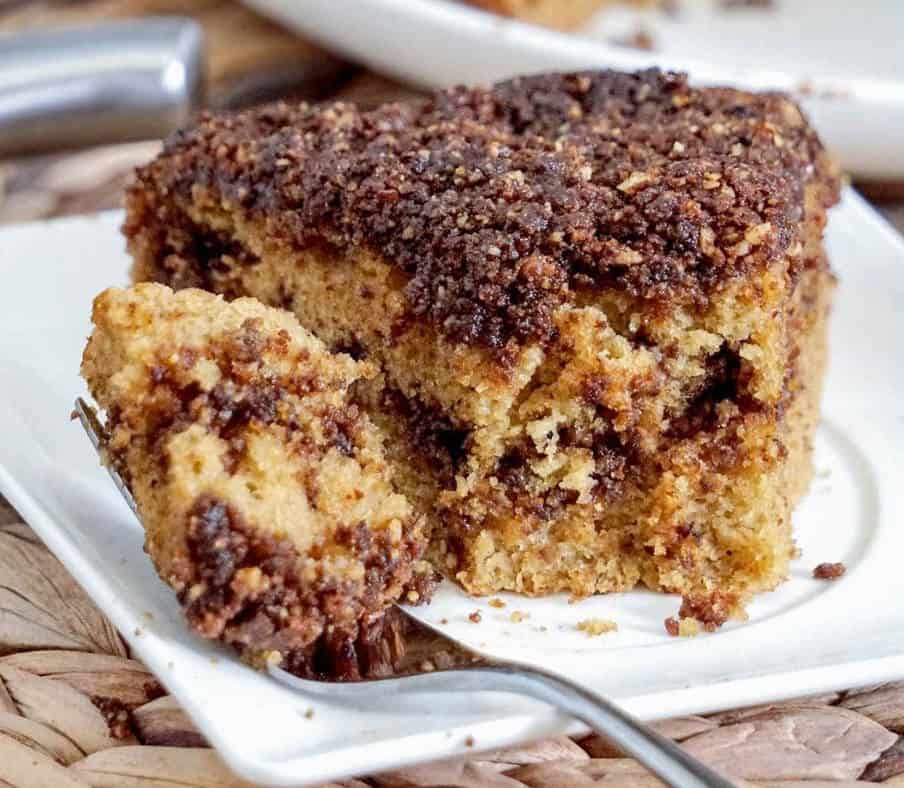
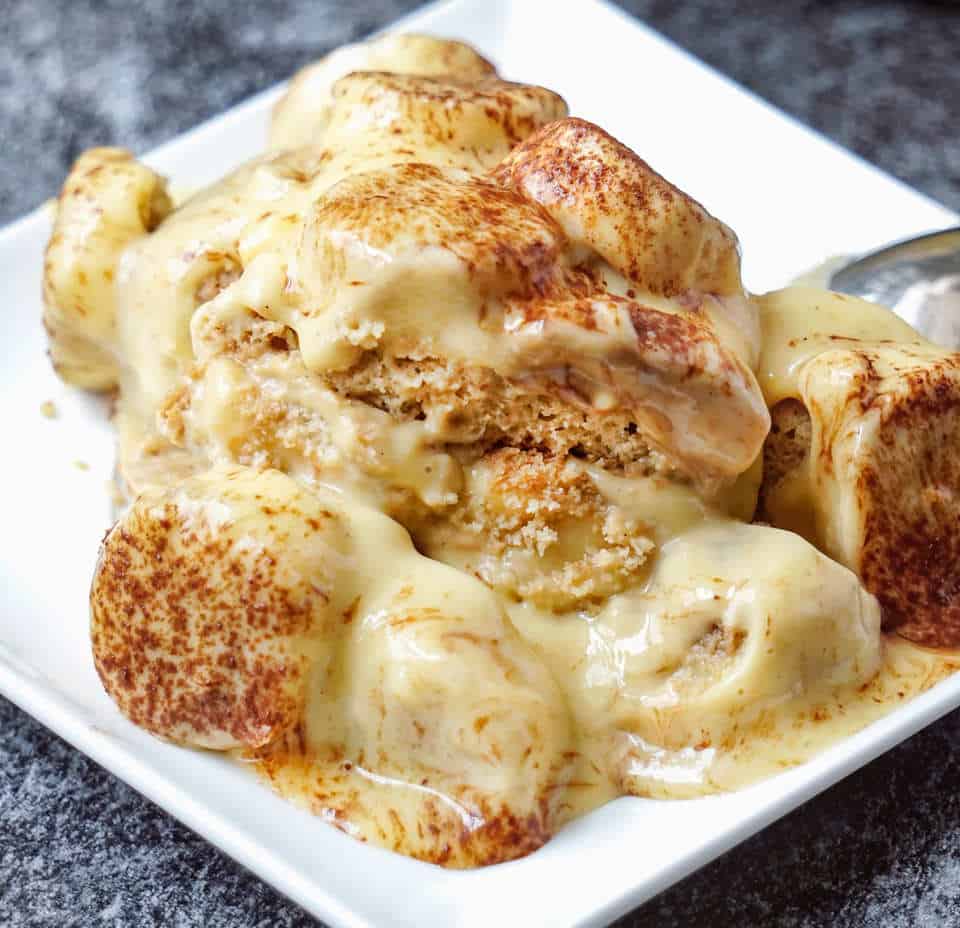
Chill overnight if you can: Tiramisu is one of those desserts that actually tastes better the next day. Just like my Gluten-Free Dairy-Free Banana Pudding, chilling gives the layers time to soften and the flavors to come together.

Recipe Tips & Troubleshooting
My coconut whipping cream didn’t whip
Don’t worry, it can still work.
Different brands behave differently, and even the same brand can vary depending on storage temperature. If the cream stays on the softer side but is still smooth (not grainy or separated), go ahead and use it.
The filling will set as it chills, although the cream layer may not be quite as thick or fluffy.
If your filling is especially soft, assemble the tiramisu in:
- individual dessert glasses
- ramekins
- small jars
You can also cut the sponge into cubes instead of large layers, creating a trifle-style tiramisu that’s just as delicious.
My filling looks grainy
This usually means the coconut cream became too cold or overmixed.
Whisk gently just until smooth, and always fold the whipped cream into the cooled zabaione instead of beating them together.
My sponge absorbed the coffee too quickly
Every gluten-free flour blend absorbs liquid a little differently.
Start with about three-quarters of the syrup and add more only if needed. The sponge should feel evenly moist without pooling liquid in the pan.
Easy Variations
This recipe is flexible enough to adapt to what you already have.
- Don’t want to bake the sponge? Use your favorite gluten-free ladyfingers instead. Assemble the dessert exactly the same way.
- Make it caffeine-free: Replace the espresso with strong decaffeinated coffee if serving children or anyone avoiding caffeine.
- Add a chocolate layer: Sprinkle finely grated dark chocolate between the layers for an even richer dessert.
- A little coffee liqueur: If you enjoy traditional tiramisu, add a splash of coffee liqueur or dark rum to the soaking syrup.
What Pan Works Best?
I used an 11 × 11-inch square pan, which produced a sponge that was easy to cut into two equal layers after baking. Although the batter looks thin before it goes into the oven, don’t worry, it rises nicely thanks to the whipped eggs.
If you don’t have the same pan, these are good alternatives:
|
Pan |
Result |
|---|---|
|
one 8 × 8-inch square |
Thick sponge, slice horizontally into two thin layers, may need a few extra minutes in the oven. It might be more difficult to slice cleanly into two layers. |
|
one 9 × 13-inch rectangle |
Works well for layering, probably the best fit. You can cut in half and trim the edges if you’d like a neater presentation. |
|
Two 8-inch or 6 inch round pans |
Bake two separate layers and skip slicing |
|
Individual ramekins or dessert glasses |
Cube the sponge and layer it with the cream for individual tiramisu servings. |
Don’t worry if the finished dessert isn’t exactly the same height. As long as the sponge and cream are layered evenly, the texture and flavor stay the same.
Make Ahead & Storage
Tiramisu is one of the best make-ahead desserts because the flavor improves after a few hours in the refrigerator.
- Assemble it up to 24 hours ahead for the best texture.
- Store covered in the refrigerator for up to 4 days.
- Dust with cocoa powder just before serving for the freshest look.
- Freezing is possible for up to 1 month, although the coconut cream may lose a little of its airy texture after thawing.
If You’re Tired of Conflicting Nutrition And Health Advice + Want a Simpler Approach To Healthy Eating
Join My Newsletter 👇
I share insights on food quality, gut health, health coaching tips beyond nutrition, and whole-food recipes that support long-term health, without strict rules or complicated meal plans.
Plus, you’ll get access to exclusive resources I don’t always share on the website.
More Gluten-Free Dairy-Free Cakes
Before You Go…
If you try this gluten-free dairy-free tiramisu, leave a comment below and a star ★★★★★ rating if you enjoyed it. Did you make the sponge cake or use ladyfingers? Your feedback not only helps other readers, but also helps me continue testing and creating recipes.

Gluten-Free Dairy-Free Tiramisu Without Ladyfingers
Ingredients
Gluten Free Batter
- 3 large eggs - cold
- 3 tbsp thick coconut yogurt - plain, for moisture
- ½ cup sugar - granulated (maple or coconut works)
- ¾ cup gluten free flour mix - I used my mix
- pinch of salt
- 1 tbsp vanilla extract
- ⅓ tsp almond extract
Soaking Syrup
- ¾ cup strong coffee - or espresso
- 1 tbsp maple syrup
- ½ tsp vanilla extract
The Dairy Free Cream
- 4 large egg yolks - cold
- ⅓ cup sugar - granulated
- 1 tbsp vanilla extract
- ½ tsp amond extract - or coffee extract (I used both)
- 15 ounce coconut whippin cream - 1 can
Finishing Touch
- 1 tbsp cacao powder
- 2-3 tbsp chocolate shavings
Instructions
Make the Sponge Cake
- Preheat the oven to 375°F. Line an 11 × 11-inch baking pan with parchment paper.
- Beat the eggs and sugar for about 5 minutes until pale, thick, and tripled in volume.
- Mix in the coconut yogurt, vanilla, and almond extract.
- Gently fold in the gluten-free flour and salt just until combined.
- Spread the batter evenly in the prepared pan.
- Bake for 14–16 minutes, until slightly golden and/or until the center springs back lightly when touched.
- Cool completely.
Prepare the Coffee Syrup
- Stir together the coffee, maple syrup, and vanilla.
- Let cool completely.
Make the Dairy-Free Cream
- Place the egg yolks, sugar in a heatproof bowl over barely simmering water (double boiler).
- Mix with a mixer continuously for 2-3 minutes, until pale, thick, and creamy. It should fall from the whisk in heavy ribbons when ready.
- Remove from the heat, add the vanilla and almond (or coffee) extract and cool completely.
- In a separate bowl, whip the chilled coconut whipping cream until soft peaks form.
- Fold the cooled zabaione into the whipped coconut cream until smooth and fluffy.
Assemble
- Cut the sponge cake into two equal rectangles.
- Place one layer in your serving dish.
- Spoon half of the coffee syrup evenly over the sponge. Then turn it over to make sure the soaked side is at the bottom of the dish.
- Spread half of the cream over the top.
- Repeat with the second sponge layer, remaining syrup, and remaining cream.
- Cover and refrigerate for at least 6 hours, preferably overnight.
- Dust with cocoa powder and sprinkle with chocolate shavings just before serving.
Notes
Pan Size
An 11 × 11-inch square pan creates the ideal sponge thickness. The batter may look thin before baking, but it rises well thanks to the whipped eggs. Good alternatives include:- 9 × 13-inch pan
- two 8-inch or 6 inch round pans
- one 8 × 8-inch square (slice horizontally into two thin layers)
- Individual ramekins or dessert glasses with cubed sponge
Make Ahead
This dessert tastes even better after chilling overnight. The sponge absorbs the coffee evenly, and the cream sets into clean slices.Storage
Store covered in the refrigerator for up to 4 days. Freeze for up to 1 month. Thaw overnight in the refrigerator before serving.Nutrition
The information shown is an estimate provided by an online nutrition calculator.
Frequently Asked Questions
Yes. The coffee-soaked sponge, cooked zabaione, cocoa, and creamy filling create a flavor that’s very close to the classic Italian dessert, even without gluten or dairy.
Very little. Almost no trace. The espresso, cocoa, vanilla, and cooked egg custard are the dominant flavors, while the coconut cream mainly provides richness and structure.
No. The egg yolks are gently cooked over a double boiler before they’re folded into the whipped cream.
Yes, as long as it’s a balanced all-purpose blend. Different blends absorb liquid differently, so you may need slightly more or less coffee syrup.
Yes. If you’re short on time, they’re a great shortcut. Prepare the cream and coffee syrup as written and assemble the tiramisu the traditional way.
Yes. Up to 1-2 months.
More Gluten Free Dairy Free Desserts You’ll Love



©HealthyTasteOfLife. Content and photographs are copyright protected and need prior permission to use. Copying and/or pasting full recipes to other websites and any social media is strictly prohibited. Sharing and using the link of this recipe or article is both encouraged and appreciated!