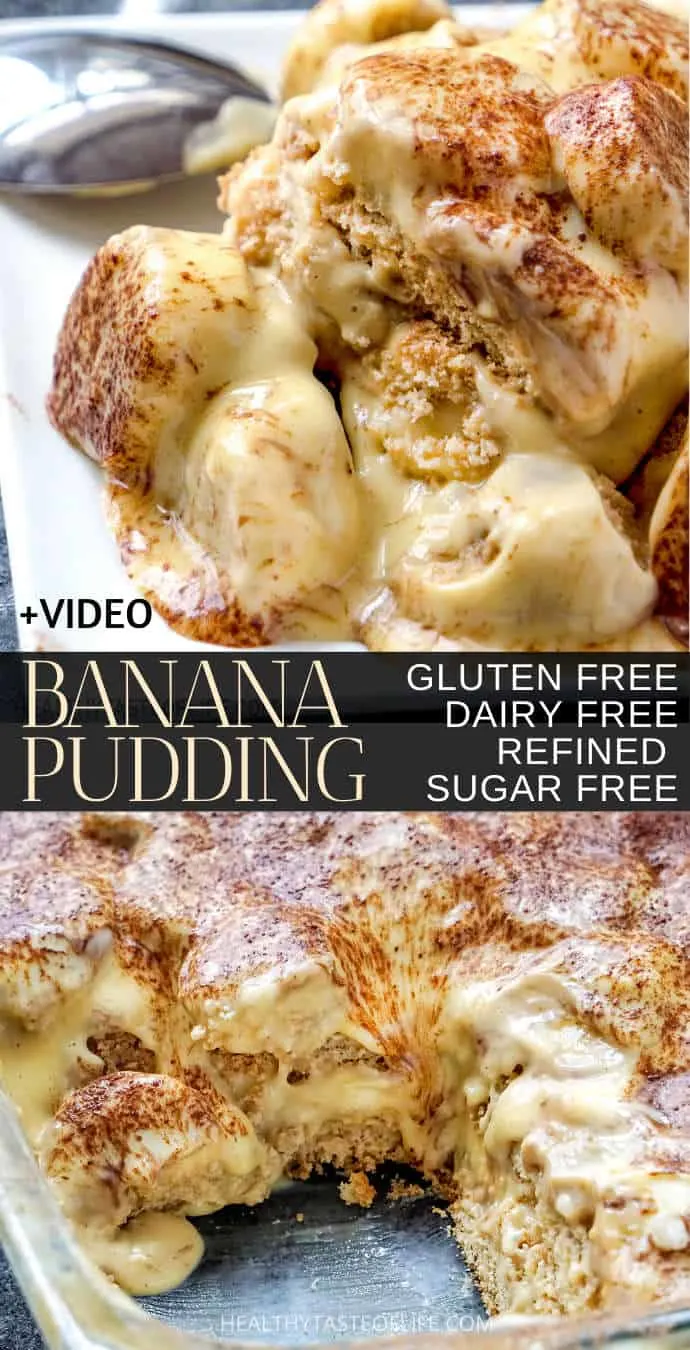
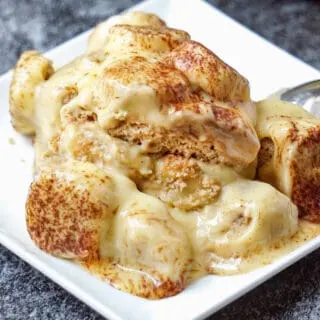
Looking for a gluten free banana pudding dessert made from scratch with healthier ingredients? These creamy layers of non-dairy vanilla pudding, ripe bananas, and gluten free wafer cookies are impossible to resist! This dairy free banana pudding is much better than a mix from a box and when combined with gluten free vanilla wafers (also made from scratch) and fresh bananas, it makes an amazing gluten free banana dessert.
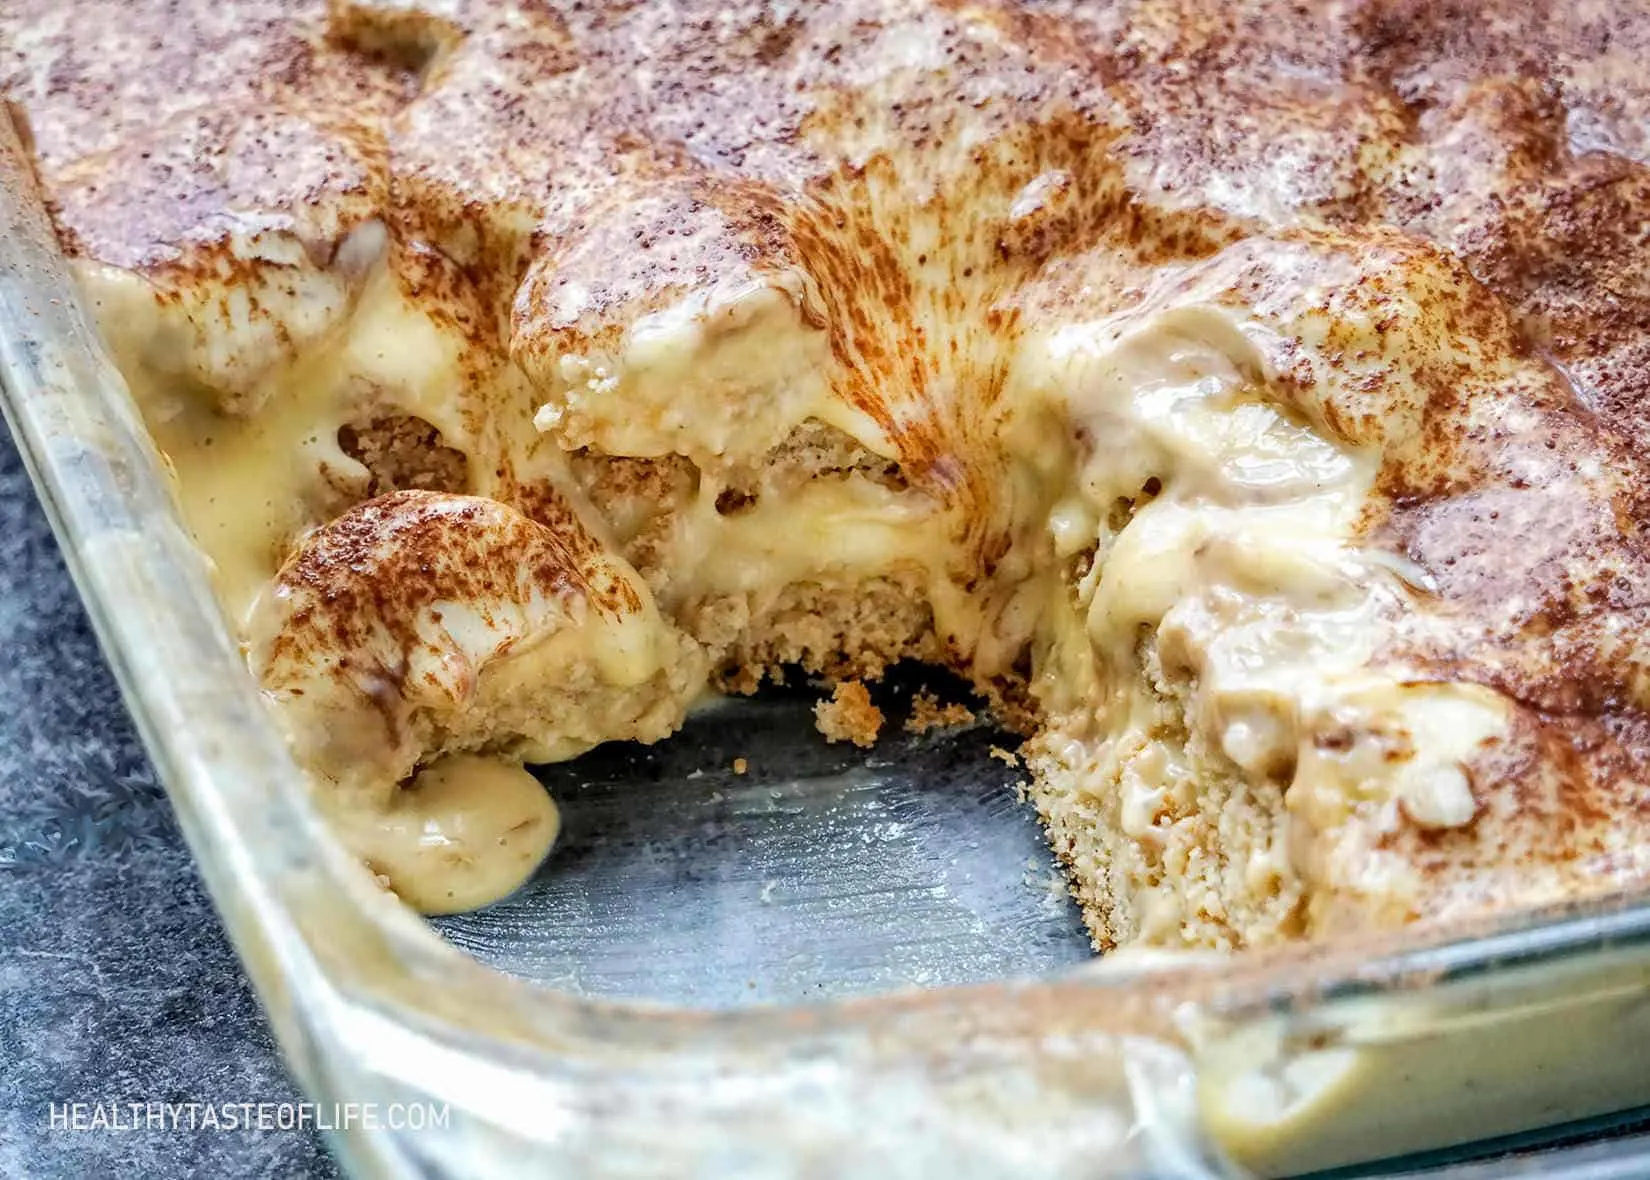
Gluten Free Dairy Free Banana Pudding
Since I’m all about improving the quality of my desserts, I think this recipe makes a more healthy banana pudding made from scratch without using pre-mixed ingredients while keeping the great flavors.
The creamy dairy free banana pudding / custard with sweet bananas and the crunch of homemade gluten free vanilla wafers will make you try this gluten free dairy free dessert again and again.
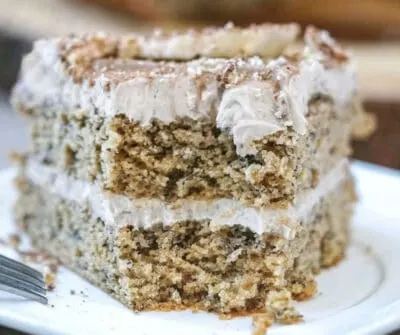
By the way if you like bananas incorporated in desserts you should definitely try this gluten and dairy free banana cake or these banana oatmeal blueberry muffins (GF/DF).
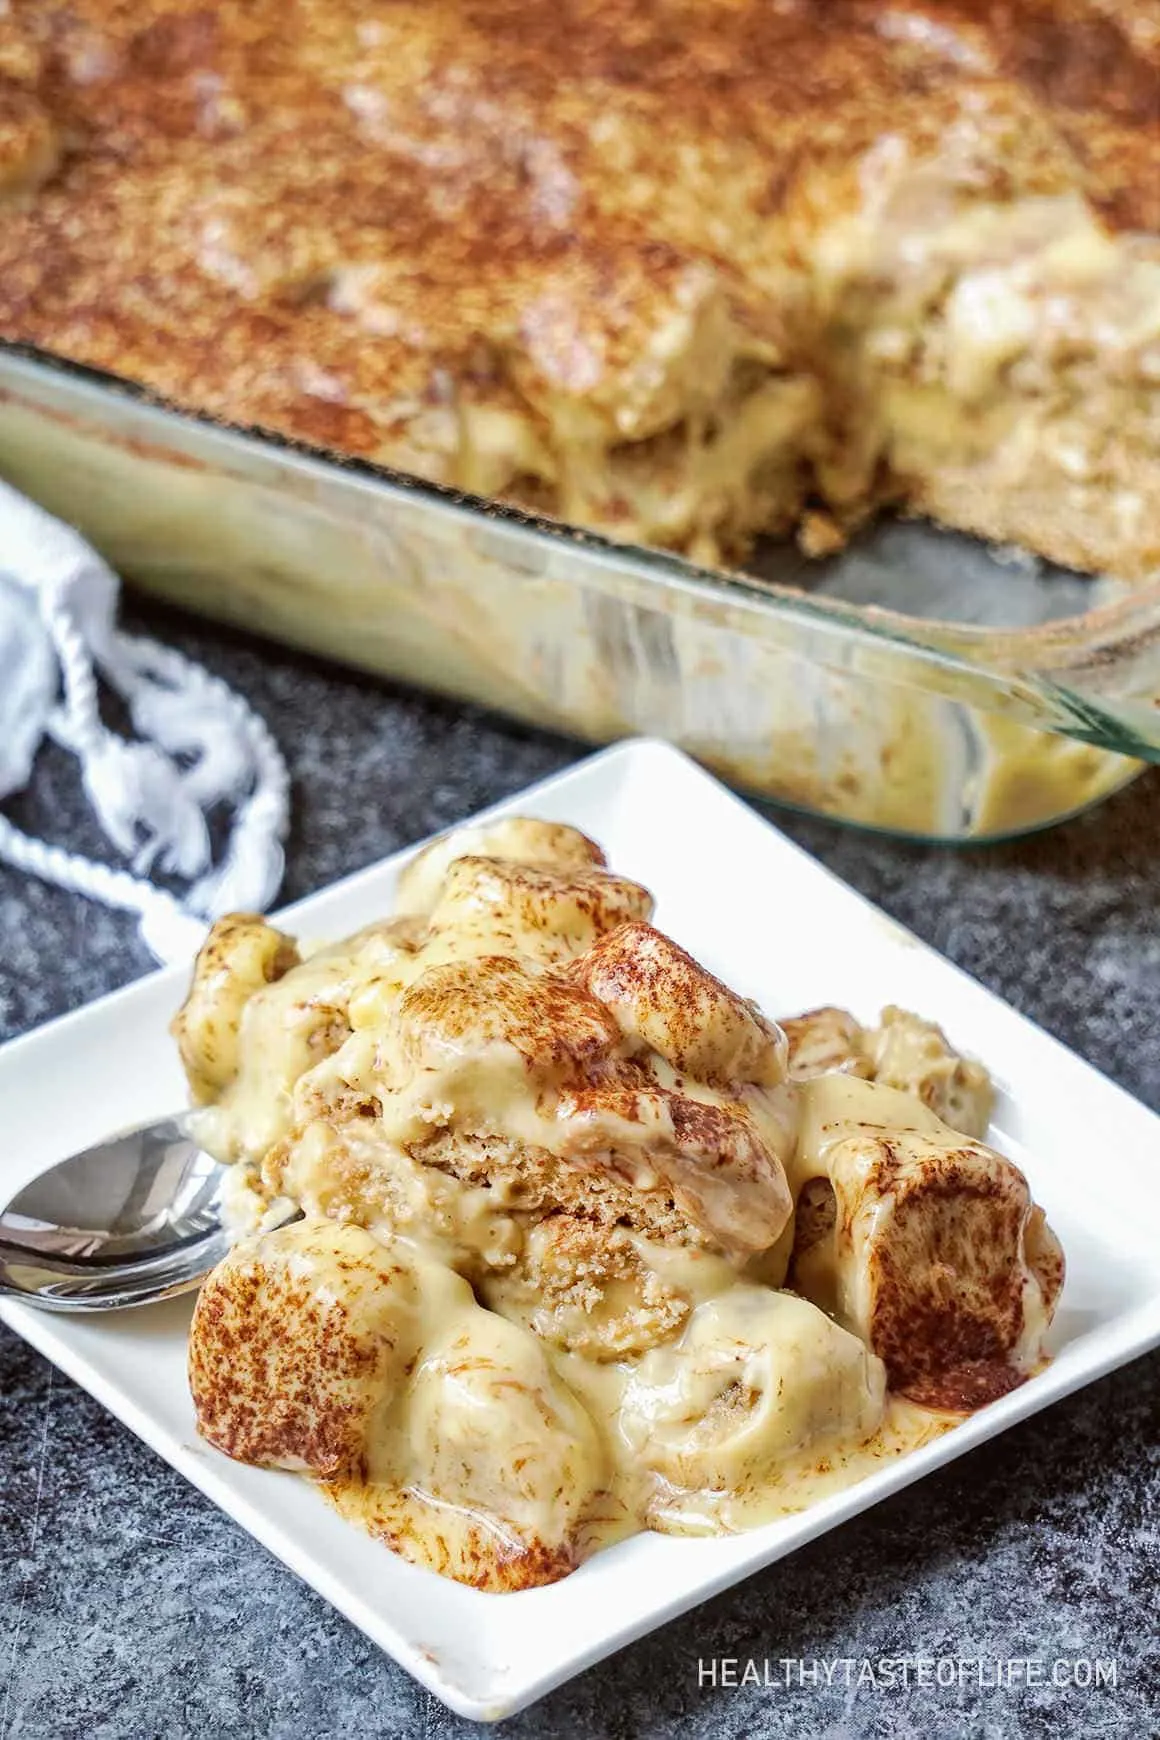
Gluten And Dairy Free Banana Pudding
By trying to recreate a healthier gluten free dairy free banana pudding I needed to make my own dairy free pudding (not from a box) and achieve that crunch of classic vanilla wafers by making my own gluten free wafer cookies. And of course the key to a delicious banana pudding is to use really ripe bananas.
What Makes This Gluten Free Dairy Free Banana Pudding Healthier
- It’s all homemade from scratch (no heavily processed ingredients).
- Gluten free (healthier whole grain gluten free flours).
- Dairy free (lactose free and without added gums and thickening agents)
- And refined sugar free (no artificial sweeteners or white sugar).
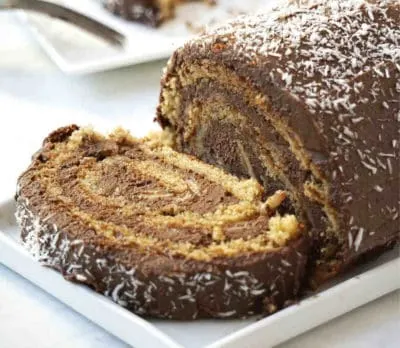
Another gluten free banana dessert you may like: banana swiss roll cake with carob frosting, both gluten and dairy free.
Is Banana Pudding Gluten Free?
The traditional banana pudding sold in stores or bakeries is not gluten free. The dessert consist of vanilla pudding, sweetened condensed milk, heavy cream, Nilla wafers (that are made with wheat), bananas and eggs. Are Nilla wafers gluten free? No, they have wheat four among other ingredients. So that’s why I made my own gluten free wafers.
Gluten Free Dairy Free Banana Pudding Ingredients
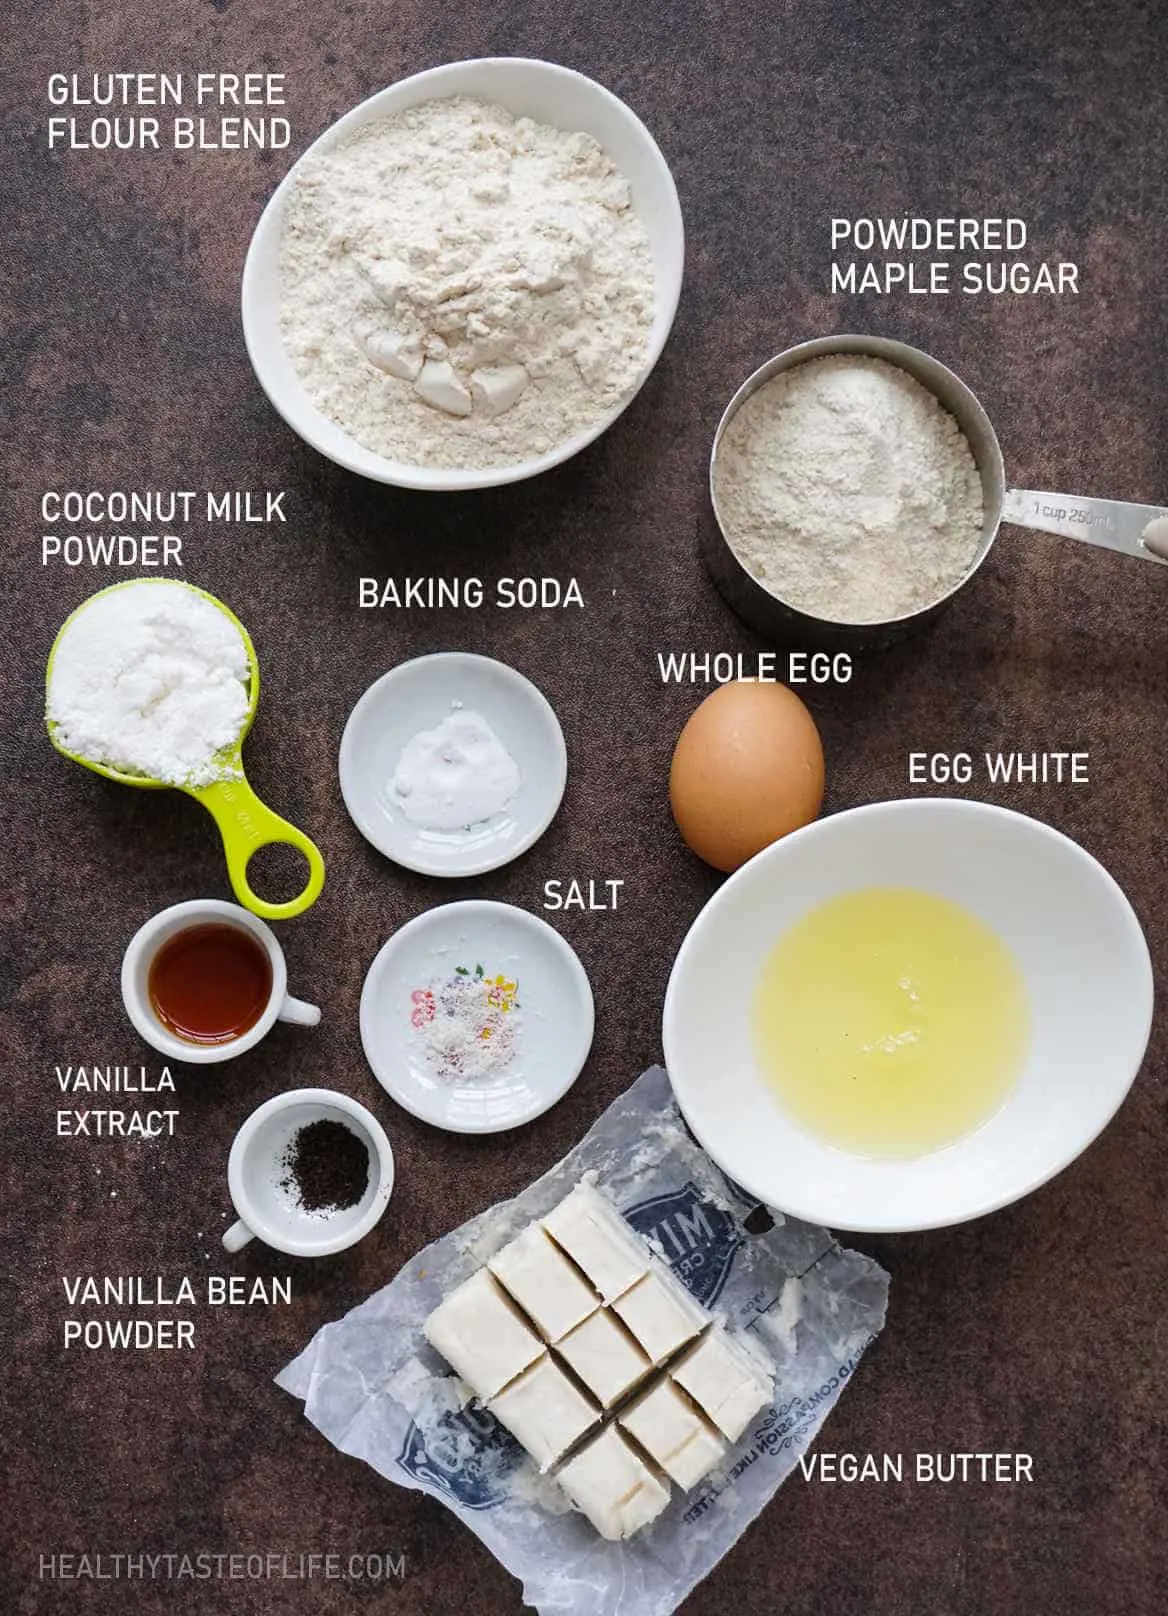
What You Need To Make Gluten Free Vanilla Wafers For Banana Pudding
- gluten free pastry flour mix (or use your favorite flour mix).
- coconut milk powder: will help with caramelization, and will give the wafers a browner tone.
- plant based butter: I’m using Miyoko’s as it has a healthier ingredient list.
- maple sugar: powdered, it will give the gluten free wafers a nice maple flavor and a moderate sweetness.
- whole egg, room temperature: as a binding agent and for a nice golden color.
- egg white, room temperature: it will help with crispness.
- vanilla extract (make sure it’s gluten free like this one, or use more vanilla bean powder) or powdered vanilla bean: is the best real alternative to vanilla extract, if you want a rich vanilla flavor.
- salt and baking soda for a puffier texture.
Or if you don’t have time, just buy some gluten free vanilla wafers.
Dairy Free Banana Pudding Ingredients
- Non dairy milk: the richer, creamier, the better – coconut milk, cashew milk or a blend of milks will work.
- Egg yolks: they will adds richness and also will thicken the custard.
- Maple sugar (or other preferred natural sugar) to sweeten.
- Plant based butter: to help form a silky texture and firmness when cooled.
- Arrowroot flour: as a thickening agent, in order to avoid corn starch.
- Vanilla extract or vanilla bean for that flavorful vanilla aroma.
Find the complete printable recipe with measurements below.
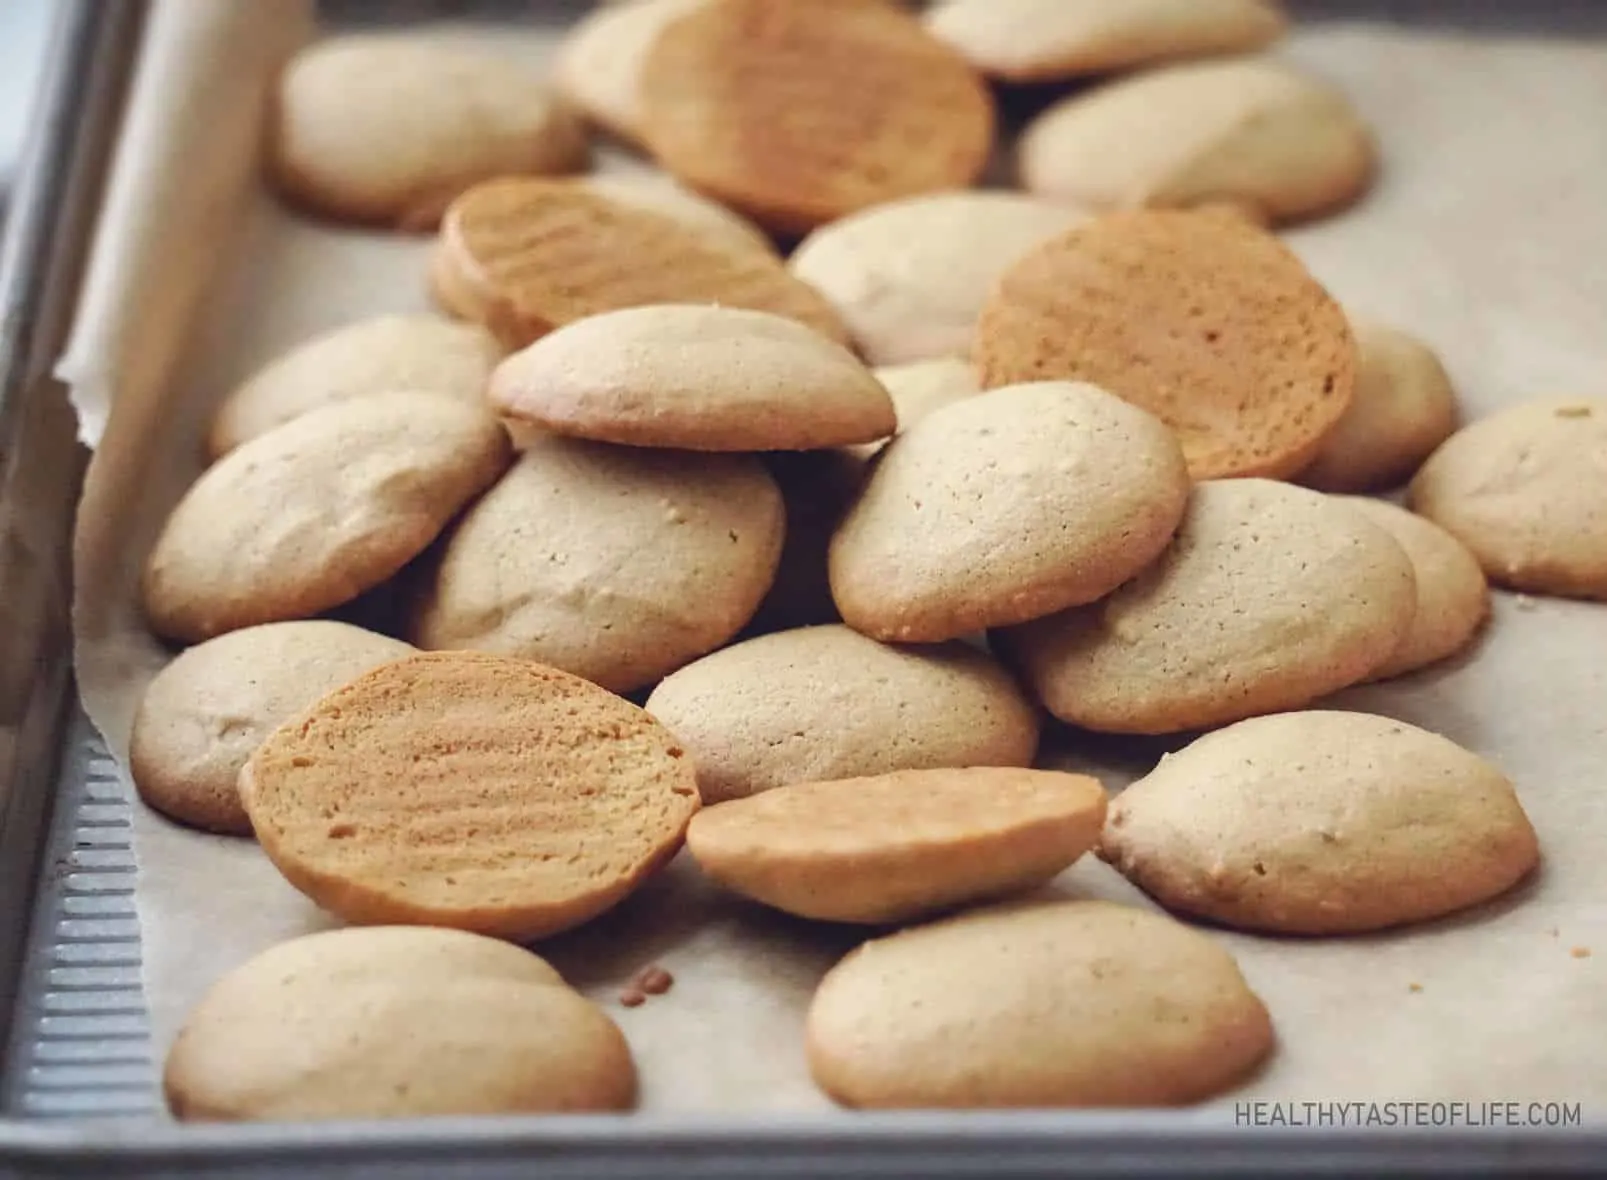
How To Make Gluten Free Vanilla Wafers
Step 1. Make The Batter.
- In a large bowl, cream together the softened butter and half of the powdered maple sugar for about 1 minute, until dissolves.
- In another bowl mix together the egg and the egg white with the other half of maple sugar until it dissolves.
- Then add the egg mixture to the butter mixture little by little until fully incorporated and smooth.
- Then add the rest of ingredients: vanilla, coconut milk powder, salt, baking soda and half of the flour, mix until incorporated then add the rest of the flour, mix until smooth. The dough should look like a thick paste. If you use other type of vegan butter pay attention to the consistency of the dough, it might be runnier so you might need to add a bit more flour.
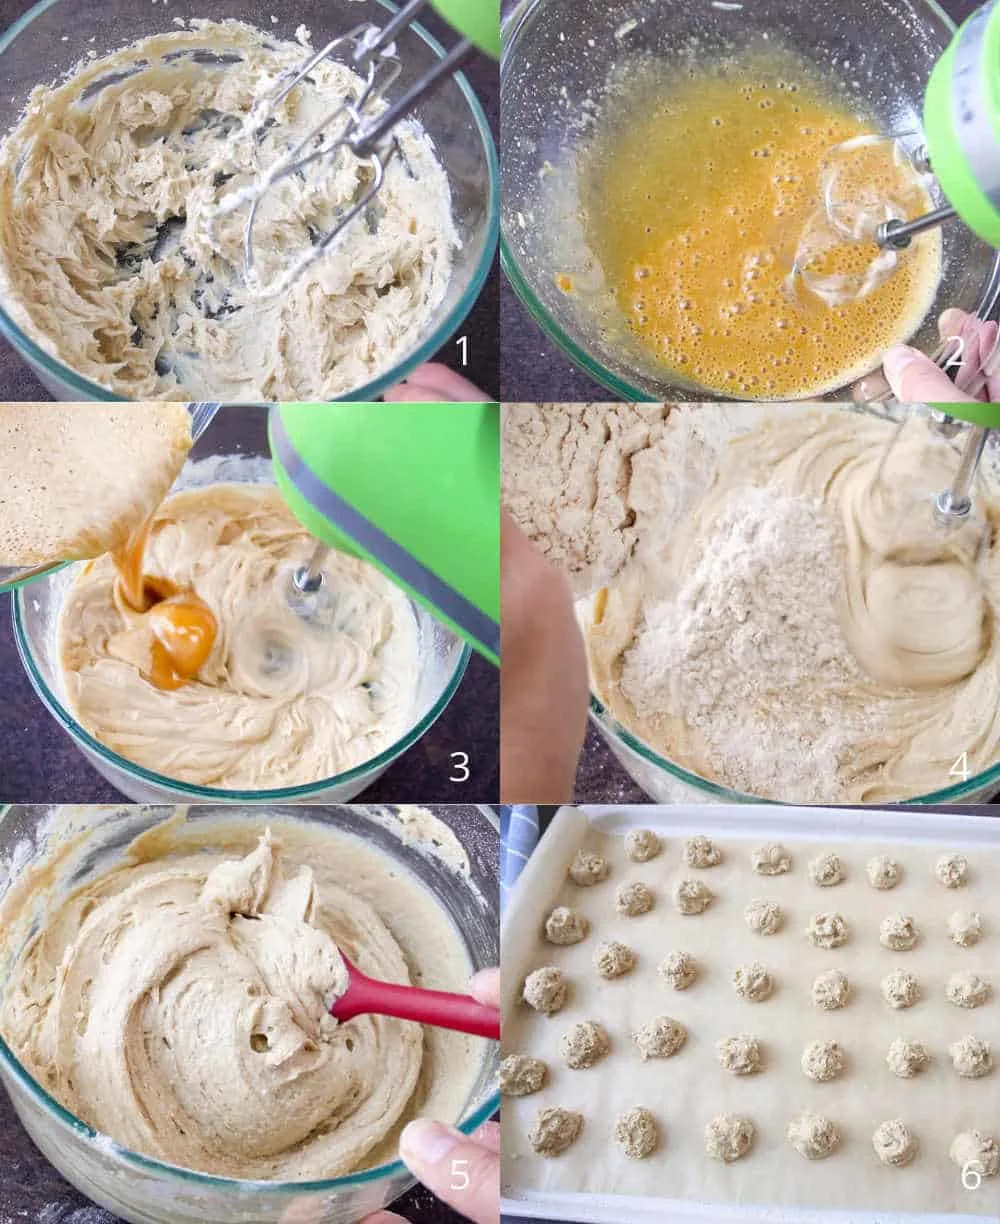
Step 2. Shape The Gluten Free Vanilla Wafers:
- Use a teaspoon to scoop out dollops of the batter (about 1/2 teaspoon) and place them on the baking sheet covered with parchment paper (about one inch apart as the dough will spread a bit during baking). To make neat, well-shaped wafer cookies, use a piping bag, but I find it redundant as the batter spreads a bit anyway.
- You can also roll the dough into small balls (using greased hands) before placing them on the lined baking sheets.
Step 3. Bake the gluten free wafer cookies
- Bake for 15-18 minutes, or until golden brown. The longer you bake the gluten free wafers the more crispy they will be. You can also leave them in the turned off oven with the door cracked, for extra crispiness.
- Once cooled, store in an airtight container for up to 5 days. Freezing them is another option. Store them in an airtight container. The gluten free wafers will keep up to a month in the freezer.
How To Make Dairy Free Custard For Banana Pudding
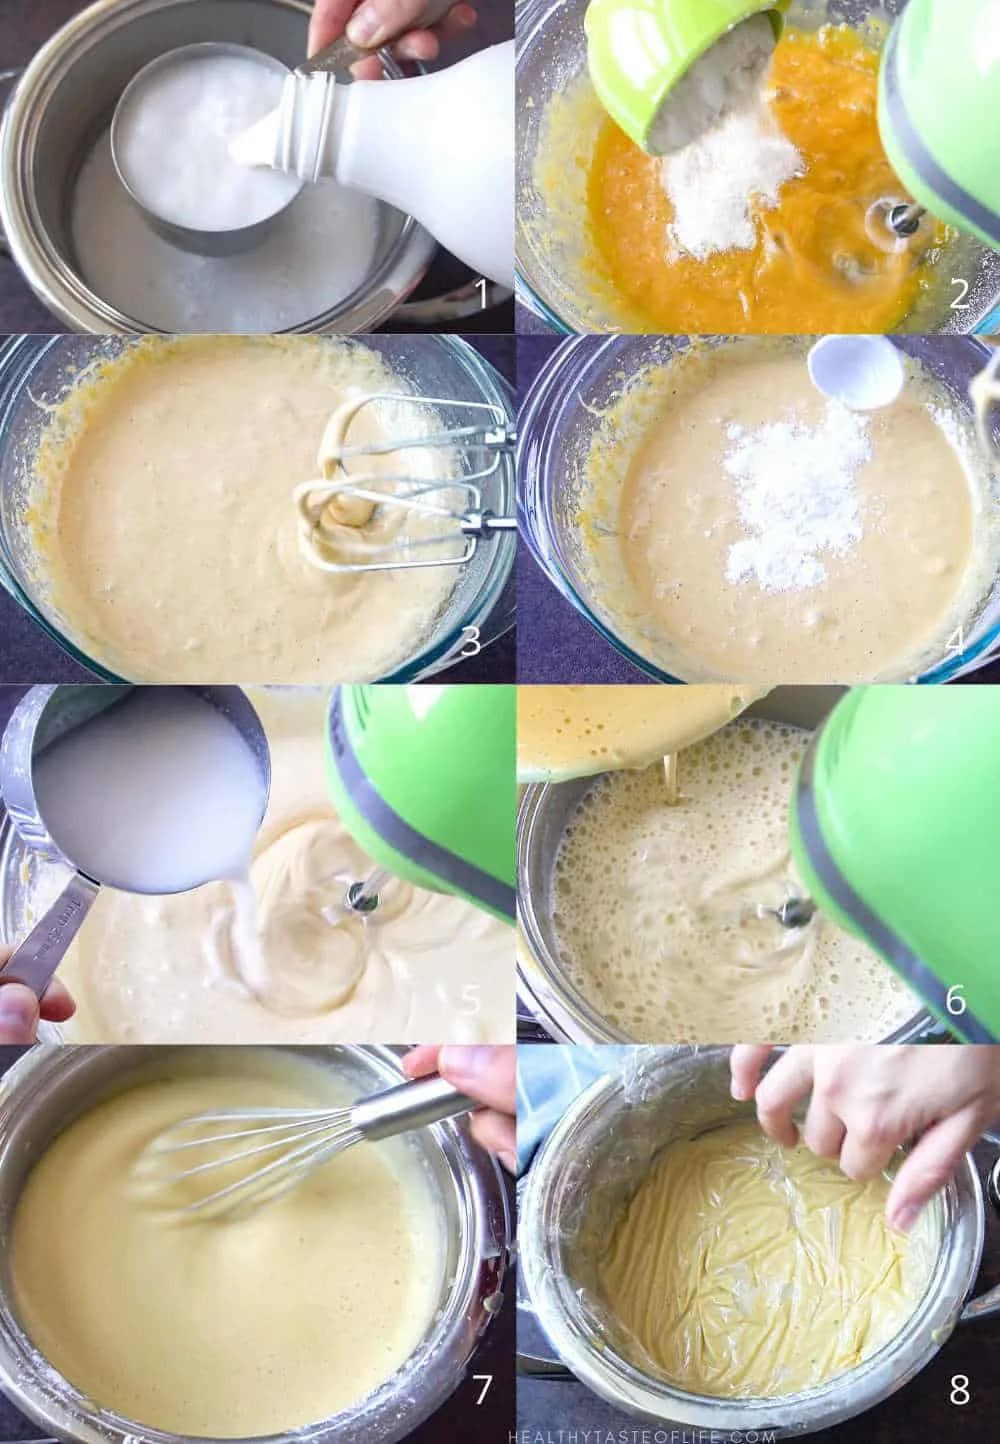
Step 1. Prepare all your ingredients before starting.
- In a saucepan heat the non-dairy or lactose free milk over medium high heat and bring it to almost a boil.
Step 2. Mix the ingredients:
- While the milk is heating, use a large bowl to mix the egg yolks, maple sugar, vanilla, arrowroot powder and salt. Mix with a mixer until you have a thick, smooth consistency.
- When the milk is hot enough, pour half of it (in a slow stream) over the egg mixture, while whisking or using a mixer to incorporate (this will temper the egg mix). Then transfer the whole egg mixture back into the hot milk in the saucepan.
Step 3. Cook the custard:
- Let it cook over moderately low heat, stirring constantly, until thickens: 5 to 8 minutes (do not boil). Then remove from the heat and add the vegan butter. Whisk until everything is completely dissolved and let it chill.
- Let the dairy free pudding cool down to room temperature before using. Chilling in the fridge for at least 2-3 hours is recommended (keep covered with a plastic film to prevent forming a skin). You can also make it the day before, it will keep well in the fridge for several days.
Tip For Storing The Dairy Free Custard
Let the dairy free custard (pudding) cool down to room temperature before using. Chilling in the fridge for at least 2-3 hours is recommended (keep covered with a plastic film to prevent forming a skin). You can also make it the day before, it will keep well in the fridge for several days.
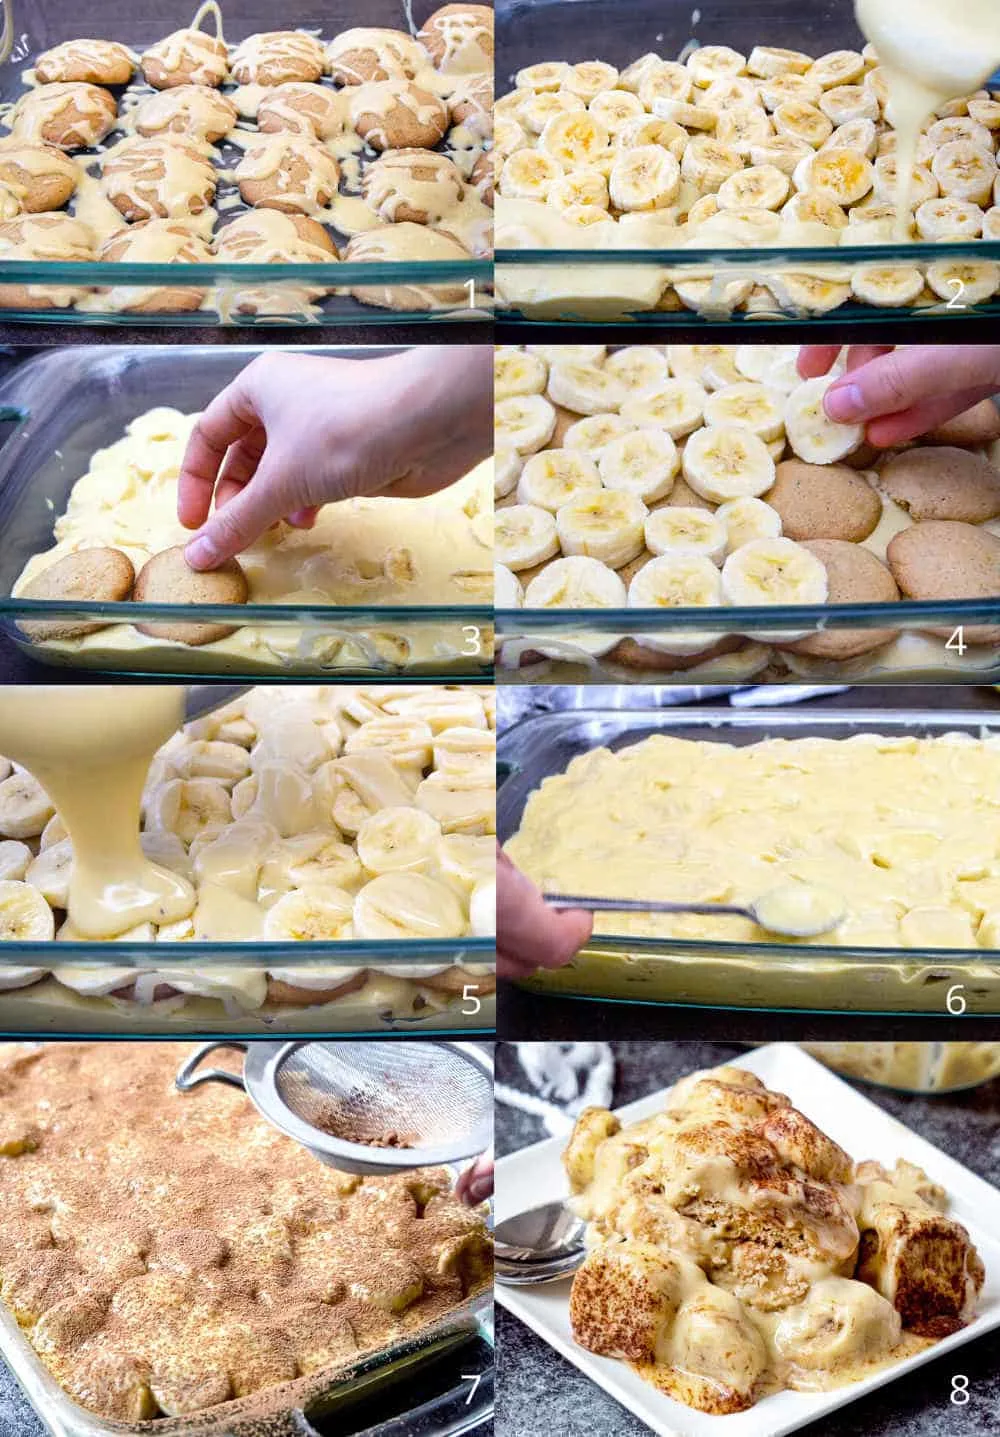
Assemble The Gluten Free Dairy Free Banana Pudding
- Step: Line a 3qt, 9×13 inch glass dish with one layer of gluten free wafer cookies. Top with half of the banana slices.
- Step: spread half of the non dairy pudding on top of the bananas and add another layer of gluten free vanilla wafers.
- Step: Repeat with another layer of banana slices and the remaining pudding. Cover and refrigerate for at least 4-5 hours or overnight. The wafer cookies will get more and more soft with time.
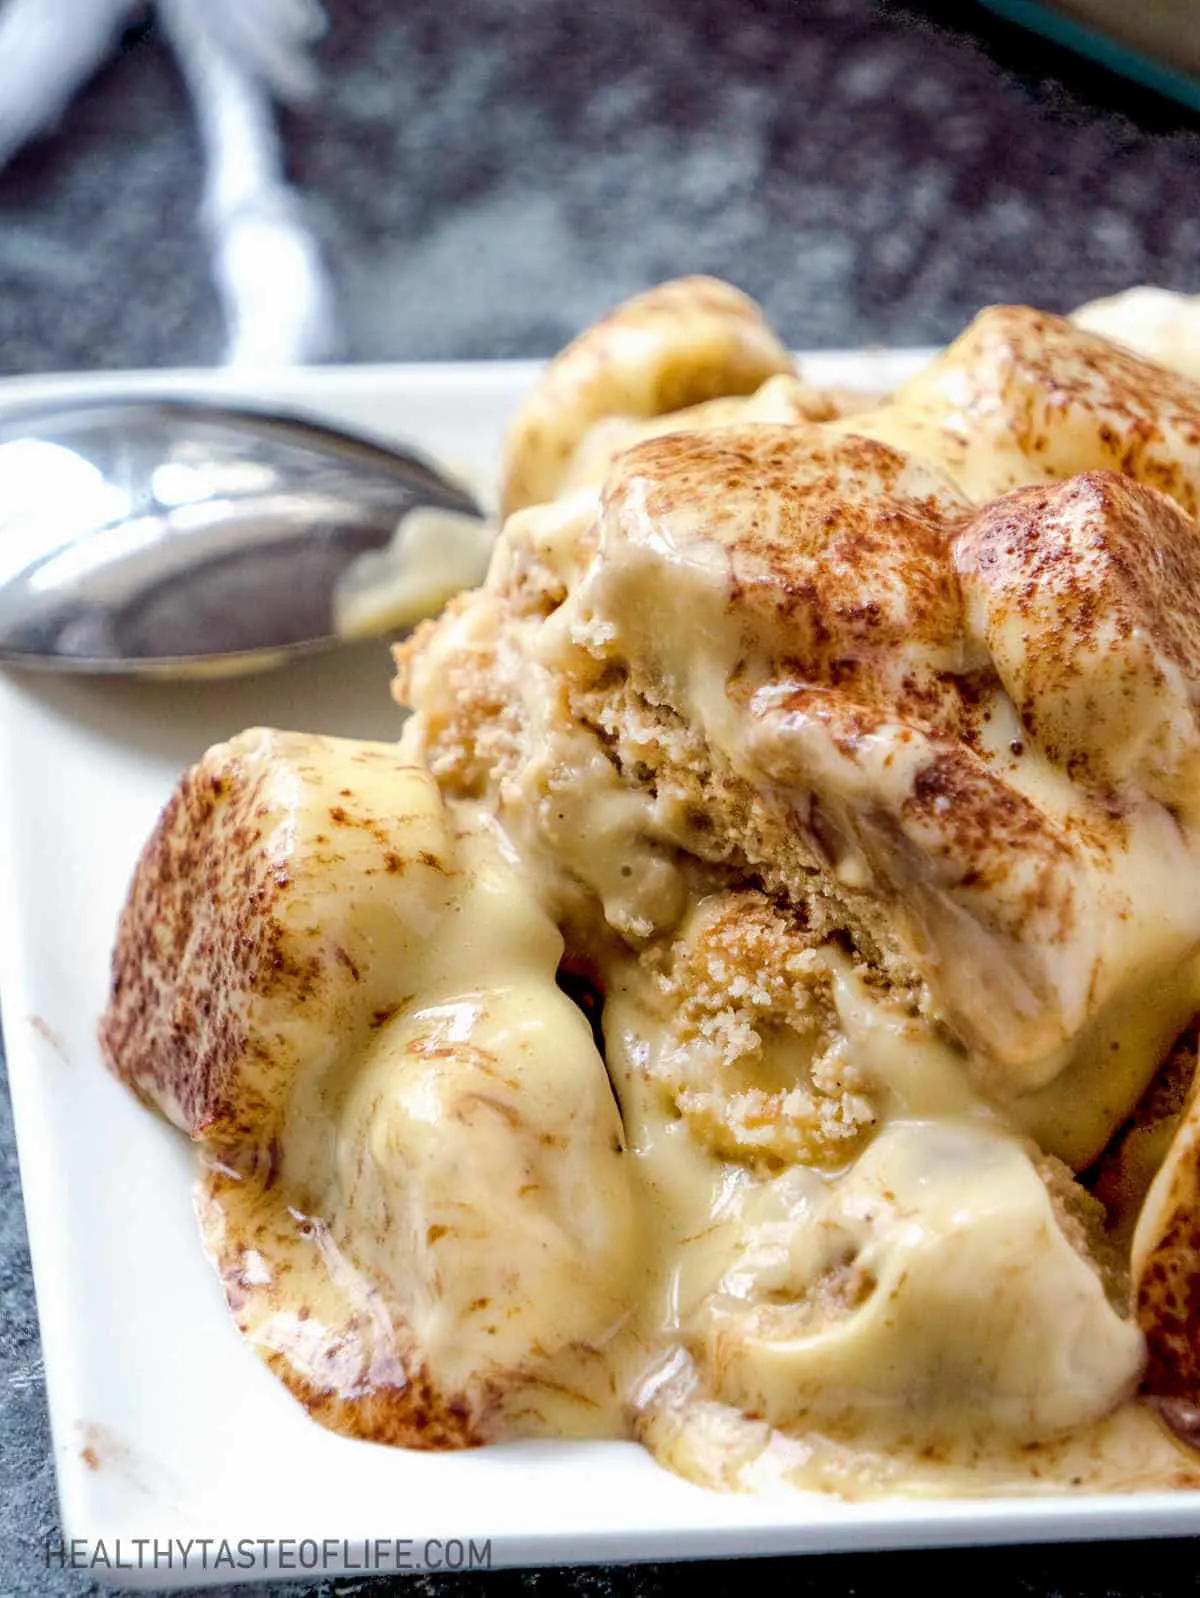
- Step: Remove from refrigerator and sprinkle some cacao powder and/ or top with some crushed wafer cookies. Enjoy!
Video: How To Make Dairy Free Gluten Free Banana Pudding
Prep Tips And Suggestions
- Make Ahead: make the gluten free wafer cookies the day before and prepare / assemble the dairy free banana pudding the next day, it will make your day less overwhelming.
- In a rush or don’t have time for making your own gluten free wafers? Then check out these gluten free vanilla wafer cookies.
- My favorite dish for serving this gluten free dairy free banana pudding is this 3-qt glass casserole dish with cover, it holds quite a lot, and you can easily store the leftovers in it (if you have any).
Customizations For Gluten And Dairy Free Banana Pudding
- You could add some mashed / creamed bananas into the pudding cream, but it could change the final color to a darker one, just make sure you eat it the same day.
- Use shaved chocolate or other fruits to garnish.
- Make the day before so you could enjoy it the next day without any extra effort. This lets the flavors intensify and gives the pudding mixture a chance to thicken and set up.
How To Store The Gluten Free Banana Pudding
Storing leftovers: Refrigerate for up to 4-5 days in an airtight container. If using fresh bananas in the pudding, try to eat it within 2 days.
Freezing: Freezing is not recommended, it will separate, turn mushy and change the taste.
More Gluten Free Dairy Free Desserts
- Moist Gluten Free Coffee Cake | Dairy Free
- Apple And Blueberry Crumble / Crisp + GD-DF Option
- Blackberry And Apple Crumble + GF/DF Option
Did you make this gluten and dairy free banana pudding or the gluten free vanilla wafers?
Be sure to leave a comment and a rating below, it’s really helpful for me and readers!
Dairy And Gluten Free Banana Pudding Recipe From Scratch + Video
Ingredients
Gluten Free Vanilla Wafer Cookies
- ½ cup vegan butter - soft
- ⅔ cup maple sugar - powdered
- 1 large egg - room temperature
- 1 large egg white - room temperature
- 1 ⅓ cup gluten free pastry flour mix
- ¼ cup coconut milk powder
- 1 tsp vanilla extract - gluten free
- ⅓ tsp vanilla bean powder
- ¼ tsp salt
- ¼ tsp baking soda
Dairy Free Pudding / Custard
- 3 cups non dairy milk
- ½ tsp vanilla bean powder
- 8-9 egg yolks - room temperature
- ⅔ cup maple sugar powder
- ¼ cup + 1 tbsp arrowroot flour
- 3 tbsp vegan butter
- pinch of salt
Banana Layers
- 8-9 bananas - (freshly sliced)
Instructions
Gluten Free Wafer Cookies (makes 44 cookies):
- Preheat oven to 325°F.
- In a large bowl, cream together the softened butter and half of the powdered maple sugar for about 1 minute, until dissolves.
- In another bowl mix together the egg and the egg white with the other half of maple sugar until it dissolves. Then add the egg mixture to the butter mixture little by little until fully incorporated and smooth.
- Then add the other ingredients: vanilla, coconut milk powder, salt, baking soda and half of the flour, mix until incorporated then add the rest of the flour, mix until smooth.
- The batter will look somewhat soft and fluffy. Use a teaspoon to scoop out dollops of the batter (about 1/2 teaspoon) and place them on the baking sheet covered with parchment paper (about one inch apart as the dough will spread a bit during baking). To make neat, well-shaped cookies, use a piping bag.
- Bake the wafers for 15-18 minutes, or until golden brown. Let the gluten free wafers cool so they could crisp up.
Dairy Free Vanilla Pudding:
- Prepare all your ingredients before starting. In a saucepan heat the non-dairy or lactose free milk over medium heat and bring it to almost a boil.
- While the milk heats, in a bowl, mix together the egg yolks, maple sugar, vanilla and salt until smooth and creamy (see video).
- Pour about half of hot milk in the yolk mixture in a stream, while mixing, to temper the eggs. Then pour the egg mixture back in the saucepan, and cook over moderately low heat, stirring constantly, until thickens 5 to 8 minutes (do not boil).
- When it looks thick enough, remove from heat and stir in the vegan butter, give it a good mix and let it chill. Place the saucepan in a large bowl filled with ice water. When it's cold enough, cover with a plastic wrap to prevent a skin from forming. Refrigerate for at least 3 hours before using.
Assemble The Dairy Free Gluten Free Banana Pudding
- Line a 3qt, 9×13 inch glass dish with one layer of gluten free wafer cookies.
- Top with half of the banana slices.
- Spread half of the non dairy pudding on top of the bananas and add another layer of gluten free vanilla wafers.
- Repeat with another layer of banana slices and the remaining pudding. Cover and refrigerate for at least 4-5 hours or overnight. The wafer cookies will get more and more soft with time.
- Just before serving, remove from refrigerator and sprinkle some cacao powder and/ or top with some crushed wafer cookies. Enjoy!
Video
Notes
Gluten Free Wafer Cookies Tips:
- I’m using my own gluten free pastry flour mix which has less processed ingredients, but you can use your favorite.
- Using maple sugar bring notes of caramel, but if you prefer you can use other types of sugar.
- When the wafers get golden brown, they will look a little wet in the middle, but when cooled they will become more crispy.
- Make the sough the night before, chill in the fridge (covered), bake in the morning.
Tip For Making Dairy Free Vanilla Pudding
- If you prefer to use less egg yolks in the recipe, you can! Use half the amount of egg yolks needed, and after you’re done with making the custard (cooled), whip some coconut cream in.
Gluten Free Dairy Free Banana Pudding Storing
- Kept in an airtight container in the fridge, the assembled banana pudding will last up to 4 days. The wafer cookies will continue to get more and more soft, soggier, and the bananas will turn more brown, so try to finish it sooner!
Nutrition
The information shown is an estimate provided by an online nutrition calculator.
©HealthyTasteOfLife. Content and photographs are copyright protected and need prior permission to use. Copying and/or pasting full recipes to other websites and any social media is strictly prohibited. Sharing and using the link of this recipe is both encouraged and appreciated!

Shiloh
Friday 2nd of April 2021
Hi! This looks delicious. Our family can tolerate dairy so we use raw grass fed milk. Do you think the recipe will hold up if I were to use cows milk vs non dairy milk? Thanks!!
HealthyTasteOfLife
Sunday 4th of April 2021
Thank you Shiloh! You can easily use cows milk instead of non dairy version, it will perform just as good if not even better.
Nem
Tuesday 15th of December 2020
I was looking for gluten free vanilla wafers and I'm glad I found this recipe, it has less processed ingredients that I can actually tolerate. Thank you!
HealthyTasteOfLife
Tuesday 15th of December 2020
My pleasure, I hope yo enjoy the wafers :)
Amber
Tuesday 10th of November 2020
Oh my...my husband and I enjoyed it last night, we made half the portion specified in the recipe; so delicious we licked the plate ))) Thank you!
HealthyTasteOfLife
Tuesday 10th of November 2020
I'm really glad you loved it! Thank you for your feedback!