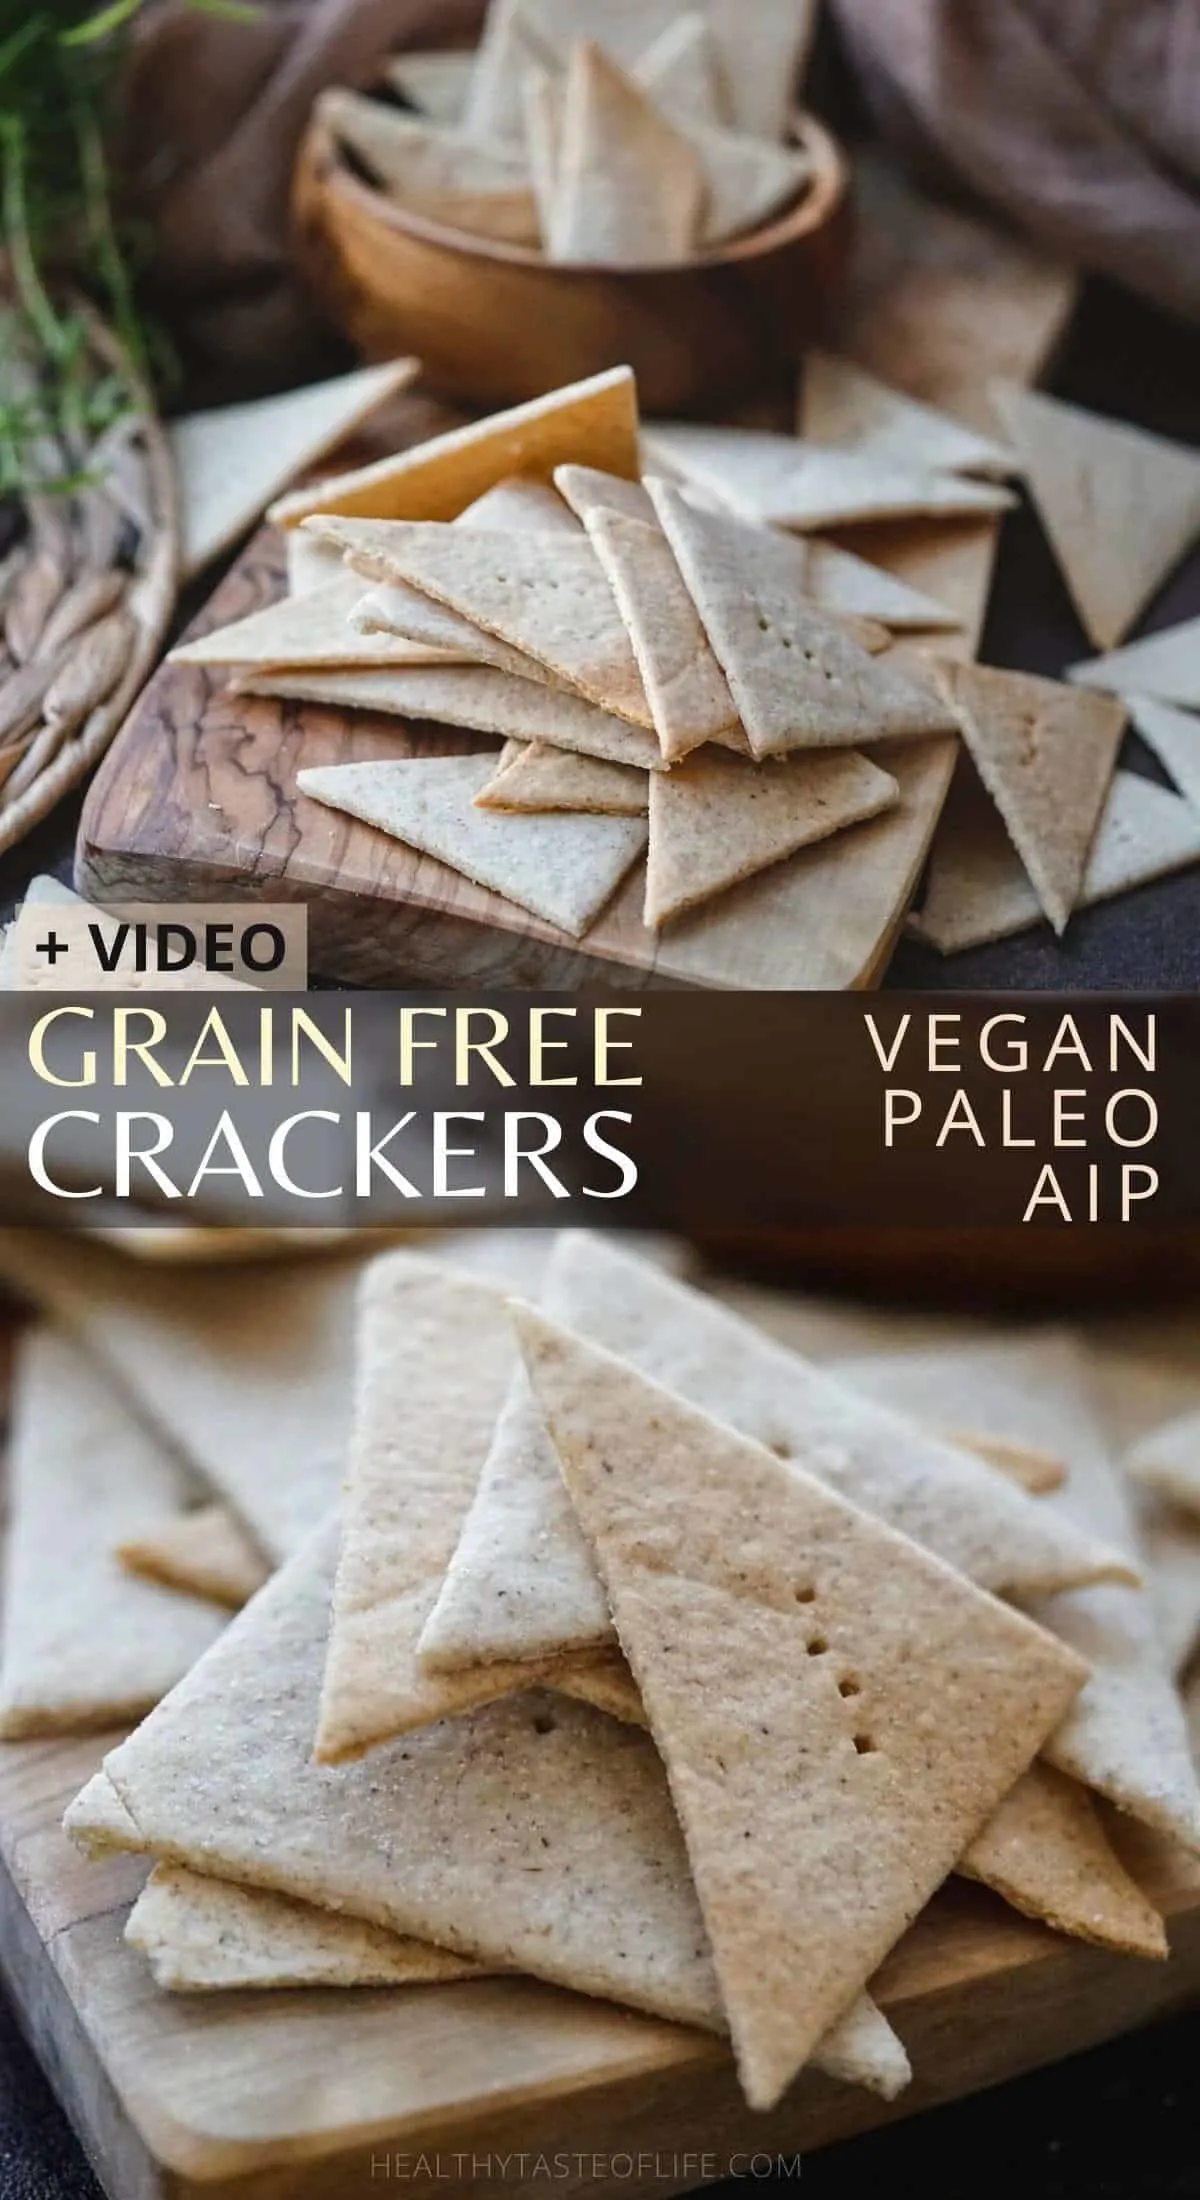
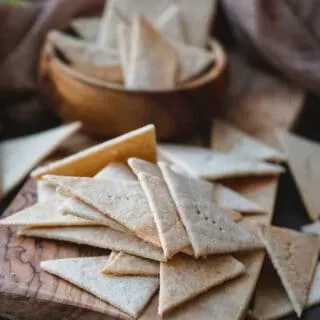
Crunchy thin grain free crackers made with cassava flour and tigernut flour. AIP crackers perfect as a snack along with your favorite dip. Make cassava crackers with a little grain free flour, dairy free milk, and oil, and you’re ready to enjoy your snack!
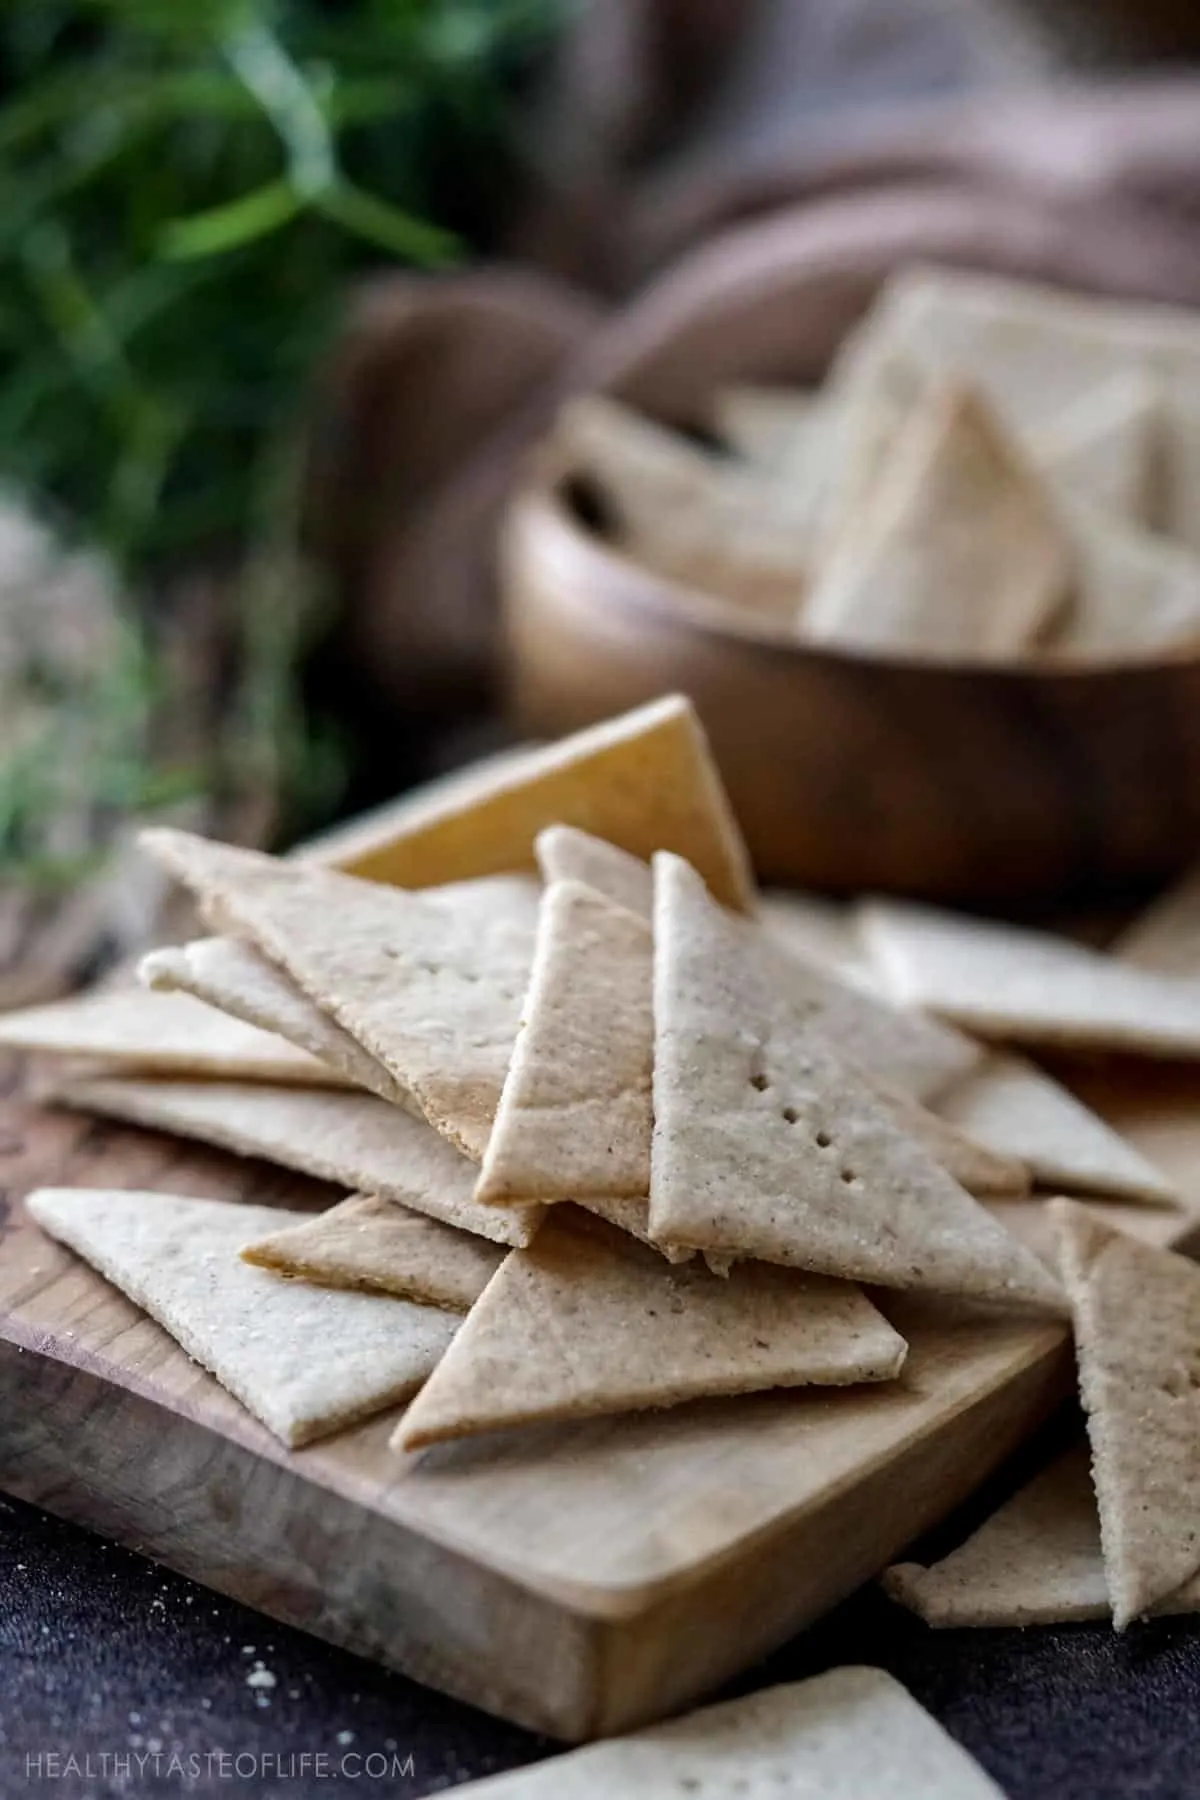
If you are looking for a crunchy comfort snack that is gluten free grain free, soy free and dairy free then these tigernut and cassava crackers are just right!
This grain free cracker recipe, is made with just 2 types of flour, seasonings, some liquid and comes together in just 10 minutes of hands-on time. And hey are perfect for those following a special diet like AIP, paleo, vegan gluten free and dairy free.
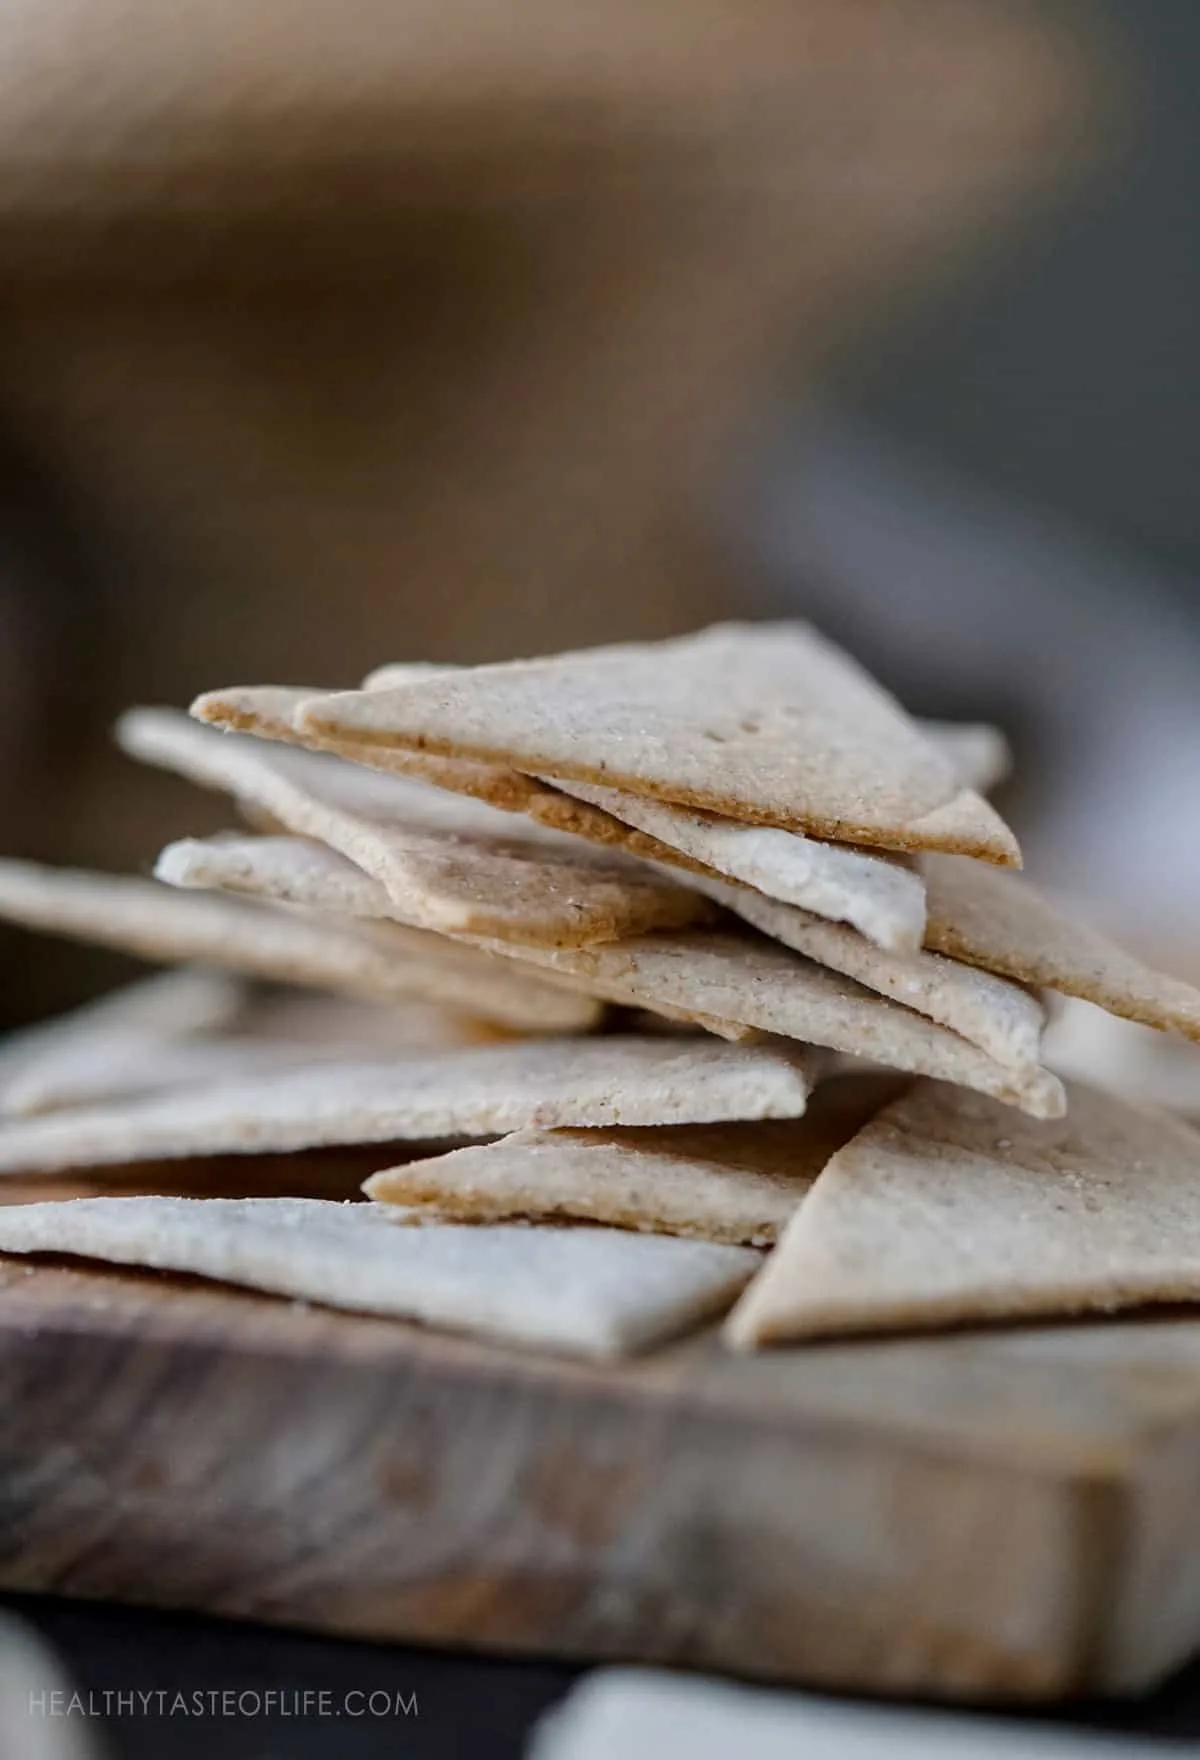
Cassava Crackers Recipe (Grain Free)
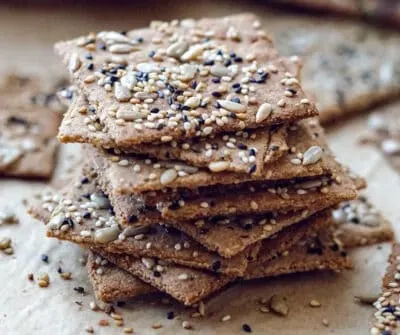
This recipe is pretty easy to make. I’ve made them with other gluten free flours but since it’s intended to be 100% grain free, I’m using only cassava flour and tigernut flour, or you could use almond flour if you can’t find tigernut. I’ve tried making the crackers plain and with other toppings like seeds, seasonings and herbs. You can make virtually endless flavor options and adaptions.
Ingredients For Cassava Crackers
Here’s what you’ll need to make these crispy grain free cassava crackers:
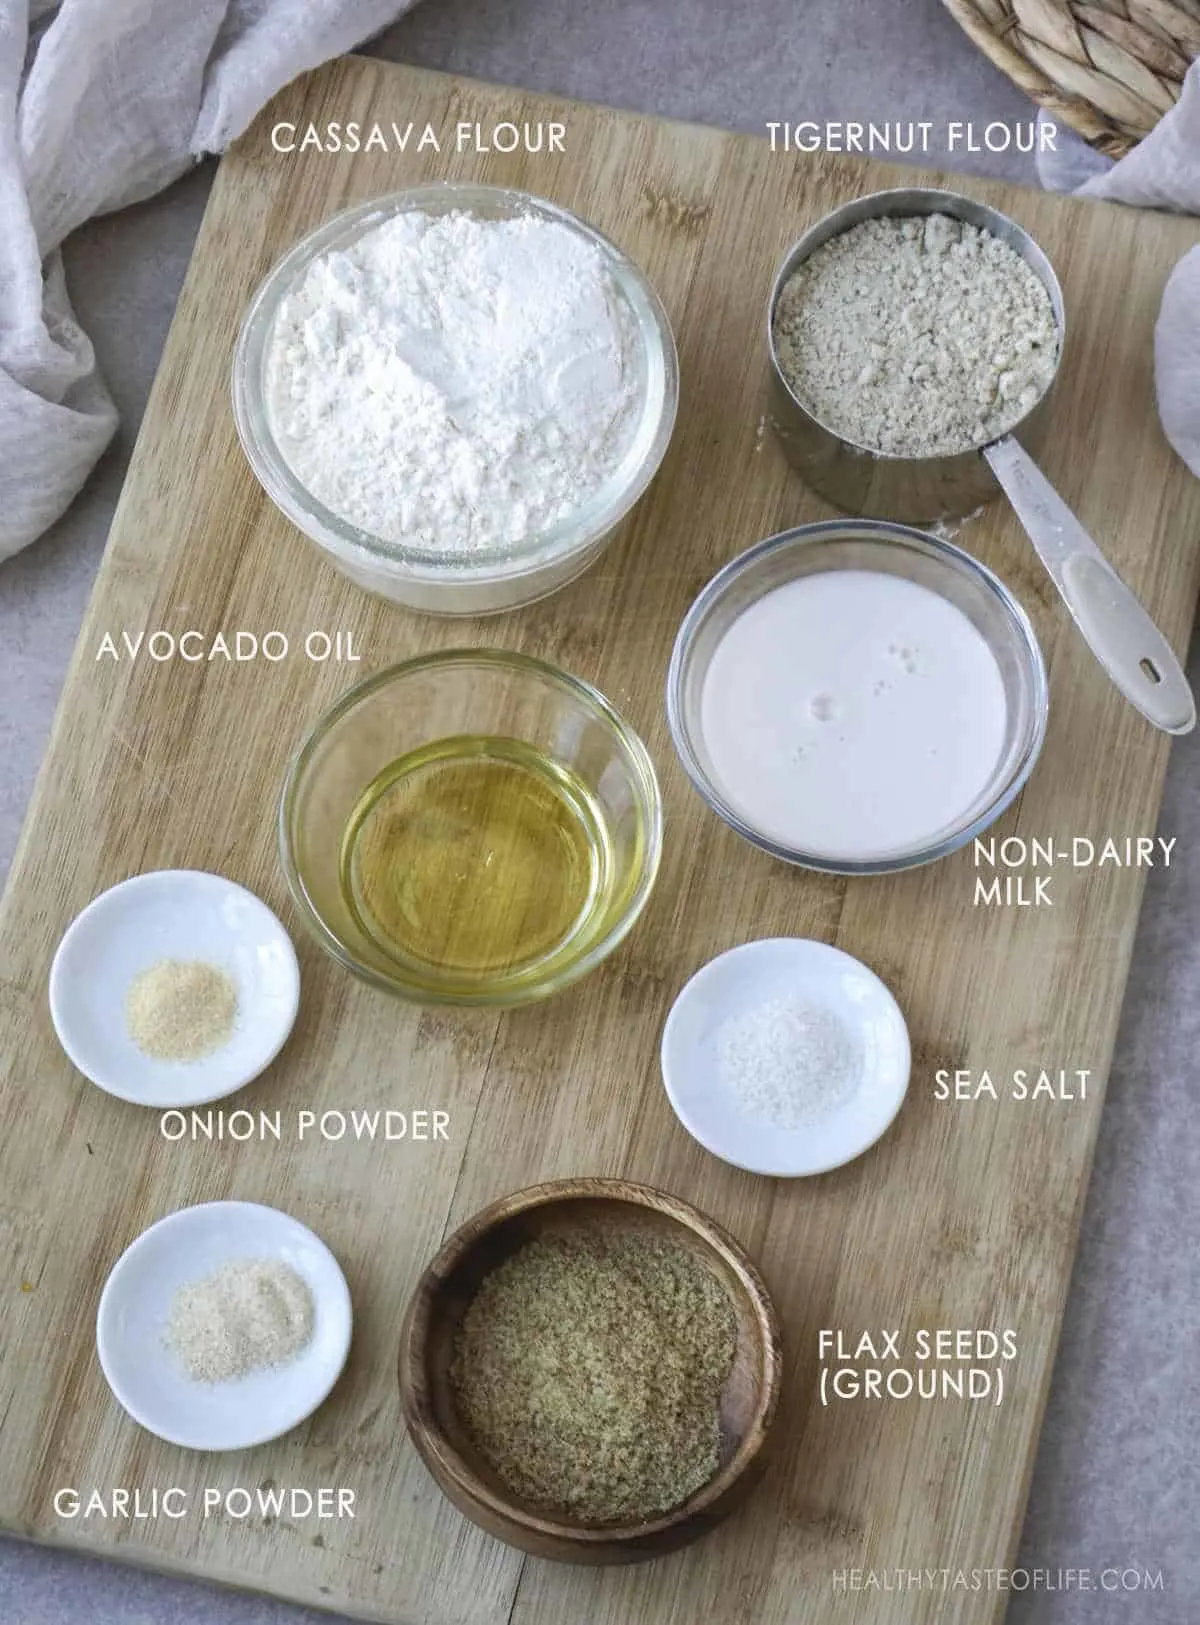
- Cassava flour – it’s mild and neutral taste is a perfect canvas for building flavors.
- Tigernut flour – it has a slightly nutty tasting and texture.
- Ground flax seeds – It adds fiber and it binds the dough together.
- Dairy free milk / or water – for bringing the ingredients together.
- Oil / or some vegan butter – the fats helps to make the crisp.
- Lemon juice – to add some acidity to he mild flavors of the rest of ingredients.
- Seasonings and salt – to make the flavor pop.
Find the complete printable recipe with measurements below.
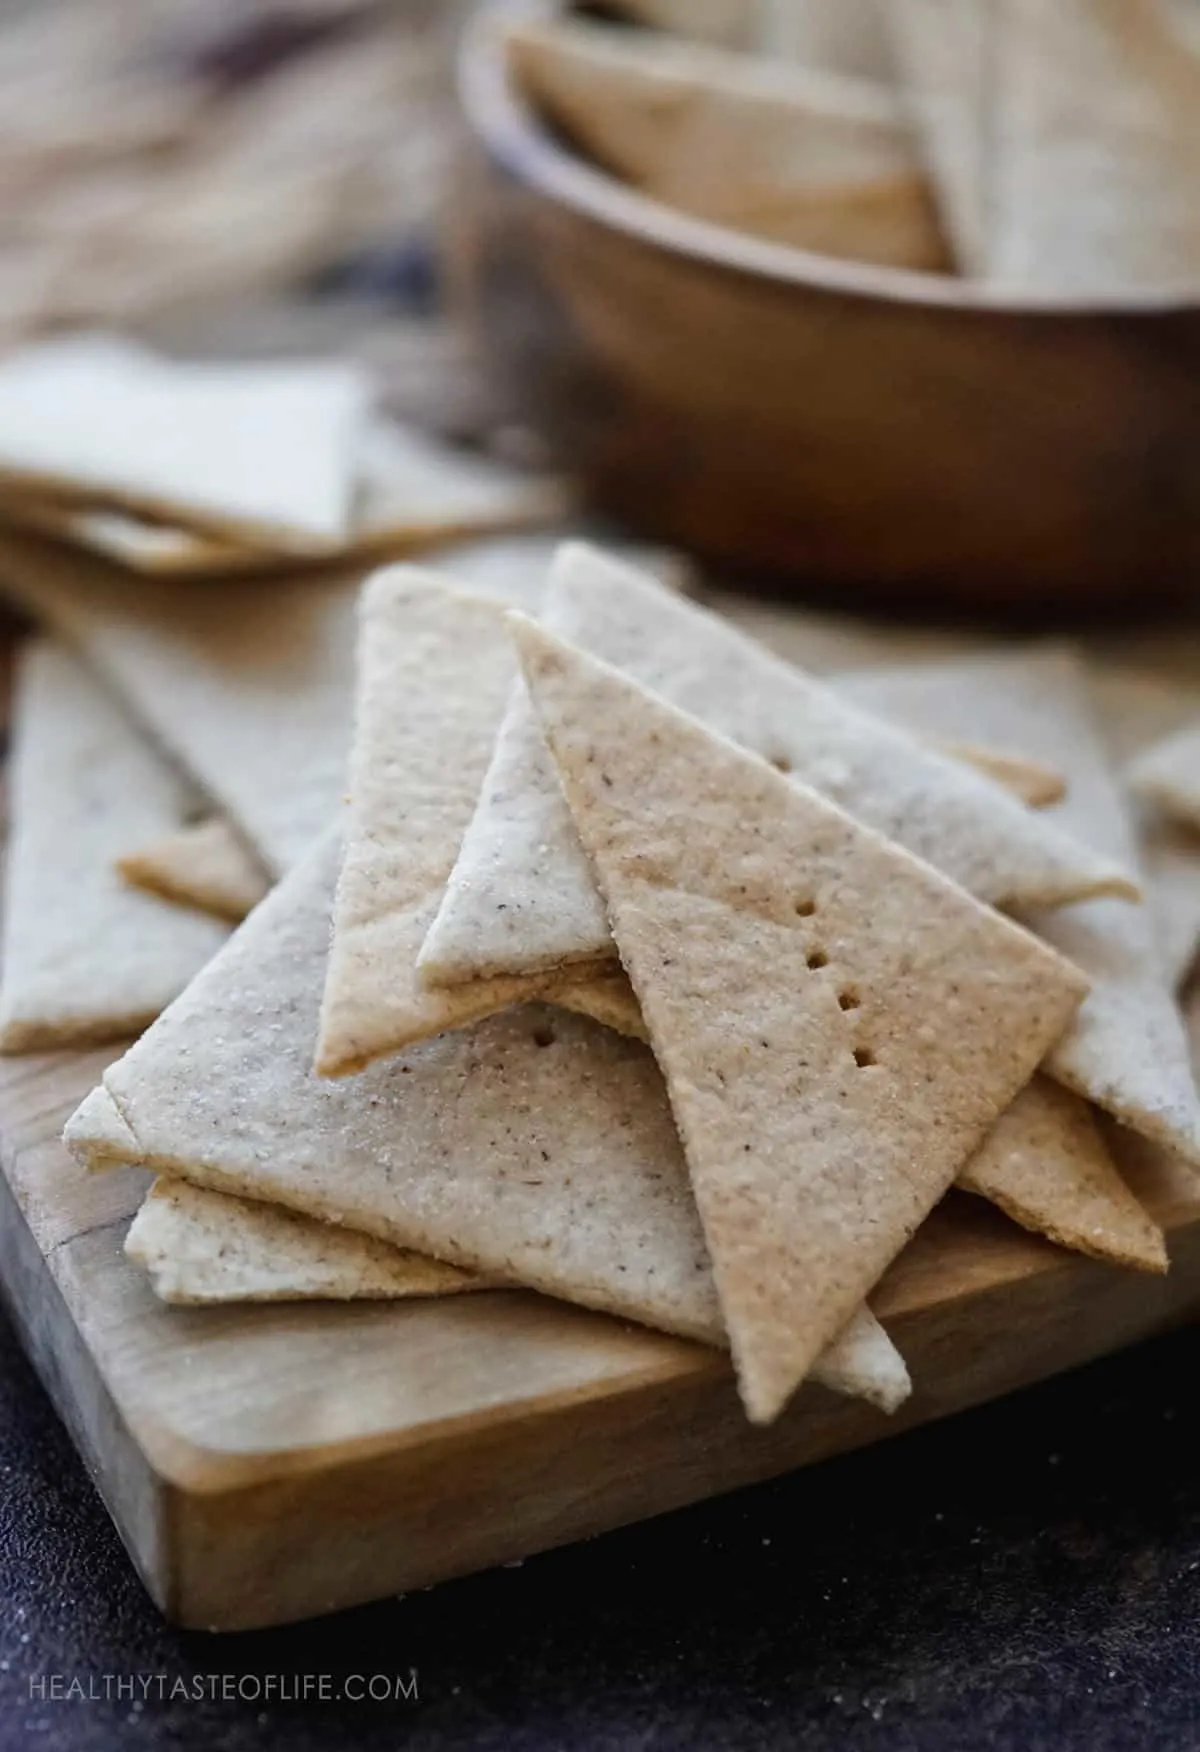
Easy & Quick Grain Free Cassava Crackers
What makes these tigernut and cassava crackers extra-easy is that the ingredients are mixed up in just one bowl either by hand or by using a food processor, which is even faster!
There is no need to use cookie cutters or to transfer the crackers individually by hand. You just roll the dough on a parchment paper, cut them and transfer together with the paper onto the baking sheet.
How To Make Grain Free Tigernut And Cassava Crackers
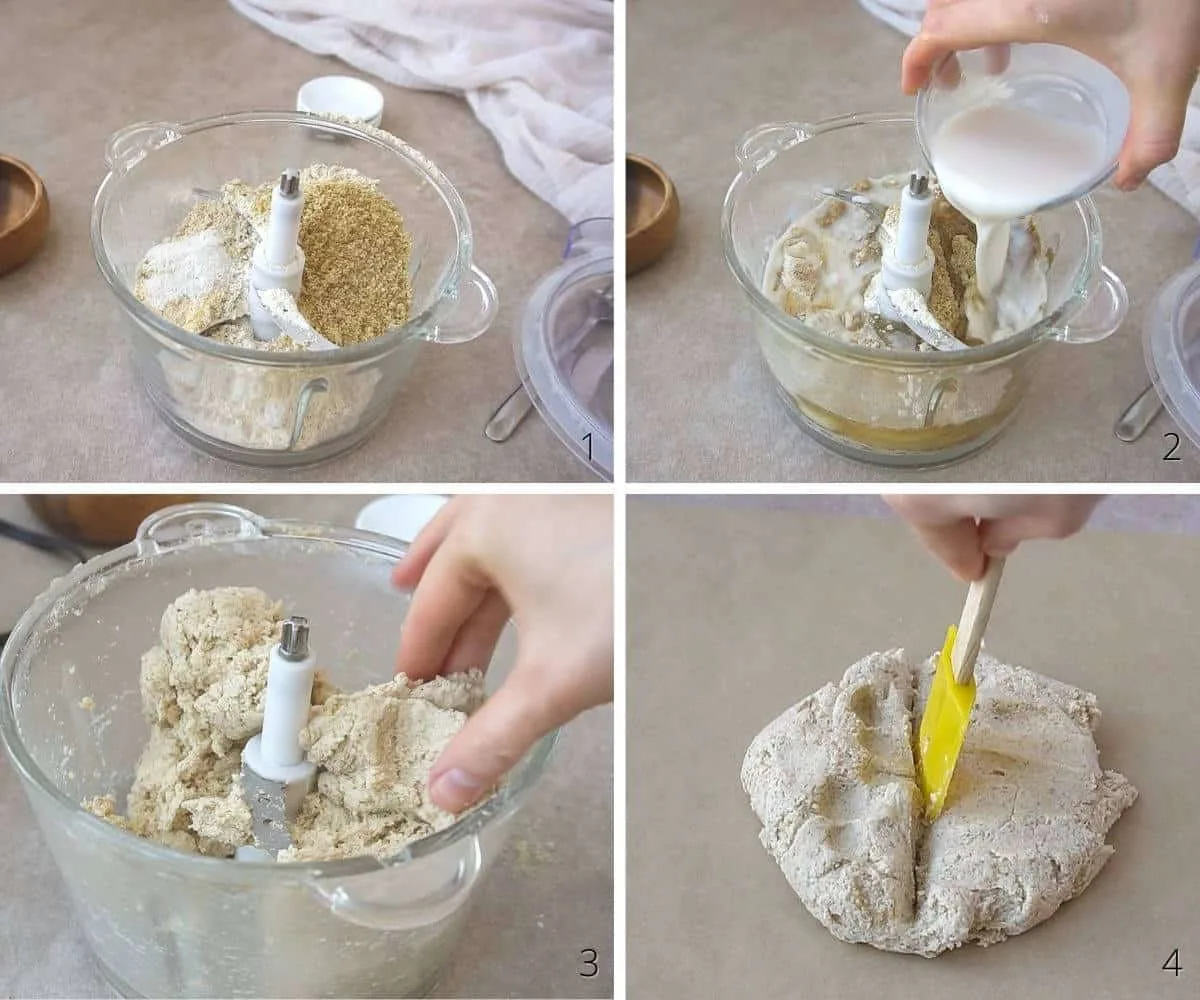
1. First, combine together the dry ingredients. Then pour in the oil, non dairy milk (or water) and lemon juice – mix to form a sticky dough.
2. Transfer the dough to a working surface (divide in in half and work with 1 half at a time) and roll it between two parchment papers. Roll it out as thinly as you can. The thinner it is, the crispier the crackers will be.
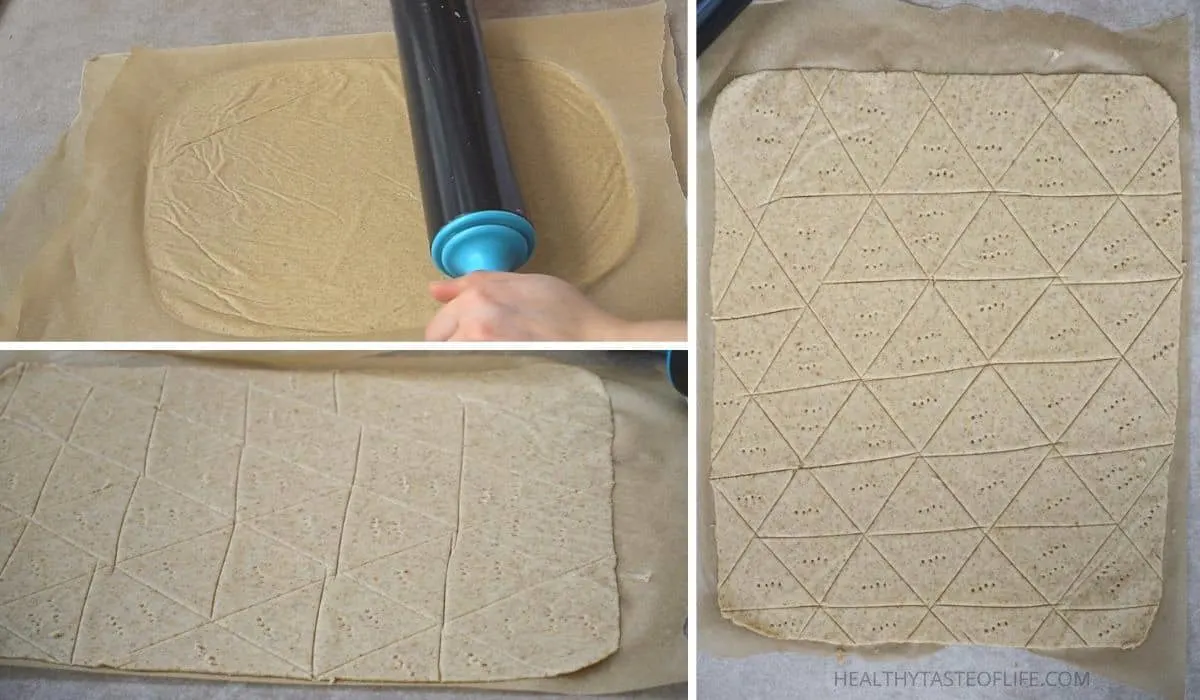
3. Score the crackers and bake. Remove the top sheet of parchment paper, and use a pizza cutter to score the dough into 2-inch squares, triangles, diamonds or whatever shape you want. Transfer the parchment with the dough to a baking sheet, and bake at 330F until the edges turn golden brown, about 15 minutes.
4. Remove the crackers from the oven, and let the oven door open for 5 minutes the release the heat. Then pop them back in the oven and shut the door. Keep them there for 10-30 minutes to dry and crisp up. Then you can break them apart and enjoy!
PRO Tips For Making Cassava / Tigernut Crackers
1. Thickness, toppings, and baking time yields different results so feel free to experiment.
2. I tried brushing them with vegan butter before placing them in the oven and I didn’t see a really big difference.
3. Don’t make them thicker they will turn less crunchy and will get soggy quickly.
3. Don’t add any leavening agent like baking soda, it will make them crumbly.
4. Pricking with a fork doesn’t make a big difference but will help them stay flat.
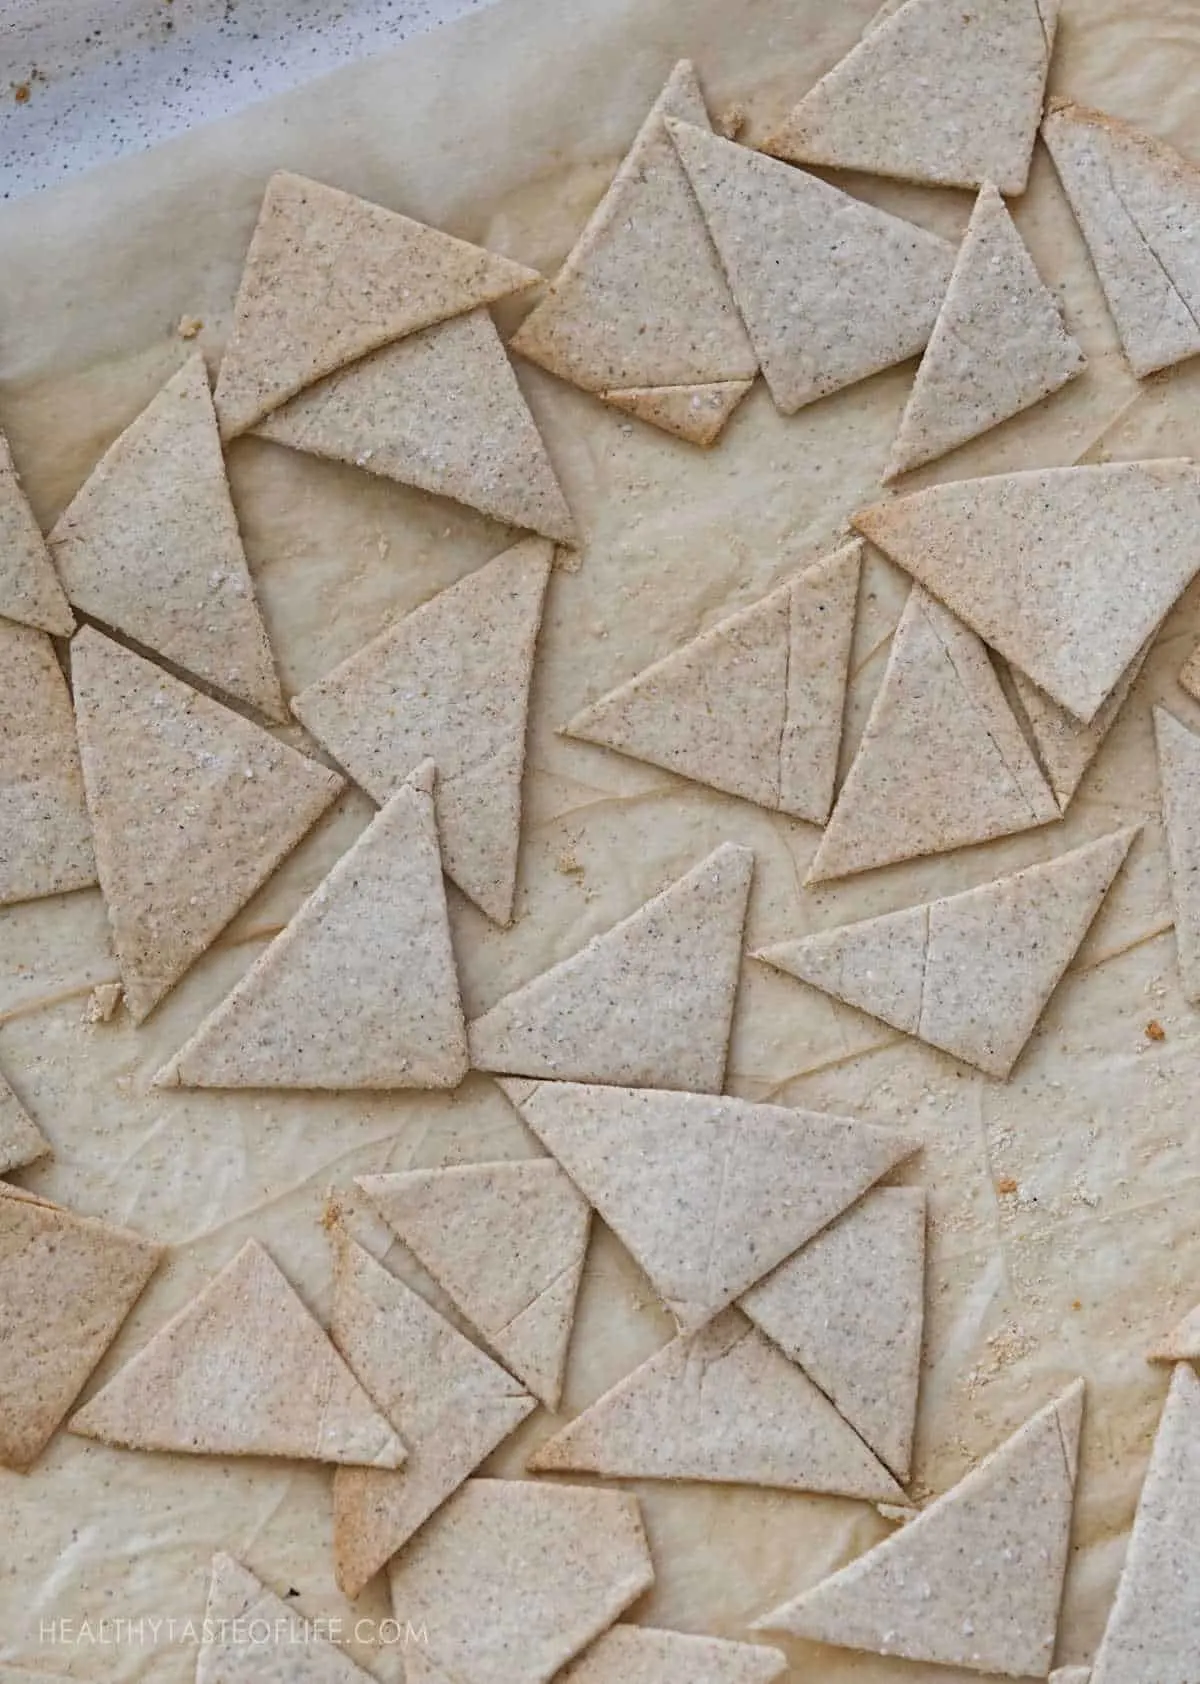
5. Baking at a lower temperature is the best, it will allow them to dry and not burn. You don’t want them golden brown, if they are, it means they’re burnt. If you really want a slightly golden color you can turn on the broiler for the last minute of baking. Watch them carefully!
Customizations And Add-ins
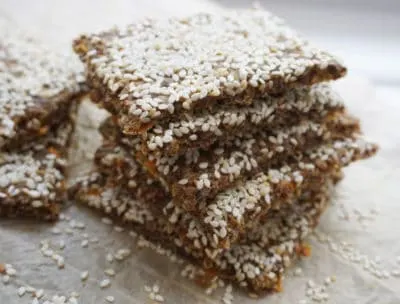
- Add seeds, herbs, or some extra salt on top if you want them more salty.
- Add some nutritional yeast for a fake cheese flavor.
- Make ahead the dough and store in the refrigerator for up to a day.
- For best result use a large flat cookies sheet.
Storing Tips
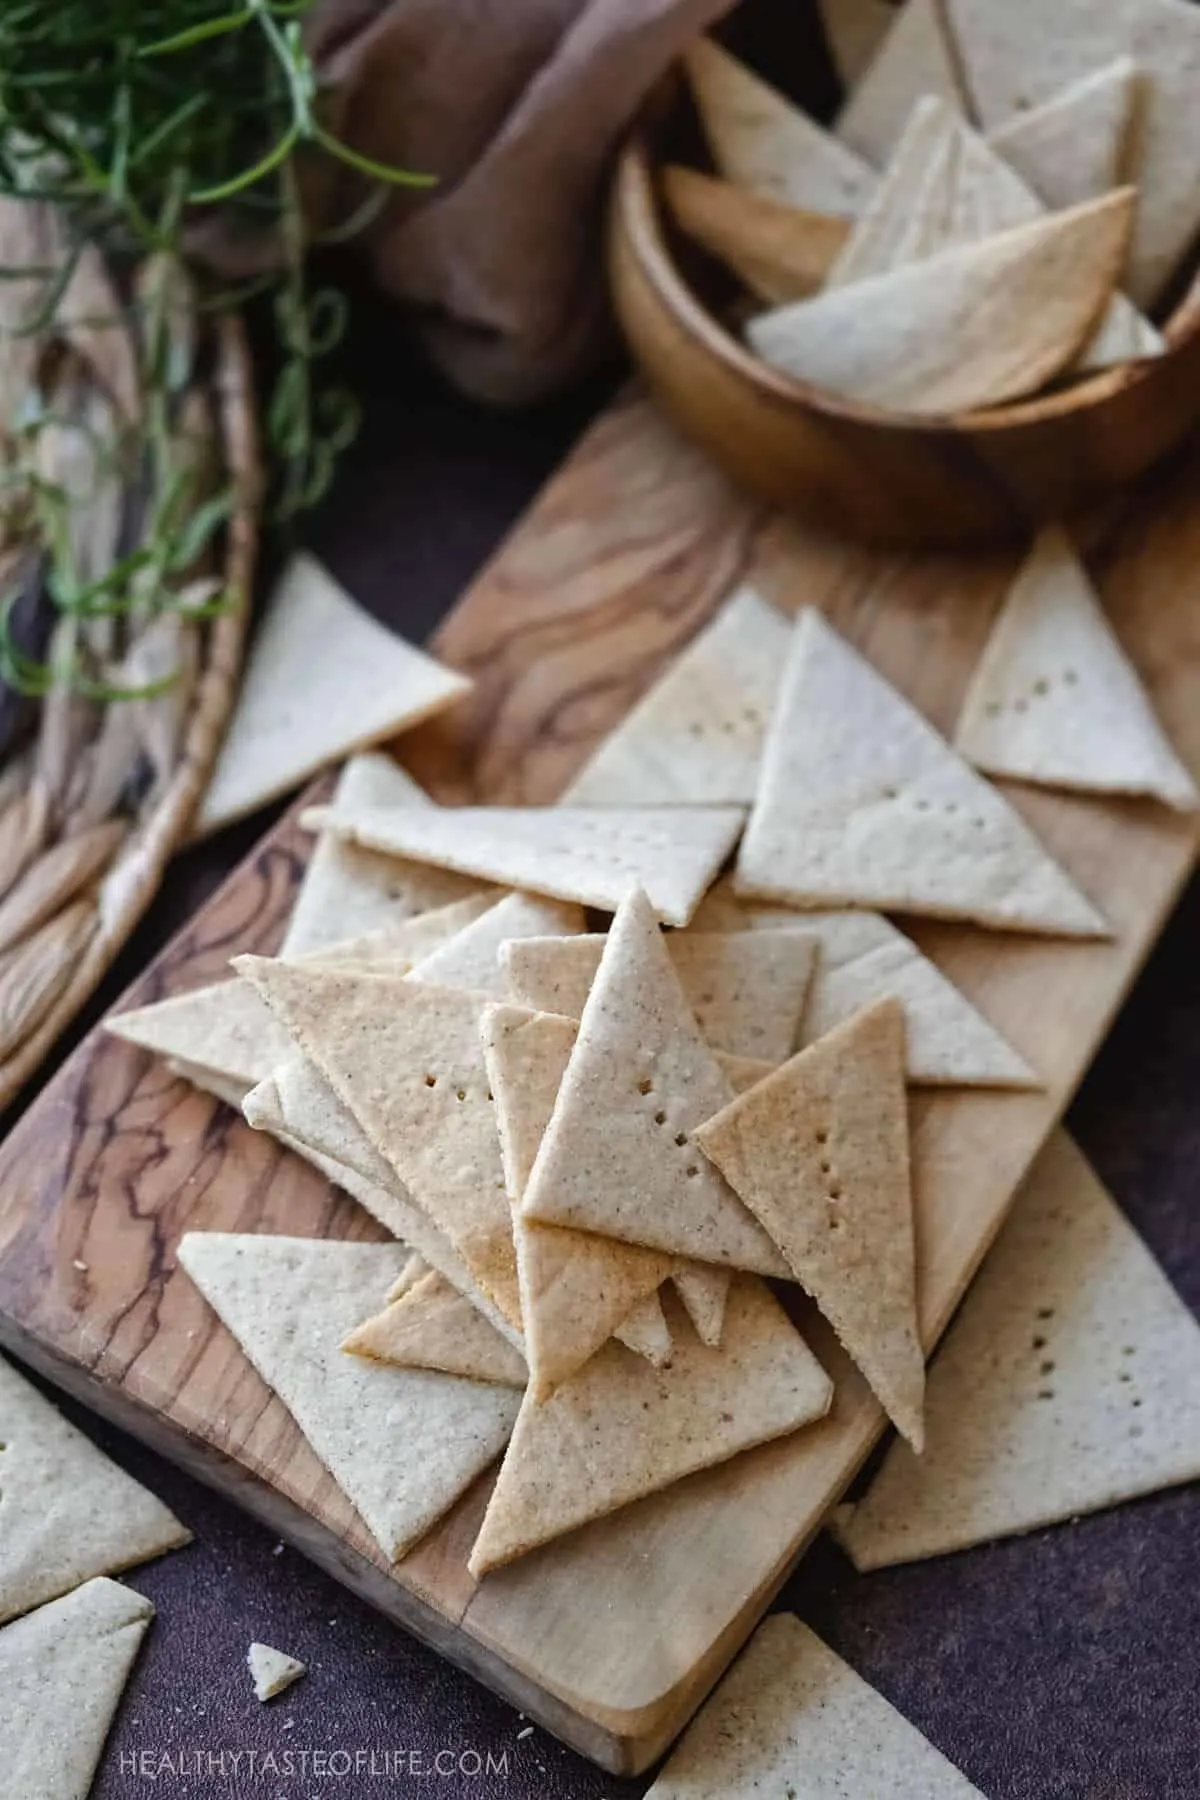
Storing leftovers: Store at room temperature for up to 1 week in an airtight container.
Freezing: Freezing is not recommended.
More Crackers Recipes You Might Like
If you make these tigernut and cassava crackers, then please leave a star rating below and leave a comment below the recipe card.
Your feedback is really helpful for me and readers!
Grain Free Crackers With Cassava & Tigernut Flour
Ingredients
- 1.5 cup cassava flour
- ¾ cup tigernut flour - or almond flour
- 2 tbsp golden flax seeds - ground
- ¼ cup avocado oil - or use vegan butter (melted)
- ¾ cup plant milk - or use water
- 1 ½ tbsp lemon juice
- ¾ tsp sea salt
- ½ tsp onion powder
- ½ tsp garlic powder
Instructions
Form the dough
- You can mix everything by hand or by using a food processor, which is faster. Combine together the dry ingredients. Then pour in the oil, non dairy milk (or water) and lemon juice – mix to form a sticky dough.
Roll the dough
- Transfer the dough to a working surface (divide in in half and work with 1 half at a time) and roll it between two parchment papers. Roll it out as thinly as you can. The thinner it is, the crispier the crackers will be.
- Score the crackers. Remove the top sheet of parchment paper, and use a pizza cutter to score the dough into 2-inch squares, triangles, diamonds or whatever shape you want. Poking with a fork will help them stay flat while baking.
Bake the crackers
- Transfer the parchment with the dough to a baking sheet, and bake at 330F until the edges turn golden brown, about 15 minutes. If you want them slightly golden turn the broiler on for 1 minute at the end.
- Remove the crackers from the oven, and let the oven door open for 5 minutes to release the heat. Then pop them back in the oven and shut the door. Keep them there for 10-30 minutes to dry and crisp up. Then you can break them apart and enjoy!
Video
Notes
PRO Tips For Making Cassava / Tigernut Crackers
1. Thickness, toppings, and baking time yields different results so feel free to experiment. 2. I tried brushing them with vegan butter before placing them in the oven and I didn’t see a really big difference. 3. Don’t make them too thick they will turn less crunchy and will get soggy quickly. 3. Don’t add any leavening agent like baking soda, it will make them crumbly. 4. Pricking with a fork doesn’t make a big difference but will help them stay flat. 5. Baking at a lower temperature is the best, it will allow them to dry and not burn. You don’t want them golden brown, if they are, it means they’re burnt. If you really want a slightly golden color you can turn on the broiler for the last minute of baking. Watch them carefully!Variations
- Add seeds, herbs, or some extra salt on top if you want them more salty.
- Add some nutritional yeast for a fake cheese flavor.
- Make ahead the dough and store in the refrigerator for up to a day.
- For best result use a large flat cookies sheet.
Nutrition
The information shown is an estimate provided by an online nutrition calculator.
The information shown is an estimate provided by an online nutrition calculator.
©HealthyTasteOfLife. Content and photographs are copyright protected and need prior permission to use. Copying and/or pasting full recipes to other websites and any social media is strictly prohibited. Sharing and using the link of this recipe is both encouraged and appreciated!
Pin It For Later


Olive
Monday 22nd of February 2021
Thank you!
HealthyTasteOfLife
Monday 22nd of February 2021
You're welcome!