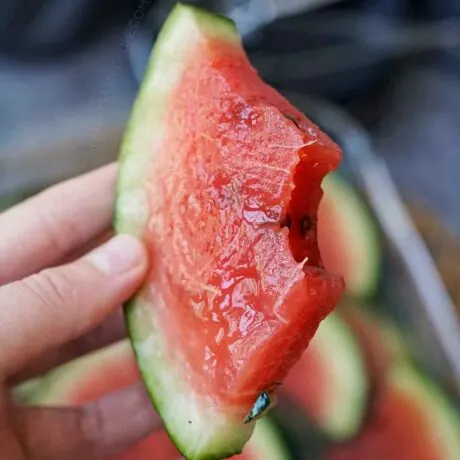
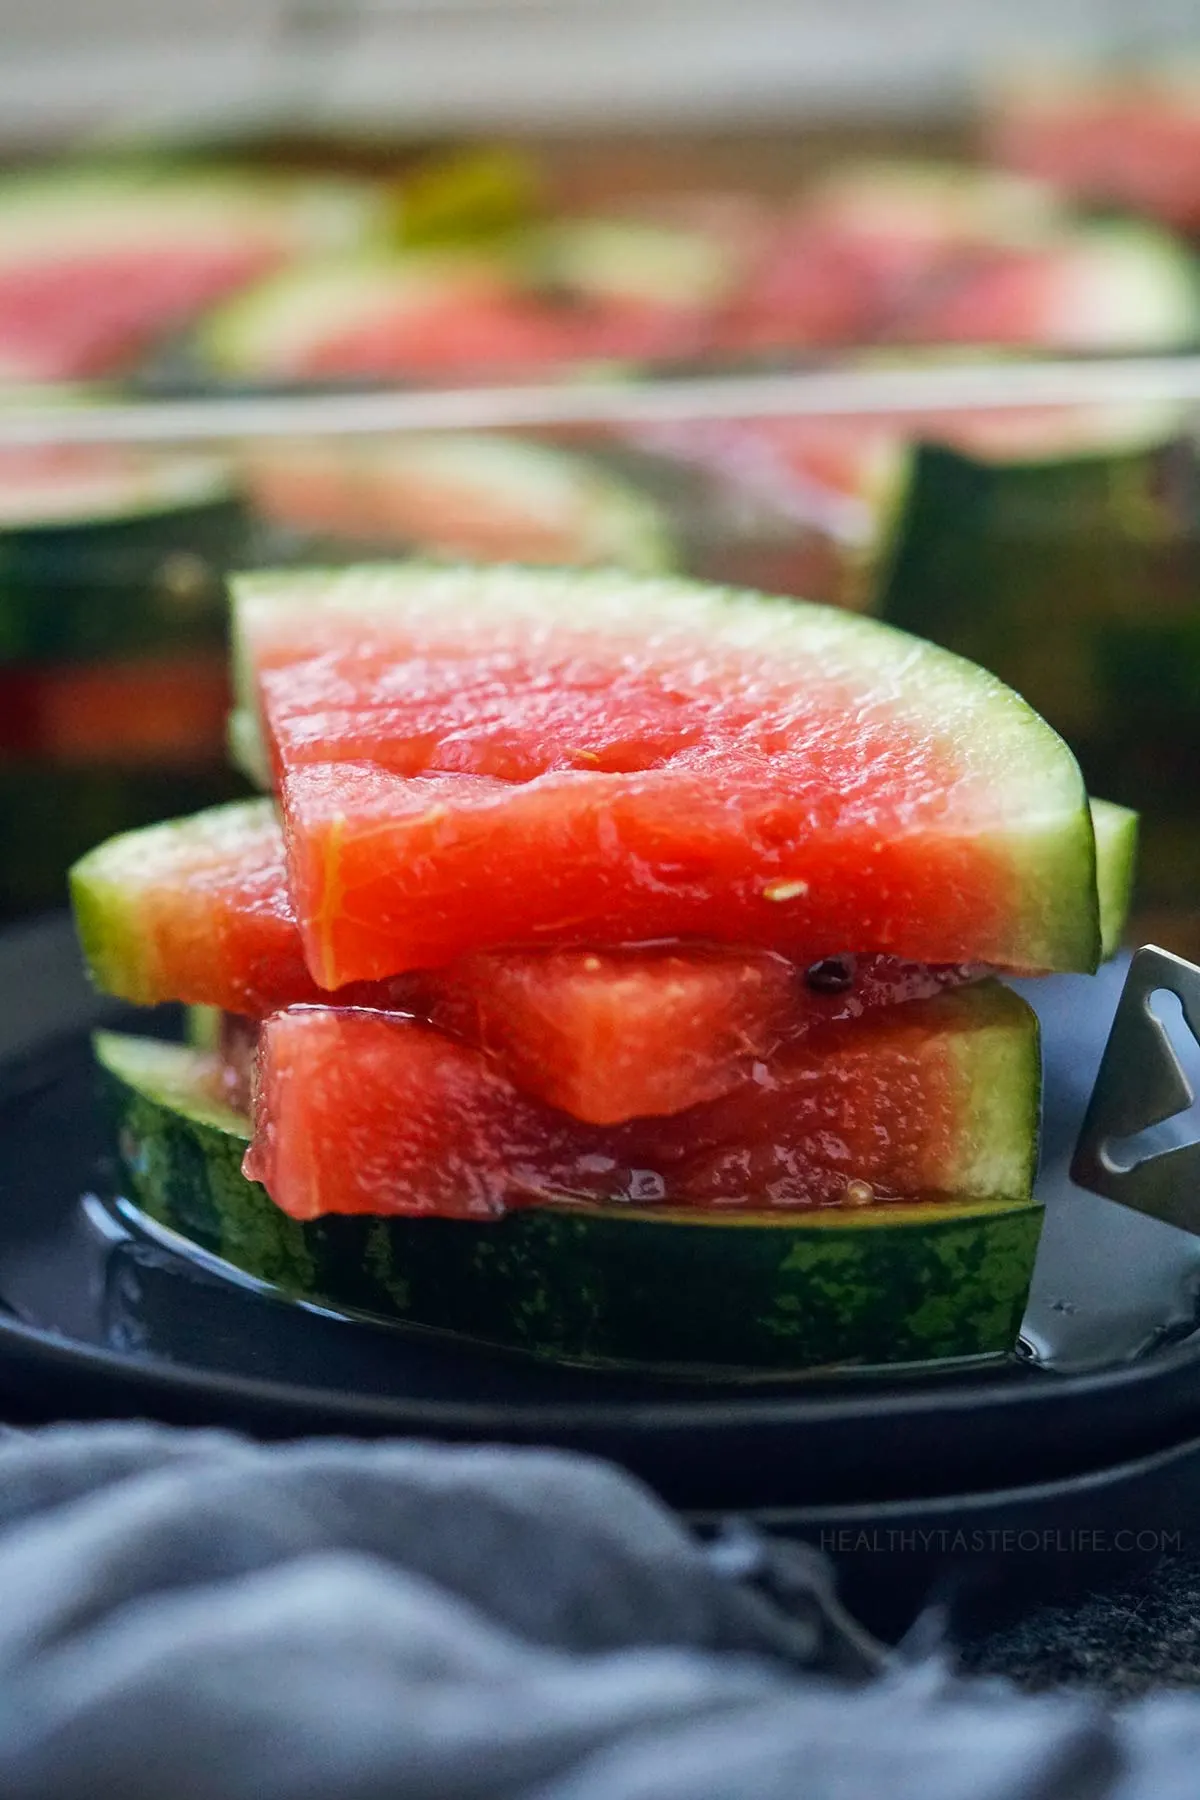
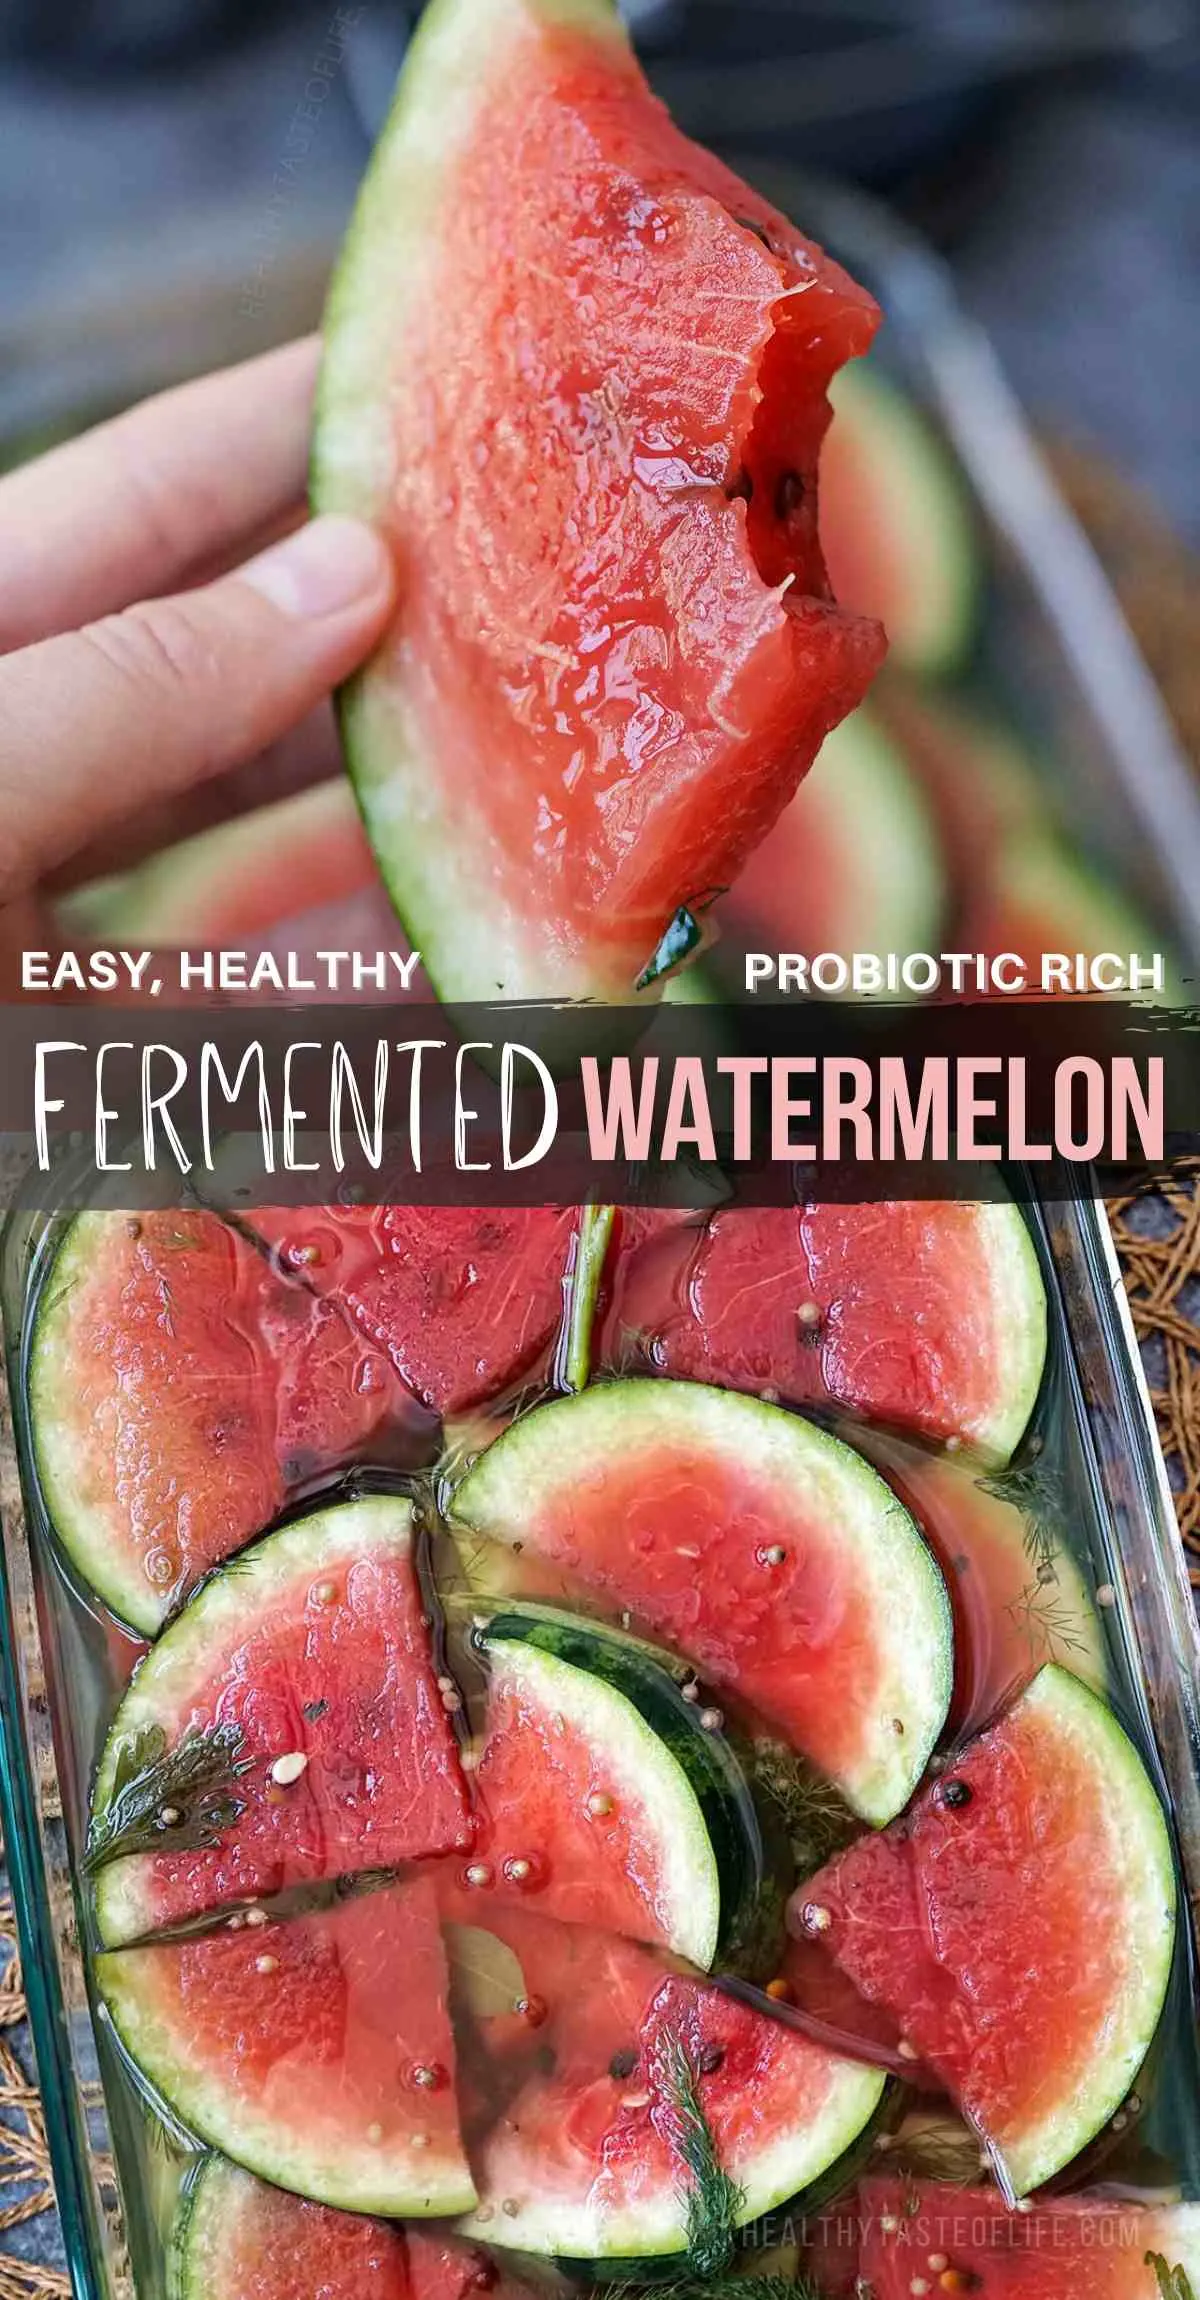
Learn everything you need to know about fermenting watermelon. From benefits to step by step recipe showing how to ferment watermelon easily at home whether you opt for using sliced triangles, chunks or even whole watermelon.
While both fermented and pickled watermelon version provide a distinctive twist to savoring this fruit, they vary greatly in taste, microbial content, and preparation methods. Let’s explore these differences.
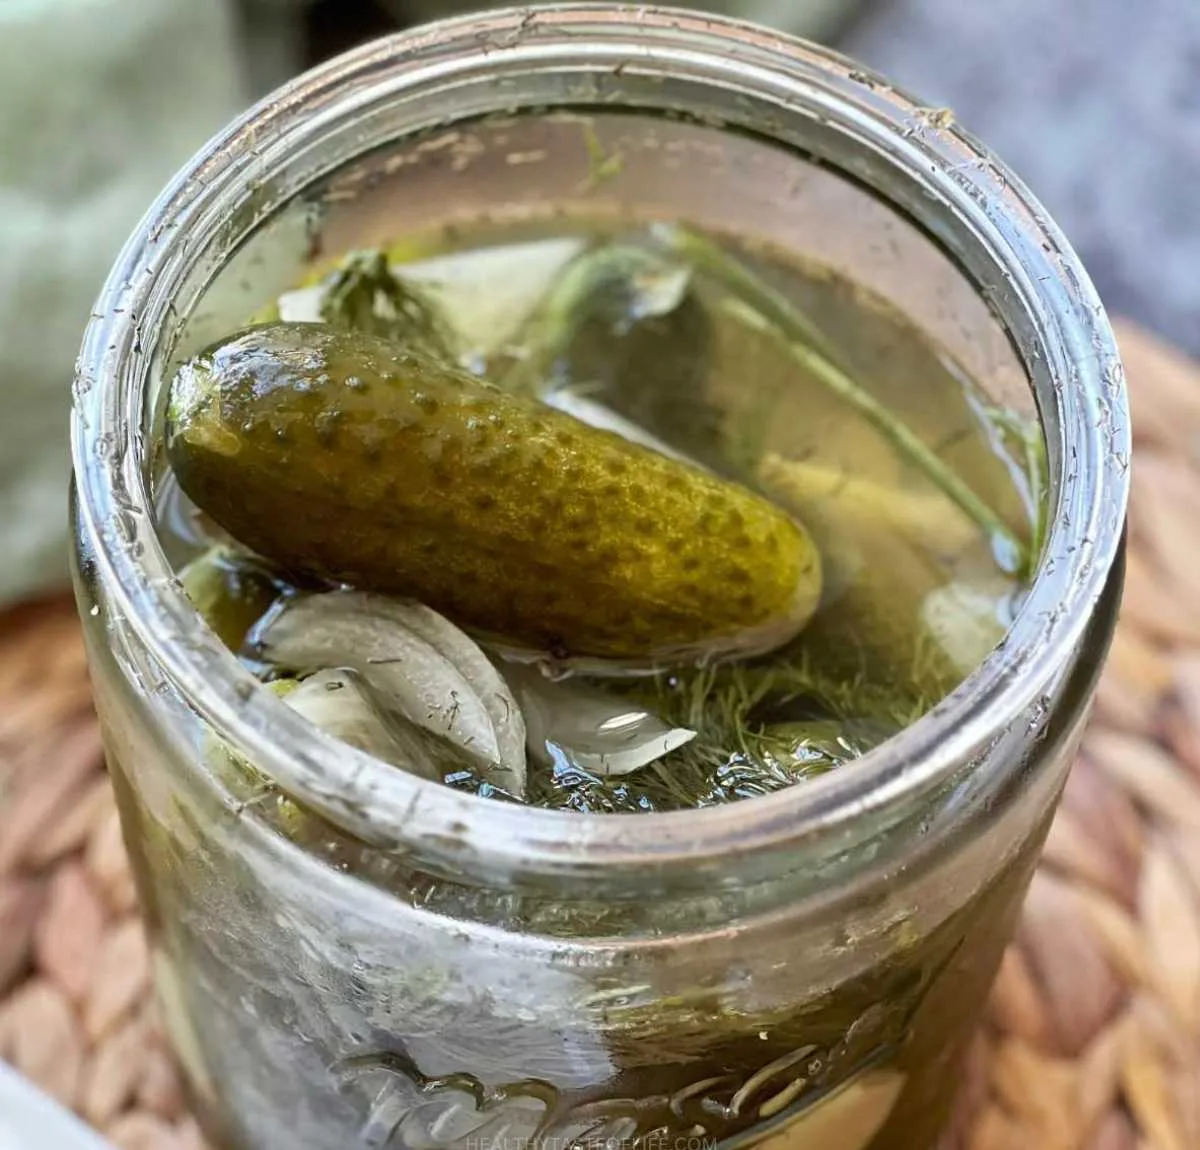
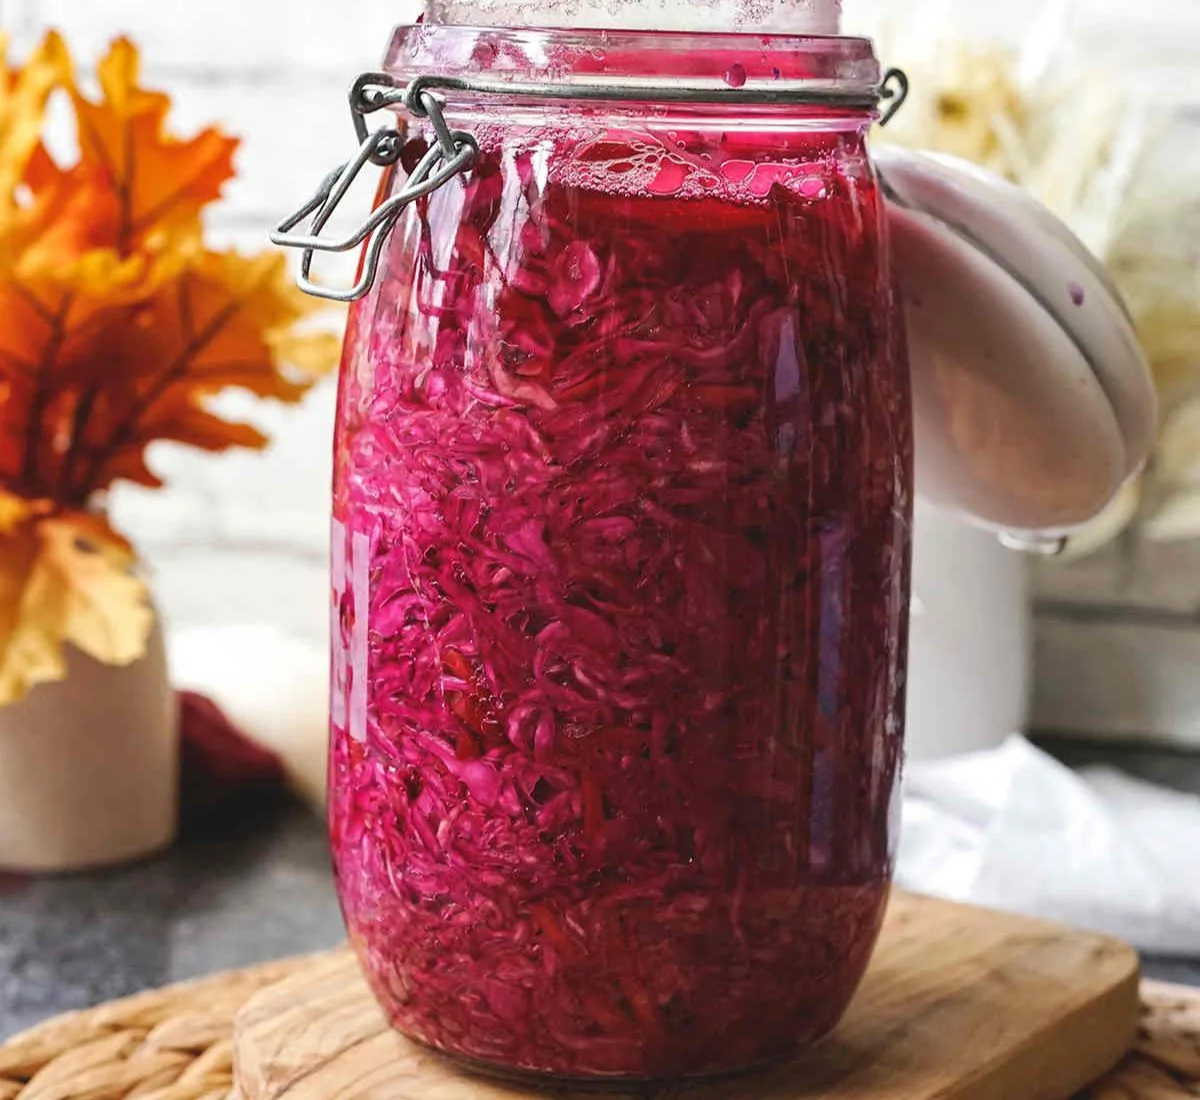
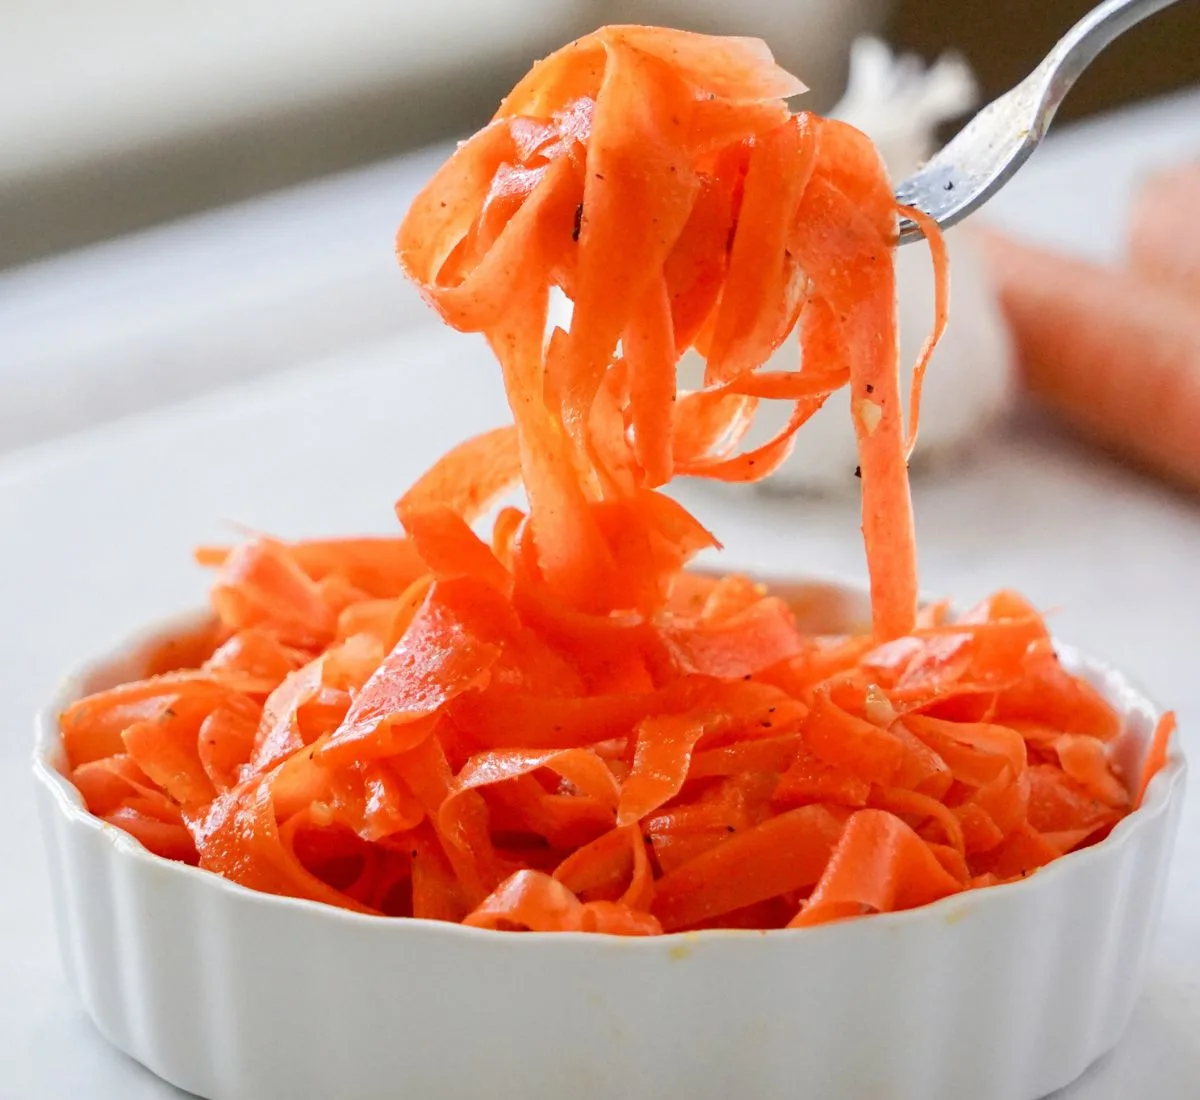
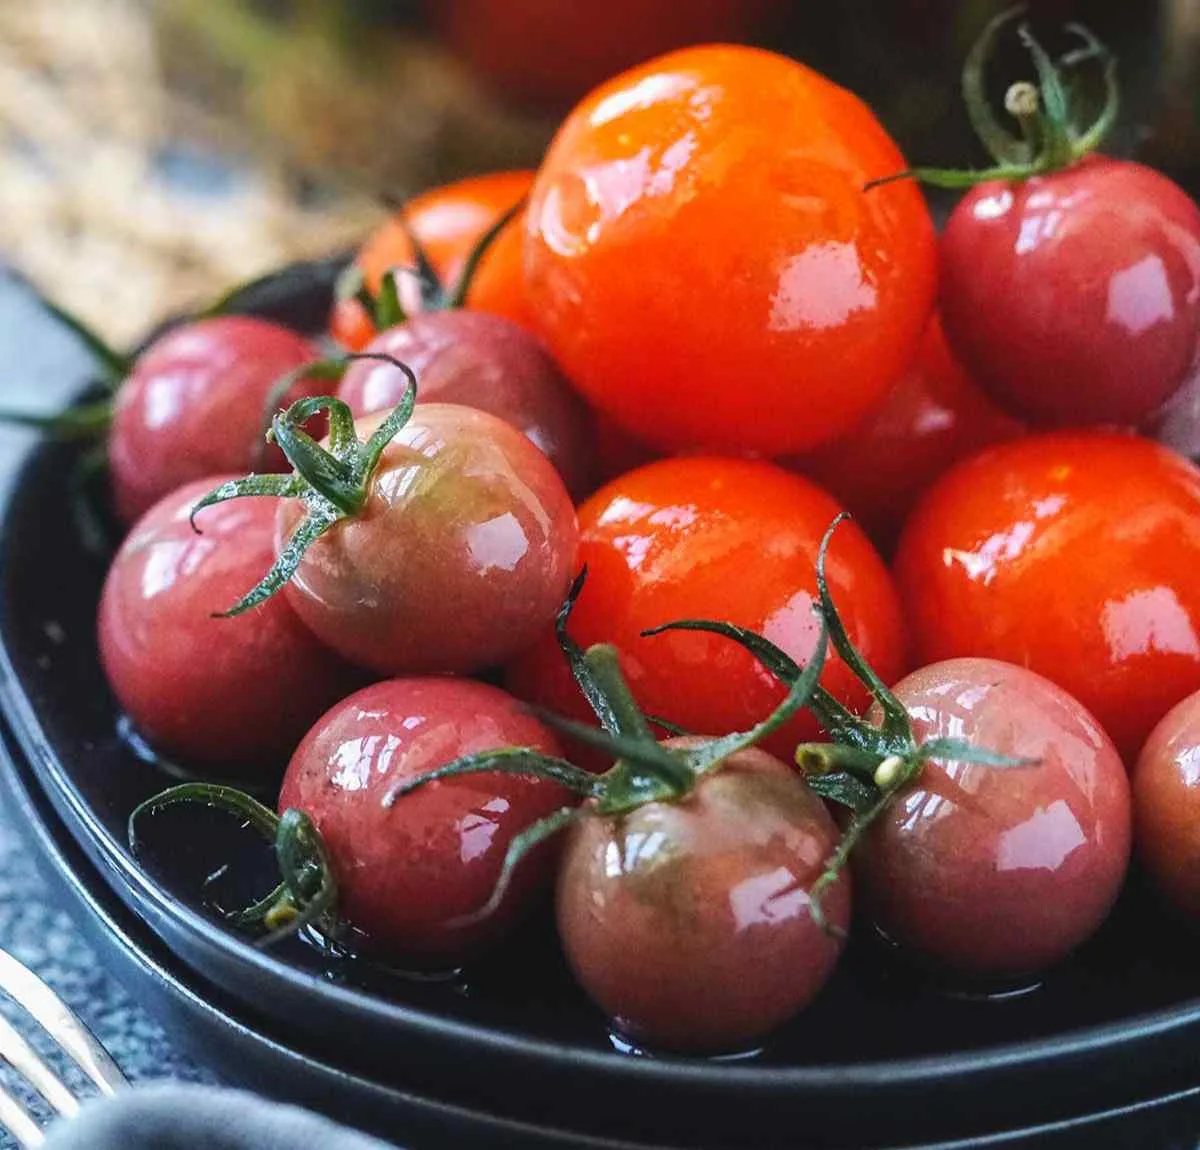
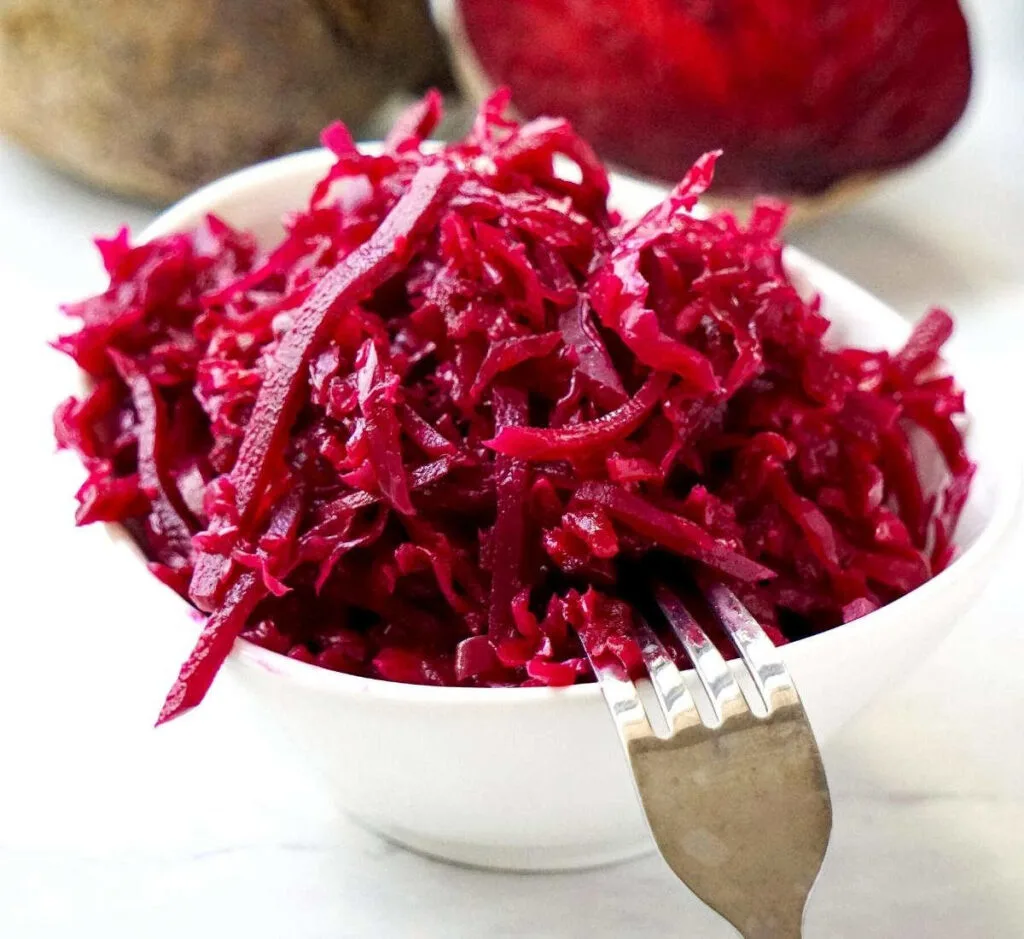
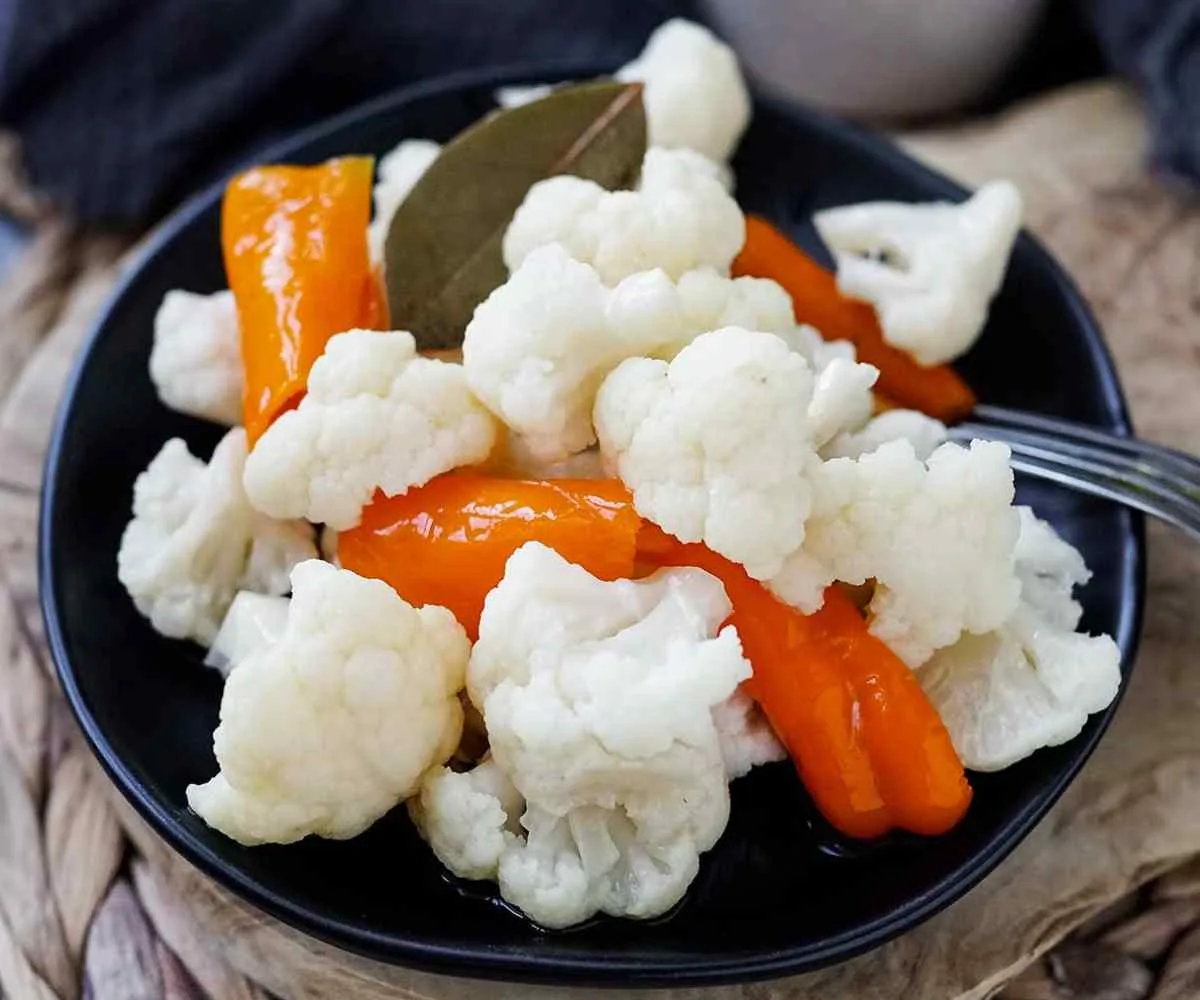
Explore more flavors with my other fermented recipes – from cucumbers and tomatoes to red sauerkraut, cauliflower, beets, shaved carrot salad and even mackerel fish!
Why Try Fermented Watermelon? The Benefits and Beyond
Fermented watermelon is not just a tangy twist on a summer classic; it’s also packed with health benefits. Fermenting watermelon, like other lacto-fermented foods, triggers the release of bio-active compounds and introduces beneficial bacteria that boost gut health. Plus, the process preserves the fruit, allowing you to enjoy watermelon long after summer ends.
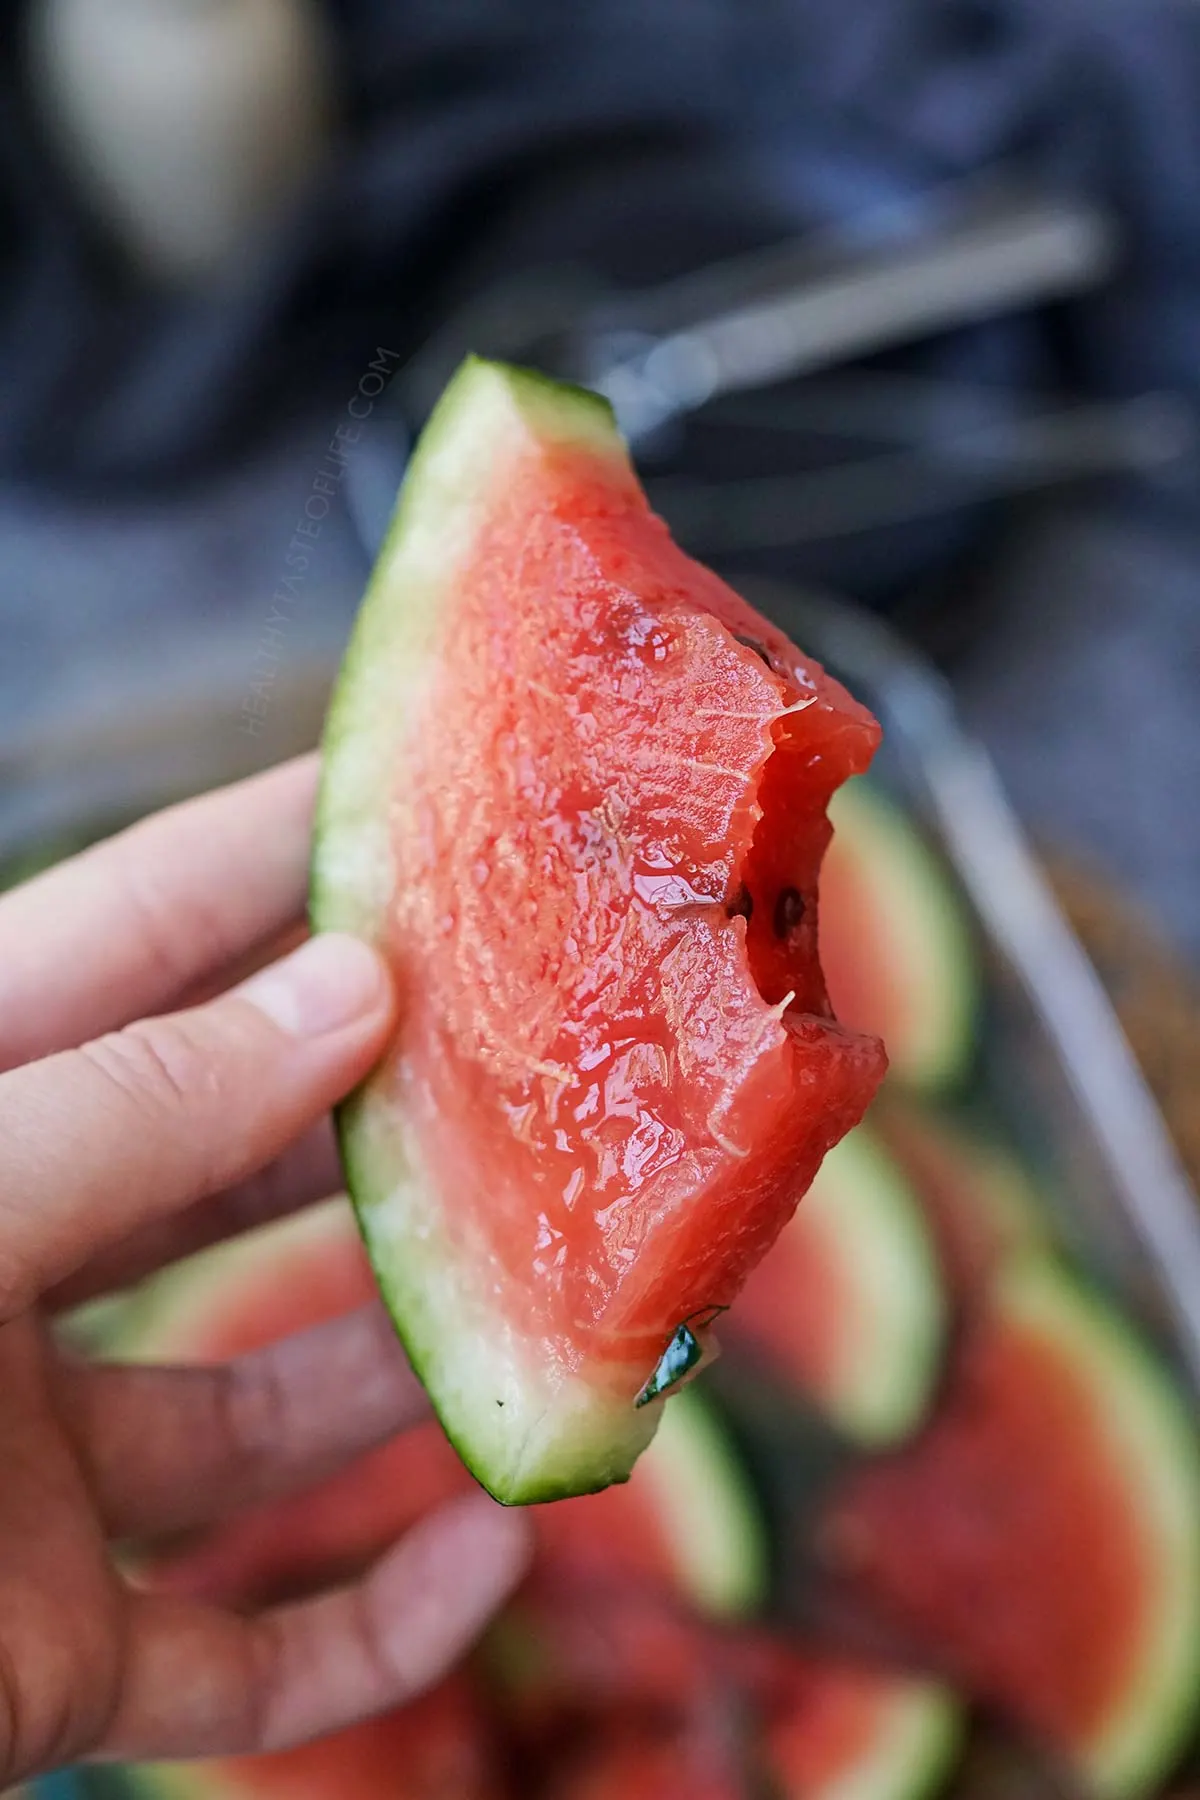
Fermented Watermelon Vs Pickled Watermelon
When it comes to the method of preservation, fermented watermelon is preserved through natural bacteria like lactobacilli converting fruit sugars into lactic acid. This creates an environment that wards off harmful bacteria. Conversely, pickled watermelon is preserved with vinegar, creating an acidic environment and imparting a vinegary taste.
Therefore fermented watermelon is rich in probiotics and live beneficial bacteria (good for gut health), whereas pickled watermelon typically doesn’t have the live probiotics that fermented foods do, because the vinegar used in pickling usually kills most of the bacteria.
In terms of preparation time, fermented watermelon requires days to weeks, while pickled watermelon can be ready in hours to days.
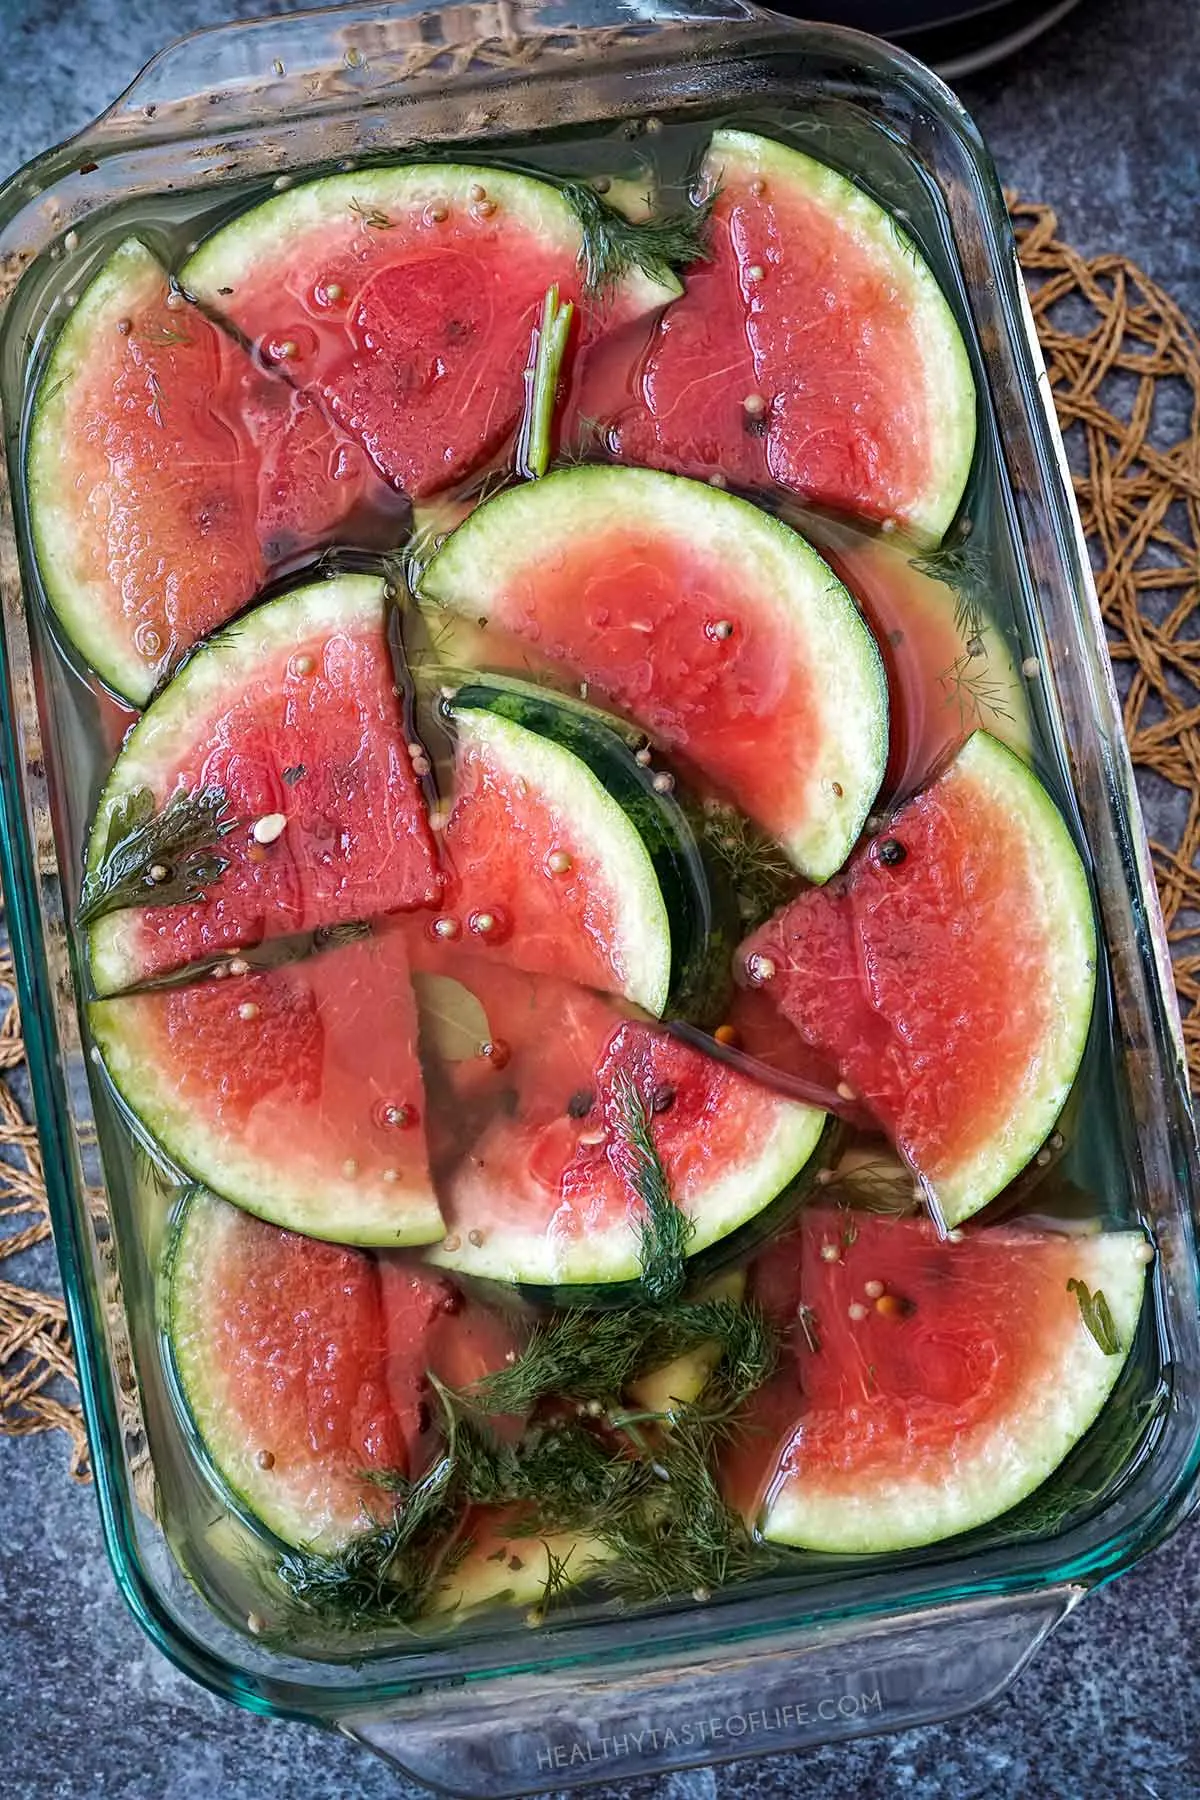
Choosing and Preparing Your Watermelon
- Selecting the Watermelon: Look for firm watermelons with a uniform shape and a yellow spot, indicating it has ripened in the sun.
- Triangles, Chunks or Whole: Depending on your preference, you can ferment watermelon triangles, chunks, or even a whole watermelon! Chunks or triangles allow for faster fermentation, while whole watermelons take longer but offer a unique experience.
- Preparing the Fruit: Wash the exterior thoroughly. If cutting, ensure even pieces for uniform fermentation.
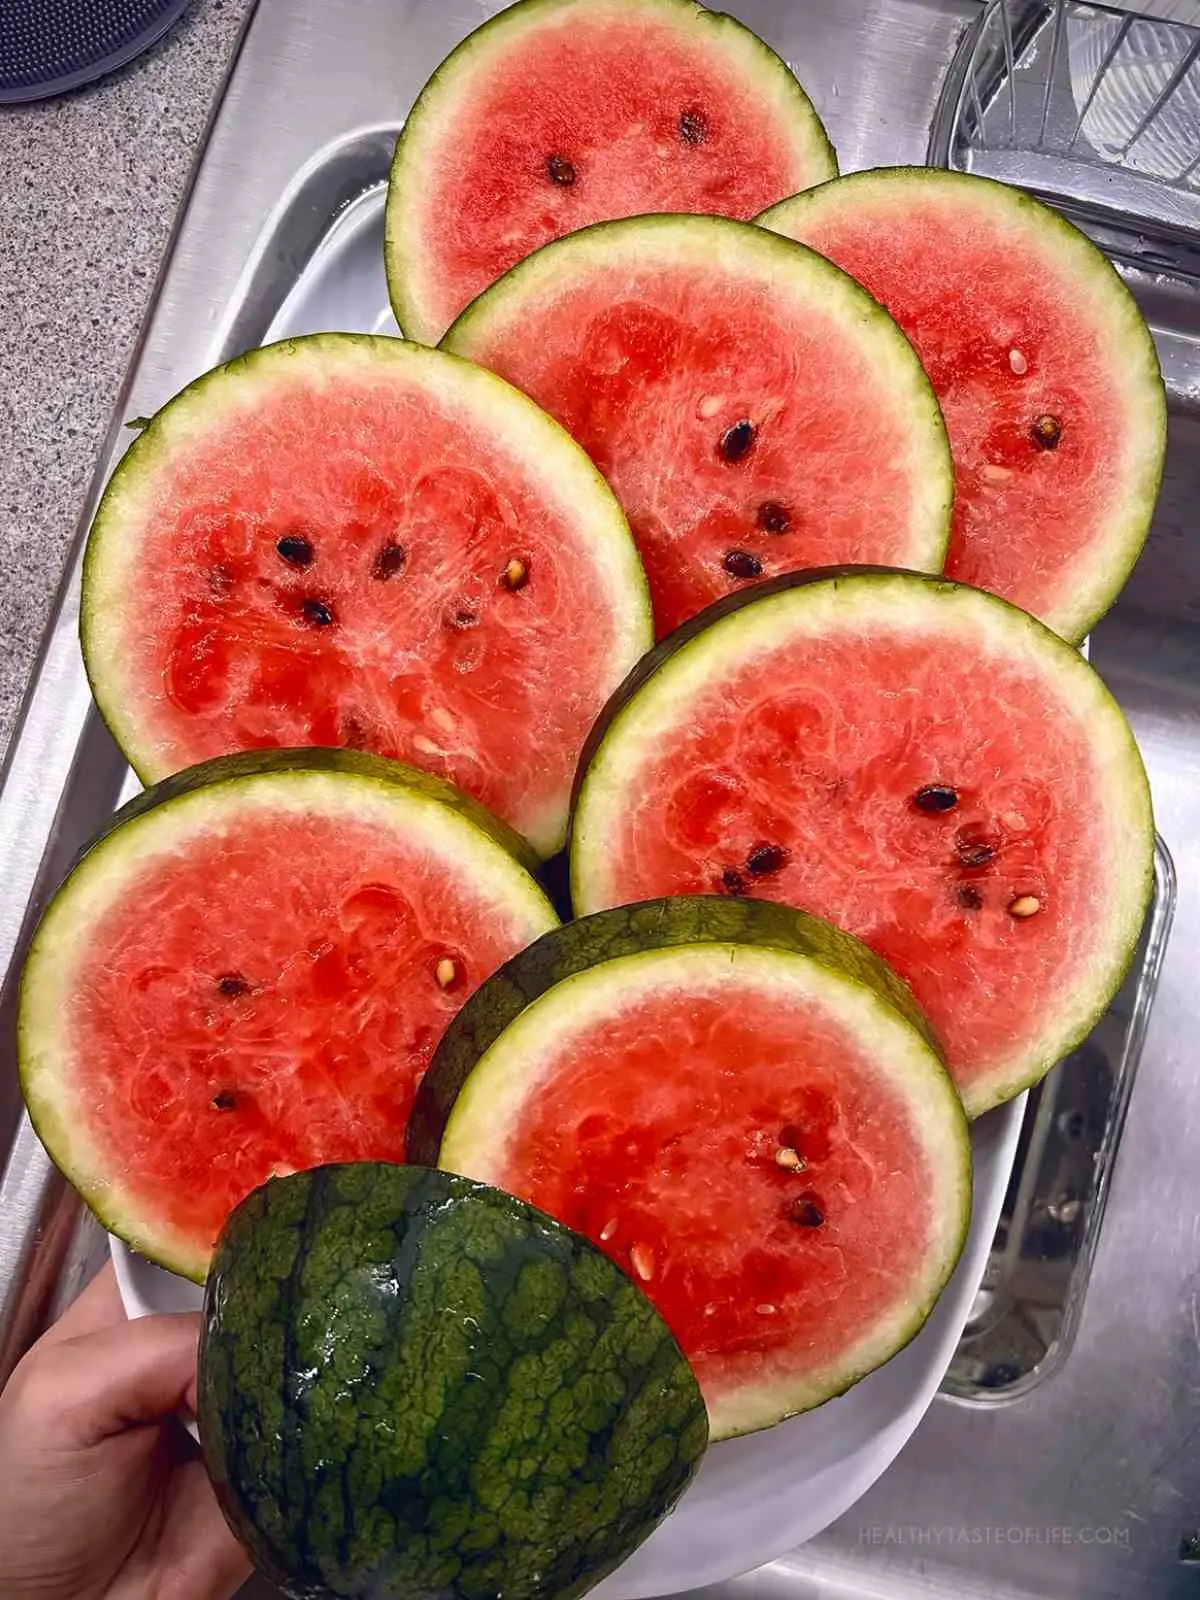
Ingredients Needed For Watermelon Fermentation
- Watermelon: The star of the show!
- Brine: Mix sea salt with water until dissolved. It inhibits harmful bacteria, letting the lacto-fermentation process take place.
- Optional spices: Add flavor to your fermented or pickled watermelon. You can add:
- Garlic: Whole cloves or thinly sliced ones can impart a strong, aromatic flavor.
- Onions: Thin slices or small onion wedges can be added for a hint of sweetness and depth.
- Herbs: Fresh or dried herbs such as basil, dill, thyme, rosemary, oregano, or bay leaves can be used.
- Spices: Mustard seeds, black peppercorns, coriander seeds, caraway seeds, cardamom and juniper berries are popular choices.
Heads up: some links are affiliated & I may receive a small commission from qualifying sales. For more info see my disclaimer policy.
Step-By-Step Fermentation Instructions
- Prepare the Brine: Mix water and salt to create a brine solution. Stir until the salt dissolves completely. I’m using high quality sea salt, no table salt here.
- The salt-to-water ratio in a brine affects taste and fermentation speed. A 2-3% brine, made from 2-3 grams of salt per 100 milliliters of water, is commonly used for fermenting food and offers a balance of flavor and preservation (you can drink it). A higher percentage, like 5%, yields a saltier brine that can slow down fermentation and enhance preservation but might be too salty for some tastes. I’ll be using a 4-5% brine solution to make it tangier.
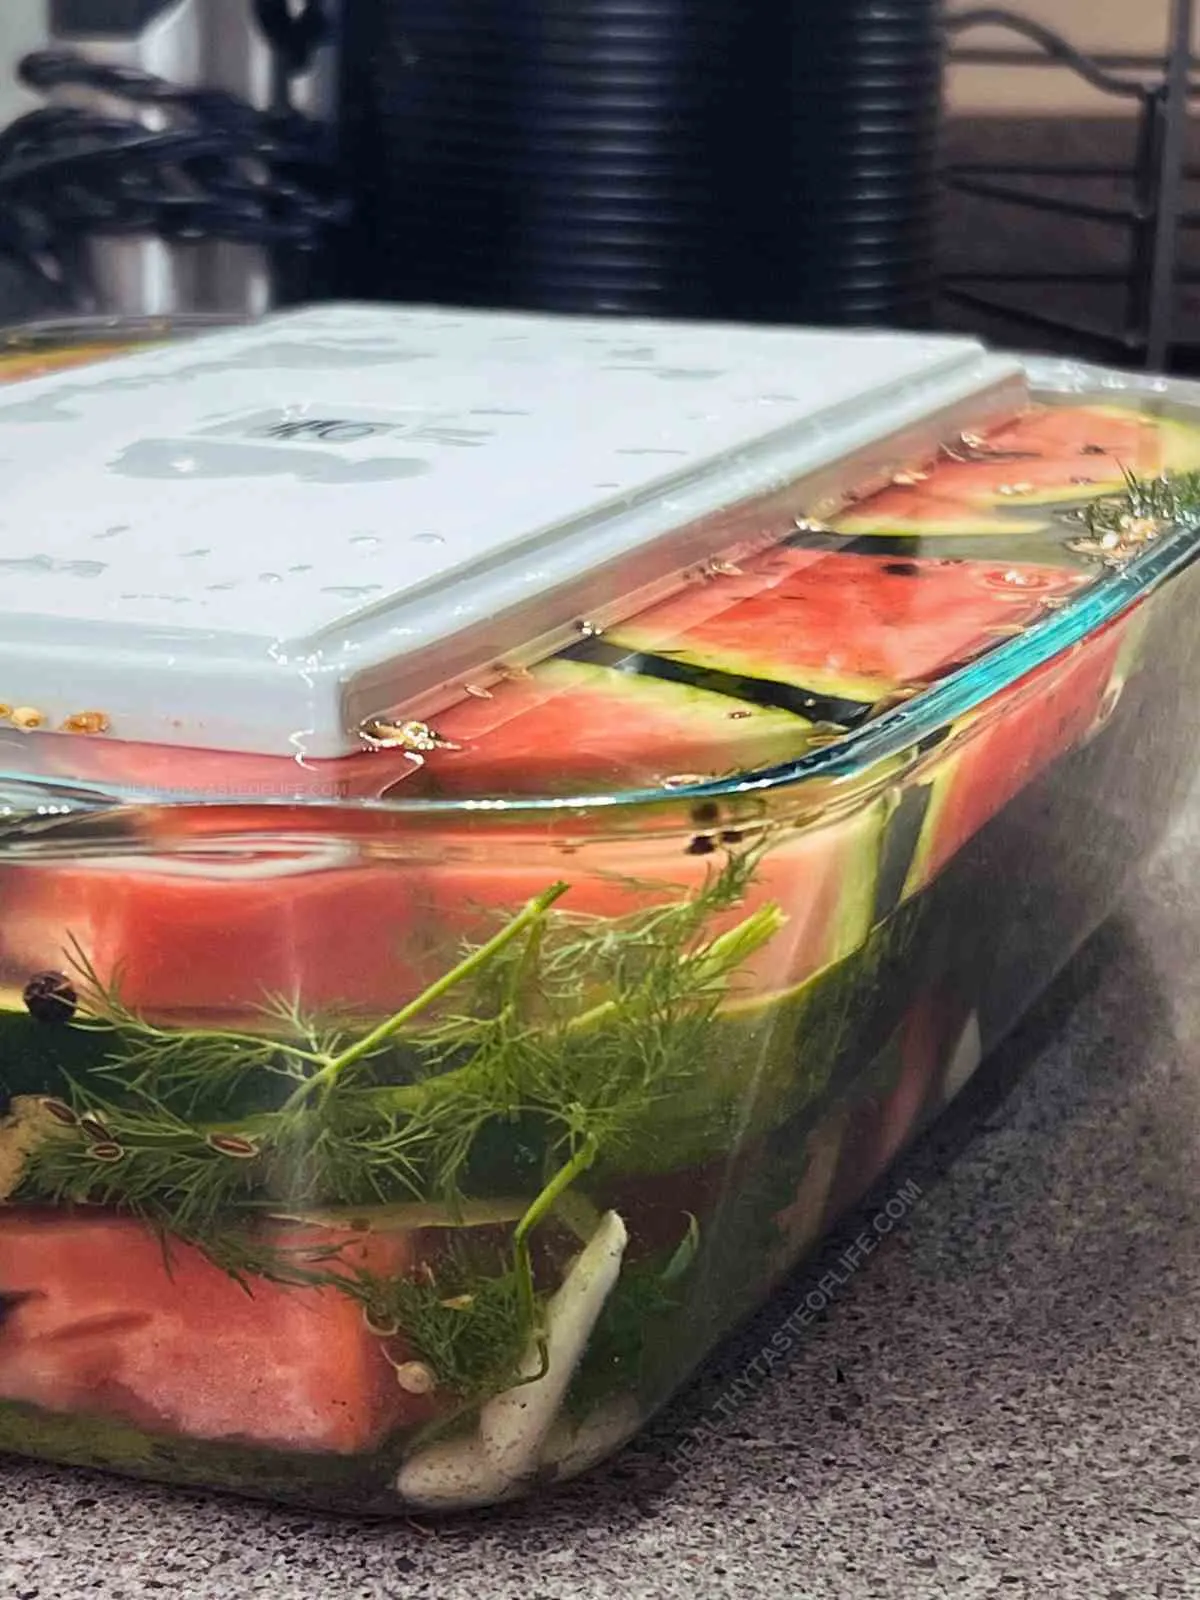
- Packing: Place watermelon pieces and optional spices (alternating them in layers) into a clean fermentation jar or container. You can use a wide mouth 1 gallon jar, a 2 gallon jar, a 5 gallon jar or a glass container with lid as I did, so it could fit on the shelf in the fridge.
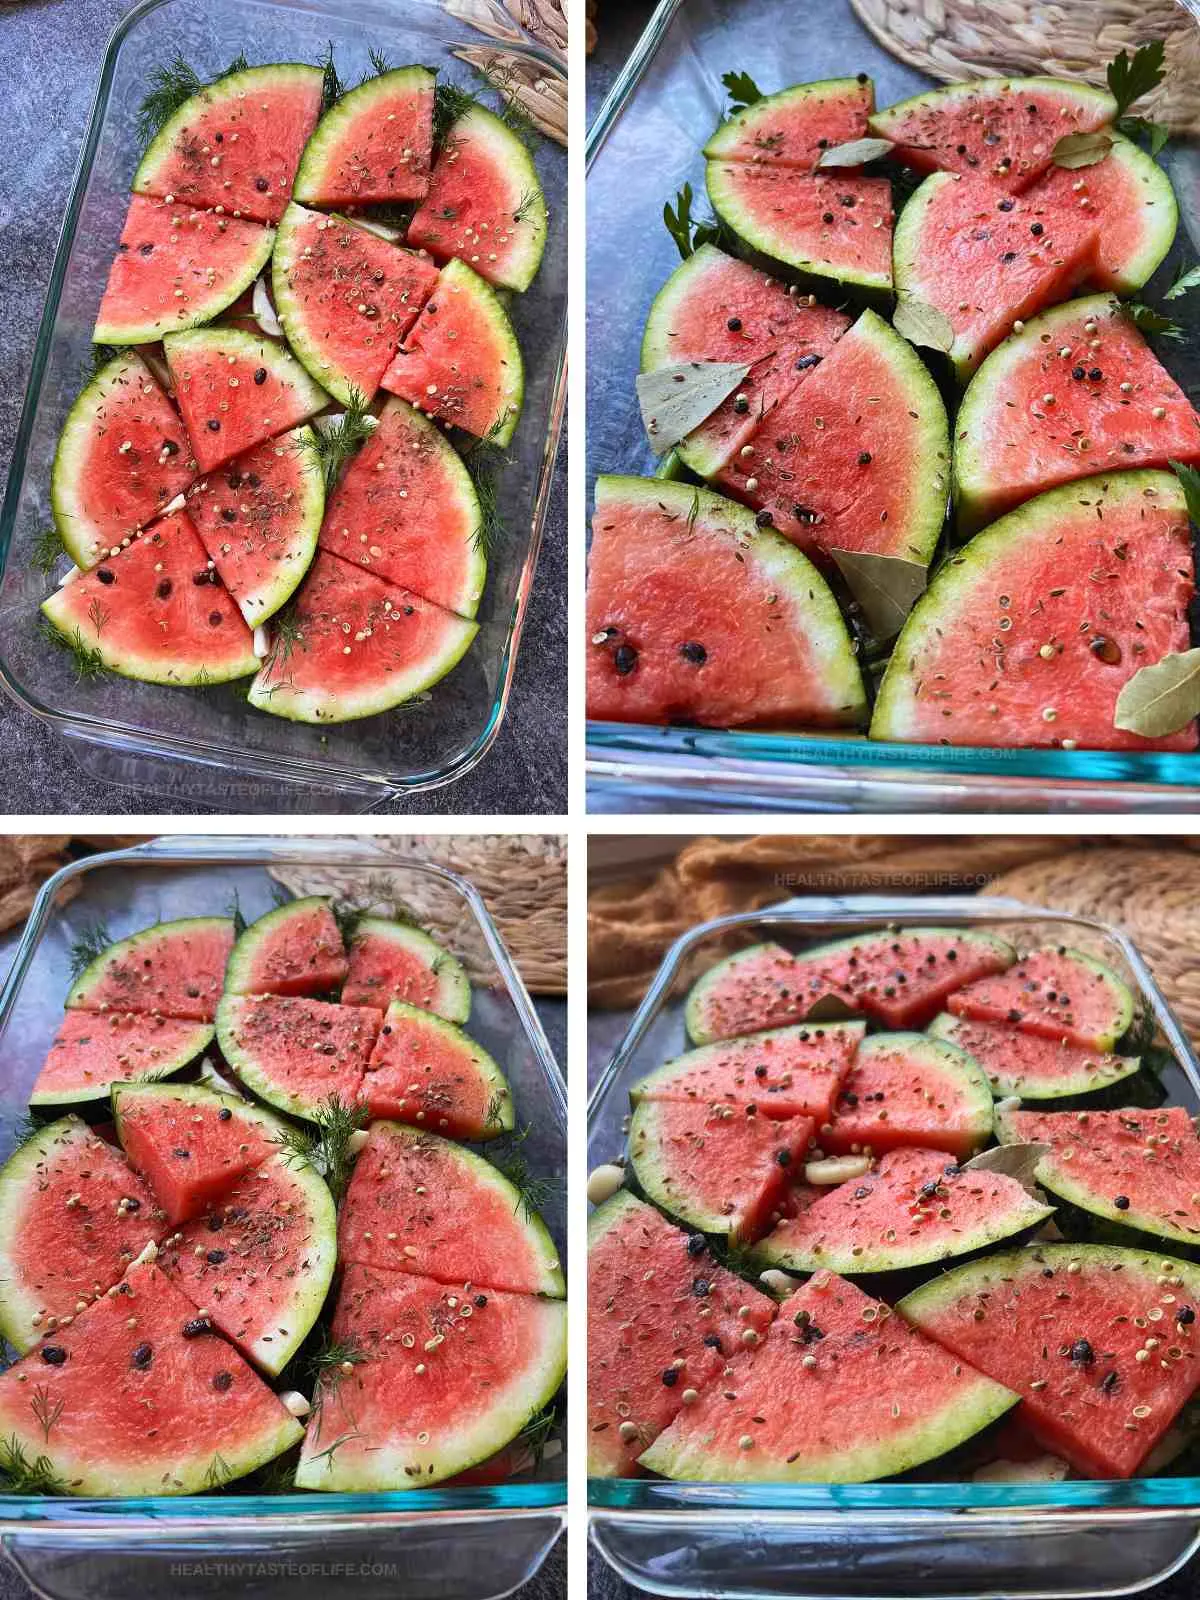
- Add the Brine: Pour the brine over the watermelon, ensuring the pieces are submerged. Use weights or a heavy platter.
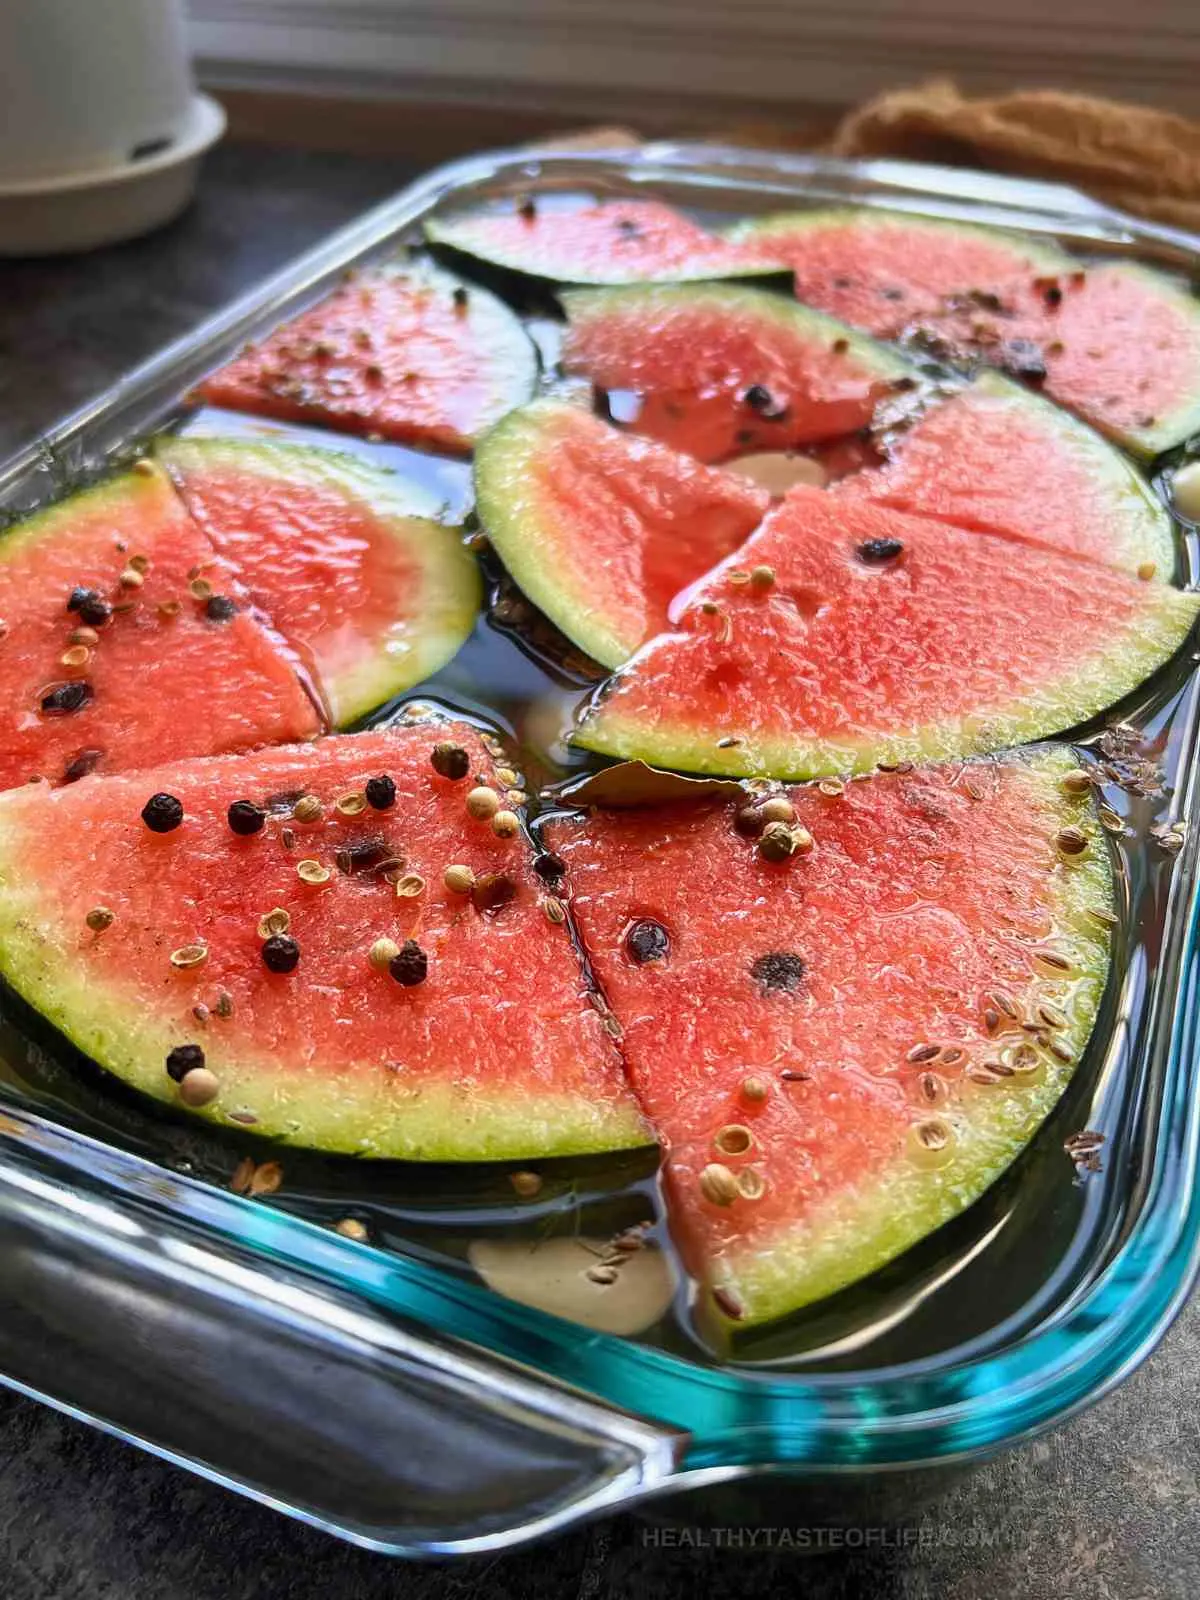
- Ferment: Let the jar sit at room temperature for 3-5 days. Check daily to ensure watermelon stays submerged and release gases if using a sealed jar. After 3-5 days, move to the fridge to slow the fermentation process.
Tips to Keep Watermelon Submerged in Brine To Prevent Spoilage
- If using a wide vessel, use a sizable plate or dish to press down on the watermelon, creating a barrier.
- You can also fill a smaller jar with water, seal it, and position it inside the jar as a weight.
- Alternatively, a water-filled Ziploc bag can be used on top of the watermelon to serve as a weight.
Storing
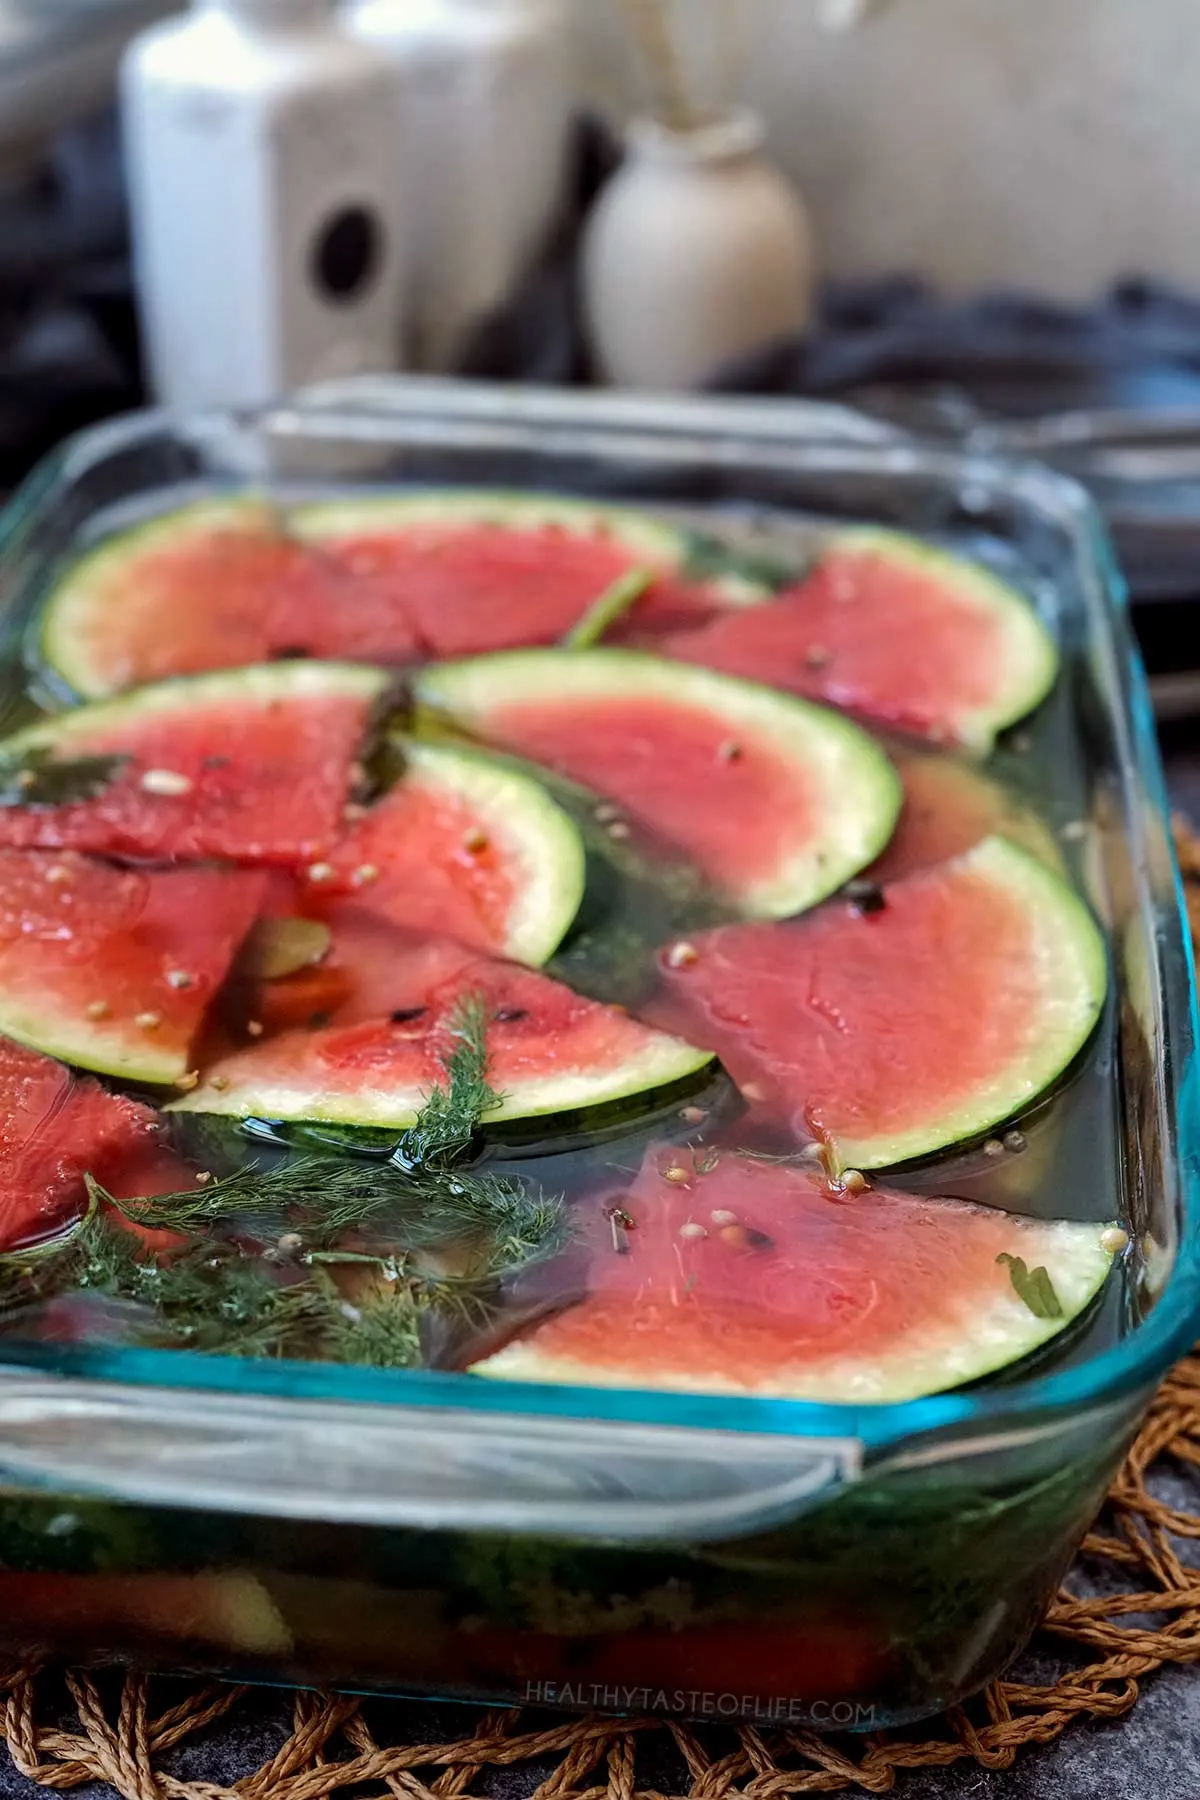
Store the fermented watermelon in the refrigerator, cover with a wrap to prevent dirt from falling in. Test and taste in 1-2 weeks. It’s best consumed within 1-3 months for optimal flavor and texture.
Expert Tip
Adding a touch of sauerkraut juice to your brine can be a game-changer in fermentation! This juice is rich in beneficial lactic acid bacteria, which can kick-start the fermentation process and ensure a successful ferment. Not only does it introduce active probiotics, but it can also add a nuanced depth of flavor to your fermented watermelon. Just a tablespoon or two is enough to give your brine that fermentation boost!
How To Use Fermented Watermelon
- Salads: Add a tangy twist to your salads.
- Smoothies: A splash of fermented flavor to your morning drink.
- Snacking: Perfect on its own for a refreshing snack.
- Grill Complement: Pair with grilled dishes for a contrast of flavors.
FAQs on Fermenting / Pickling Watermelon
Yes, watermelon can ferment on its own due to the natural bacteria and yeasts present on its surface and in the environment. However, without the controlled conditions of a fermentation process, it may not ferment desirably and could spoil instead.
Fermented watermelon offers several benefits. It introduces probiotics, or beneficial bacteria, which can aid digestion and promote gut health. The fermentation process also enhances the nutritional value by increasing certain vitamins and minerals, and it provides a unique tangy flavor to the watermelon.
Pickled watermelon has a sour, tangy, and sometimes slightly sweet flavor due to the vinegar and any added spices or sweeteners. The vinegary taste is dominant, giving the watermelon a distinctively sharp and refreshing twist compared to its natural sweetness.
While it’s tempting, it’s best to start fresh each time for consistent results.
Over-fermentation can cause softness. Next time, reduce the fermentation days.
A tangy smell is typical, but an unpleasant odor indicates spoilage.
More Fermented Recipes
Did you find this guide helpful? Share your fermented watermelon creations with me through Instagram and inspire others to dive into this tangy goodness!
Printable Recipe
Fermented Watermelon Recipe
Ingredients
- 1 watermelon - ~14-15lb
Brine
- 45 g salt - ~ 2.5 tablespoons
- 1000 ml filtered water - 4.3 cups
Optional Seasonings
- 1.5 tsp black peppercorns
- 8 cloves garlic
- 1.5 tsp whole coriander seeds
- 2 tsp dill seeds - or fresh dill with stem
- 1.5 tsp cardamom
- 1 tsp whole mustard seeds
Instructions
Prepare the Brine
- Mix water and salt to create a brine solution. Stir until the salt dissolves completely. I’m using high quality sea salt, no table salt here.
- The salt-to-water ratio in a brine affects taste and fermentation speed. A 2-3% brine, made from 2-3 grams of salt per 100 milliliters of water, is commonly used for fermenting food and offers a balance of flavor and preservation (you can drink it). A higher percentage, like 5%, yields a saltier brine that can slow down fermentation and enhance preservation but might be too salty for some tastes.
- I’ll be using a 4-5% brine solution. 45grams of salt per 1000ml.
Packing
- Place watermelon pieces and optional spices (alternating them in layers) into a clean fermentation jar. You can use a wide mouth 1 gallon jar, a 2 gallon jar, a 5 gallon jar or a glass container with lid as I did, so it could fit on the shelf in the fridge.
Add the Brine
- Pour the brine over the watermelon, ensuring the pieces are submerged.
Ferment
- Let the jar sit at room temperature for 3-5 days. Check daily to ensure watermelon stays submerged and release gases if using a sealed jar.
Taste Test
- After 3 days, taste the watermelon and move to the fridge to slow the fermentation process.
- Cover with a wrap to prevent dirt from falling in. Test and taste in 1-2 weeks again.
- It's best consumed within 1-3 months for optimal flavor and texture.
What You Need
Notes
Special tips for fermenting whole watermelons:
- Surface Cleanliness: Ensure the entire surface of the watermelon is well-cleaned, as it’ll be in direct contact with the brine. This will help prevent any unwanted microbes from impacting the fermentation.
- Brine Strength: A slightly stronger brine might be beneficial when fermenting a whole watermelon, as the thick rind can make it more resistant to the fermentation process.
- Piercing: Consider making small, sterile piercings or slits in the rind to allow the brine to penetrate more effectively.
- Submersion: Ensure the entire watermelon is fully submerged in the brine. Using clean, heavy objects or fermentation weights can help keep it submerged.
- Monitor: Whole watermelons have a higher risk of developing mold or off-flavors. If you notice any suspicious growths or off smells, it might be best to discard.
- Time: Fermenting a whole watermelon will typically take longer than chunks or slices due to its size and intact rind. Be patient, and allow for a longer fermentation period.
Nutrition
The information shown is an estimate provided by an online nutrition calculator.
©HealthyTasteOfLife. Content and photographs are copyright protected and need prior permission to use. Copying and/or pasting full recipes to other websites and any social media is strictly prohibited. Sharing and using the link of this recipe is both encouraged and appreciated!

